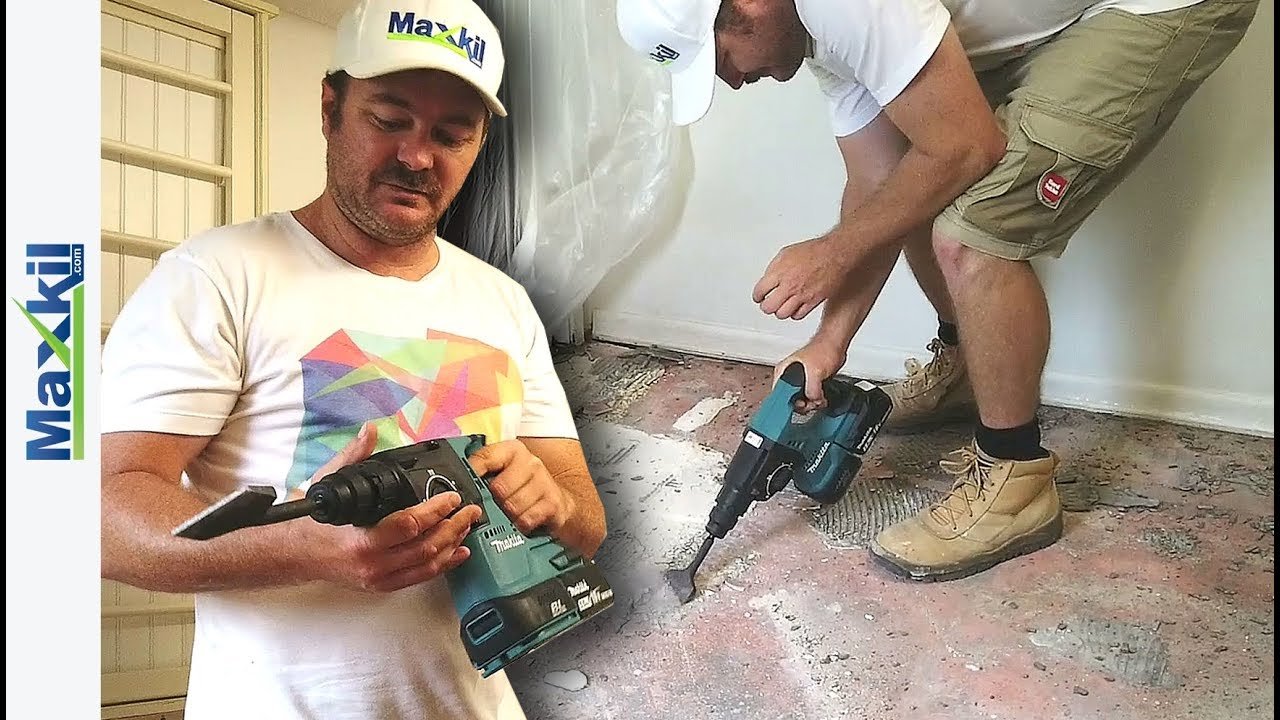
Why Avoid a Hammer Drill for Tile and Use Rotary Mode Instead
You should avoid using a hammer drill for tile because the percussive impact force will likely shatter the ceramic or porcelain surface before the bit can penetrate. A standard rotary drill set to a non-impact mode with a dedicated carbide-tipped masonry bit is the correct tool for the job. You’ll need to apply steady, light pressure to avoid cracking the material, especially near the edges.
Why Impact Modes Ruin Tile
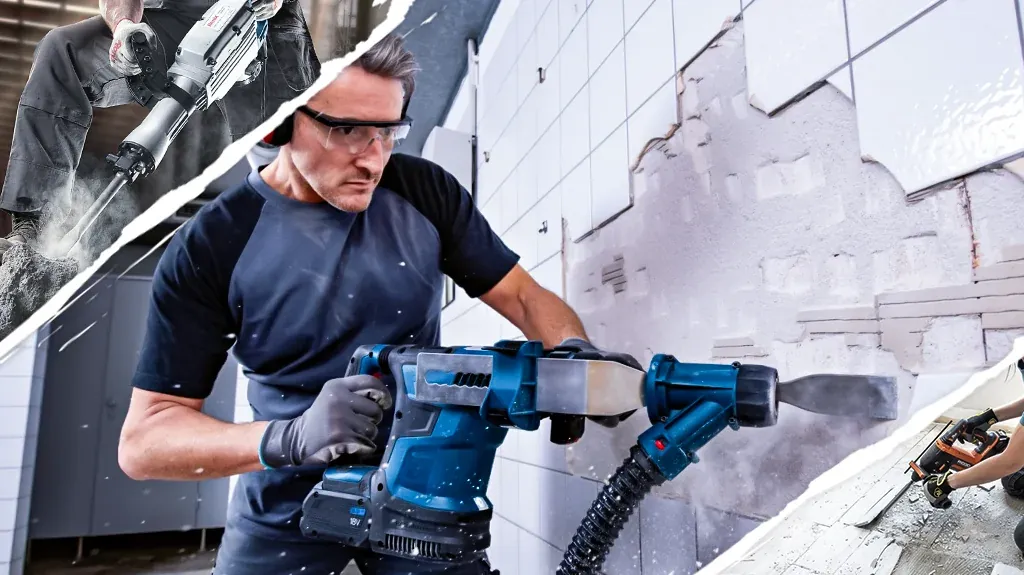
The primary reason to disable the hammer mechanism is the physical nature of tile. Ceramic and porcelain are brittle materials designed for hardness, not impact resistance. When you activate the hammer function, the tool delivers thousands of rapid, high-energy strikes per minute directly into the drill bit. This force doesn’t just cut; it creates shockwaves that travel outward from the point of contact.
Because tile is often mounted on a rigid backing, it can’t absorb these vibrations. The result is almost always a radial crack or a “blowout” where the bit enters, leaving you with a ruined piece of flooring or wall covering. Even with high-quality bits, the percussive action creates too much heat and instability.
If you’re drilling into natural stone, such as granite or slate, the risk is slightly lower but still present. These materials can handle more pressure than ceramic, but the hammer action will cause micro-fractures that compromise the structural integrity of the stone long before you finish the hole.
To avoid a ruined surface, always use a diamond-tipped bit and a constant, low-speed rotation. If you find the bit wandering across the slick surface of a tile, place a small piece of painter’s tape over the mark. This provides the necessary friction to keep the bit centered without requiring the extra force that leads to cracking.
If you’re drilling through both the tile and the substrate behind it, stop the moment you clear the tile. Once the tile is cleared, remove the bit from the hole, switch to hammer mode, and then resume drilling into the masonry backing.
How to Drill Through Tile Safely
If you need to mount hardware or run cables, following a specific sequence protects your surface. Always use a carbide or diamond-tipped bit designed for tile and stone, as standard wood or metal bits will dull instantly.
- Mark the spot: Place a piece of masking tape or painter’s tape over the exact point where you need the hole to prevent the bit from sliding across the smooth glaze.
- Select the bit: Use a carbide-tipped masonry bit or a diamond hole saw, ensuring it’s rated for the specific hardness of your tile.
- Disable impact: Ensure your drill is set to rotary-only mode and that the hammer symbol is completely disengaged.
- Start slow: Begin drilling at a low speed to create a small pilot mark without applying heavy force, which keeps the bit centered.
- Add coolant: Spray a small amount of water or apply a damp sponge to the area periodically to keep the bit cool and reduce dust.
- Apply pressure: Use consistent, light pressure as you drill through the tile, then switch to a masonry bit suitable for the wall material behind it once you hit the substrate.
Tip: Use a guide or a template to keep the bit from wandering during the first few seconds of drilling, as this is when the surface is most likely to chip.
When to Use Different Drill Bits
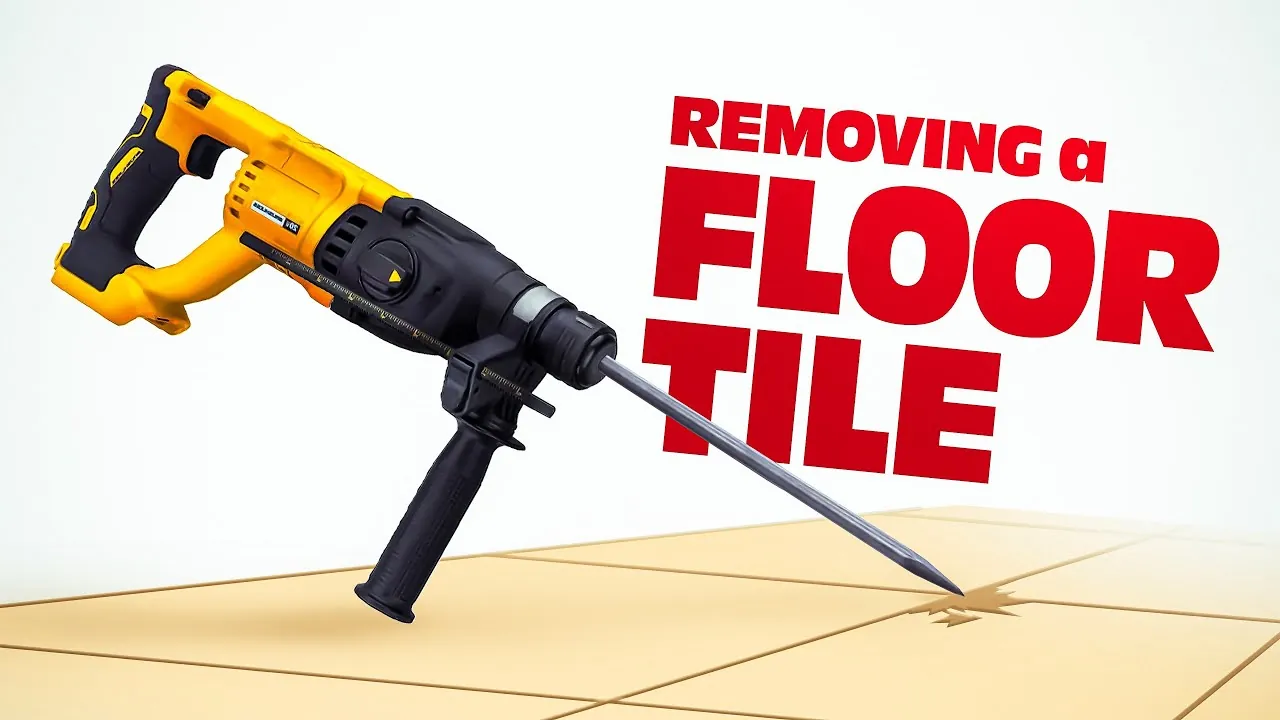
Not all materials require the same approach. If you’re drilling into a wall, the material behind the tile dictates your next move. The Occupational Safety and Health Administration emphasizes the importance of controlling dust when cutting or drilling stone and tile materials to protect your lungs from crystalline silica.
Ceramic tile is soft enough for a carbide-tipped masonry bit at low speeds. Use a steady, light pressure to avoid cracking the glaze.
Porcelain tile is extremely dense and requires a diamond-tipped hole saw for clean results. Without a diamond bit, the material will shatter or overheat, dulling your tool in seconds.
If you hit wood behind the tile, switch immediately to a wood-boring bit to prevent burning the substrate. If you hit concrete, remove the bit from the hole, switch to hammer mode, and then resume drilling into the masonry backing. Engaging the hammer function while the bit is still in the tile will cause the surface to fracture instantly.
Frequently Asked Questions
Can I use a regular drill bit for tile?
No, standard twist bits for wood or metal will fail immediately against the hardness of tile. You must use a carbide-tipped or diamond-tipped bit to prevent the bit from burning out or skating across the surface.
How do I know if my drill has a hammer mode?
Look for a switch or dial near the chuck that shows an icon of a hammer or a drill bit. If the switch is set to the hammer icon, the drill is in impact mode and shouldn’t be used on tile.
Is it safe to drill near a tile edge?
It’s risky because the material is weaker near the perimeter, making it prone to snapping. If you must drill near an edge, use a smaller bit first and increase the hole size slowly to minimize the pressure applied to the tile’s edge.
Conclusion
Always check your drill settings before making contact with the tile surface to ensure the hammer mechanism is fully disengaged. If you’re unsure about the hardness of your specific tile, practice on a spare piece first to gauge the pressure required.