How to Prevent Stripped Screws When Using an Electric Screwdriver
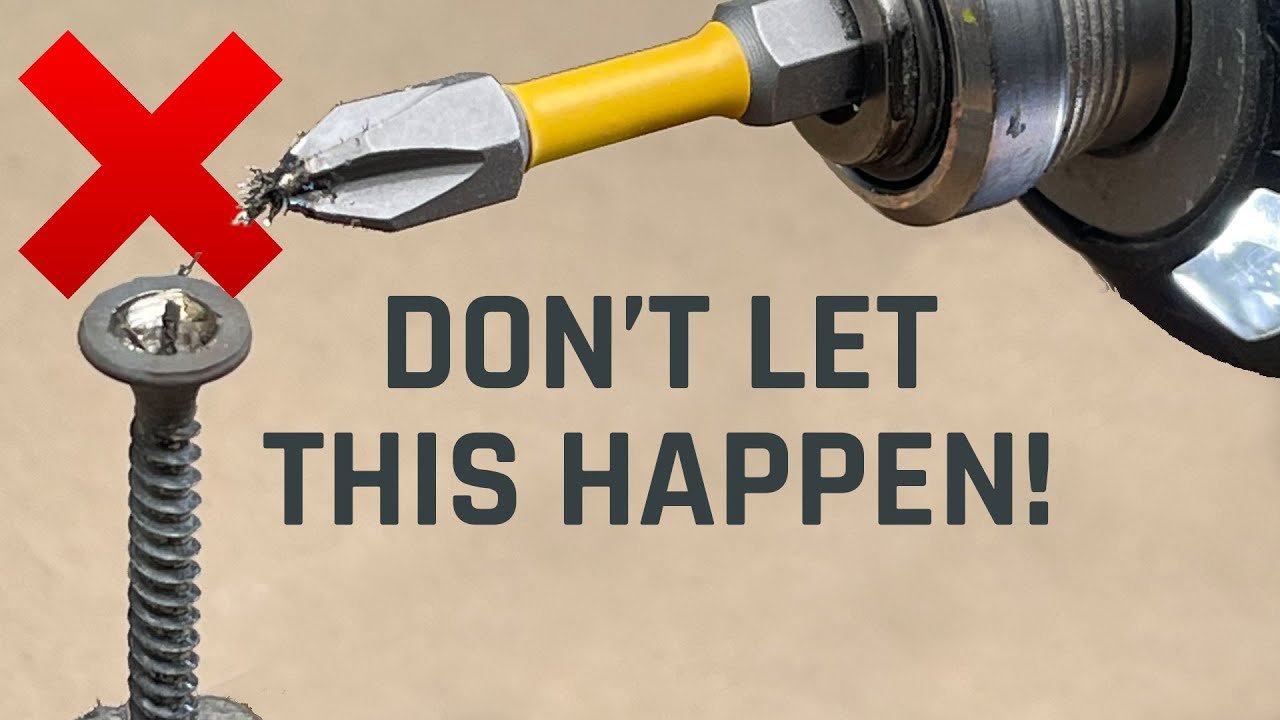
You can keep fasteners from wearing down by choosing the right bit size and applying steady pressure to how to prevent stripped screws when using an electric screwdriver. The most common cause is using a bit that’s too small or the wrong shape for the screw head. If the bit slips, it grinds the metal away and makes the screw impossible to turn.
Why screws get stripped
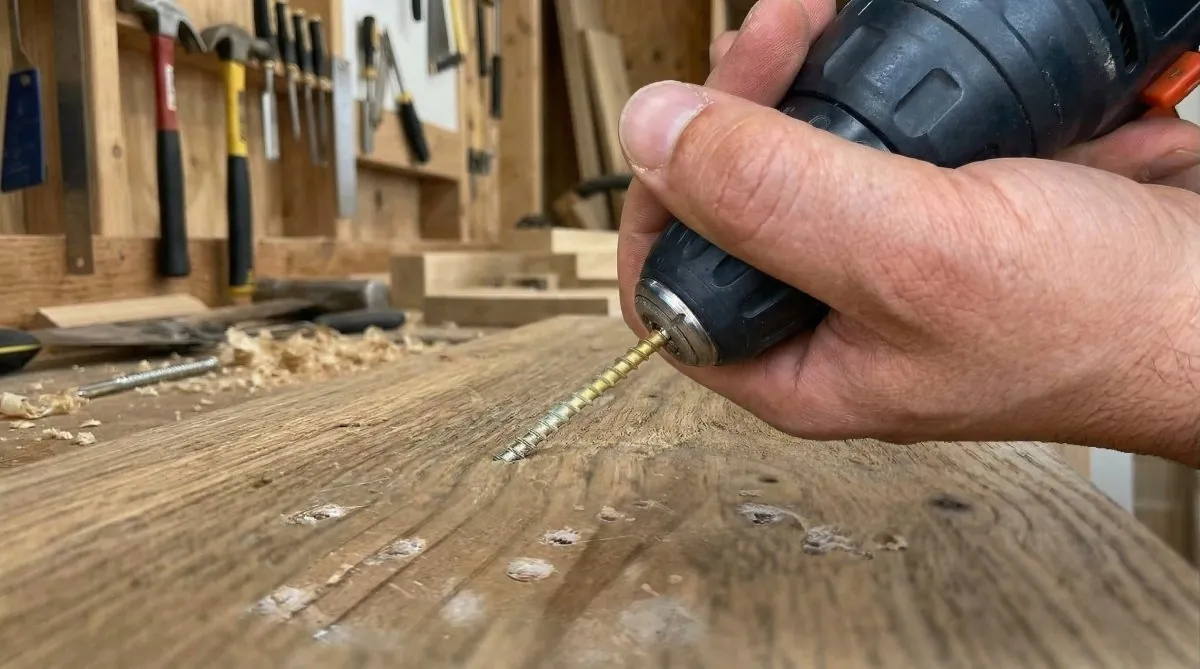
Stripped screws usually happen because the tool isn’t perfectly aligned with the fastener. When the electric screwdriver is held at an angle, the bit can’t grip the head fully. This causes the bit to jump out of the slot, known as cam-out, which quickly ruins the metal edges of the screw.
Another reason is using too much speed. High-speed rotation increases the likelihood of the bit slipping out of the screw head. If the torque setting on your drill is too high, the motor will continue to force the bit even after the screw has stopped moving. You can check your tool’s manual to see the recommended torque settings for different screw materials and sizes.
Match the bit to the screw
Always select a screwdriver bit that fits the screw head perfectly with no wiggle room. If you insert a Phillips bit and it rocks side to side, it’s the wrong size. A proper fit ensures the force is distributed across the entire surface of the screw slots rather than just the edges.
If you notice the bit slipping, stop immediately to avoid further damage. You should also verify that the bit type matches the screw, such as using a Pozidriv bit for Pozidriv screws, as these look similar to Phillips but have a different internal geometry. Proper tool maintenance is essential for safety; the Consumer Product Safety Commission provides detailed guidance on how to use power tools safely to avoid injury or equipment damage.
Adjust the tool torque settings
Modern electric screwdrivers have a clutch that limits how much force the motor applies. Set your tool to a low torque setting before you begin to drive the screw into the material. If the screw doesn’t go in all the way, increase the torque one step at a time until it sits flush.
This prevents the motor from spinning the bit inside the head once the screw is fully seated. If you’re working with soft wood, use a lower setting to prevent the screw from sinking too deep. For harder materials, you might need a higher setting, but always test the force on a scrap piece of wood first to ensure you don’t snap the screw or strip the head.
Apply steady and firm pressure
Hold the electric screwdriver firmly in line with the screw to ensure the bit stays deep in the slot. Lean your body weight into the handle to keep the bit from jumping out as the screw begins to turn. This isn’t for people who prefer to hold the tool loosely or at an angle, as this will almost certainly lead to a stripped head.
If you find that your hand is shaking or you can’t keep the tool straight, stop and reposition yourself. A mistake people often make is trying to save time by rushing the start of the drive. This costs them time later because they must use extraction tools to remove the damaged screw, which is much harder than driving it in correctly the first time.
Mistakes to avoid with screws
Using a worn or rounded bit tip is the most common cause of stripped screw heads. If the bit wobbles inside the recess, stop immediately and swap it for a fresh one. A new bit costs pennies, while a stripped screw often requires a destructive extraction process that ruins your finish.
Start your drill at the lowest speed setting to let the threads bite into the material cleanly. High speed at the onset increases the risk of the bit slipping out of the screw head.
Always maintain a perfectly perpendicular angle between the driver and the fastener. If you can’t keep the tool square, your bit will cam out and damage the surrounding wood.
When working with hardwoods like oak or maple, a pilot hole is mandatory. Without one, the screw acts as a wedge, causing the wood fibers to split instantly.
Best practices for driving screws
The way you handle the tool determines whether the screw stays intact or becomes damaged.
| If you’re doing this | Do this instead | Why |
|---|---|---|
| Using a loose bit | Use a tight-fitting bit | Prevents cam-out |
| High-speed driving | Low-speed driving | Improves control |
| Forcing the screw | Use a pilot hole | Reduces resistance |
| High torque setting | Low torque setting | Protects the head |
Related guides
- Best Screw Gun for Decking: Top Auto-Feed Tools for Fastening Efficiency
- The Best Electric Brad Nailer for Woodworking: An Expert’s Complete 2025 Guide
Frequently asked questions
How long should a screwdriver bit last?
A high-quality steel bit can last for hundreds of uses, but it depends entirely on how often you encounter hardened surfaces or use the wrong size. You should replace your bits as soon as you see the edges becoming rounded or showing signs of metal fatigue, as these will damage your screws.
Is it safe to use an impact driver on small screws?
No, it isn’t safe for small screws because the high-impact force can easily snap the screw head or strip the metal. Impact drivers are designed for large fasteners and heavy-duty construction, so use a standard drill-driver with a clutch for smaller jobs to maintain better control.
Why does my screw stop turning halfway in?
The screw has likely hit a dense knot or the pilot hole is too small for the shank. Stop the drill, back the screw out, and remove any debris from the hole before trying again with a slightly larger pilot hole to reduce the friction.
What happens if I strip a screw head?
Once the head is stripped, the bit no longer has a surface to grip, making it impossible to drive or remove the screw normally. You’ll need to use specialized screw extraction pliers or a manual extraction kit to remove the damaged fastener from your project material.
How do I know if the torque is too high?
You know the torque is too high if you hear the drill motor straining or if the bit slips out of the screw head at the end of the drive. Always adjust the clutch to a lower number on the dial until the screw stops exactly where you want it.
Can I fix a stripped screw with tape?
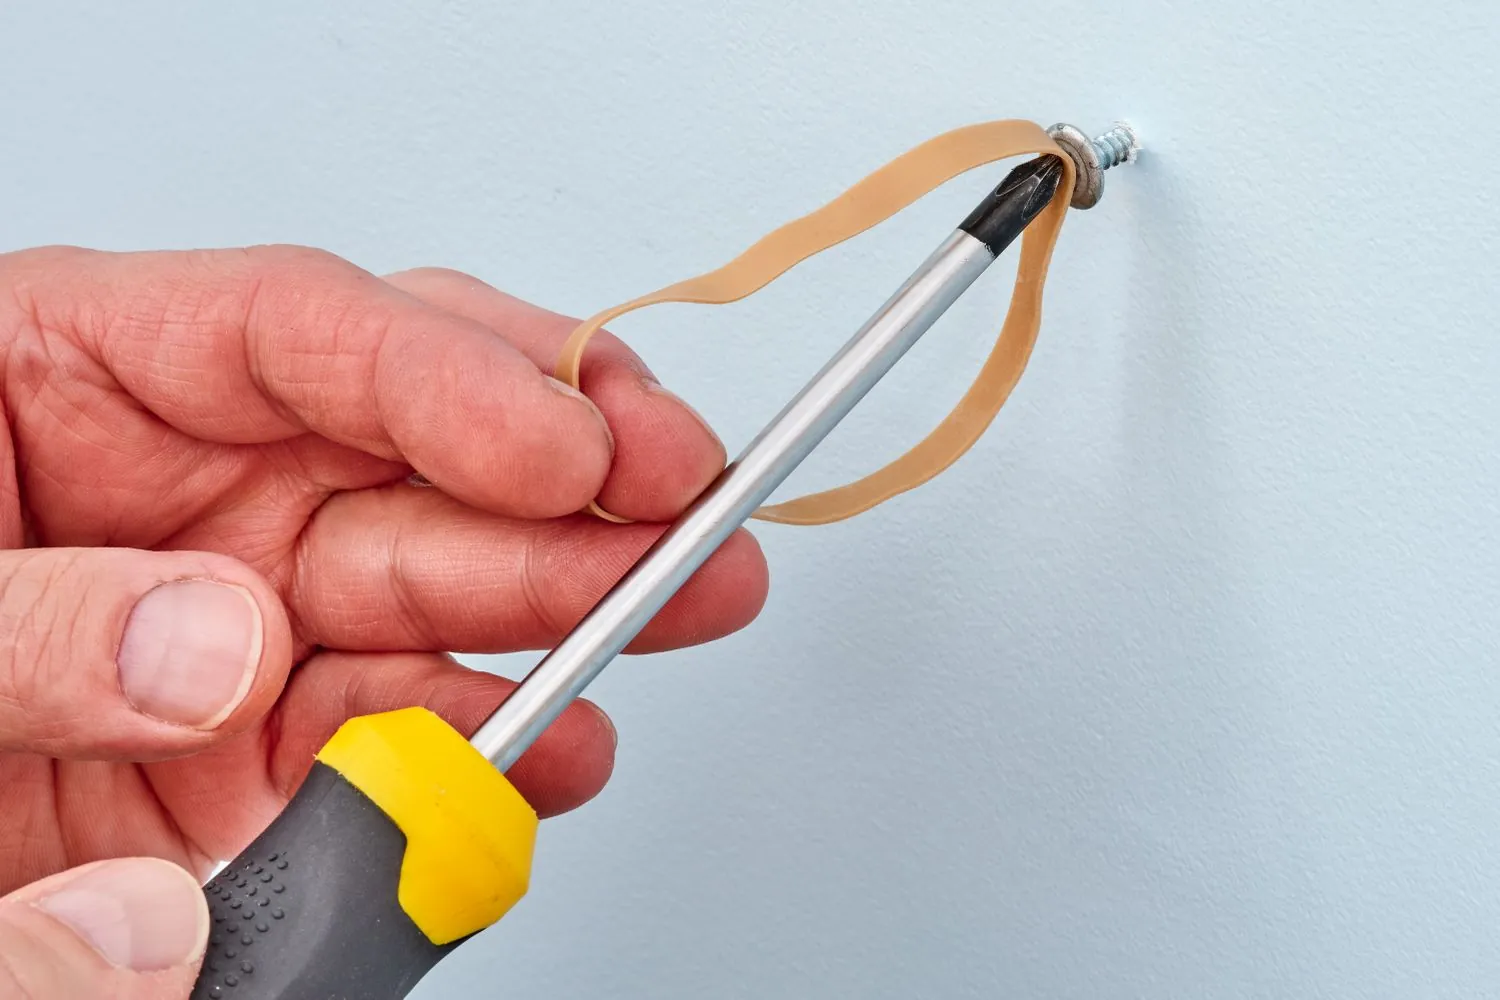
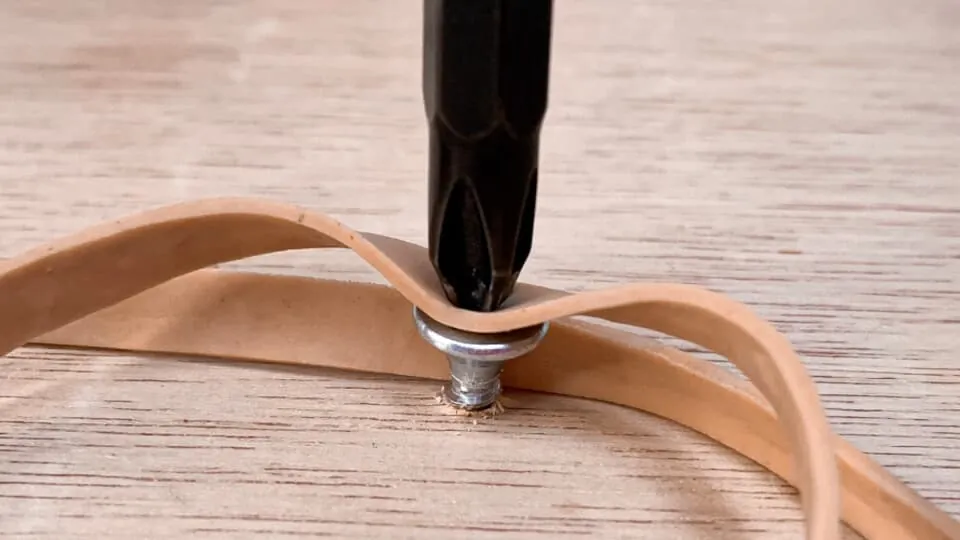
Yes, you can sometimes use a small piece of thin rubber or duct tape over the screw head to provide extra grip for the bit. This is a temporary solution for removal, but it won’t work for driving a screw into a tight or hard material.
Conclusion
Always keep your workspace well-lit so you can see the alignment of your bit and screw. If the screw starts to wobble, stop the motor and check your angle immediately. Taking these small precautions will save your materials and keep your tools in working order for years to come.