
Electric Screwdriver Not Charging? Causes and Fixes to Try
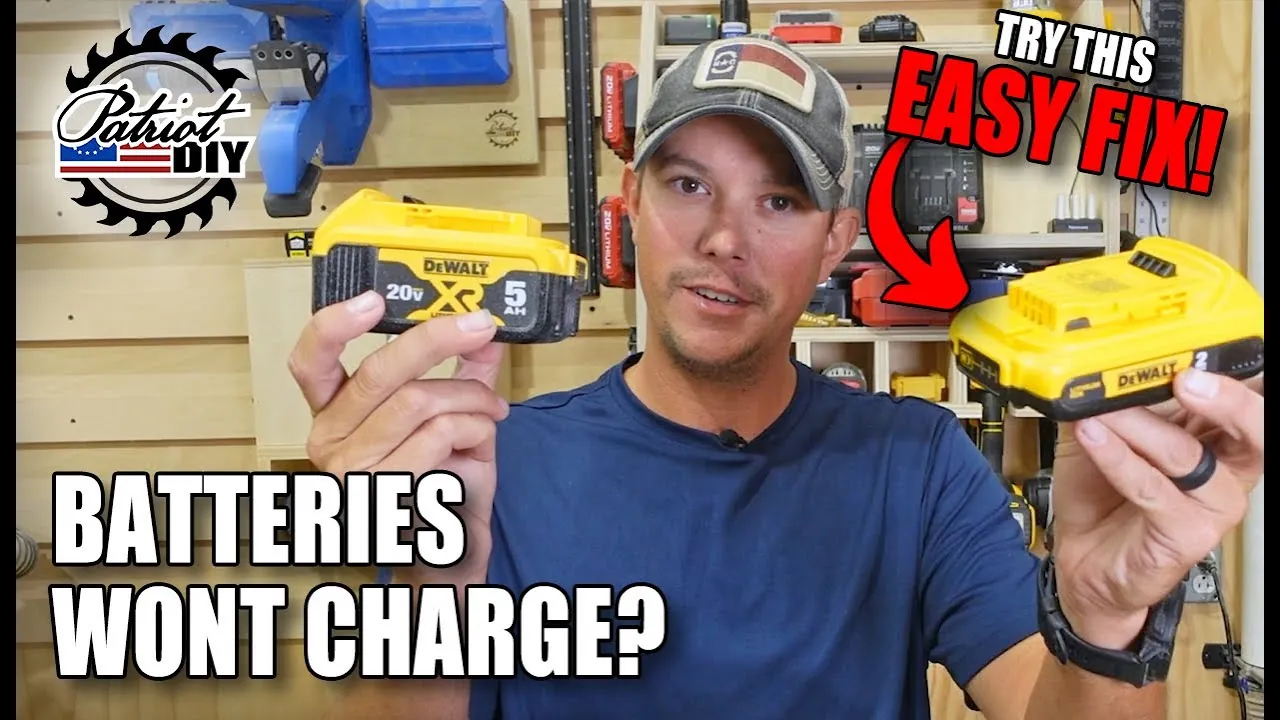
A loose connection between the charger and the power outlet or a dead battery cell is the most common reason you have an electric screwdriver not charging? Causes and fixes to try. You can usually confirm this by checking for a solid light on the charger base. If the light stays off, the power path is broken.
Why your electric screwdriver isn’t charging
| Cause | How common | How to confirm it | Fix it yourself? |
|---|---|---|---|
| Loose power connection | Very common | Check for wall outlet power | Yes |
| Damaged charging cable | Common | Inspect wire for cuts | Yes |
| Dead internal battery | Common | Check for charging indicator | Yes with care |
| Dirty metal contacts | Occasional | Look for dust or rust | Yes |
| Failed power adapter | Occasional | Use a different compatible plug | Yes |
| Internal circuit fault | Rare | No lights during test | No |
Checking the power source and cable
A faulty wall connection is the first thing to inspect when your tool fails to charge. Often, the issue isn’t the tool itself but a tripped breaker or a loose plug in the wall socket. Verify the outlet works by plugging in a lamp or another device you know is functional.
Inspect the charging cable for any physical damage like fraying, cuts, or crushed sections. If you see exposed wires, stop using the cable immediately to prevent fire or shock hazards. The Consumer Product Safety Commission provides guidance on identifying damaged cords that pose a fire risk. If the cable looks intact, wiggle the connection at the tool port. If a charging light flickers when you move the cable, the internal port or the cable connector is likely worn out.
Cleaning the metal charging contacts
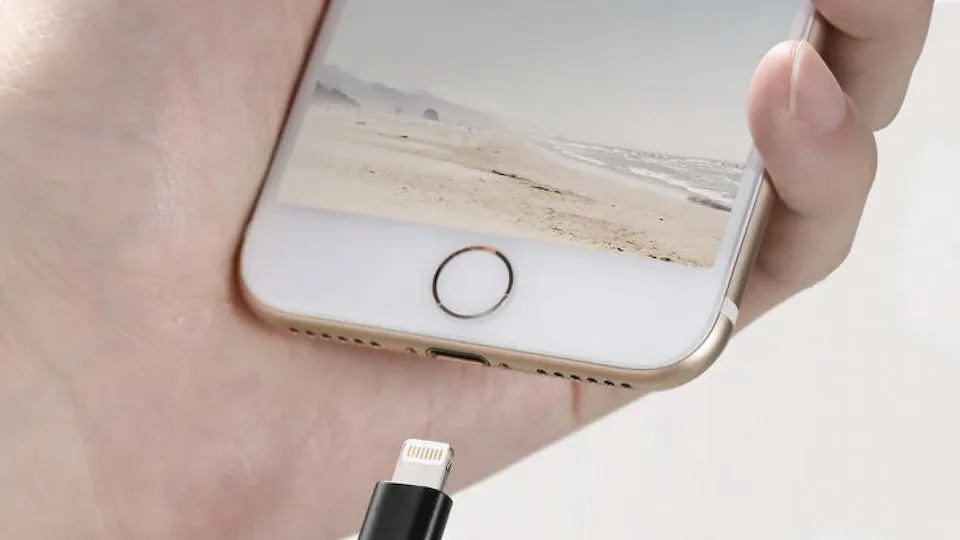
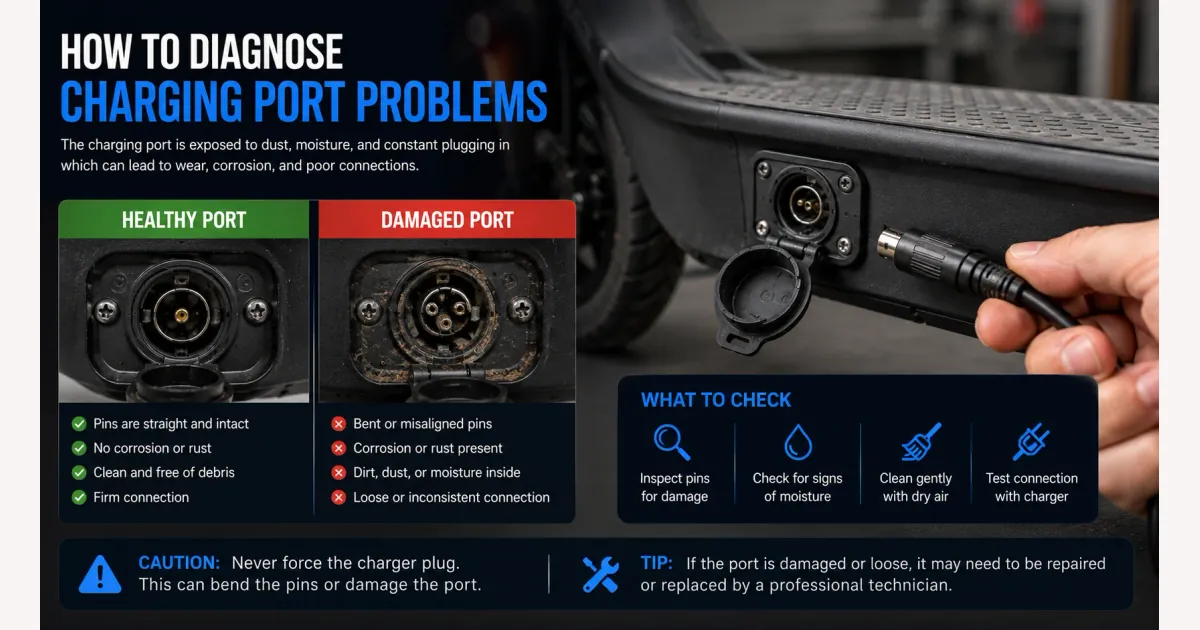
Dirty or oxidized metal contacts often prevent the charger from sending power to the battery. Over time, dust, debris, or moisture can create a thin layer that blocks the electrical signal between the charger and the screwdriver. This is a common issue if you store your tools in a dusty garage or shed.
To check this, look at the metal contact points on both the tool and the charger. If you see dark spots or a powdery white film, you need to clean them. Use a dry, soft cloth or a clean pencil eraser to gently rub the metal surfaces until they look shiny again.
Never use liquid cleaners or water, as moisture can cause short circuits inside the housing. If the tool still refuses to charge after you clean the contacts, the failure might be inside the battery pack itself.
Evaluating battery pack health
Internal battery cells eventually lose their ability to hold a charge after hundreds of cycles. If the charger light turns on but the tool never gains power, the chemistry inside the battery has likely degraded. This happens faster if the tool has been left in extreme heat or cold for long periods of time.
You can tell if the battery is the problem by comparing the charge time to the manufacturer’s manual. If the manual says the tool should charge in three hours, but it stays on the charger for twelve hours without working, the cells are likely failing.
If the battery is removable, look for signs of swelling or leaking, which are clear indicators that the pack is at the end of its life. If the battery is built into the handle, you can’t safely replace it yourself without risking damage to the casing.
Other rare causes
Tripped safety breakers often occur after a power spike. If your charger remains unresponsive, unplug it from the wall for exactly ten minutes to allow the internal fuse to reset.
Using an adapter from a different tool brand is a common mistake that costs you the entire unit. Even if the plug fits, the voltage mismatch can permanently fry the battery cells. Always match the voltage and amperage ratings printed on the charger housing to those on your battery pack.
Lithium-ion batteries contain safety sensors that block charging below 32°F or above 113°F. If you have been working in a cold garage, move the battery to a room-temperature environment for an hour before attempting to charge.
If you smell burning or hear a buzzing sound, the circuit board is damaged. Stop using the unit immediately to avoid a fire hazard.
What a professional repair involves
Fixing an electric screwdriver usually involves simple tasks like cleaning contacts or replacing a power cable. These repairs take only a few minutes and require no special skills. If the battery or internal board is the issue, you must decide if the cost of a replacement part is worth it.
For many budget-friendly models, a new battery pack can cost nearly as much as a brand-new tool. Check the manufacturer’s website for specific part numbers before ordering replacements to ensure compatibility. If the repair requires opening the tool housing, consult a technician, as household tools often contain small springs and tensioned parts that are difficult to reassemble correctly.
Related guides
- Corded Drill Chuck Slipping? Causes, Checks and Easy Fixes
- Why Does My Cordless Drill Battery Die So Fast: Causes and Fixes
- The Best Electric Brad Nailer for Woodworking: An Expert’s Complete 2025 Guide
Frequently asked questions
How long does a battery take to charge?
Most electric screwdrivers take between three and five hours for a full charge, assuming you use the original charger provided by the manufacturer. If your model uses a high-speed charging system, the time may drop to one hour, but this varies based on the battery capacity listed in your manual.
Is it safe to leave the screwdriver on the charger?
It’s generally not safe to leave the tool on the charger indefinitely unless the manufacturer specifically states the charger is “smart” and stops power flow. Leaving standard chargers plugged in can lead to battery overheating, which shortens the lifespan of the chemical cells inside the pack.
Can I use a different charger?
You should only use the charger that came with the tool, as using a different one can cause a fire or damage the battery. Chargers are designed with specific voltage and amperage outputs; using a mismatched one risks pushing too much power into the battery, which can cause it to fail or swell.
Why is the light blinking red?
A blinking red light usually indicates a communication error between the charger and the battery, often caused by a temperature fault or a connection issue. Try unplugging the charger from the wall and the tool to reset the connection before you attempt to charge it again.
Does it matter if I use an extension cord?
It doesn’t matter for the tool’s health, but you must use an extension cord rated for the power draw of your charger. If the cord is too thin or damaged, it can cause a voltage drop, which prevents the charger from reaching the necessary power levels to trigger the charging cycle.
What happens if I drop the screwdriver?
Dropping the tool can break the internal connections between the battery and the charging port, even if the outer shell looks fine. If the tool stopped charging immediately after a fall, the internal wiring has likely snapped, which is a repair that requires professional tools to fix safely.
Conclusion
If these simple checks don’t bring your tool back to life, it’s likely time to contact the manufacturer or visit a local repair shop. Don’t let a faulty battery stop your project for too long. Getting a professional opinion will help you decide if it’s worth fixing or if you’re due for an upgrade.

One Comment