
How to Cut Clean Mortises with a Plunge Router: Expert Guide
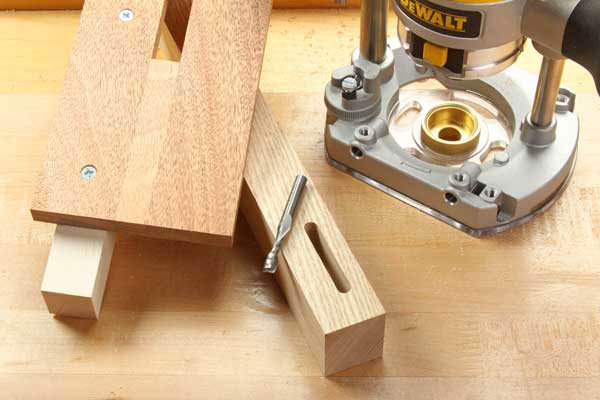
You can create clean mortises with a plunge router by using a sharp up-cut spiral bit and a simple shop-made wooden jig to guide your cuts. Most projects require about 15 to 20 minutes of setup time to ensure the depth and width are perfect for your specific tenon. This method is ideal for woodworkers who need repeatable, professional-grade joints without the high cost of a dedicated hollow-chisel mortiser.
Gathering your plunge router and mortise tools
To achieve consistent results, you must have the right gear organized and ready before you start cutting. Using the wrong bit or an unstable guide will lead to ragged edges and loose joints.
A mid-sized plunge router with a 2-1/4 horsepower motor is the baseline for most hardwoods. If you’re working with dense exotics like Ipe or hard maple, step up to a 3-1/4 horsepower model to prevent the motor from bogging down. A bogged motor causes chatter, which ruins the clean finish of your mortise walls.
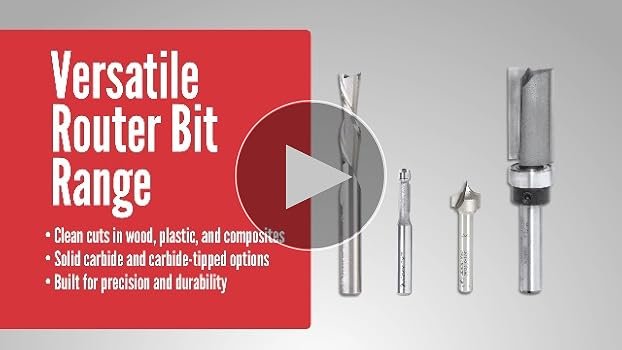
Choose a solid carbide up-cut spiral bit with a diameter that matches your desired mortise width. If you force a 1/4-inch bit to cut a 3/8-inch mortise by making multiple passes, you’ll inevitably create uneven shoulders. Always match the bit diameter exactly to the mortise width to ensure the router guide remains centered.
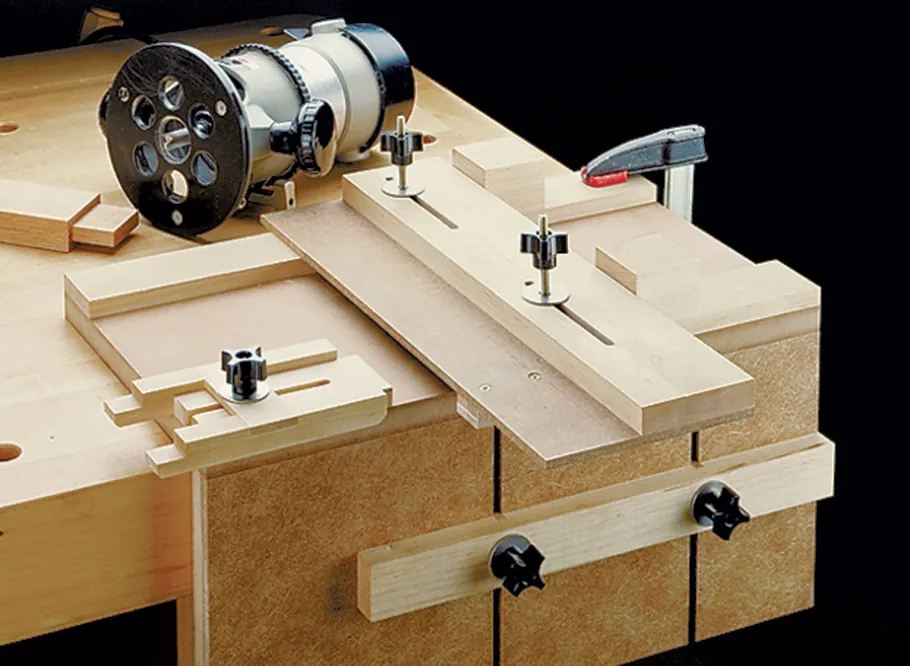
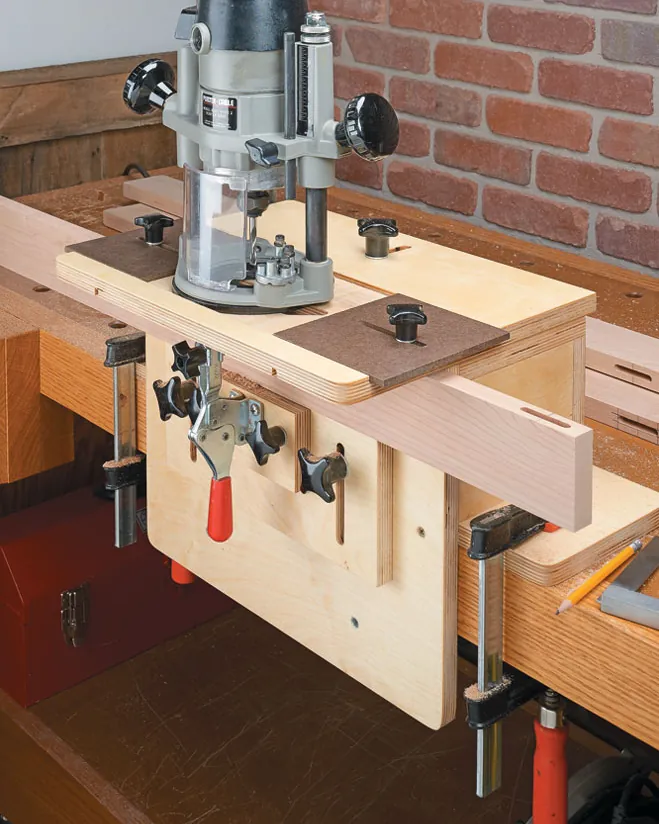
Use 3/4-inch thick MDF or plywood to build a sturdy, adjustable fence. Avoid thinner materials, as they flex under the pressure of the router base, leading to tapered mortises. Secure your workpiece and jig to the bench using at least two heavy-duty F-style clamps. If the jig shifts by even a fraction of a millimeter, your joint will fail to close.
Use a digital caliper to check the exact width of your tenon stock. Wood thickness varies by batch, and relying on the nominal size printed at the lumber yard is a common mistake that leads to sloppy, rattling joints.
Eye protection and earplugs are mandatory to prevent injury. If you’re using a shop vacuum for dust collection, ensure the hose is long enough to move freely without snagging on the jig. A snagged hose mid-cut is the primary cause of deep gouges in the workpiece. When in doubt, perform a test cut on scrap material of the exact same species to verify your depth settings.
Steps for Routing Mortises
- Measure the thickness of your tenon stock exactly using your calipers and record the number.
- Build a simple jig by attaching two parallel rails to a baseboard, spaced to hold your workpiece firmly in place.
- Install the spiral bit into the router collet, ensuring at least 3/4 of the shank is inside the collet for safety.
- Set your plunge depth to roughly 1/4 inch for the first pass, as trying to cut the full depth at once can burn the wood.
- Position the router against your jig and start the motor before lowering the bit into the wood.
- Move the router slowly across the length of the mortise, keeping steady pressure against the guide rail.
- Repeat the process, lowering the bit by 1/4 inch each time until you reach the final depth.
- Clean the corners of the mortise with a sharp chisel to make them perfectly square.
Tip: Always move the router from left to right to ensure the cutting force pushes the tool against the fence. Careful: Never force the router forward if you hear the motor pitch change, as this indicates the bit is overheating and needs a shallower cut.
Adjustments for Different Projects
The time and effort required to route a mortise change based on the hardness of the wood and the total depth of the joint. Starting with a shallow test cut on a piece of scrap wood is always the best way to verify your setup.
| Situation | Time Required | Effort Level | Watch For |
|---|---|---|---|
| Softwood, shallow | 5 minutes | Low | Tear-out on edges |
| Hardwood, deep | 15 minutes | High | Bit heat buildup |
| Narrow mortise | 10 minutes | Medium | Bit snapping risk |
| Wide mortise | 12 minutes | Medium | Uneven wall thickness |
These woods can gum up the flutes of your router bit, leading to friction burns that ruin the glue bond later.
When routing deep mortises, never exceed a depth of 1/4 inch per pass. If the router motor begins to labor or the bit chatters, you’re taking too much material at once. Back off immediately to prevent the bit from wandering off the layout line.
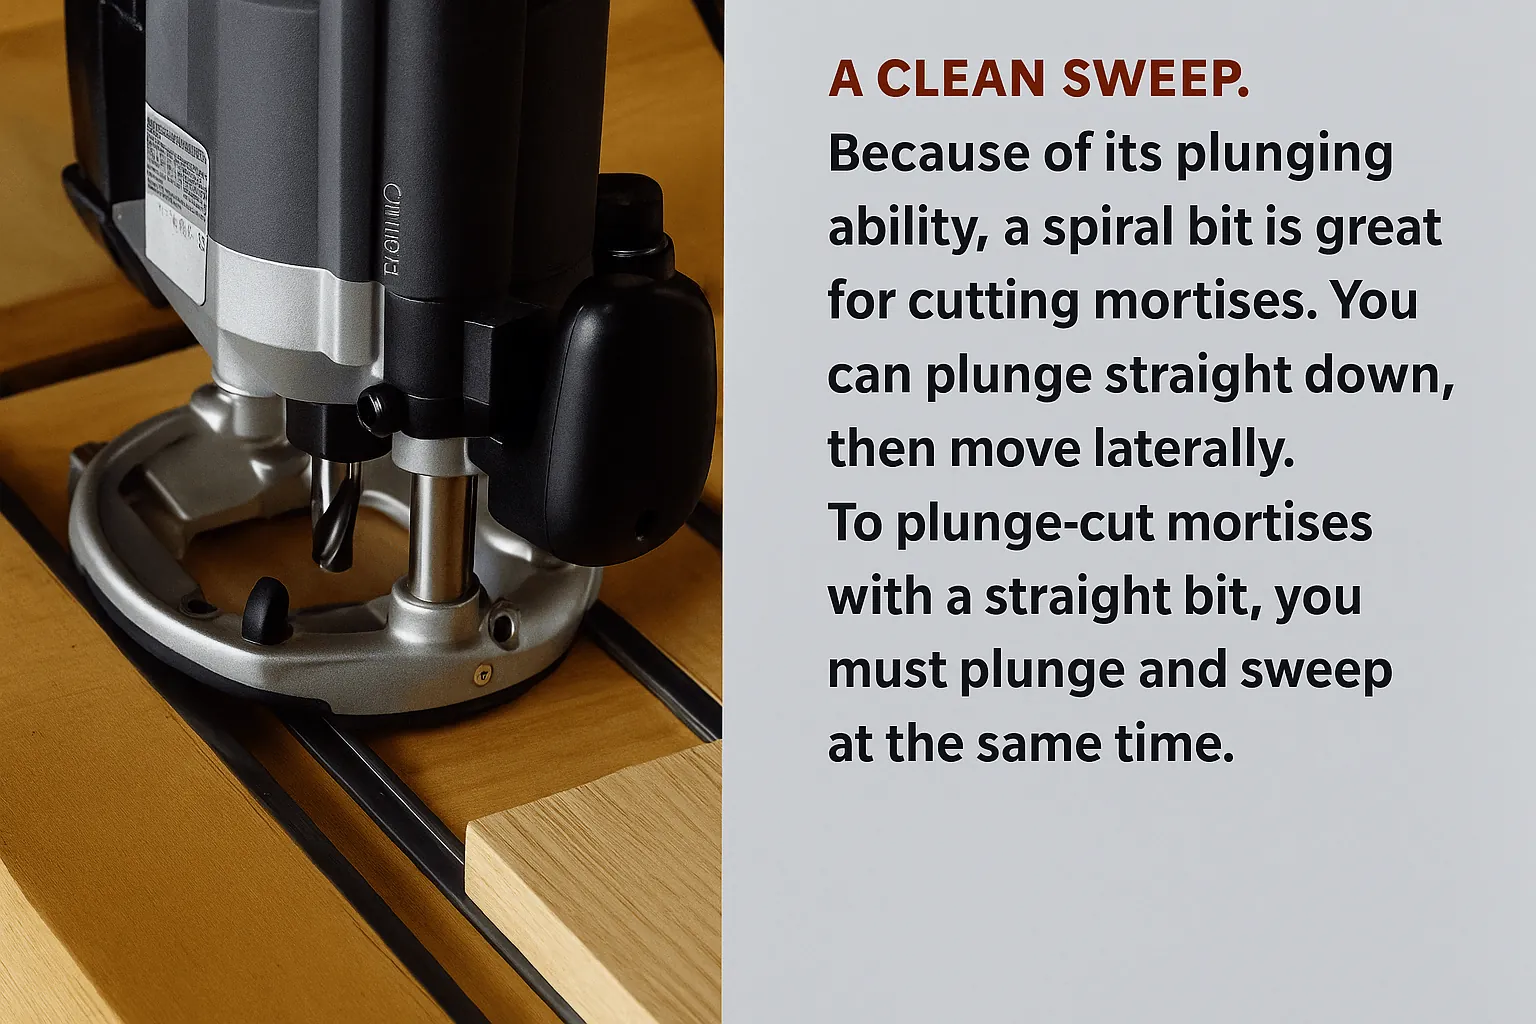
For narrow mortises, use a spiral up-cut bit to clear chips effectively. If you use a standard straight bit, the trapped dust will pack into the bottom of the hole and push the bit off course.
Always test your setup on a scrap piece of the exact same species. If the test cut feels jerky, your bit is likely dull. A dull bit requires more force, which increases the likelihood of a kickback or a ruined workpiece.
Judging Your Results
A clean mortise should have smooth, vertical walls and a consistent width from top to bottom. If you see charred wood or burn marks, your feed rate was likely too slow or your bit is dull. The most common mistake is trying to cut too deep in one pass, which causes the bit to wander and ruins the precision of the joint.
Limit your depth of cut to no more than half the diameter of your bit per pass. If you’re using a 1/2-inch bit, never exceed a 1/4-inch depth. This prevents the bit from deflecting under load, which is the primary cause of tapered or oversized mortises.
To prevent these issues, ensure your router base is perfectly flat against the jig at all times. If you feel the router vibrating, stop immediately and check that all knobs and clamps are tightened. Regularly clearing away wood chips with a vacuum also helps, as trapped dust can cause the bit to climb or burn the surface.
If the walls look fuzzy, your spindle speed is likely too high for the wood species you’re cutting. Reduce the RPM by one setting and perform a test cut on scrap material of the same density. Always prioritize a light final pass over forcing the tool, as the cost of a ruined workpiece far outweighs the extra sixty seconds required for a clean-up cut.
Safety Standards and Maintenance
Always follow the manufacturer’s guidelines for your specific router model to ensure it remains in safe working order. After finishing your mortises, unplug the tool and remove the bit to prevent accidental engagement. Clean any resin or dust from the collet with a soft brush to ensure the bit remains secure for your next task.
A buildup of pitch inside the collet prevents the sleeve from compressing evenly. If you notice the bit slipping or vibrating during a cut, stop immediately and inspect the collet for a dark, gummy residue. A quick wipe with a solvent-dampened rag restores the friction required to hold the shank firmly in place.
The result of your work should last for the life of the furniture piece, provided the joint was glued properly with a high-quality wood adhesive. Dull edges generate excessive heat, which burns the wood fibers and weakens the structural integrity of the joint.
If you lack the proper equipment or feel uncomfortable with the process, consult a professional carpenter to assist with the setup. Many beginners mistake the sound of a dull bit for a struggling motor. If the wood begins to smoke or turn black, stop the feed rate and check your bit’s edge. Continuing to push through the resistance risks a kickback, which can shatter the wood or cause the router to jump from the workpiece.
Alternative Methods
Using a Drill Press
A drill press can hog out most of the waste material before you clean up the edges with a chisel. This is often faster for deep mortises but requires more manual cleanup time.
Hand Tool Mortising
Using a mortise chisel and mallet is the traditional way to create these joints. It’s much quieter and requires no electricity, but it takes significantly more time and physical skill to master.
Floating Tenons
Using a specialized tool like a Domino joiner simplifies the process by cutting the mortise and using a loose tenon. This is much faster but requires a significant investment in a dedicated power tool.
Related guides
- How to Use a Circular Saw: Setup, Straight Cuts, and Safety
- How to Drill Clean Holes in Wood With a Corded Drill: Pro Tips
- Plunge Router vs Fixed-Base Router: Which One to Choose
Frequently asked questions
Can I use a regular straight bit for mortising?
Yes, you can use a straight bit, but it won’t clear wood chips as efficiently as a spiral bit. You’ll need to take shallower passes and clear the chips manually with a vacuum to prevent burning the wood.
How long does a router bit last?
A high-quality carbide bit typically lasts for several hundred linear feet of cutting before needing professional sharpening. You’ll know it’s dull when the router requires more force to push through the wood or the edges start to look fuzzy.
Is it safe to cut a mortise in one pass?
No, it isn’t safe or effective to cut a mortise in one pass. You should always limit your depth to 1/4 inch per pass to prevent the motor from stalling and to keep the cut clean and accurate.
What happens if the mortise is too wide?
If your mortise is too wide, the tenon will be loose and the joint will lack structural integrity. You’ll need to either make a thicker tenon to compensate or use a shim of thin veneer to fill the gap.
How do I stop the router from vibrating?
Vibration usually happens if the bit isn’t seated correctly or the router base isn’t flat on the jig. Check that your collet is tight and that your jig surface is perfectly level before you start the router.
How much does a good router bit cost?
A professional-grade carbide spiral bit is inexpensive relative to the alternative depending on the diameter and length. Check the manufacturer’s website for the specific bit geometry recommended for your router’s collet size.
Conclusion
Your mortise joints will be strong and reliable when you take your time to align the jig correctly and use sharp, high-quality cutting tools. Always test your settings on scrap wood before moving to your final project pieces to ensure your fit is perfect.


One Comment