Best Trim Router for Beginners: What to Look For
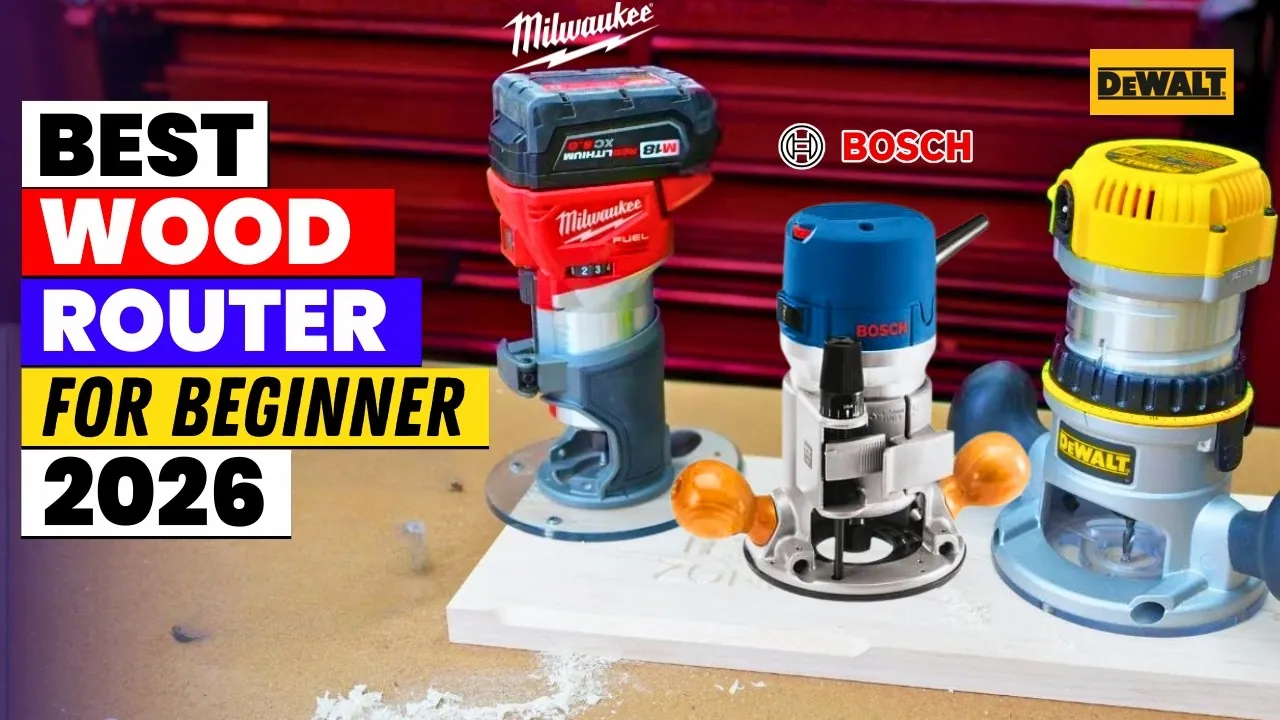
A compact 1.25-horsepower model with a fixed base is the best trim router for beginners to learn with because it offers manageable power and simple depth control. This tool is ideal for edge profiling and light joinery. This guide covers how to select a machine based on your project needs, how to operate it safely, and how to maintain the motor for long-term use.
What beginners should look for in trim routers
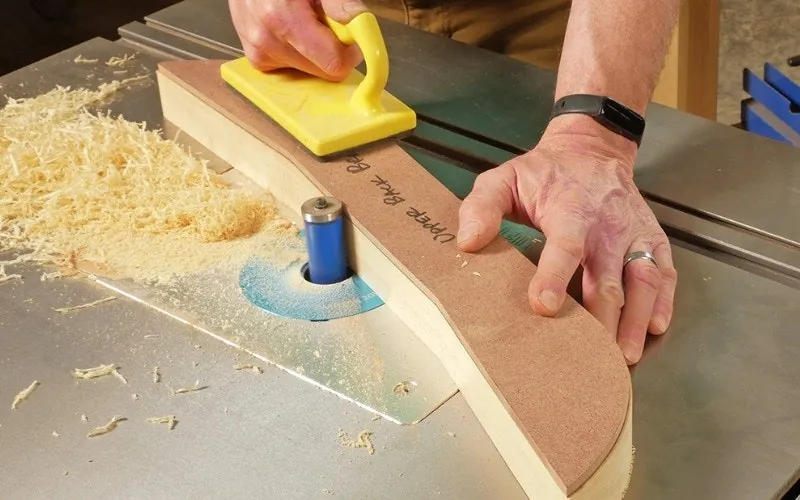
A trim router is a small, handheld power tool designed for light-duty woodworking tasks. Unlike large plunge routers that weigh over 10 pounds, these tools weigh about 3 to 5 pounds, making them much easier to handle when you’re starting out. They’re perfect for rounding over edges, cutting small decorative profiles, or trimming laminate veneer.
Many people think they need a heavy-duty machine for every task, but that’s a common mistake. Buying a tool that’s too heavy makes it harder to stay in control during long sessions. For most small home projects, a trim router provides enough power to get the job done without exhausting your hands. Remember that these tools aren’t intended for deep cuts into hardwood; they work best when you make several light passes instead of one heavy one.
How to Operate Your Tool Safely
- Unplug the router before you change any bits to prevent the motor from starting by accident.
- Select a sharp, carbide-tipped bit for your task; a dull bit pulls at the wood and forces you to push too hard.
- Tighten the collet nut securely using the provided wrenches, but avoid over-tightening as this can strip the threads.
- Set your depth of cut on a scrap piece of wood first to ensure the profile is exactly what you want.
- Hold the router with both hands, keeping a firm grip on the base and the handle while you move it along the edge.
- Feed the router into the wood in the direction that opposes the bit’s rotation (climb cutting is dangerous; always feed so the bit’s cutting edge bites into the wood against the direction of travel).
If the wood starts to burn or the motor slows down, you’re pushing too fast; stop and adjust your speed or take a shallower cut.
Essential Settings and Comparisons
| Situation | What to use | How long | What to watch for |
|---|---|---|---|
| Softwood edges | Round-over bit | 1-2 passes | Grain tear-out |
| Hardwood edges | Round-over bit | 3-4 passes | Burning marks |
| Laminate trimming | Flush-trim bit | 1 pass | Heat buildup |
| Inlay work | Straight bit | 2 passes | Depth consistency |
| Decorative grooves | V-groove bit | 2 passes | Tool vibration |
When you use the router, the feed rate is the most critical setting. If the motor sounds like it’s struggling, slow down your movement. If the wood shows black burn marks, you’re moving too slowly; increase your feed rate. Always test your settings on a scrap piece of the same wood species before you touch your final project.
Mastering Control and Precision
Experienced woodworkers always prepare their workspace by clamping the workpiece down firmly to a stable bench. If the wood moves while you’re routing, the bit will gouge the edge, which is difficult to fix. They also prioritize the order of operations, starting with the end grain and finishing with the long edges to minimize tear-out at the corners.
Partway through your project, stop and clear the sawdust away from the base. A buildup of chips can hide your view of the bit and make the router sit unevenly, which ruins the depth of your cut. If you feel the tool pulling away from your hands, stop immediately and check if your bit is still sharp. It’s better to make four light passes than to force the tool through the material in one go.
Fixing Common Routing Issues
| What you notice | What it usually means | What to do first |
|---|---|---|
| Chatter marks | Moving too fast | Slow down feed rate |
| Burn marks | Moving too slow | Increase feed rate |
| Uneven depth | Loose base locking | Tighten depth adjustment |
| Motor getting hot | Dull bit | Replace the bit |
If you encounter issues that persist after these checks, look for debris inside the collet or a bent bit shank. If the motor makes a grinding noise or smells like burning plastic, stop using it immediately and contact the manufacturer for a professional inspection. Don’t attempt to open the motor housing yourself, as this often voids your warranty.
Safety Rules and Regulations
Always wear eye protection whenever you use a power router, as the tool throws chips at high speeds. According to the Occupational Safety and Health Administration, you must use proper personal protective equipment to prevent injuries from flying debris. If you’re working in a dusty environment, wearing a respirator is also recommended to keep your lungs clear.
If you’re new to power tools, consider taking a local workshop or class to learn how to handle the machine. Professional guidance helps you avoid common mistakes that lead to damaged wood or personal injury. If you have any doubt about the structural integrity of your tool or the wiring in your home, consult a licensed electrician or a qualified tool repair technician.
Long-term Care for Your Router
Keep your router in a dry place to prevent the metal parts from rusting. After each use, blow out the sawdust from the motor vents using compressed air to ensure the tool stays cool. You should check the brushes inside the motor every 100 hours of use, or whenever the motor performance drops. If the brushes are worn down, replace them with the exact size recommended by the maker.
If you notice the collet sticking, apply a tiny amount of dry lubricant to the threads. Never use oil, as it attracts dust and turns into a sticky paste that ruins the precision of the tool. When you aren’t using the router, store it with the bit removed to keep the collet in good shape.
Choosing the Right Alternative
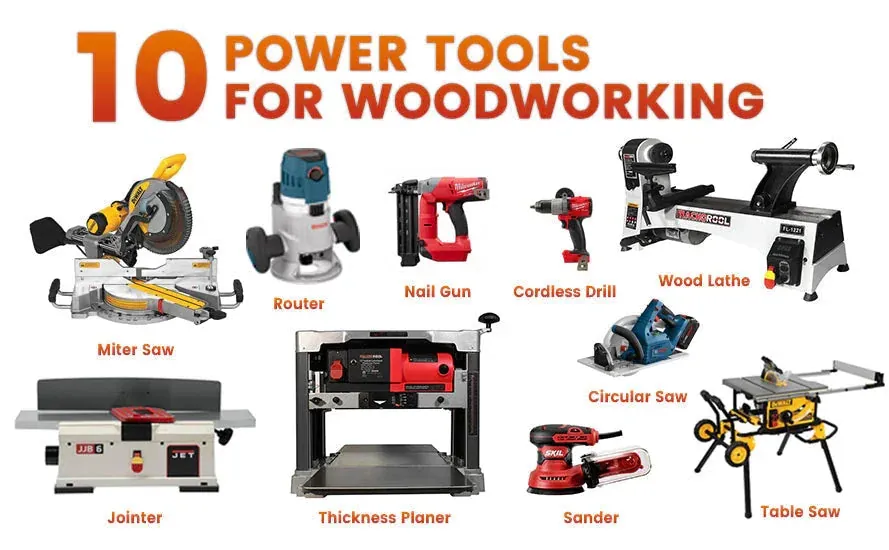
If you need to make large cuts or work with thick slabs, a trim router is the wrong choice. Use a full-size plunge router instead, as it offers the power required for deep mortises and heavy stock removal. If you’re mostly doing stationary work, a router table setup is better than a handheld trim router for safety and accuracy. A trim router is for light edges only; don’t force it to do the work of a professional-grade shop machine.
Related guides
Frequently asked questions
Can I use a trim router for cutting hinges?
Yes, you can use a trim router for hinges if you use a template to guide the bit. Ensure the bit diameter matches the hinge width and take shallow passes to reach the required depth for a clean fit.
How long should a router bit last?
A high-quality carbide bit lasts for several hundred feet of cutting in softwoods before needing a sharpening. You’ll know it’s time to replace or sharpen it when the edges of your wood start to show fuzzy or burnt marks.
Is it safe to use a trim router one-handed?
No, it’s never safe to operate a router with one hand. Always keep both hands on the tool to maintain full control and prevent the router from jumping or slipping off the edge of your workpiece.
What happens if I move the router too fast?
You’ll get chatter marks, which are uneven ripples on the surface of the wood. Slowing down your movement allows the bit to cut cleaner and results in a much smoother finish that requires less sanding later on.
How do I stop the wood from burning?
You stop burning by increasing your feed rate or taking a shallower cut. Burning happens when the bit spins in one spot for too long, creating friction heat that scorches the wood fibers rather than cutting them cleanly.
How often should I clean the collet?
You should clean the collet every time you change bits to remove dust buildup. A clean collet ensures the bit is held perfectly straight, which reduces vibration and makes the tool much safer and more accurate to use.
Conclusion
Always remember that your router is a high-speed tool that demands your full attention. By keeping your bits sharp and your movements steady, you’ll get great results while staying safe in your workshop. Practice on scrap wood until you feel confident with the balance of the machine before you start your real projects.