How to Use a Plunge Router Edge Guide for Precise Straight Cuts
Using a plunge router edge guide allows woodworkers to create consistent, parallel cuts along the edge of a workpiece by maintaining a fixed distance between the router bit and the reference surface. This tool is essential for tasks like cutting grooves, dadoes, or decorative profiles that must remain perfectly straight over the entire length of a board. By locking the guide arms into the router’s base, you transform a handheld tool into a precision machine capable of repeatable, high-quality results.
Key Takeaways
- Always ensure your edge guide arms are parallel to prevent the router from binding or wandering during the cut.
- Perform a test cut on scrap material to verify your offset distance before committing to your final workpiece.
- Use a sacrificial fence or sub-base if your edge guide prevents full contact with the board edge.
- Maintain a steady feed rate to prevent heat buildup and burning, which can ruin the finish of your project.
- Double-check that all locking knobs on the guide and the router base are tightened securely before powering on.
How to use a plunge router edge guide for straight, repeatable cuts
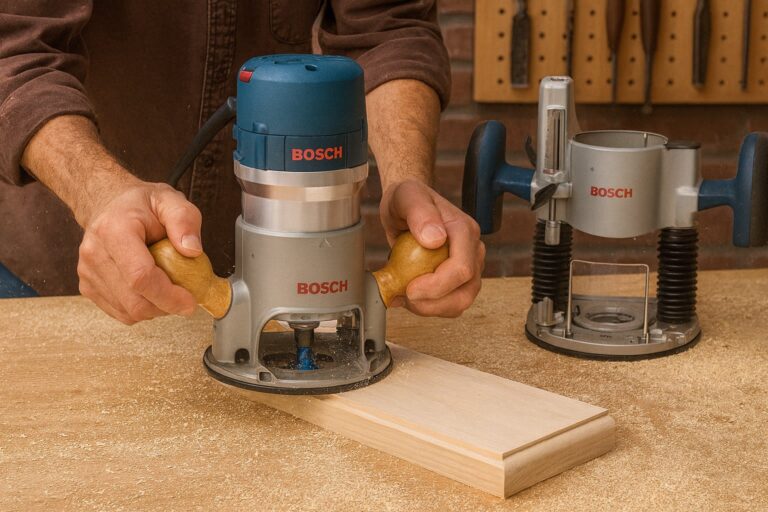
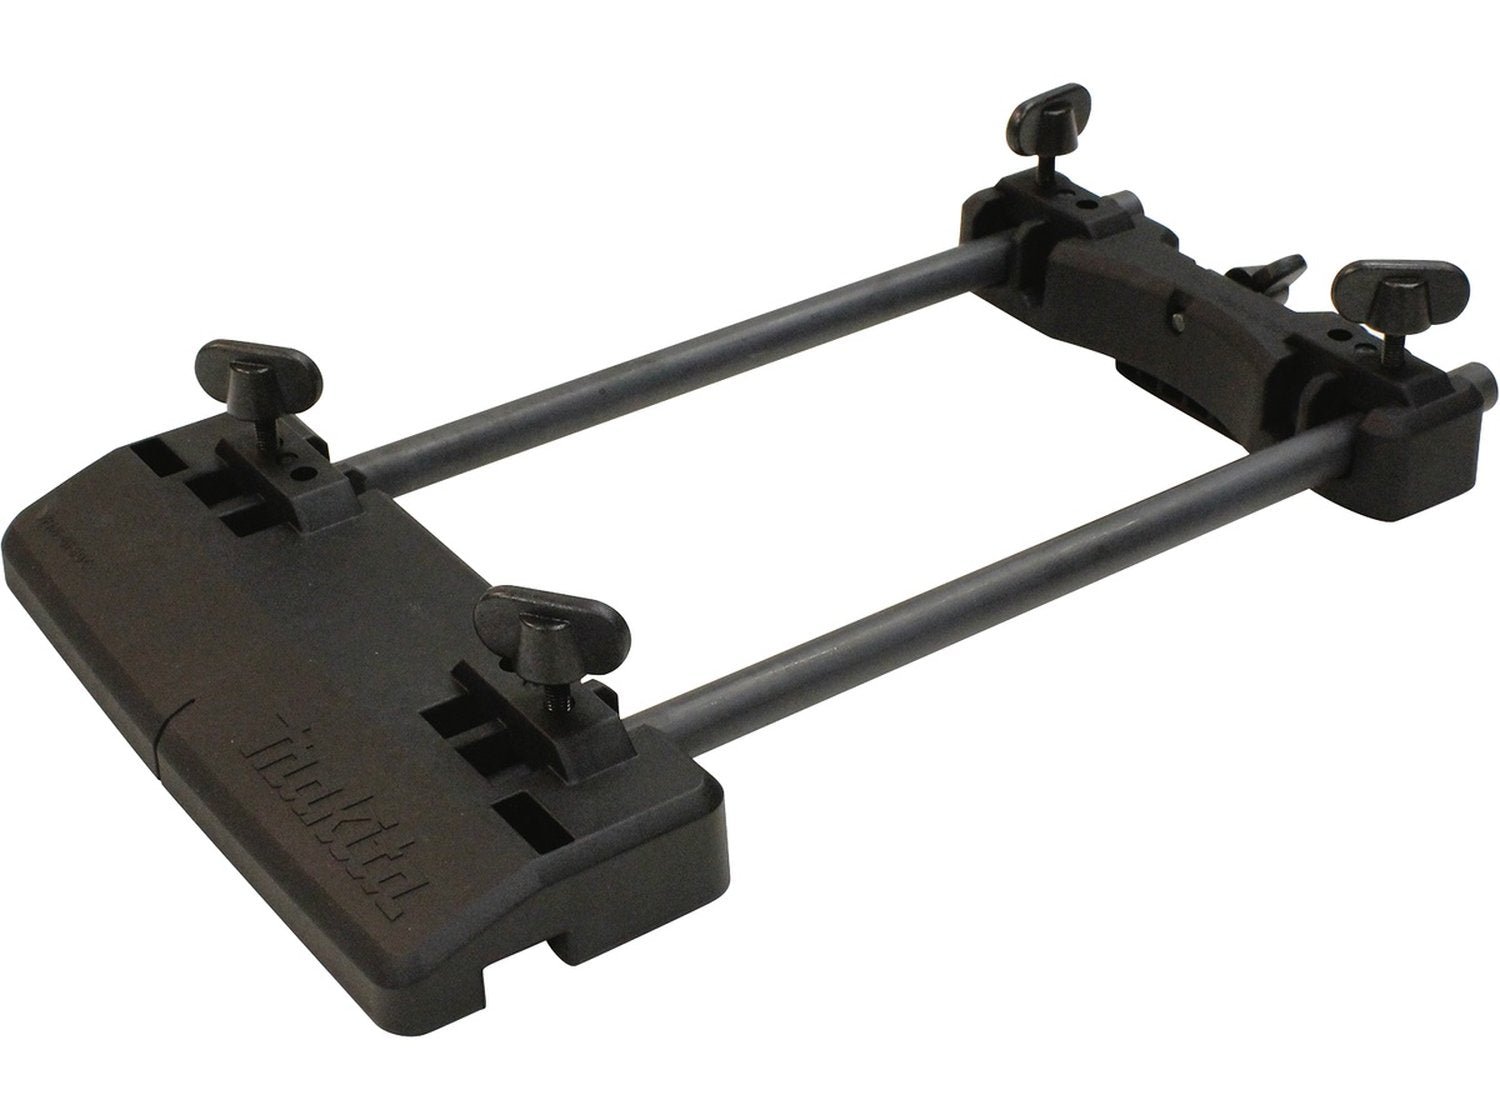
To achieve professional results, you must first attach the guide to your router base. Most modern routers feature two parallel holes in the base plate designed specifically for the steel rods of an edge guide. Slide the rods through these holes and tighten the locking knobs until the guide is firmly attached. Adjust the lateral distance by sliding the guide body along the rods until the bit is positioned exactly where you need the cut to start.
Precise calibration is the secret to success when working with these tools. Because the router bit spins at high speeds, even a tiny amount of play in the guide rods can lead to a wavy or inaccurate cut. Use a set of digital calipers to measure the distance from the cutting edge of the router bit to the face of the edge guide. Repeat this measurement at both the front and back of the bit to ensure the guide is perfectly parallel to the router’s path of travel.
Understanding essential guide components
The assembly of an edge guide is relatively straightforward, but understanding each part helps in troubleshooting common alignment issues. The main body usually features a flat face that rides against the side of your lumber. Some models include micro-adjustment knobs, which allow you to nudge the position of the guide by fractions of a millimeter. This is invaluable when you’re trying to “sneak up” on a perfect fit for a joint.
| Component | Function | Maintenance Requirement |
|---|---|---|
| Guide Rods | Connect guide to router base | Keep clean and free of rust |
| Locking Knobs | Secures the rods in position | Check for stripped threads |
| Guide Fence | Rides against the workpiece | Ensure it’s perfectly flat |
| Micro-Adjuster | Fine-tunes the cut width | Keep threads lightly lubricated |
Preparing your workspace for success
Before you begin cutting, clear your workspace of any debris that could cause the router to tilt. If your workpiece is narrow, the edge guide might overhang the board, causing the router to tip and resulting in a ruined edge.
In these instances, clamp a wider piece of scrap wood of the same thickness directly against the edge of your project. This creates a wider platform for the guide to ride on, ensuring the router remains perfectly level throughout the entire pass.
Stable clamping is non-negotiable when working with a router. If your workpiece moves even slightly while you’re engaged in the cut, the bit will deflect, leading to an uneven groove. Use heavy-duty toggle clamps or F-style clamps to secure your board to a sturdy workbench. Ensure your clamps are positioned well away from the path of the router to avoid accidental contact with the spinning bit, which can cause dangerous kickback.
How to set up repeatable cuts
Repeatable cuts require a consistent starting point and a fixed guide position. Once you have calibrated your edge guide for the first cut, don’t change the setting. If you’re making multiple identical grooves, keep the guide locked in place and simply move the board or shift the router to the next position. If the project requires identical cuts on different boards, use a stop block clamped to your workbench to ensure that every board begins at the exact same location.
Consistent pressure against the guide is the most important factor in maintaining a straight line. As you push the router forward, apply firm, steady pressure against the edge of the board with the guide fence. If you pull away from the board, the bit will wander into the workpiece, creating a dip. If you push too hard, you risk bowing the guide or putting unnecessary strain on the router motor.
What are the common safety standards?
Operating a router requires strict adherence to safety protocols to prevent injury. Never reach near the bit while it’s spinning, and always wait for the motor to come to a complete stop before setting the router down. Ensure your workspace is well-lit and that you have a clear path for your feet.
| Safety Gear | Purpose | Frequency of Use |
|---|---|---|
| Safety Glasses | Eye protection from chips | Every single cut |
| Ear Muffs | Hearing protection | During all motor operation |
| Dust Mask | Respiratory protection | When cutting MDF or hardwoods |
| Push Blocks | Hand safety for small pieces | When hands are near the bit |
Troubleshooting guide alignment issues
If you find that your cuts aren’t staying straight, the first thing to check is the tightness of the guide rods. Over time, vibrations from the router can loosen the knobs that hold the rods in place.
If the rods are loose, the guide can pivot, causing the bit to move in an arc rather than a straight line. Tighten all fasteners before starting, and consider using a drop of thread-locking compound on the knobs if they continue to vibrate loose.
Bit deflection can also mimic an alignment issue. If your bit is dull or you’re trying to remove too much material in a single pass, the bit will bend away from the wood. Always use sharp, high-quality carbide bits and take multiple light passes rather than trying to cut to full depth in one go. A series of shallow passes will yield a much cleaner cut and extend the life of your router motor significantly.
How do you adjust for different bit sizes?
When you change your router bit, your previous edge guide setting will no longer be accurate. This is because the diameter of the bit has changed, shifting the distance between the cutting edge and the fence. Always re-measure after every bit change.
To make this faster, keep a set of setup blocks or a ruler dedicated to your woodworking station. By placing a block of a known thickness between the fence and the bit, you can quickly reset your guide to a specific offset.
What is the role of the plunge mechanism?
The plunge feature allows you to start a cut in the middle of a board rather than starting at the edge. To use an edge guide with the plunge mechanism, first set your depth of cut using the depth stop rod.
Place the router on the board with the edge guide tight against the fence, then slowly lower the router into the wood until the depth stop is reached. Once you have reached the desired depth, lock the plunge mechanism and begin your feed along the guide.
Can you use a fence instead of a guide?
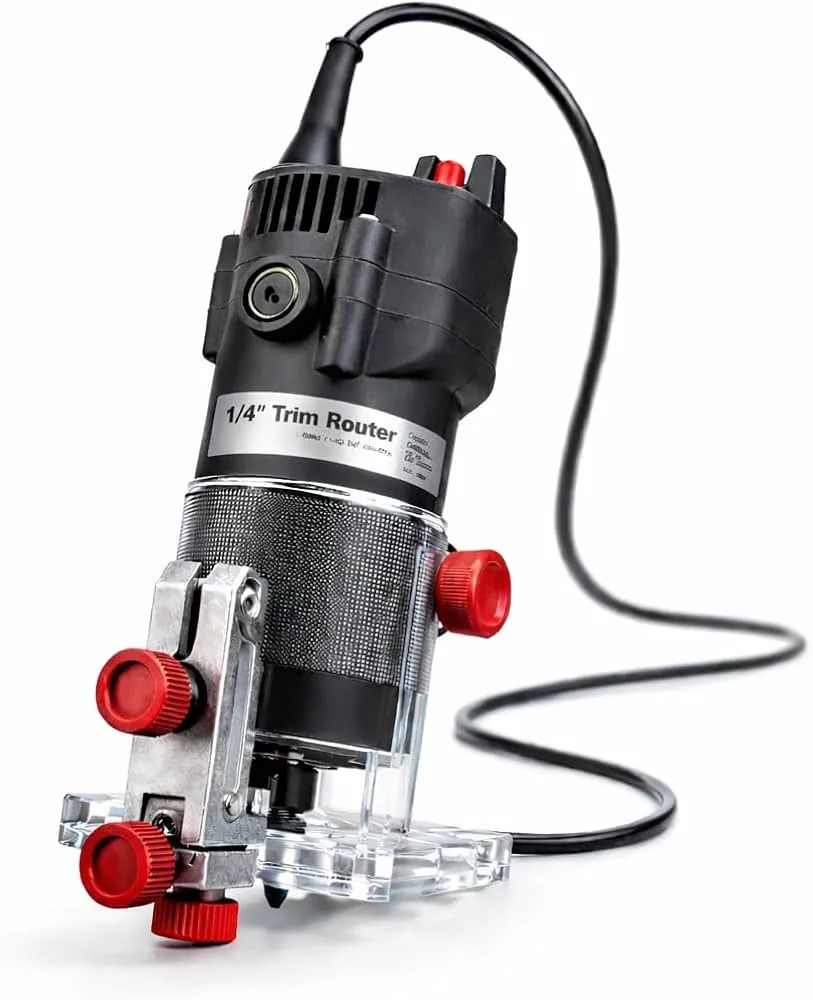
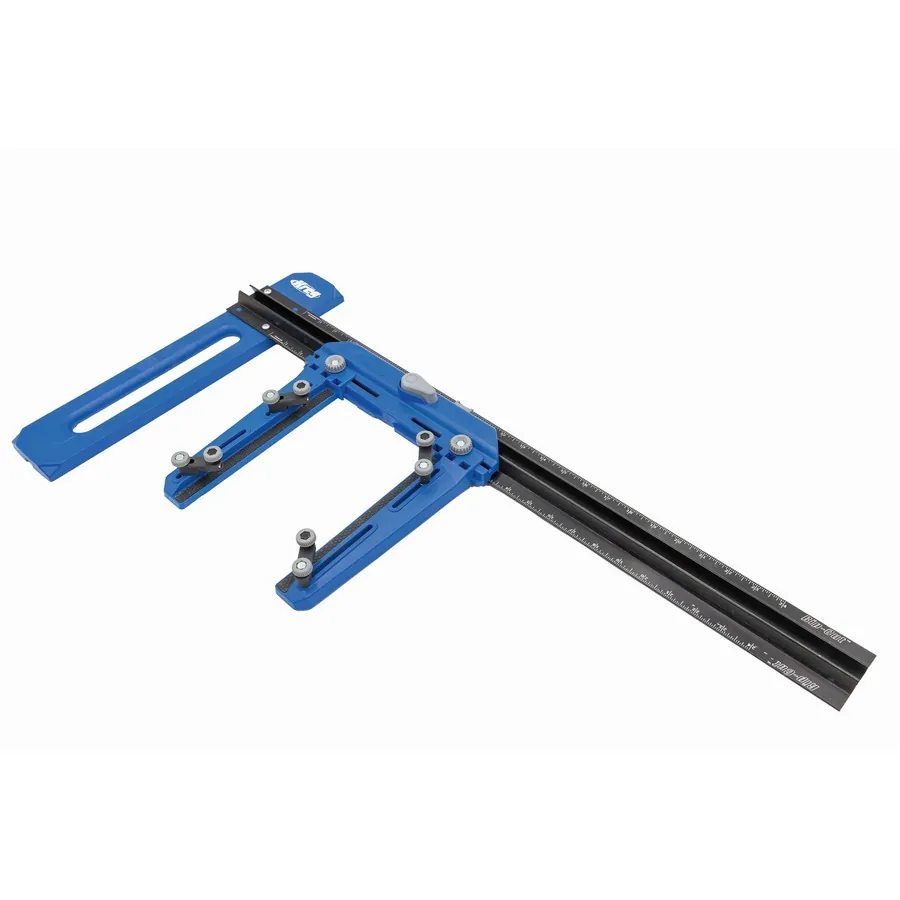
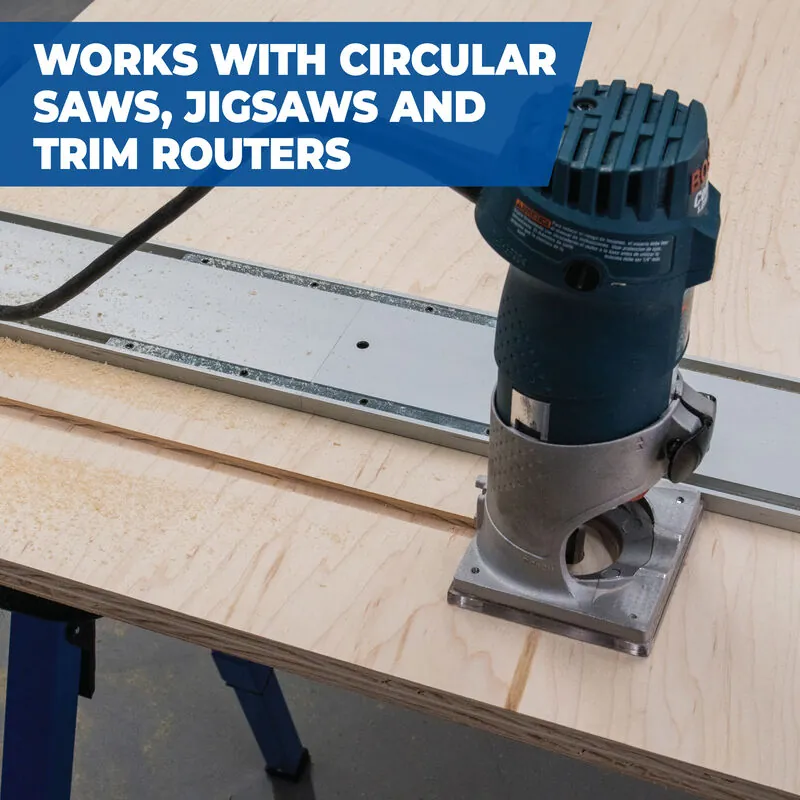
While an edge guide is excellent for edge-parallel cuts, a dedicated router fence is often more stable for long, straight runs. A fence is essentially a long, straight board clamped to your workpiece that provides a wider surface for the router base to ride against. If you find your edge guide is too small or unstable for a specific task, switch to a long, straight-edged board clamped securely to your project to act as an auxiliary fence.
Frequently Asked Questions
Why is my router bit burning the wood?
Burning is usually caused by a dull bit or moving the router too slowly through the material. When the bit stays in one place for too long, friction generates heat that scorches the wood fibers. Ensure your bits are sharp, maintain a consistent feed rate, and try taking smaller bites of material to reduce the load on the motor and prevent heat buildup.
How do I stop the router from drifting?
Drifting often occurs if you aren’t applying enough lateral pressure against the guide or if the guide itself isn’t parallel to the bit. Check that your rods are locked tightly and ensure you’re pushing the router firmly against the edge of the board. If the router continues to drift, verify that your workpiece edge is perfectly straight before you begin the cut.
Can I use an edge guide on curved surfaces?
Standard edge guides are designed specifically for straight edges and won’t work on curved surfaces. If you need to cut a groove along a curve, you must use a template or a specialized jig. A template is a custom-made guide that the router’s guide bushing follows, allowing you to replicate any shape, including complex curves, with high precision and repeatability.
How deep should my router cuts be?
A general rule of thumb is to limit each pass to a depth of no more than one-quarter to one-half of the bit’s diameter. Taking very deep cuts in a single pass puts excessive stress on the router motor and increases the risk of the bit wandering or breaking. It’s always safer and cleaner to perform multiple shallow passes until you reach your target depth.
Do I need a specific edge guide for my router brand?
Most routers require a specific edge guide designed for their base plate, as the rod spacing and locking mechanisms vary between manufacturers. While some universal guides exist, they often require modification to fit securely. It’s best to purchase the edge guide specifically engineered for your router model to ensure it fits the base plate holes and functions correctly without needing custom adapters.
Conclusion
Mastering the use of a plunge router edge guide is a transformative skill that elevates your woodworking from basic carpentry to precision joinery. By focusing on the calibration of your rods, ensuring your workpiece is securely clamped, and maintaining a steady feed rate, you’ll achieve clean, professional results every time. Your next step is to practice these techniques on scrap lumber to build the muscle memory required for perfect, repeatable cuts.