Plunge Router vs Fixed-Base Router: Which One to Choose
For most woodworking projects, a plunge router is the better choice because it allows for versatile, mid-board cuts, while a fixed-base router is best for edge work where you need precise, consistent depth. Choosing between a plunge router vs. a fixed-base router depends on whether your priority is the ability to lower the bit into the wood or the stability of a locked height.
Comparing Router Base Types

Woodworkers often struggle to decide which base suits their needs. The table below outlines how these tools compare for standard hobbyist tasks. Keep in mind that some kits include both bases, which can change your decision.
| Method | How long | Effort | Cost | Best for |
|---|---|---|---|---|
| Plunge Router | High | Moderate | High | Inlays and dados |
| Fixed-Base Router | Low | Low | Low | Edge profiling |
| Router Combo Kit | Moderate | Moderate | High | General purpose |
The cost varies by brand and power output. If you’re starting out, a combo kit provides the most flexibility for different projects.
Using a Plunge Router
A plunge router features a spring-loaded base that lets you push the bit into the material while the router is running. This is essential for work that starts in the middle of a board.
- Set your desired depth using the depth stop rod on the side of the tool.
- Place the router base flat on the workpiece with the motor off.
- Turn the motor on and slowly push the handles down to engage the bit.
- Lock the plunge depth if you need to maintain that exact cut across the board.
- Release the lock to let the springs retract the bit safely away from the wood.
This tool excels at making stopped dados, mortises, and inlay work. However, the complex spring mechanism makes it heavier and harder to maneuver for long, continuous edge cuts. Always wear safety glasses and hearing protection according to the OSHA Woodworking Machinery guidelines to ensure you’re protected from flying debris and noise.
Using a Fixed-Base Router

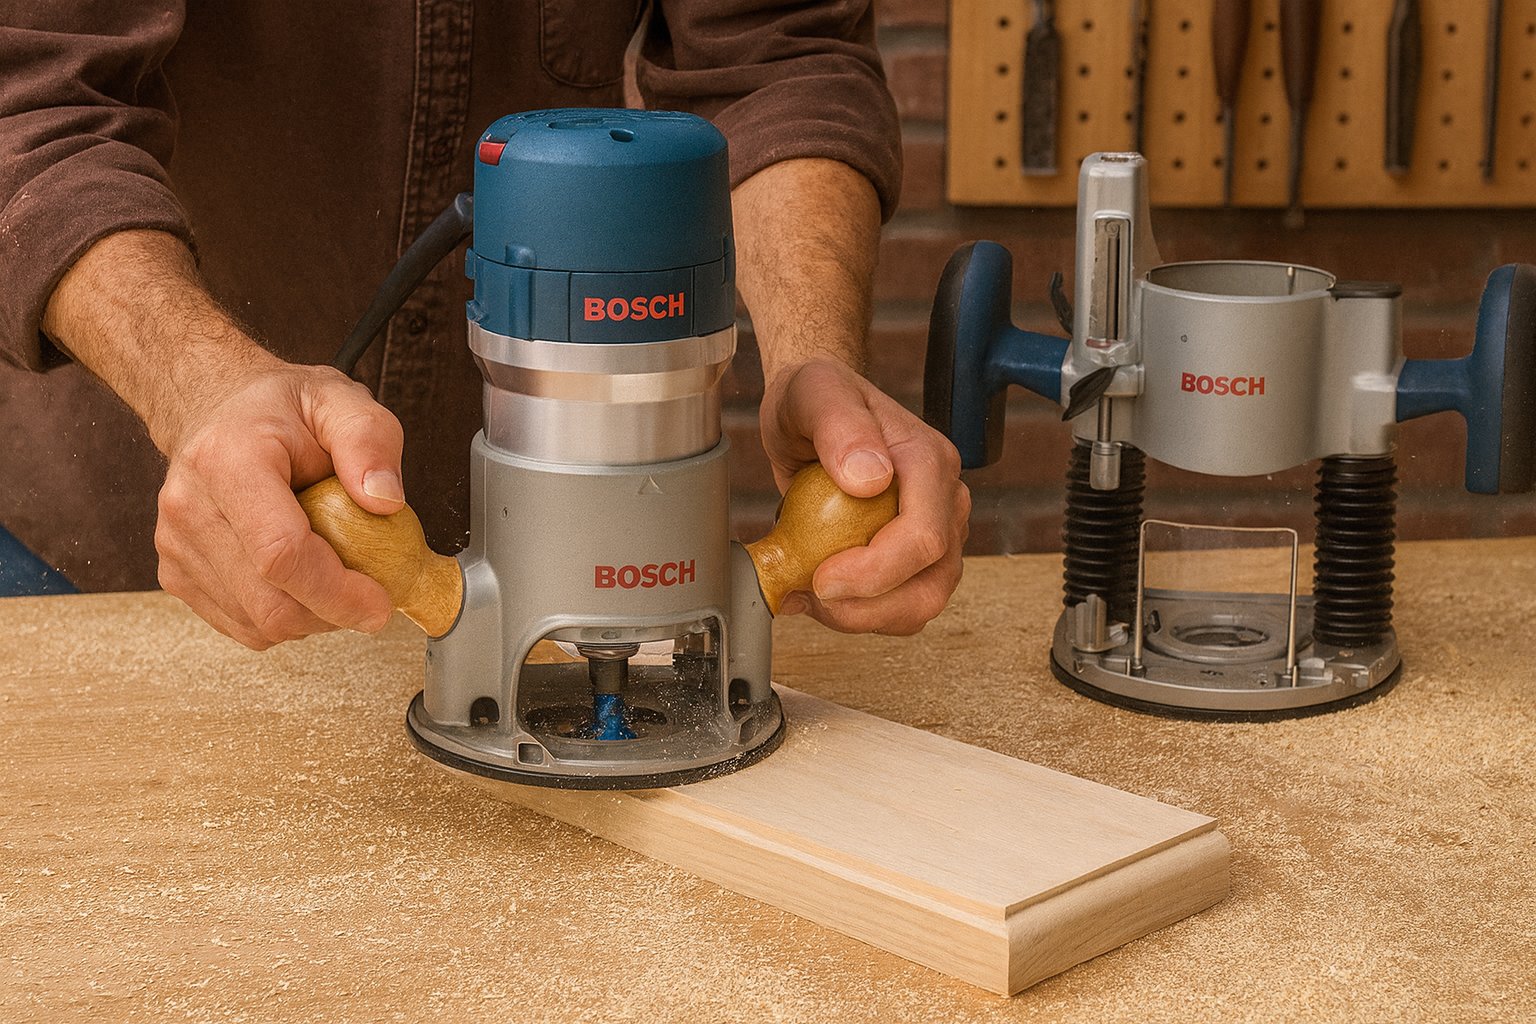
A fixed-base router holds the bit at a set, locked height. You adjust the depth before you begin, and it stays there until you manually change it again. This design provides excellent stability for edge profiles.
- Disconnect the power to the router before making any adjustments.
- Loosen the locking lever on the side of the base.
- Turn the adjustment ring to raise or lower the motor unit to your target depth.
- Tighten the locking lever firmly to secure the motor in place.
- Feed the router along the edge of your workpiece at a steady pace.
This setup is perfect for decorative edges, rounding over corners, or trimming laminates. Its primary weakness is that you can’t start a cut in the middle of a board without tipping the tool, which is dangerous and causes uneven results.
Using a Router Combo Kit
A combo kit gives you one motor unit that fits into two different bases. You can swap the motor from a fixed base to a plunge base depending on the specific task you’re performing that day.
- Unplug the router and remove the motor from the current base.
- Open the latch on the base you want to use.
- Slide the motor into the new base until it clicks into position.
- Tighten the locking mechanism to ensure the motor doesn’t move during use.
- Set your bit depth and test the cut on a piece of scrap wood.
This is the most economical choice for someone who needs both capabilities but wants to save space in the shop. The main drawback is the time spent switching bases, which can be frustrating during complex projects.
Choosing the Right Plunge or Fixed Base Router to Buy
When you’re in a hurry, a fixed-base router is the fastest option for simple edge work because it requires very little setup. If you’re doing this for the first time, a combo kit is the best investment because it lets you learn both techniques without buying two separate tools.
If you want the best possible result regardless of time or cost, a dedicated plunge router offers better control for precision joinery. Use a plunge base whenever you must start a cut in the middle of a board, such as for mortises or stopped dados. If you only plan to round over edges or trim laminate, the fixed base is superior because it keeps the bit depth constant when the locking mechanism is engaged.
The trade-off is between versatility and ease of use. A plunge router offers more options but requires more skill, while a fixed base is simple but limited in its movement. Your choice should reflect the type of furniture or crafts you plan to build most often. If you build cabinets, prioritize the plunge base for its depth control.
Rules for Safe Operation
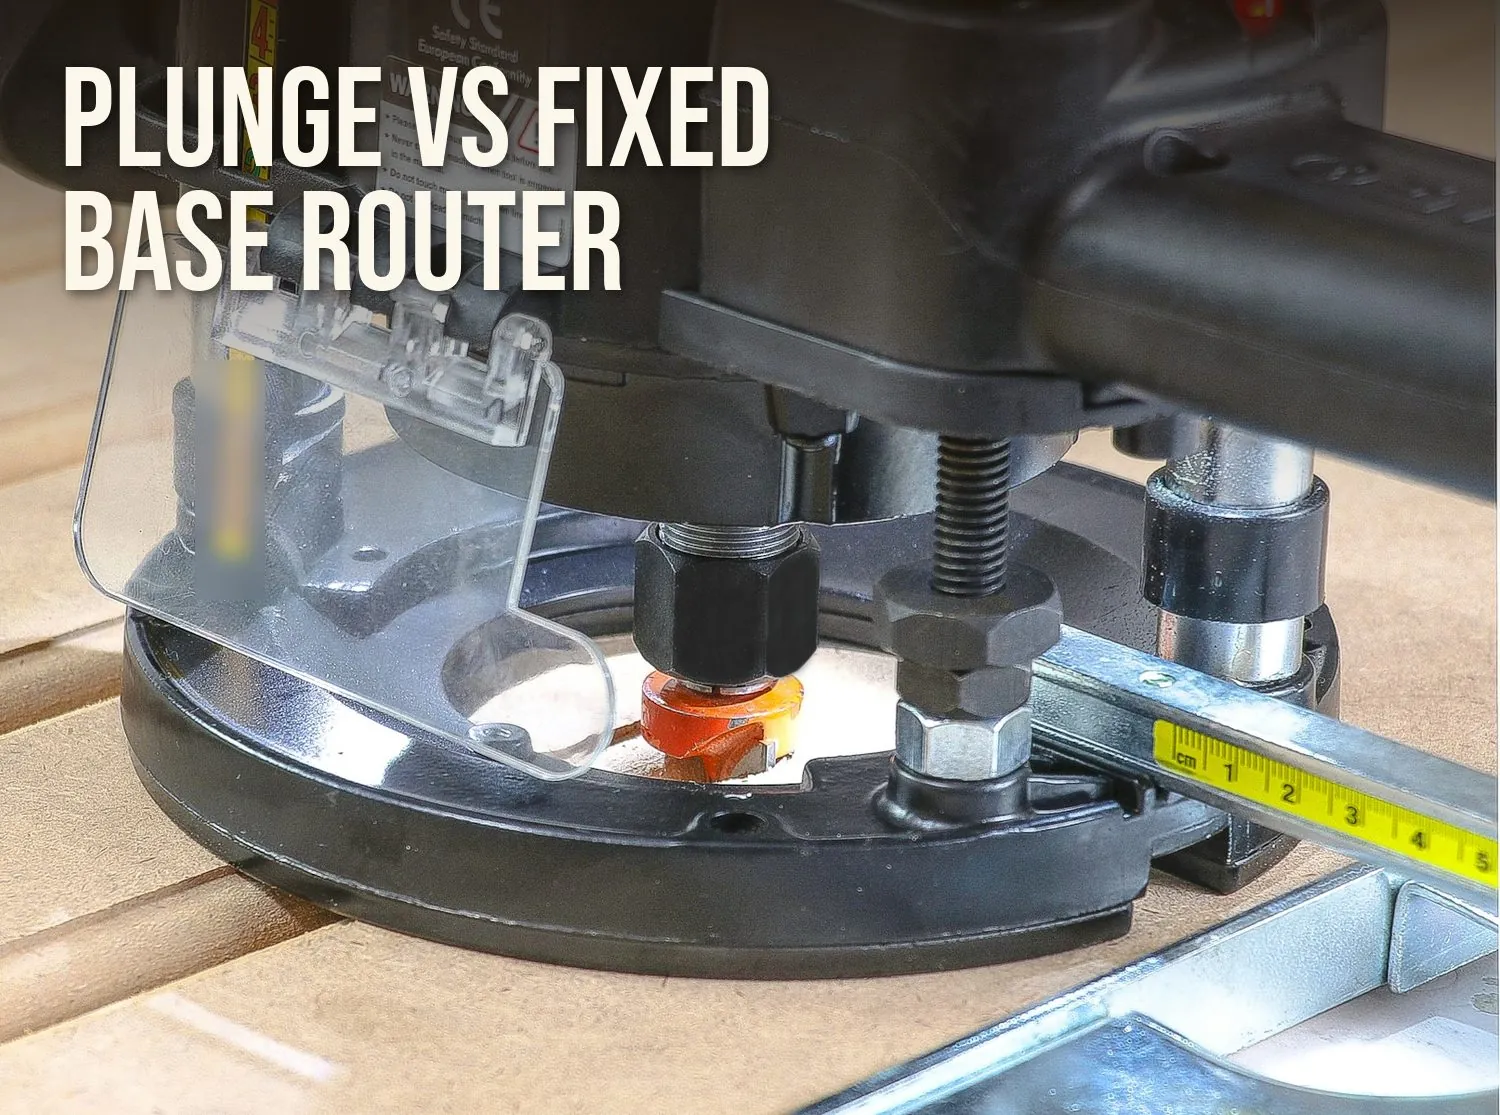
Regardless of which tool you use, you must keep the base flat against the surface at all times to prevent the router from tipping. Always make multiple shallow passes rather than one deep cut to avoid burning the wood and straining the motor. Check your bit sharpness frequently, as a dull bit causes the router to “chatter,” which ruins the finish and increases the risk of kickback.
If you’re new to power tools, practice on scrap material until you feel comfortable with the feed rate. If you ever feel the router pulling away from your control, turn it off immediately. If you have questions about specific wiring or electrical safety in your workshop, consult a licensed electrician rather than attempting repairs yourself.
Related guides
- 10 Best Plunge Routers for Woodworking: Top Picks for Every Shop
- Fixed-Base vs Plunge Router: Which One Do You Need?
- Trim Router vs. Plunge Router: Differences and Which to Buy
Frequently asked questions
Can I use a plunge router for edge work?
Yes, you can use a plunge router for edge work, though it’s heavier and can be less comfortable than a fixed-base model. You simply lock the plunge mechanism at the desired depth and treat it like a fixed-base unit. It’s a great way to save money if you only want to own one router.
How long does a router bit last?
A router bit typically lasts for several months of light to moderate use, but this depends entirely on the hardness of the wood you cut. You can check if your bit is dull by looking for charred, dark marks on the wood or feeling for resistance while pushing the tool through the material.
Is it safe to use a router without a dust collection port?
It’s safe to use a router without a port, but you must wear a high-quality dust mask to protect your lungs from fine wood particles. Using a vacuum attachment is much better for your health and keeps your workspace clean, allowing you to see your cut lines more clearly.
What happens if I move the router too slowly?
If you move the router too slowly, the friction between the bit and the wood will cause the material to burn. You’ll see dark, brown, or black streaks on the wood surface. To fix this, increase your feed rate slightly or take shallower passes to reduce the amount of wood removed at once.
How do I know the right depth for my cut?
You should set your depth by measuring the distance from the bottom of the base to the tip of the bit using a ruler or a depth gauge. A good rule of thumb is to remove no more than 1/4 inch of material per pass to keep the motor running smoothly and prevent the bit from snapping.
Conclusion
If you’re still feeling uncertain, head to your local shop and handle a few models yourself. You’ll quickly see which weight and grip feel right for your hands. Once you’ve picked your favorite, you’ll be ready to start that first project and finally bring your creative ideas to life.