How to Use Finishing Nails Without a Nail Gun: Easy DIY Tips
Are you ready to tackle your next woodworking project but don’t have a nail gun on hand? Using finishing nails without a nail gun might seem tricky, but it’s easier than you think.
You can achieve smooth, professional results with just a few simple tools and techniques. You’ll discover step-by-step tips to help you drive finishing nails perfectly every time—no fancy equipment needed. Keep reading to unlock the secrets that will save you time, money, and frustration on your next build.
Choosing The Right Finishing Nails
Choosing the right finishing nails is key to a smooth project. The right nails hold materials firmly and blend in well. This makes your work look neat and professional. Picking the correct nail type, size, and material helps avoid damage and ensures strong results. This guide breaks down how to select finishing nails without a nail gun.
Types Of Finishing Nails
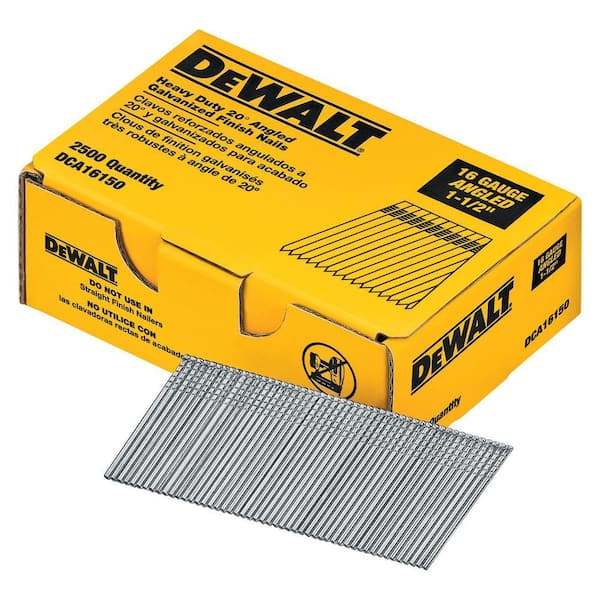
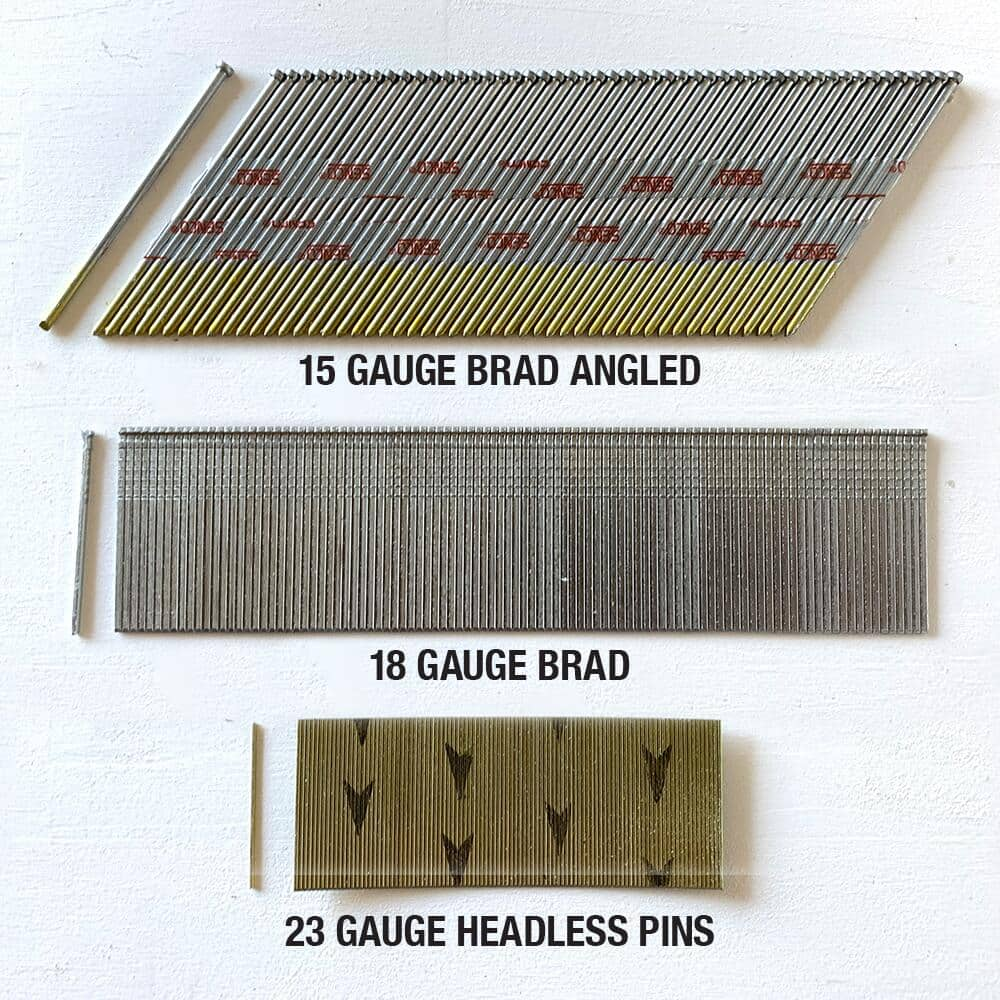
Finishing nails come in several types. Common ones include brads and finish nails. Brads are thin and have small heads. They work well for delicate trim and small projects. Finish nails have slightly larger heads. They hold heavier materials and provide extra strength. Choose nails based on the material and the weight of the pieces you join.
Selecting The Proper Nail Size
Nail size matters for both strength and appearance. Length should be about twice the thickness of the material. Short nails might not hold well. Long nails can split the wood. The gauge number shows thickness. Lower gauge means thicker nails. Thicker nails offer more support but can be harder to drive. Use the right size to balance strength and finish.
Material Considerations
Finishing nails come in different materials. Steel nails are strong and common for indoor use. Stainless steel nails resist rust and suit outdoor jobs. Brass nails look good and resist corrosion but are softer. Choose nail material based on where and how the project will be used. Proper material helps your nails last longer and hold better.
Essential Tools For Nail Installation
Using finishing nails without a nail gun requires the right tools. These tools help you install nails cleanly and safely. Having the essential tools makes the job easier and more accurate. It also protects your work and yourself from damage.
Using A Hammer Effectively
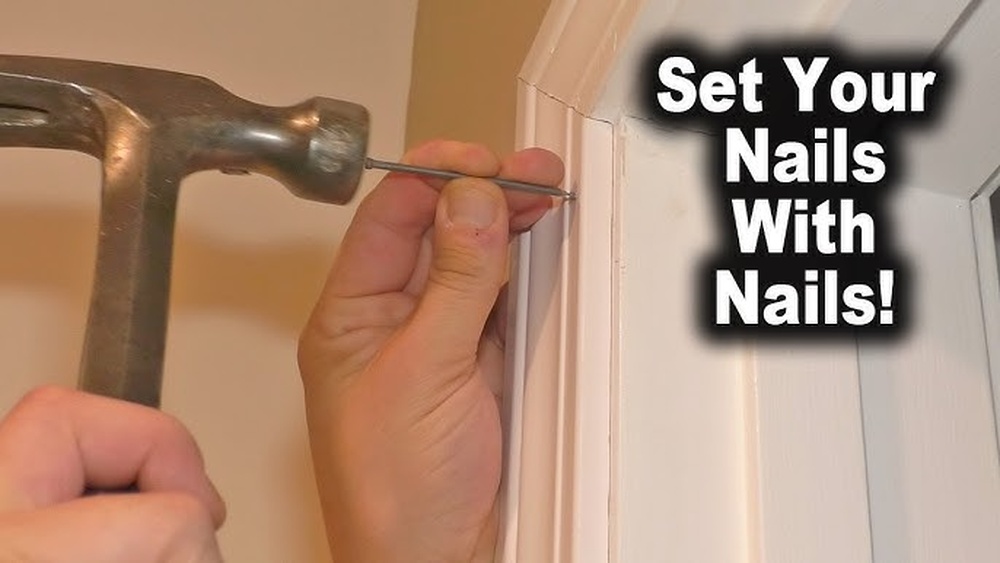
Choose a hammer with a smooth face to avoid marks. Hold the hammer near the end of the handle for better control. Tap nails gently at first to set them in place. Use stronger hits once the nail is steady. Keep your eyes on the nail to avoid missing it. A steady hand helps prevent dents in the wood.
Alternatives To A Nail Gun
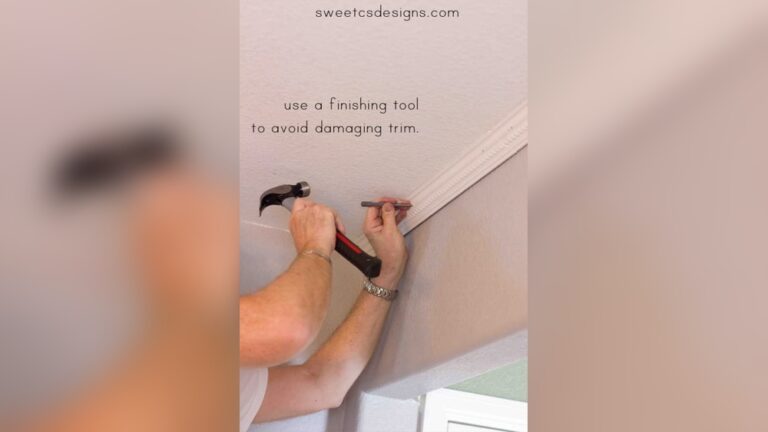
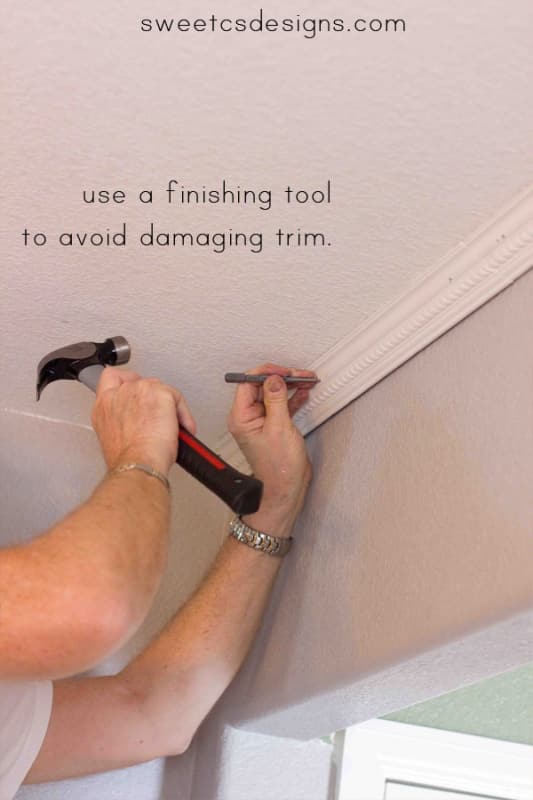
Use a nail set to push nails below the wood surface. This tool creates a clean finish without a nail gun. A small pry bar can help remove misplaced nails. Needle-nose pliers hold small nails steady while hammering. These tools help complete the job without power tools.
Protective Gear And Accessories
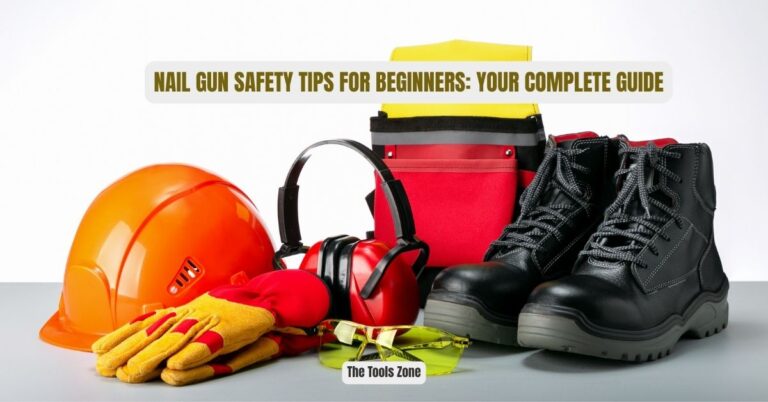
Wear safety glasses to protect your eyes from flying debris. Use work gloves to prevent splinters and hammer strikes. Hearing protection is useful if you work in loud environments. Keep a cloth nearby to clean nails and remove dust. These accessories keep you safe and comfortable.
Preparing The Surface
Preparing the surface is a crucial step before using finishing nails without a nail gun. It ensures the nails hold well and the wood looks smooth. Taking time to prepare makes your project stronger and neater.
Cleaning And Sanding
Start by cleaning the wood surface to remove dust and dirt. Use a dry cloth or brush for this task. Dirt can stop nails from sticking properly.
Next, sand the wood lightly with fine-grit sandpaper. Sanding smooths rough spots and helps nails go in easier. Wipe off dust after sanding for a clean finish.
Marking Nail Positions
Mark where you want to put each nail. Use a pencil to make small marks spaced evenly. This helps keep your nails straight and in the right place.
Plan the marks along the edges or where pieces join. Clear marks prevent mistakes and save time during nailing.
Preventing Wood Splitting
Wood can split if you drive nails directly without care. To avoid this, drill small pilot holes at each mark. Use a drill bit slightly smaller than the nail thickness.
These holes guide the nails and reduce pressure on the wood. Take time here to keep your wood intact and your project neat.
Credit: www.homedepot.com
Techniques For Driving Nails By Hand
Driving finishing nails by hand takes practice and patience. It needs focus and the right method. Using the right technique helps you avoid bending nails or damaging wood. This section guides you through easy steps to get it right.
Holding The Nail Steady
Hold the nail near its head between your thumb and index finger. Keep your fingers clear of the hammer’s path. Start by placing the nail where you want it to go. Hold it straight and steady. This helps the nail enter the wood smoothly.
Tapping Vs. Hammering
Tap the nail lightly at first. Use gentle, controlled taps to set the nail. Avoid hitting hard right away. Once the nail stands on its own, use firmer strikes. This prevents the nail from bending or slipping. Take your time with each tap.
Countersinking Nails Smoothly
Use the hammer’s claw or a nail set to sink the nail head below the wood surface. Tap gently to avoid damaging the wood. This creates a smooth finish for painting or staining. Make sure the nail is flush or slightly below the surface.
Fixing Common Issues
Fixing common issues with finishing nails is key for a smooth project. Small mistakes can affect the look and strength of your work. Taking the time to fix these issues keeps your project neat and strong. Here are simple ways to handle common nail problems without a nail gun.
Removing Bent Or Misplaced Nails
Bent or misplaced nails can spoil your work. Use a pair of pliers to gently pull the nail out. Grip the nail head firmly and pull straight out to avoid damage. If the nail is deeply embedded, slide a flat screwdriver under the nail head first. Work slowly to lift the nail without harming the wood.
Filling Nail Holes
Small nail holes are easy to hide. Use wood filler or putty to fill the holes. Apply it with a putty knife and press firmly. Let the filler dry completely before sanding. Sand the area smooth so it blends with the surface. This step makes the wood look perfect and ready for paint or stain.
Touching Up For A Clean Finish
After filling holes, touch up the surface for a fresh look. Match your paint or stain to the wood color. Use a small brush to apply color carefully. Work in thin layers for an even finish. Let each layer dry before adding more. This makes the repair nearly invisible and your project look professional.
Credit: sweetcsdesigns.com
Tips For Safety And Efficiency
Using finishing nails without a nail gun needs care and smart work. Safety keeps you from harm. Efficiency saves time and effort. Follow these tips to work safely and well.
Protecting Your Hands And Eyes
Wear safety glasses to guard your eyes from flying nails or wood chips. Gloves protect your hands from splinters and accidental hits. Keep your fingers clear of the hammer’s path. Always check your workspace for hazards before starting. These small steps prevent injuries and keep you safe.
Working At A Comfortable Pace
Do not rush your work. Take steady, careful hammer strikes to avoid bending nails. Pausing allows you to check nail placement and adjust if needed. Working too fast can cause mistakes or injuries. Slow and steady helps you finish the job well and safely.
Maintaining Your Tools
Keep your hammer clean and free from rust. A smooth handle offers a better grip and control. Store nails in a dry place to avoid rusting. Sharp, well-kept tools work better and last longer. Regular maintenance makes your work easier and safer.
Credit: www.homedepot.com
Frequently Asked Questions
What Tools Can Replace A Nail Gun For Finishing Nails?
You can use a hammer, nail set, and a steady hand to drive finishing nails. These tools offer control and precision without a nail gun.
How Do I Avoid Splitting Wood With Finishing Nails?
Pre-drill small pilot holes before nailing. This reduces wood splitting and ensures nails go in smoothly and straight.
Can Finishing Nails Be Used For Outdoor Projects?
Finishing nails can be used outdoors if they are galvanized or stainless steel. These resist rust and weather damage effectively.
What’s The Best Technique To Drive Finishing Nails By Hand?
Use gentle taps with a hammer to start the nail. Follow with stronger hits for full penetration, then countersink with a nail set.
Conclusion
Using finishing nails without a nail gun is simple and effective. A hammer and steady hand work well for small projects. Take your time and be careful to avoid splitting the wood. Choose the right nails and tools for best results.
Practice helps you gain confidence and improve your technique. This method saves money and works anywhere, anytime. Keep these tips in mind for your next DIY task. Finishing nails can be easy without fancy tools. Give it a try and see the difference yourself.