How to Stop Cordless Drill From Stripping Screws: 4 Easy Fixes
You stop a cordless drill from stripping screws by matching the bit to the screw head, setting the clutch lower than you think you need, letting the clutch do the stopping instead of your hand, and drilling pilot holes so the screw doesn’t have to fight the wood or metal.
Key Takeaways
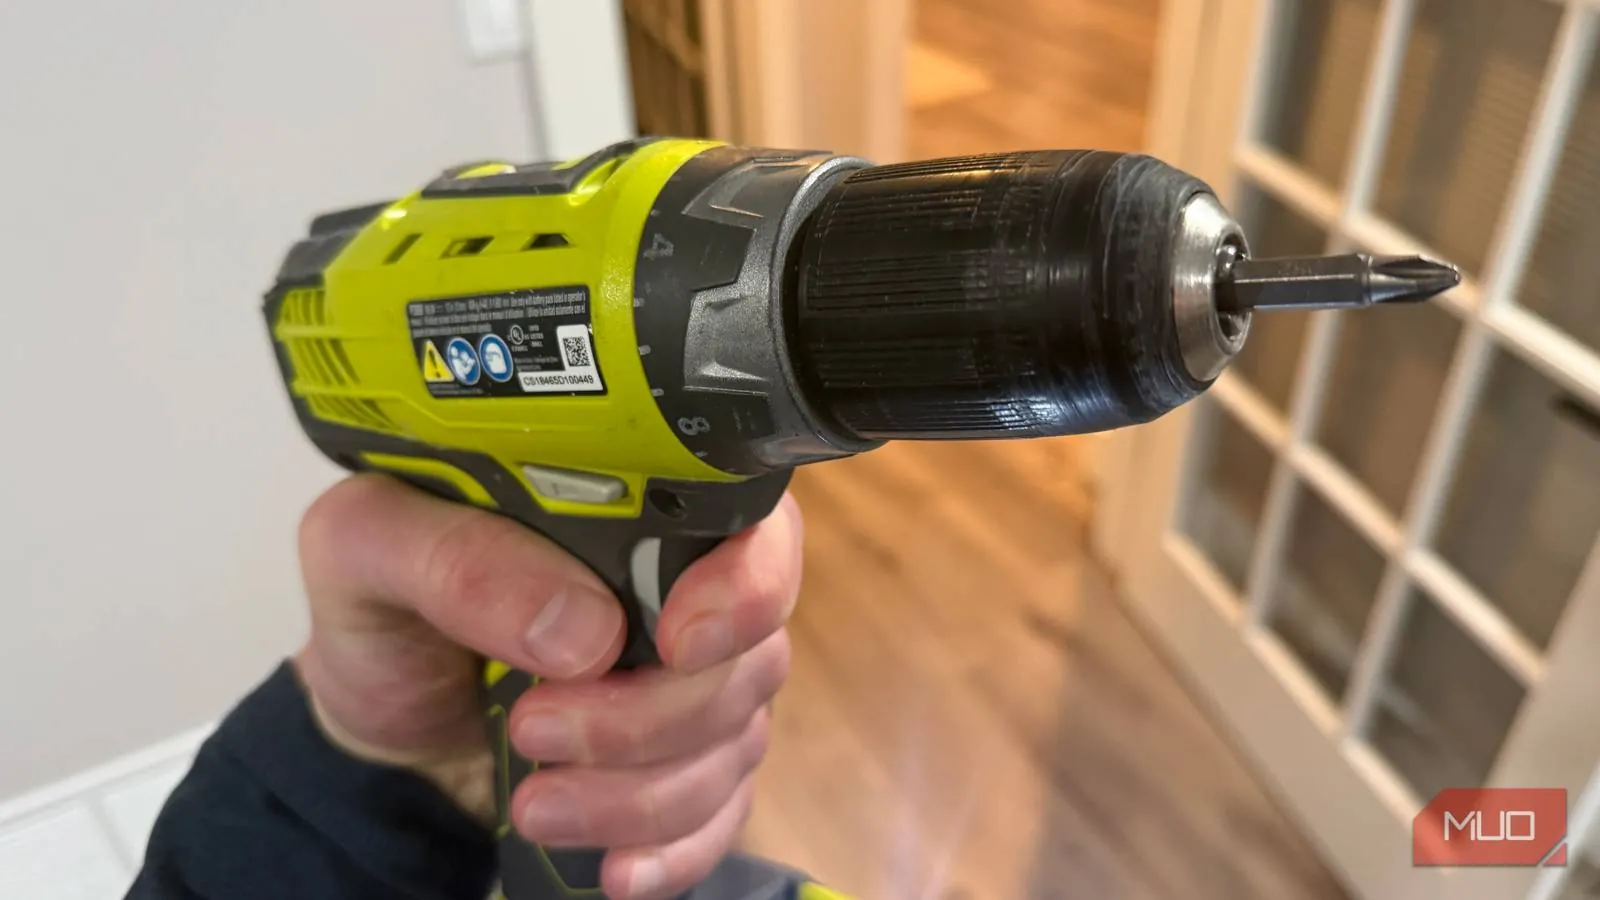
- Use a bit that fills the screw head completely; a loose fit cams out and strips the recess.
- Set the drill’s clutch to a low number and raise it only if the screw doesn’t seat fully.
- Stop driving the instant the clutch clicks; continuing by hand is the most common way to strip a screw.
- Drill pilot holes in hardwood and near board ends so the screw threads don’t have to tear the material.
- Keep bits sharp and replace them when the tips look rounded or worn.
- Match the driver to the fastener: Phillips for general wood and drywall, square drive or Torx for decking and structural screws.
Why Screws Strip
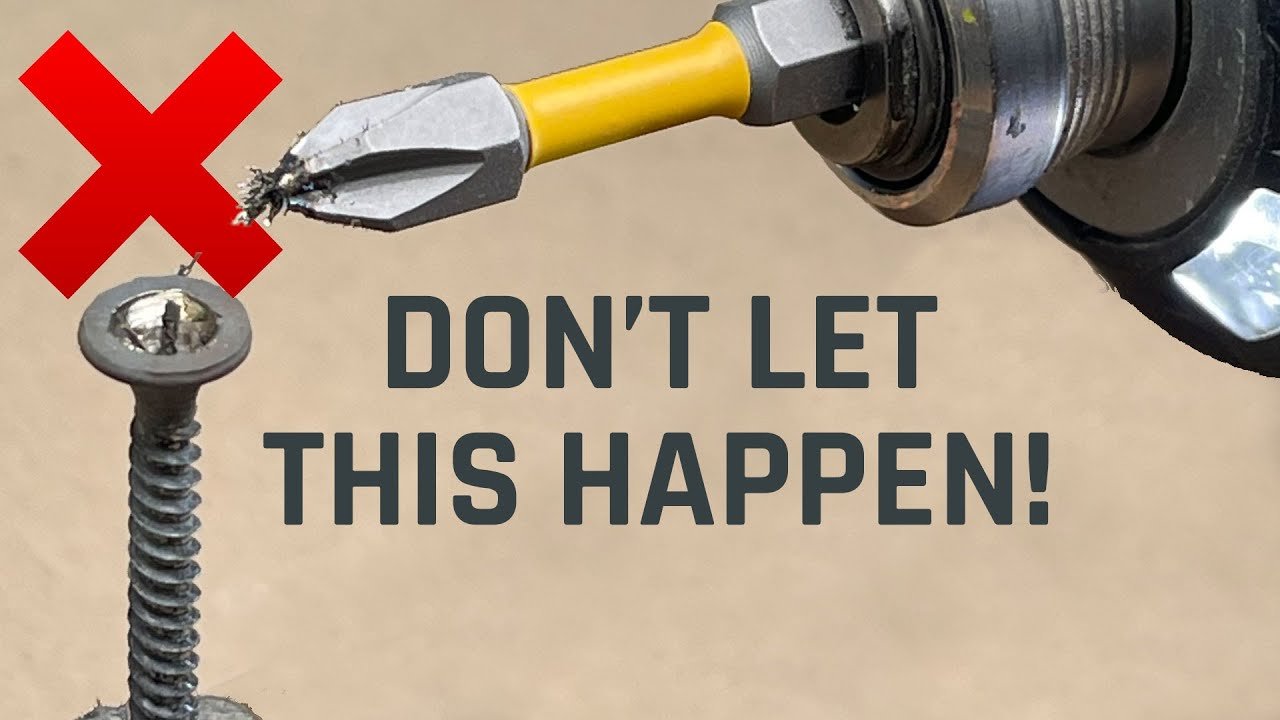
A stripped screw means the recess in the head has been chewed out so the bit can no longer grip it. This usually happens because the bit slips under load, a condition called cam-out. When the bit slips, it spins inside the screw head and rounds off the corners of the Phillips, square, or Torx recess. Once those edges are gone, the bit has nothing to catch, and every turn makes the damage worse.
The drill itself is rarely the problem. A cordless drill delivers far more torque than a small screw needs, so the real issue is control. The clutch, the bit, the pilot hole, and your own timing all matter more than the voltage on the battery.
Match the Bit to the Screw Head
The single most important rule is that the bit must fill the screw head. A #2 Phillips bit is the workhorse for general wood and drywall screws, but it isn’t universal. Deck screws and structural fasteners often use square drive (Robertson) or Torx star recesses because those designs resist cam-out much better than Phillips. Using a #1 bit in a #2 screw, or forcing a Phillips bit into a slightly off-size square recess, guarantees slippage.
Check the bit seating before you pull the trigger. The bit should sit flush in the recess with no visible wobble. If you can rock it back and forth, it’s the wrong size. Magnetic bit holders help keep the bit aligned, but a strong magnet can also hold the bit at a slight angle, so make sure the driver shaft is square to the screw.
Pro Tip: Keep a small assortment of bits in your pocket—#1, #2, and #3 Phillips, plus #2 square drive and T20 Torx—so you’re never tempted to force the wrong one.
Use the Clutch, Not Your Hand
The collar behind the chuck is a torque clutch. Numbers on the collar—often 1 through 20 or more—represent increasing torque. At the lowest setting, the clutch slips almost immediately. At the highest, or at the drill icon, it doesn’t slip at all, which means you’re driving until the screw head strips or the bit snaps.
Start low. Set the clutch to 2 or 3, drive the screw, and see where it stops. If the screw sits proud of the surface, raise the setting by one or two and try again. The goal is for the clutch to click just as the head seats flush. That click tells you the drill has delivered enough torque and no more.
Warning: Don’t override the clutch by holding the drill harder or squeezing the trigger longer once it slips. That’s exactly how Phillips heads become useless.
Drill Pilot Holes
Wood resists a screw’s threads, especially near the end of a board or in hardwoods like oak and maple. Without a pilot hole, the screw can bind halfway in. The motor keeps turning, the bit slips, and the head strips. A pilot hole gives the threads a path so the screw draws down smoothly.
For most #8 and #10 wood screws, a 1/8-inch clearance hole through the top board and a slightly smaller pilot into the receiving board works well. In hardwood, size the pilot closer to the screw’s shank diameter; in softwood, you can go smaller. When driving into metal or plastic, use the drill to make a proper hole first rather than trying to self-tap with the driver.
Keep Your Bits Sharp
A worn bit is a stripped screw waiting to happen. New bits have crisp edges that dig into the recess. Rounded edges slide instead of grip, especially under load. Inspect your bits regularly. If the tip looks polished or the corners look rolled, throw it out. Bits are inexpensive, and a fresh one costs far less than the time you lose digging out a ruined screw.
Store bits in a case so they don’t rattle around loose in a toolbox, where they get nicked and dulled before you even use them.
Choose the Right Screw Type
Some screw designs are simply harder to strip. Phillips screws cam out by design; that was once considered a feature to prevent over-tightening, but it makes them the first casualty when a drill is involved. Square drive and Torx screws have deeper, straighter-sided recesses that hold the bit firmly. If you’re building a deck, framing, or driving long structural screws, choose square drive or Torx and the matching bit.
Drywall screws are brittle and snap easily under side load, so they’re poor choices for structural work even if the head survives. Wood screws with a shank near the head are better for drawing boards together without splitting.
Speed and Pressure to Stop Cordless Drill Stripping
High speed makes cam-out more likely because the bit has less time to seat before torque builds. Use a low speed setting if your drill has one, or simply ease into the trigger rather than squeezing it wide open. Apply steady, straight-in pressure so the bit stays seated in the recess. If the drill starts to jump or the bit walks out of the screw head, release the trigger immediately.
A side-loaded bit—one entering the screw at an angle—will almost always strip the head. Keep the drill perpendicular to the work surface.
Troubleshooting Stripped Screws
When a screw head is already stripped, you have a few options before you resort to drilling it out.
- Rubber band method: Place a wide rubber band over the screw head, press the bit into it, and turn slowly. The rubber can give the bit enough grip to back the screw out.
- Larger bit: Try the next size up in the same driver style. A #3 Phillips bit sometimes catches in a ruined #2 recess.
- Screw extractor: A drill-out extractor bites into the head and backs the screw out. These work best on screws that are at least partly proud of the surface.
- Cut a new slot: With a rotary tool or small file, cut a shallow slot across the head and use a flathead bit.
- Pliers or locking pliers: If the head stands above the surface, grip it directly and turn.
If none of these work, drill the screw head off with a bit slightly smaller than the screw shank, then remove the shank with pliers once the holding power is gone.
Quick Reference: Bit and Clutch Settings
| Task | Screw Type | Bit Size | Suggested Clutch Start |
|---|---|---|---|
| Drywall | Phillips | #2 | 2–3 |
| General wood | Phillips | #2 | 3–4 |
| Decking | Square drive | #2 square | 4–5 |
| Structural | Torx | T20 or T25 | 5–6 |
| Small hardware | Phillips | #1 | 1–2 |
These are starting points, not rules. Wood species, screw length, and battery charge all change the number you need.
Related guides
- 10 Best Cordless Drill for Assembling Furniture Picks
- 10 Best Cordless Drill Drivers for Beginners: Our Top Picks
- 10 Best Cordless Drill for Hanging Shelves Picks and Reviews
Frequently Asked Questions
Why does my drill strip every Phillips screw?
Phillips recesses are designed to cam out under high torque, and a cordless drill delivers far more than a hand driver. Use square drive or Torx screws when you can, keep the clutch low, and make sure the bit fills the head completely.
What clutch number should I use?
There’s no single number because every drill and every screw is different. Start at 2 or 3, drive one screw, and raise the setting one click at a time until the clutch slips just as the head seats flush.
Can I fix a stripped screw without drilling it out?
Sometimes. A rubber band under the bit, a larger bit size, or a screw extractor can back out a partially stripped screw. If the head is flush or below the surface, drilling is usually the only reliable option.
Do I need a pilot hole for every screw?
Not always, but pilot holes are wise in hardwood, near board ends, and with large screws. They reduce the torque needed to seat the screw, which directly lowers the risk of stripping the head.
Does battery voltage matter?
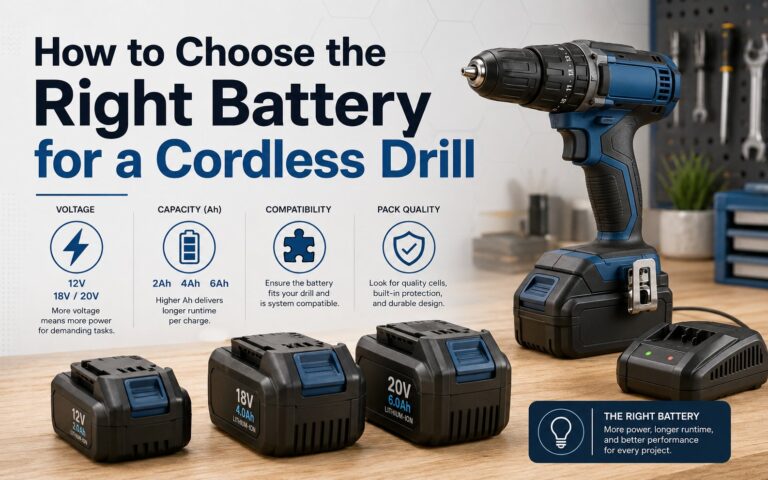
Voltage affects power, not control. A high-voltage drill can strip a screw just as easily as a low-voltage one if the clutch is set too high. The clutch setting matters far more than the battery.
Should I buy an impact driver instead?
An impact driver delivers rotational blows that drive screws quickly, but it has no adjustable clutch and strips small screws easily. It’s excellent for long structural fasteners and poor for delicate work. Keep the cordless drill for finish work and use the impact driver for framing and decking.
Conclusion
Stop stripping screws by treating the clutch as your primary control: set it low, test on a scrap piece, and let the click tell you when to stop. Your next step is to grab a scrap board, a few screws, and your bit set, and dial in the clutch before you touch your actual project.