How to Cut Tile With an Angle Grinder: Diamond Blades and Dust Control
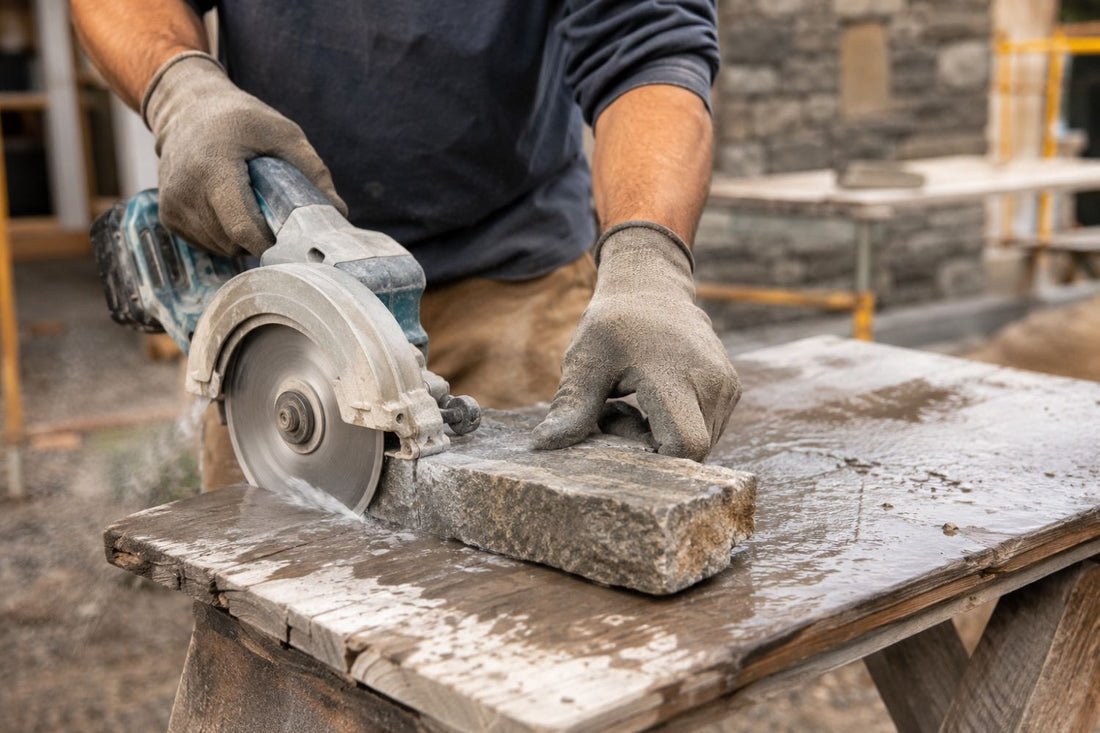
You can achieve clean, professional edges by using a diamond blade and proper dust control to cut tile with an angle grinder. Most jobs take between 30 and 60 minutes for a standard room, depending on the number of cuts needed and the hardness of your tile. This method is best for experienced DIYers who need to make custom shapes or notches that a manual tile cutter can’t handle.
Choosing diamond blades and angle grinder dust control gear

- Angle Grinder: A 4.5-inch or 5-inch model with a variable speed setting is ideal for control.
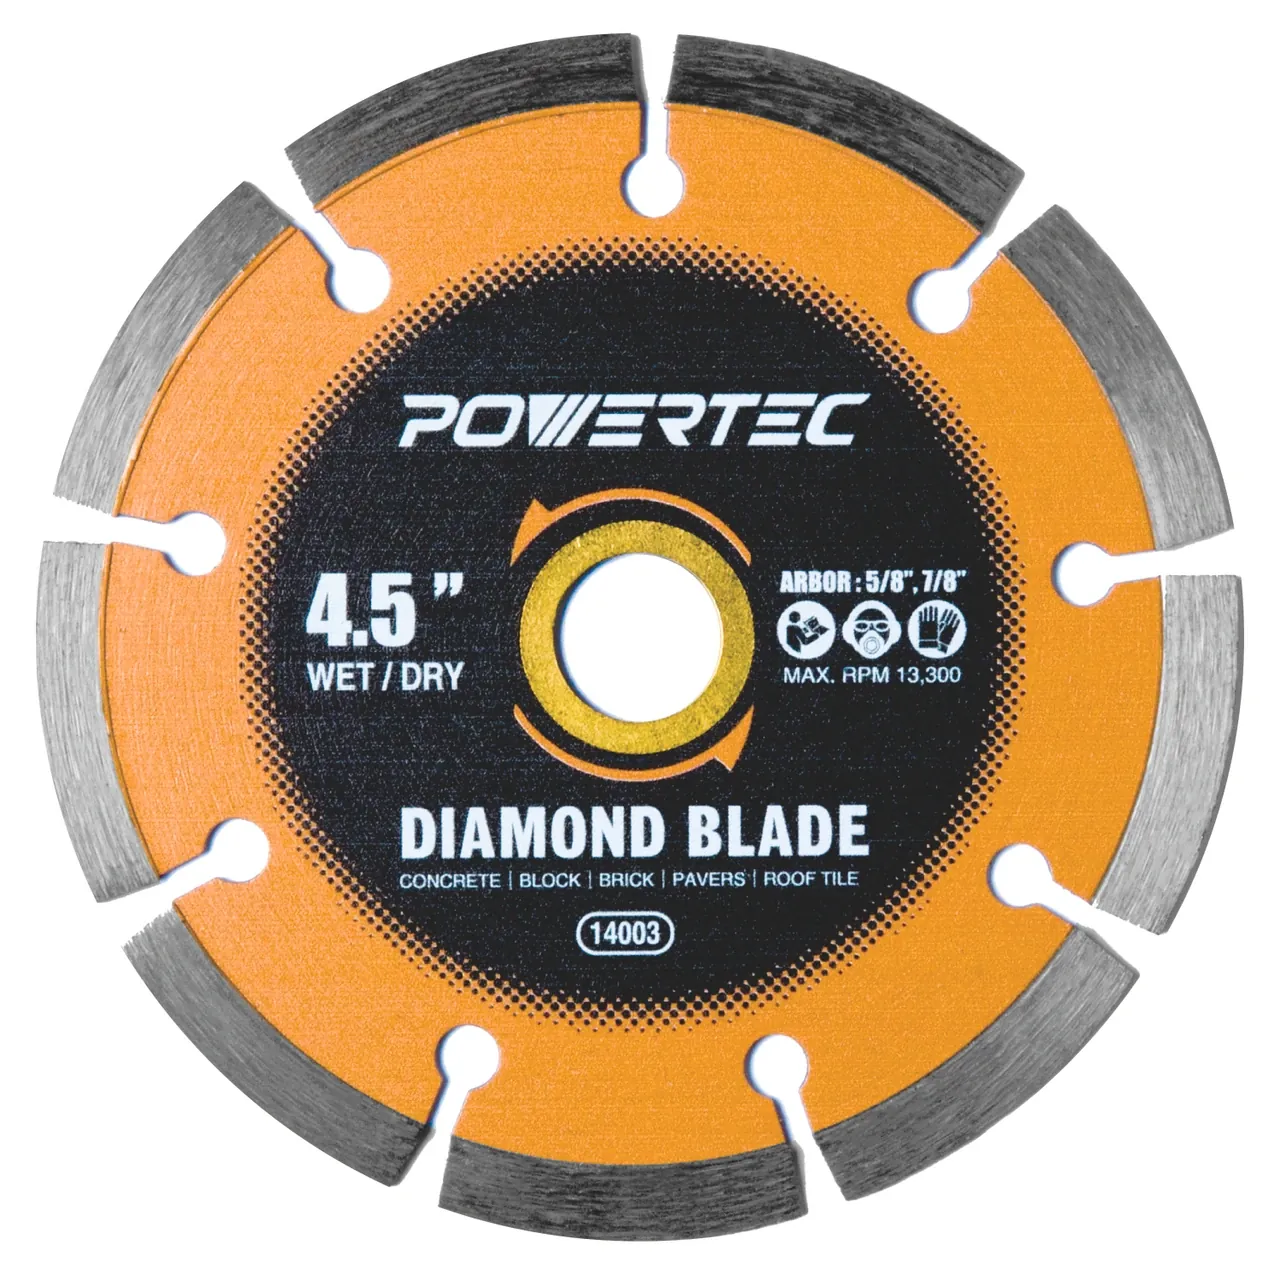
- Diamond Blade: Use a continuous rim blade designed specifically for porcelain or ceramic tile.
- Dust Control: A shop vacuum with a HEPA filter and a dust shroud attachment is necessary.
- Safety Gear: Safety goggles, an N95 respirator, and thick work gloves.
- Work Surface: A sturdy, stable workbench that allows you to clamp the tile securely.
- Marking Tools: A wax pencil or a fine-tip permanent marker for accurate cut lines.
You must choose a blade rated for the specific material you’re cutting. A blade meant for masonry will chip delicate porcelain, so check the label before you buy. If you’re unsure about safety requirements, the Occupational Safety and Health Administration provides detailed guidance on managing silica dust during construction tasks.
Steps for Precise Tile Cuts
- Mark your cut line on the tile using a wax pencil. Use a square to ensure the line is perfectly straight if you’re making a simple cross-cut.
- Attach the dust shroud to your angle grinder and connect the shop vacuum hose securely. Always test the vacuum suction before you plug in the grinder to ensure the seal is tight.
- Clamp the tile firmly to your workbench. Ensure the area you’re cutting hangs slightly off the edge so the blade doesn’t hit the table.
- Put on your respirator and goggles before starting the motor. If you wear loose clothing, tuck it away to prevent it from catching on the spinning tool.
- Score the tile by running the blade lightly along your marked line. Don’t try to cut through the entire thickness on the first pass.
- Make multiple passes along the same line, going deeper each time. Let the blade do the work; don’t force the grinder forward, as this causes the blade to wander.
- Finish the cut by easing the grinder through the final bit of material. Keep the tool steady until the blade has come to a complete stop after you release the trigger.
Careful: Never remove the guard from your angle grinder, as it provides vital protection against blade breakage. Tip: If the tile starts to smoke or smell like burning, stop immediately and check if your blade is dull or if you’re pushing too hard.
Situations and Expected Effort
| Situation | Time/Cost | Differences | Watch For |
|---|---|---|---|
| Straight Cuts | 5 mins/piece | Simple, one-pass effort | Blade binding |
| Notches/L-cuts | 15 mins/piece | Requires careful cornering | Over-cutting corners |
| Hard Porcelain | 10 mins/piece | Needs slower feed rate | Blade overheating |
| Ceramic Tile | 3 mins/piece | Softer, cuts very fast | Chipping edges |
Start with light, shallow passes to build your groove before applying full pressure. If you attempt a full-depth cut on the first pass, the blade will likely wander or cause the material to shatter.
For hard porcelain, listen for a high-pitched whine from the motor. That sound indicates the blade is overheating and losing its diamond edge. Stop immediately and let the tool cool for sixty seconds.
If you’re cutting ceramic, use a higher feed rate to prevent the blade from heating the glaze, which causes unsightly micro-chipping. You know you’re moving too slowly if you see dust clumping or smoke.
Avoid the common mistake of forcing the grinder to finish the job faster. This creates excessive torque, which leads to dangerous kickback. If the tool starts to vibrate or pull, back off the pressure. Let the diamond grit do the work rather than your arm strength.
Checking Your Work Quality
A good result features a smooth, clean edge with minimal chipping. If you see jagged teeth or large chunks missing, you likely moved the grinder too quickly or used a dull blade. This happens because the diamond segments can’t clear the material fast enough, causing the blade to tear the tile surface rather than grind it.
If the edge feels rough to the touch, run a fine-grit diamond hand pad over the surface to smooth the edge.
Watch for heat discoloration or a burning smell while you work. If you detect either, you’re pushing too hard, which risks cracking the tile body. Slow your pace by half. If the blade still drags, swap it immediately; forcing a dull tool always costs more in ruined materials than the price of a new blade.
Safety Rules and Maintenance
Always unplug the grinder before you change the blade or adjust the dust shroud. This simple step prevents accidental activation, which remains the leading cause of hand injuries in home workshops.
After you finish your project, wipe down the grinder housing to remove fine dust that can clog the motor vents. If the motor begins to sound strained or smells like ozone, stop immediately; this may indicate worn carbon brushes or an electrical fault.
Store your diamond blades in a dry place to prevent corrosion on the steel core. If you notice the blade wobbling while it spins, stop using it immediately. A damaged disc can shatter during high-speed operation. If the blade shows hairline cracks or missing segments, discard it. Don’t attempt to repair these structural failures.
Alternative Cutting Methods

Manual Snap Cutter
This tool uses a scoring wheel to create a line, then snaps the tile along that break. It’s much faster for straight cuts and produces zero dust. However, it can’t make notches or L-shaped cuts.
Wet Tile Saw
A wet saw uses a water pump to keep the blade cool and wash away dust. It provides the cleanest edges and is best for large projects. It’s more expensive and requires more space to set up.
Jigsaw with Diamond Blade
A jigsaw with a diamond grit blade can handle curves and intricate shapes. It’s slower than a grinder but offers more precision for artistic cuts. You must keep the speed low to avoid overheating the blade.
Frequently asked questions
Can I cut tile without a dust shroud?
No, you should never cut tile dry without a proper shroud and vacuum. Silica dust is hazardous to your lungs, and without a collection system, it will spread throughout your home. Always follow the safety guidelines for respiratory protection when working with ceramic or stone materials.
How long does a diamond blade last?
A standard diamond blade typically lasts for 50 to 100 feet of cutting, depending on the hardness of the tile. If you notice the blade takes significantly longer to cut through the same material, the diamonds have worn down and it’s time for a replacement.
Is it safe to cut tile indoors?
It isn’t recommended to cut tile indoors because of the fine dust created. If you must work inside, seal off the room with plastic sheeting and use a high-quality shop vacuum. Always wear a respirator even if you’re using a dust collection system.
Why is my tile cracking during the cut?
Your tile is likely cracking because the blade isn’t sharp enough or you’re applying too much pressure. Always let the weight of the grinder guide the blade through the material. Ensure the tile is fully supported on both sides of the cut line to prevent snapping.
How do I stop the tile from chipping?
You can reduce chipping by using a continuous rim diamond blade and applying masking tape over your cut line. Scoring the surface lightly before you make the full-depth cut also helps protect the finished edge from splintering during the process.
Conclusion
Proper dust control is the most important part of this job. By using a HEPA-rated vacuum with a specialized shroud, you keep your workspace clean and protect yourself from harmful airborne particles. Take your time with each cut, and you’ll get professional results on your next tiling project.