How to Grind Welds With a Die Grinder: Burrs and Finishing Tips
Grinding welds with a die grinder involves using rotary tungsten carbide burrs or abrasive discs to remove excess filler metal and smooth joints to a professional finish. This process is essential for structural integrity and aesthetic appeal in metal fabrication. To get started, expect to spend between $40 and $150 for a quality pneumatic or electric die grinder, and between $15 and $60 for a comprehensive set of high-quality carbide burrs.
Key Takeaways
- Always match the burr shape to the joint profile to avoid gouging the base metal.
- Maintain a constant, light pressure to prevent the tool from “walking” across the surface.
- Wear ANSI-approved safety glasses and a respirator to protect against flying sparks and metal dust.
- Use a lubricant or cutting oil when working with aluminum to prevent the burr from clogging.
- Keep your die grinder speed high for carbide burrs to ensure a clean, chatter-free cut.
Choosing Die Grinder Burrs for Welding and Finishing
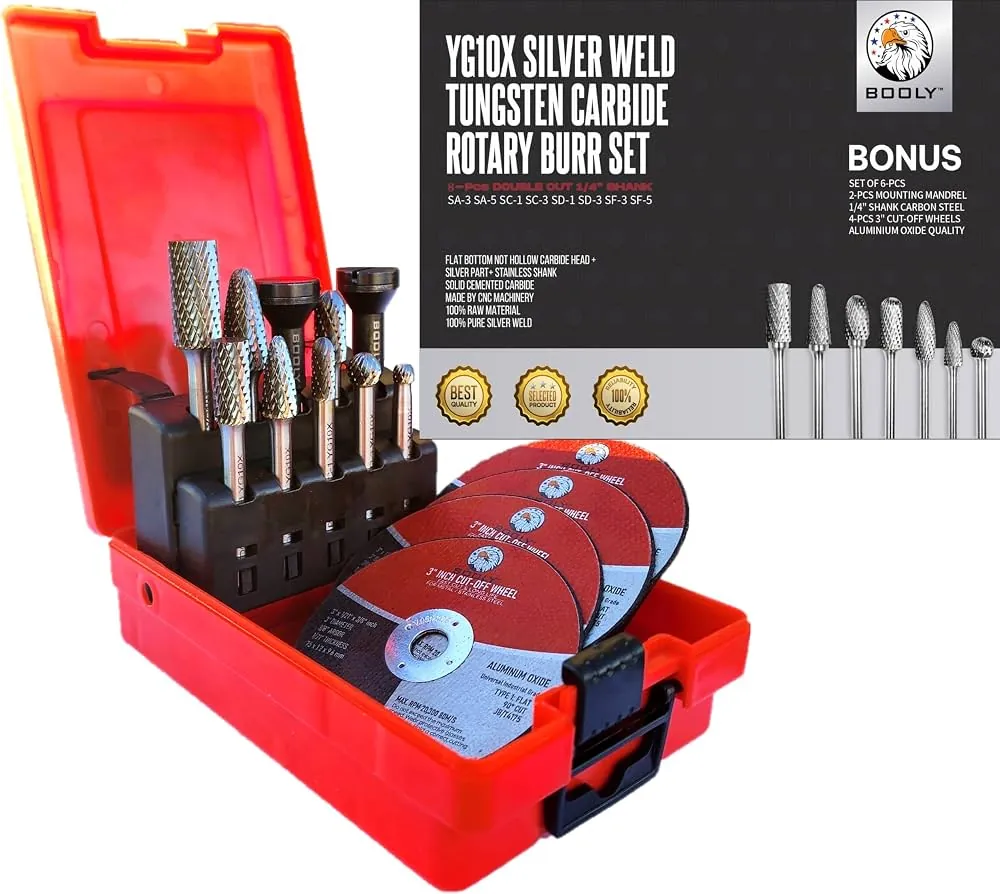
Selecting the correct carbide burr is the most critical step in the grinding process. Burrs come in various geometries, each designed for specific tasks. A cylindrical burr is ideal for flat surfaces and edges, while a ball-nosed burr excels at reaching into tight radii or concave joints. For general weld cleanup, a tree-shaped or flame-shaped burr provides the versatility needed to transition between flat sections and corners.
| Burr Shape | Best Application | Material Compatibility |
|---|---|---|
| Cylindrical | Flat surfaces and edges | Steel, Stainless, Aluminum |
| Ball-Nosed | Concave joints and corners | Steel, Stainless |
| Tree-Shaped | Contoured surfaces and tight gaps | Steel, Cast Iron |
| Flame-Shaped | Intricate detail and blending | All metals |
How to Grind Welds With a Die Grinder
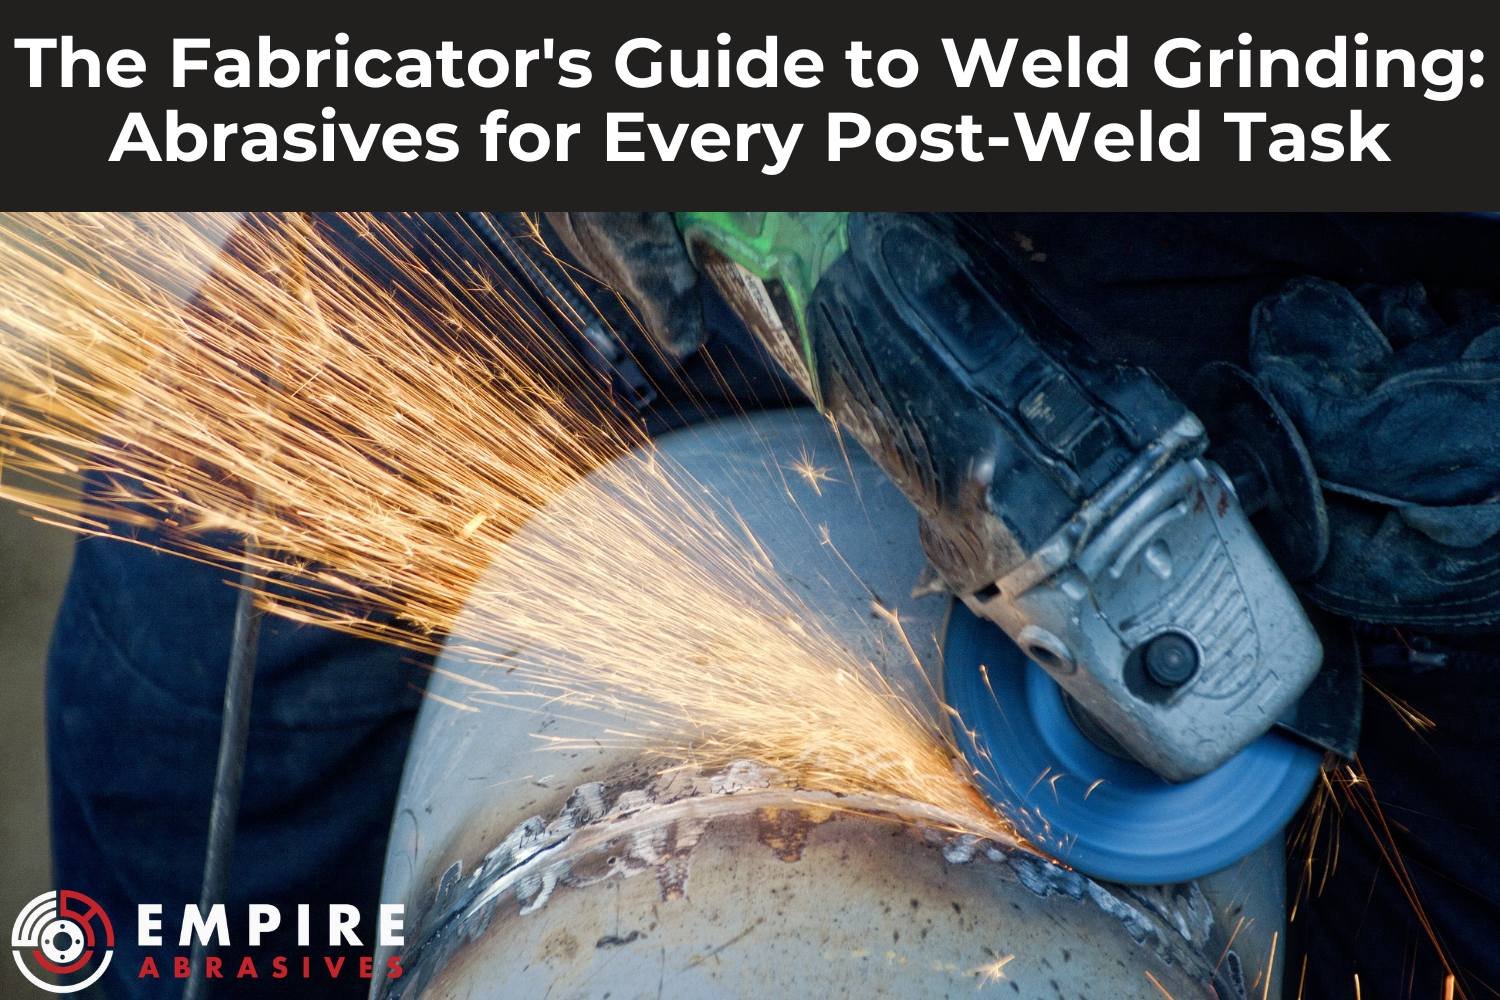
To begin, secure your workpiece firmly to a welding table using C-clamps or a bench vise. Hold the die grinder with both hands, using your dominant hand to control the trigger and your secondary hand to stabilize the nose of the tool. Position the burr at a slight angle to the weld bead. Start the grinder before the burr touches the metal, then apply gentle pressure while moving in a consistent, sweeping motion.
Warning: Never force the grinder into the weld, as this can cause the burr to grab, leading to dangerous kickback and deep gouges in your workpiece.
Managing Heat and Vibration
Excessive heat is the enemy of both your tools and the metal you’re working on. When you grind for too long in one spot, the localized heat can cause warping, especially on thin-gauge materials. To mitigate this, move the grinder constantly rather than dwelling on a single point.
If the burr begins to vibrate or “chatter,” it’s often a sign that your speed is too low or your grip is too loose. Increasing the tool’s RPM or tightening your stance will usually resolve this.
Finishing Tips for Professional Results
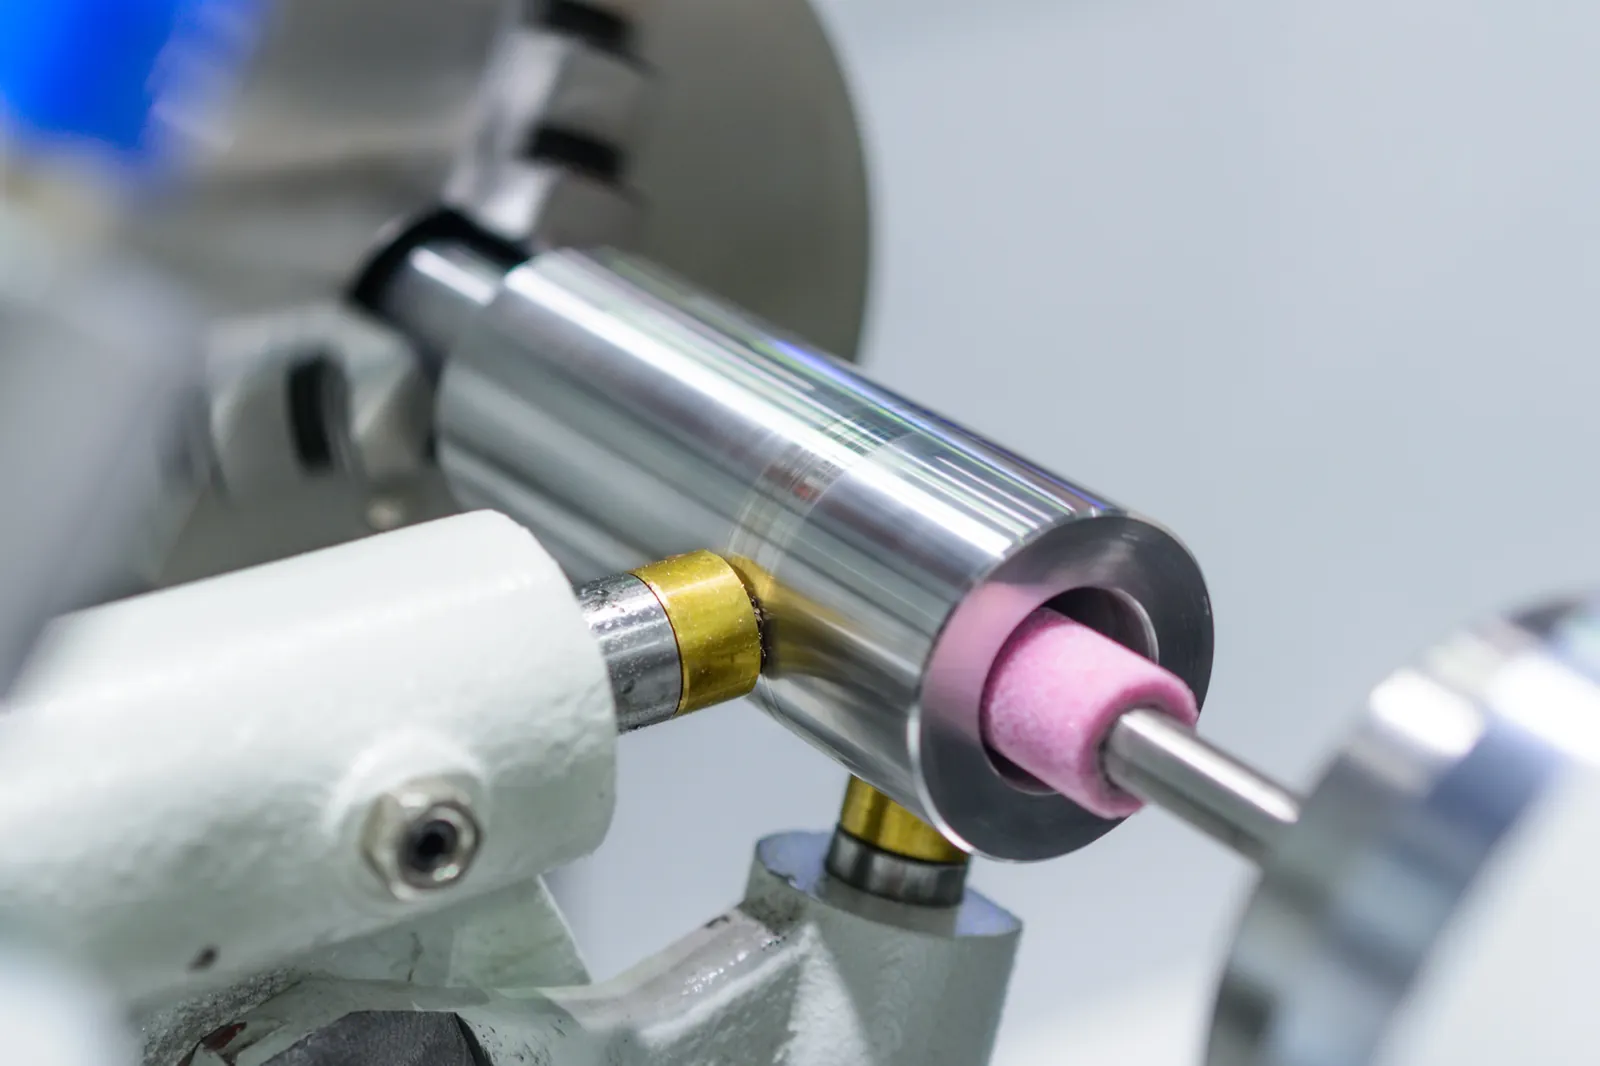
Once the bulk of the weld reinforcement is removed, switch from a coarse-cut burr to a finer-cut or “double-cut” burr for smoothing. After the burr work is done, transition to abrasive flap wheels or sanding discs to remove any remaining burr marks.
These tools are far more forgiving and will leave a uniform, brushed finish that’s ready for paint or powder coating. For the final polish, utilize a non-woven surface conditioning disc to achieve a seamless blend between the weld and the surrounding base metal.
Essential Safety Gear Requirements
The high speeds of a die grinder generate significant debris. Beyond standard glasses, consider a full-face shield if you’re working in a confined space. A high-quality N95 or P100 respirator is also mandatory, as metal dust—particularly from stainless steel—can be hazardous when inhaled over long periods.
| Gear Item | Purpose | Selection Criteria |
|---|---|---|
| Safety Glasses | Eye protection | ANSI Z87.1 rated |
| Respirator | Dust inhalation | N95 or P100 rating |
| Leather Gloves | Heat and spark protection | Gauntlet style preferred |
| Hearing Protection | Noise reduction | 25+ NRR rating |
How to Clean Clogged Burrs
If you’re working with aluminum or softer alloys, your burrs will likely “load up” with metal, rendering them ineffective. To clean a clogged carbide burr, soak it in a small container of solvent or use a specialized wire brush to pick the metal debris out of the flutes.
Pro Tip: If you’re grinding aluminum, applying a small amount of beeswax or dedicated aluminum cutting fluid to the burr flutes before starting will significantly reduce the rate at which the tool clogs.
Troubleshooting Common Grinding Issues
- Tool stalling: Usually caused by too much pressure or an inadequate air supply for pneumatic grinders.
- Deep gouges: Occurs when the burr is held at too steep an angle or the tool is moved too slowly.
- Blueing of metal: A sign that you’re moving too slowly or applying excessive heat to the area.
- Excessive chatter: Often caused by a dull burr or loose workpiece clamping.
Maintaining Your Die Grinder
Regular maintenance extends the life of your equipment. For pneumatic grinders, ensure you add a few drops of air tool oil into the intake port before every use. This keeps the internal vanes lubricated and prevents rust from forming inside the motor. For electric models, keep the cooling vents clear of metal dust by blowing them out with compressed air after every session. A well-maintained tool will run cooler and provide a more consistent finish on your welds.
Related guides
- Best Cordless Die Grinders: What to Compare Before You Buy
- 10 Best Die Grinders for Metalworking, Auto Repair, and Shop Use
- 10 Best Pneumatic Die Grinders for Auto Repair and Metalworking
Frequently Asked Questions
Is it better to use a grinder or a file for welds?
A die grinder is superior for removing large amounts of excess weld material quickly and efficiently. Files are generally better for final precision work or small touch-ups where you need absolute control. Using a die grinder for the heavy lifting saves significant time and physical labor, while a file or hand-sanding block is better suited for the delicate work of achieving a final, flat surface finish.
Why does my burr keep jumping?
A jumping or bouncing burr is typically caused by holding the tool too loosely or using a burr that’s too large for the surface area. Ensure your workpiece is clamped rigidly and you’re gripping the grinder with both hands. If the burr is dull, it will also struggle to bite into the metal, leading to skipping. Always replace damaged or worn-out carbide burrs promptly.
Can I use a die grinder on stainless steel?
Yes, you can use a die grinder on stainless steel, but you must use specialized abrasives and burrs to avoid cross-contamination. Using a burr that has previously been used on mild steel can embed carbon into the stainless, leading to rust. Always keep a set of “stainless-only” grinding accessories to maintain the corrosion resistance of your project and ensure the metal stays clean and bright.
What speed should my die grinder run?
Carbide burrs perform best at high speeds, typically between 15,000 and 25,000 RPM. If your grinder has a variable speed control, start at a lower setting to get a feel for the tool, then increase it until you feel the burr cutting smoothly without excessive vibration. Running the tool too slowly will cause the burr to chip, while running it too fast can lead to overheating the tool.
How do I know when the burr is dull?
A dull burr will stop “pulling” itself into the cut and will instead start to slide or chatter across the metal surface. You’ll notice that you have to apply more pressure to remove the same amount of material as before. If you see chipped flutes or flattened edges on the cutting teeth, it’s time to discard the burr and switch to a fresh one for safety.
Conclusion
Once you have mastered the basics of weld cleanup, your next step should be to practice on scrap metal of varying thicknesses to develop your muscle memory for pressure and angle control. Start by creating a flat surface on a simple T-joint and work your way up to blending radius corners, which will drastically improve the overall quality of your future fabrication projects.