Fix Hammer Drill Chuck Slipping With These Simple Steps
A hammer drill chuck slipping usually happens because the bit isn’t tightened enough, the jaws are worn down, or the drill is being used in the wrong mode for the task. You can fix this by cleaning the chuck, ensuring the bit is seated properly, and checking that the torque setting matches your material.
Why your hammer drill chuck keeps slipping
When you notice your tool losing its grip, it’s rarely a complex mechanical failure. Most issues stem from user error or simple debris buildup that prevents the chuck from locking onto the shank of the bit.
- Debris buildup: Dust and grit inside the chuck prevent the jaws from closing tightly around the bit.
- Worn jaw teeth: Over time, the internal teeth lose their sharp edges and can no longer bite into the metal of the drill bit.
- Improper bit insertion: If the bit isn’t pushed all the way to the back of the chuck, the jaws only grip the very tip, which leads to wobbling and slipping.
- Incorrect torque: Using a high-impact setting on a delicate material can cause the chuck to release its grip due to excessive vibration.
How to Tighten and Clean the Chuck
If you’re dealing with a keyed chuck, you must tighten it using all three holes on the side of the chuck body. This ensures even pressure across the bit shank. For keyless models, you’ll feel a clicking sound or a distinct resistance; don’t stop until you hear those clicks, as that indicates the locking mechanism is engaged.
- Remove the bit: Open the jaws fully and inspect the inside for caked-on concrete dust or metal shavings.
- Clean the internal parts: Use a can of compressed air to blow out any loose debris from the jaw area.
- Inspect the jaws: Look for rounded or flattened teeth that might be unable to grip the round shank of your bits.
- Insert the bit fully: Push the bit deep into the center of the jaws until it hits the back stop.
- Tighten firmly: For keyless chucks, hold the rear collar while rotating the front sleeve until you feel the final locking resistance.
- Test the grip: Try to pull the bit out by hand; it should remain perfectly still if your grip is secure.
Tip: Avoid using pliers to force a keyless chuck tighter, as this can crack the plastic outer housing or damage the internal ratcheting mechanism.
Comparison of Chuck Types and Issues
| Chuck Type | Common Issue | Best Fix |
|---|---|---|
| Keyed | Key holes get jammed | Clean with a small wire brush |
| Keyless | Sleeve won’t lock | Check for internal debris |
| SDS-Plus | Bit falls out | Clean the locking ball slots |
Keyed chucks rely on precise gear teeth. If you ignore grit buildup, the key will slip, rounding off the teeth and rendering the chuck useless. Always wipe the key clean before insertion.
Keyless chucks often seize because of fine concrete dust. If the sleeve refuses to turn, spray a dry PTFE lubricant inside while rotating the chuck by hand. Never use heavy grease, as it traps more debris.
For SDS-Plus systems, the locking ball must move freely. If the bit wobbles, inspect the retaining slots for metal shavings. If the ball fails to snap back, the internal spring is likely fatigued. Replace the entire chuck assembly before the bit ejects during high-torque operation.
When to Seek Professional Repair
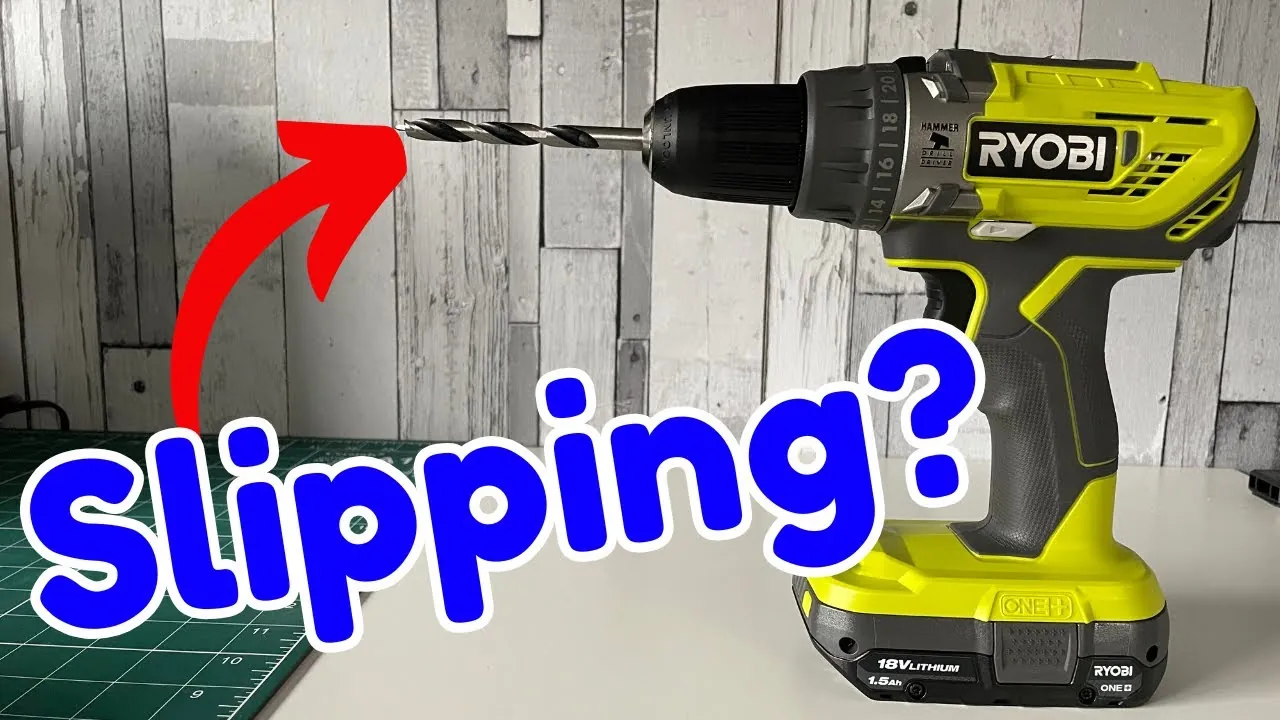
If you have cleaned the chuck and tightened the bit properly, but the slippage continues, the internal mechanism is likely stripped.
If the jaws don’t move smoothly or the chuck wobbles when the motor is running, the internal threads or the spindle connection are likely compromised. Test this by inserting a drill bit and applying light lateral pressure; if the bit shifts more than two millimeters, the internal tolerance is gone.
Don’t attempt to disassemble the motor housing or the chuck itself if it’s a sealed unit. These parts are under high spring tension and require specific tools to reassemble safely. Attempting to pry these open often results in flying debris that can cause permanent eye damage. Always prioritize a stable connection over a temporary fix.
Related guides
- Cordless Drill Chuck Keeps Slipping: How to Fix the Grip
- Corded Drill Chuck Slipping? Causes, Checks and Easy Fixes
Frequently Asked Questions
Can I use a lubricant to make the chuck turn easier?
No, you should never use oil or grease inside a drill chuck. Lubricants attract dust and grit, which creates a paste that causes the internal jaws to stick and slip more often.
Does the type of drill bit shank matter?
Yes, using a smooth round shank in a hammer drill is less secure than using bits designed with flats or SDS grooves. Always match your bit shank style to the specific chuck design on your drill.
Is it safe to keep using a drill that slips?
No, a slipping bit can suddenly eject from the drill, which is a major safety hazard. If the bit slips, stop immediately and verify that the chuck is fully tightened and the bit shank isn’t damaged.
Conclusion
Check your drill bit for visible wear or rounded shanks, as a damaged bit will slip even in a brand-new, perfectly working chuck. If the bit is in good condition, replace the chuck assembly or the entire drill to maintain a secure connection for your drilling tasks.