How to Tell If a Corded Drill Needs New Carbon Brushes: Fixes
You can tell if a corded drill needs new carbon brushes by checking for power loss or sparking, which indicate the brushes no longer press firmly against the commutator. Stop using the tool immediately to avoid permanent damage. You can inspect the brushes yourself by removing the caps to see how much carbon remains on each block.
Signs your corded drill needs new carbon brushes
This tells you what the symptoms you noticed usually mean.
| What you notice | What it usually means | What to do first |
|---|---|---|
| Drill loses power under load | Brushes can’t carry full current | Check brush length |
| Motor sparks inside the housing | Arcing at the commutator | Stop and inspect brushes |
| Smell of burning from the motor | Brushes overheating | Unplug and open brush caps |
| Drill starts and stops on its own | Brush contact is intermittent | Unplug and inspect brush seating |
| Drill won’t start at all | Brushes worn below minimum length | Remove and measure both brushes |
| Loud grinding or rattling from motor | Brush holder or spring problem | Inspect brush springs |
If your brushes measure less than one-quarter inch in length, they’re effectively spent. Replace them immediately. Continuing to run the tool with short brushes causes the spring to score the copper commutator, turning an inexpensive repair into a total motor failure.
Check the color of the brush face. A healthy brush is smooth and dark gray. If you see a blue or burnt tint, the motor is overheating due to excessive friction or poor electrical contact.
If your drill is a cordless model, verify the battery voltage before blaming the brushes. A dying battery often mimics the intermittent power loss associated with worn contacts. If the battery holds a full charge but the motor still hesitates, the brushes are the definitive culprit.
The most common cause: brushes worn too short
Carbon blocks are made of soft material that rubs against the commutator every time the drill runs. As they get shorter, the spring inside the brush holder can no longer push them hard enough against the spinning contacts, so the motor loses power and sparks. This happens gradually, so the drill often still works while it’s already failing.
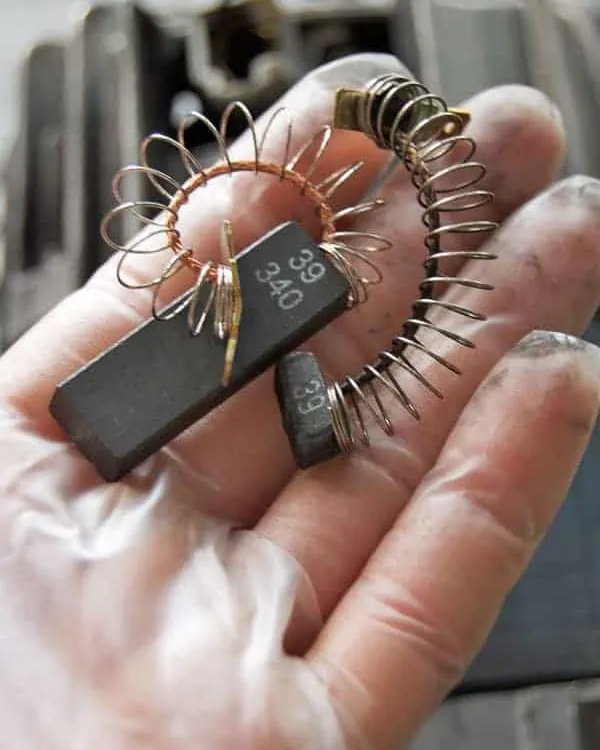
Check it without tools: unplug the drill, unscrew the two brush caps on the motor housing, and pull each brush out. If the carbon block is shorter than about a quarter inch, or if it looks cracked, chipped, or burned, replace both brushes as a pair. Never replace just one, as uneven pressure causes the motor to vibrate and ruins the commutator surface.
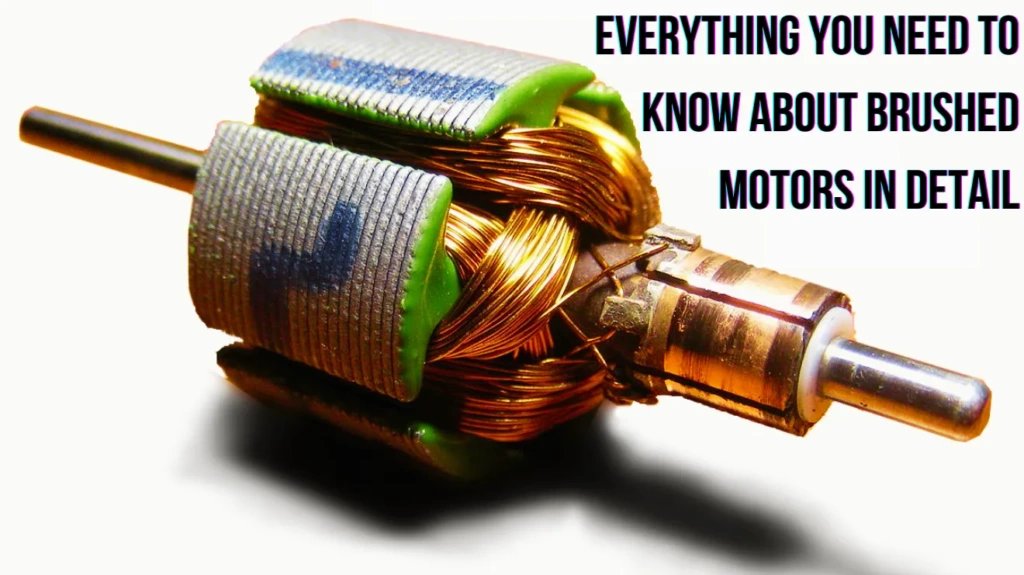
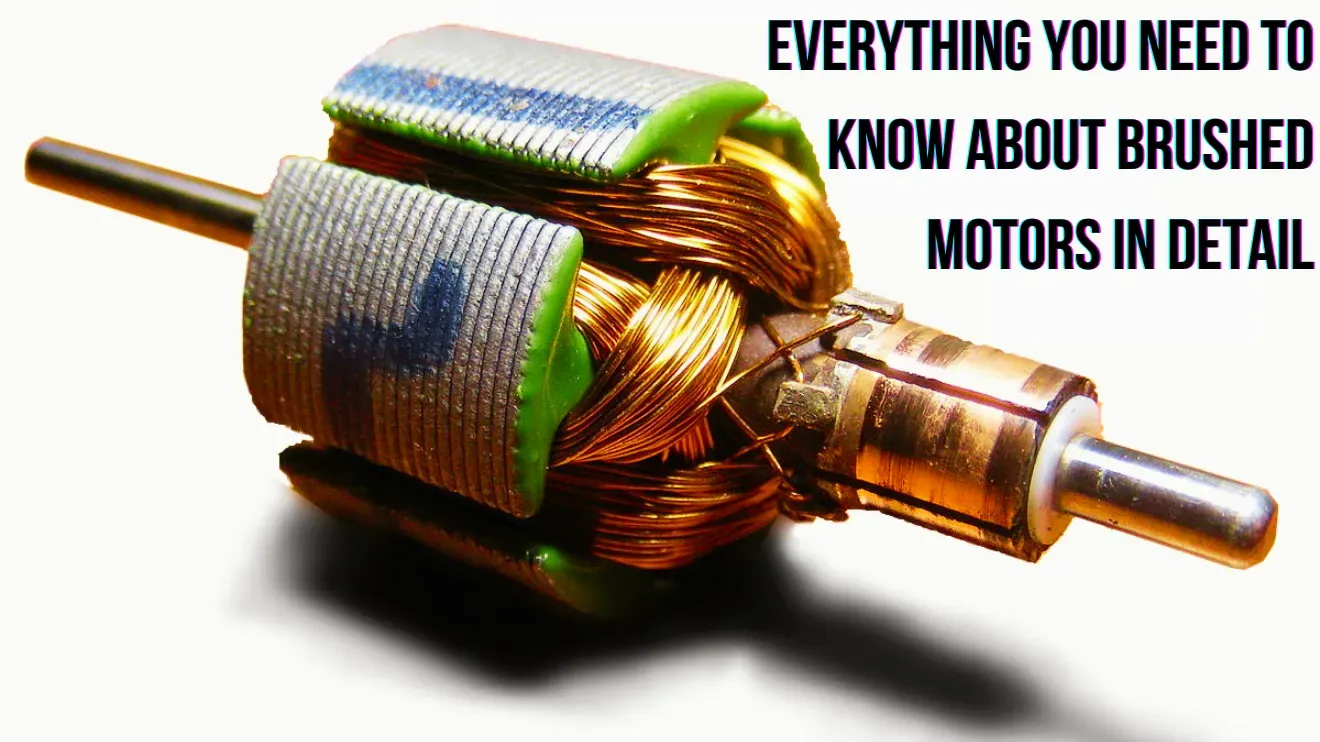
If you see a dark, charred ring around the commutator copper, clean it with a pencil eraser before installing new brushes. If the copper looks pitted or deeply grooved, the motor is likely beyond a simple brush fix. Put the caps back on, plug the drill in, and run it at no load for ten seconds. The sign it worked is smooth running with no sparks visible through the vents and full power when you press the trigger.
A different cause: a broken brush spring
Sometimes the carbon itself still looks long enough, but the small spring behind it has lost tension or snapped. Without spring pressure, the brush lifts off the commutator as soon as the drill works hard, causing the same power loss and sparking as a worn brush. The drill may run fine when you hold it in the air but die the moment you start drilling.
Unplug the drill and remove the brush caps. Press each carbon block gently with your finger; it should spring back immediately when you let go. If one brush stays pushed in or feels loose, its spring is broken or missing. Replace that brush assembly, or the whole holder if the spring isn’t sold separately. Run the drill under light load afterward; steady speed without cutting out means the fix worked.
You tell this apart from worn brushes because the carbon still has length on it. If the carbon block is shorter than a quarter-inch, the spring is likely fine and the brush is simply exhausted. If the block is long but the spring feels mushy or limp, the spring has lost its temper from heat.
A common mistake is stretching the old spring to regain tension. This only works for a few minutes before the metal fails entirely, often causing the spring to shatter and score the commutator. If the spring is deformed, replace the entire assembly. Always buy the manufacturer’s specific part, as spring tension is calibrated to the motor’s exact RPM.
A less common cause: a dirty or damaged commutator
Copper segments on the commutator can get coated with carbon dust, or one segment can wear unevenly. Even new brushes can’t make good contact on a dirty surface, so the drill sparks and loses power just as it would with old brushes. This usually appears after years of heavy use, or right after someone installed new brushes that still spark.
Look through the motor vents with a flashlight while someone slowly turns the chuck by hand with the drill unplugged. Dark streaks, burnt spots, or raised copper bars on the commutator confirm this cause. Clean light carbon dust with electrical contact cleaner and a lint-free cloth; deep pitting or uneven bars means a motor repair shop needs to resurface or replace the armature. The drill runs smoothly and spark-free at no load when the surface is good again.
This differs from the first two causes because the brushes and springs may be brand new — the fault is on the copper they press against, not on the brushes themselves.
Stop and get help with your corded drill
These signs mean stop now and take the drill to a repair shop:
Smoke comes from the motor or the housing melts. This indicates internal windings are failing, which can lead to a total motor burnout.
You see large sparks shooting out of the vent slots. Persistent arcing risks a fire or a severe electrical shock.
The drill trips a circuit breaker or blows a fuse every time you start it. This confirms a short circuit inside the motor windings.
The brush caps are seized and won’t turn. Forcing them usually cracks the plastic motor housing, rendering the tool irreparable.
You have replaced both brushes and the drill still sparks or loses power. The commutator or armature likely requires professional machining.
Once you open the motor beyond removing brush caps, you’re past a safe do-it-yourself job. Take the tool to an authorized service center or a qualified technician.
If the drill smells like ozone or burning plastic, stop immediately. Running it for even ten more seconds can weld the internal bearings to the shaft, turning a simple repair into a total loss. Never attempt to bypass a tripped breaker by switching to a higher-rated fuse, as this risks a structural fire.
Frequently asked questions
Can I replace just one carbon brush?
No. Replace both brushes as a pair so pressure on the commutator stays even and one new brush doesn’t wear down faster than the old one.
Why does my corded drill spark inside?
Small sparks near the brushes are normal, but large or constant sparks mean worn brushes, a broken spring, or a damaged commutator — unplug it and inspect.
How long do carbon brushes last?
There’s no fixed mileage; it depends on how hard you run the drill and how often. Check them every six months of regular use, or sooner if you notice power loss.
Is it safe to use a drill with worn brushes?
It isn’t safe for the tool to use a drill with worn brushes, as arcing will damage the commutator regardless of the task.
What happens if I ignore worn brushes?
The motor loses power, the commutator gets pitted by arcing, and eventually the drill won’t start or the armature must be replaced.
Does brush length matter?
Yes. Below about a quarter inch of carbon, the spring can’t hold the brush firmly against the commutator, and the drill loses power under load.
Conclusion
Carbon brushes are a wear item, not a sign the drill is finished. Check them when you first notice power loss, replace them in pairs, and stop if you see smoke or large sparks.