How to Remove Grout with an Oscillating Tool Without Damaging Tile
To remove grout with an oscillating tool without damaging tile, you must use a carbide-grit blade and keep the tool moving in a straight, shallow line at a low speed. You’ll need to hold the tool steady to avoid hitting the tile edges, which can easily chip or crack if the blade makes direct contact.
How to remove grout using an oscillating tool
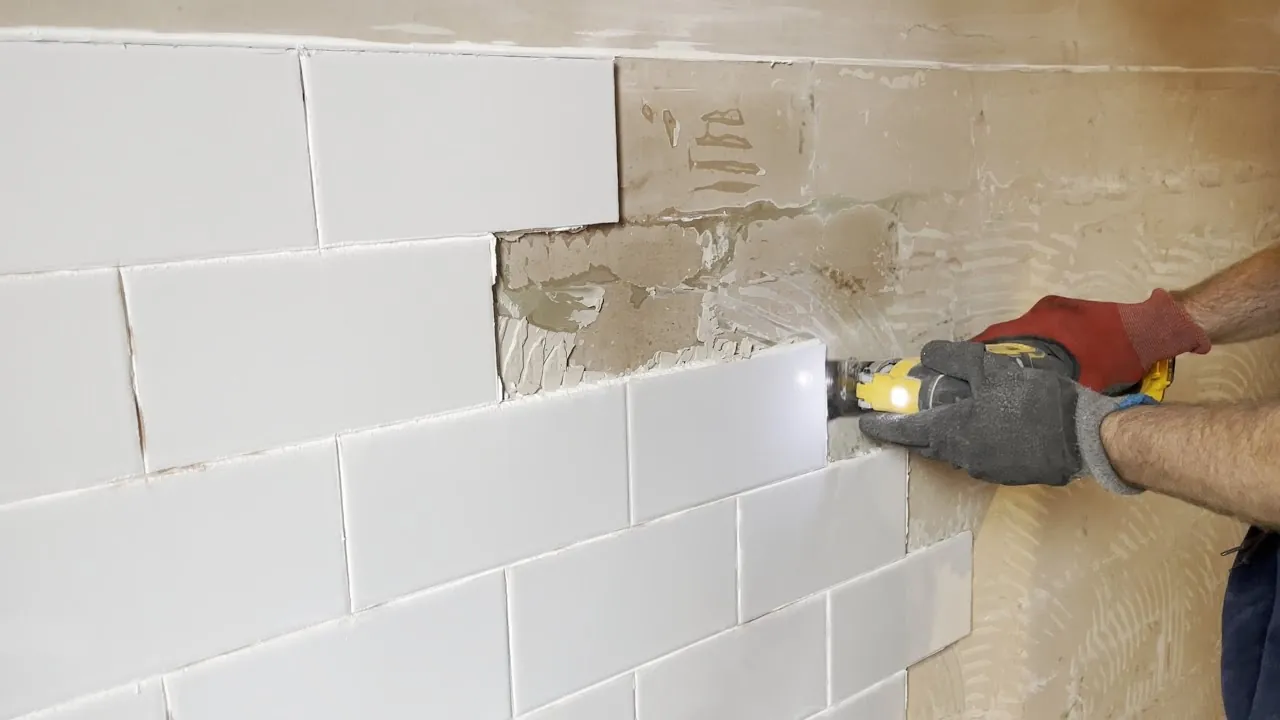
Removing grout requires patience and a steady hand to protect your tile finish. Follow these steps to clear the joints effectively while avoiding unnecessary damage to the surrounding surfaces.
Equip a carbide-grit or diamond-coated semi-circle blade designed for grout removal. These blades are thin enough to fit between standard tiles and resist shattering. Avoid standard metal saw blades, which lack the necessary hardness for ceramic or porcelain.
Start your oscillating tool on its lowest speed. You gain better control at lower settings, preventing the blade from skipping out of the joint and onto the tile face. If the tool vibrates excessively, you’re likely pushing too hard; let the abrasive grit do the cutting.
Place the blade into the center of the grout line. Keep the tool perfectly vertical. If the blade tilts, you risk chipping the edges of the tile, a mistake that often forces a full tile replacement.
Apply light, downward pressure. Move the tool slowly along the grout line. If you encounter resistance, stop and check for debris or hardened mortar chunks. Forcing the tool forward is the primary cause of cracked tiles.
Only cut as deep as the thickness of the tile. Going deeper risks severing the waterproof membrane or damaging the subfloor. If you’re working on a shower floor, err on the side of caution; a shallow cut is always safer than a deep one.
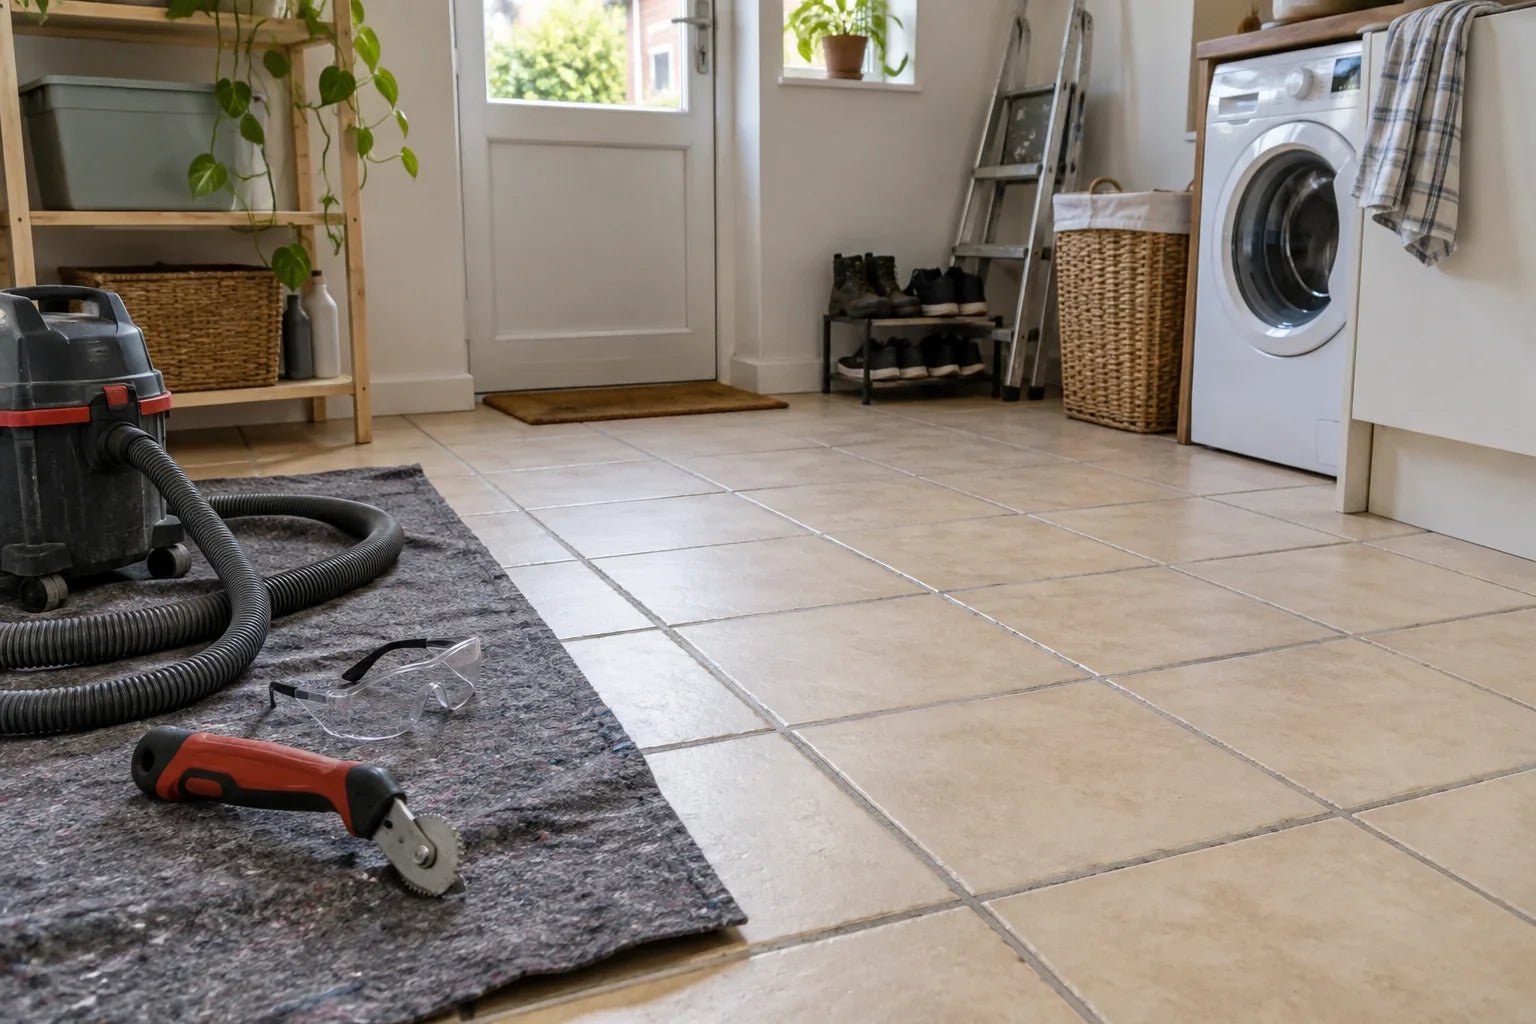
Use a shop vacuum to remove dust frequently. Seeing the joint clearly helps you stay centered. If you can’t see the bottom of the joint, stop and clear the dust, or you’ll accidentally grind into the side of a tile.
Time and Tool Requirements
The time required to clear grout depends on the hardness of the grout and the length of the lines you’re clearing. Use this table to manage your expectations for the project.
| Grout Type | Estimated Time (per 10 linear feet) | Blade Type |
|---|---|---|
| Sanded Grout | 15–20 minutes | Carbide Grit |
| Unsanded Grout | 10–15 minutes | Carbide Grit |
| Epoxy Grout | 30–45 minutes | Diamond Blade |
If your grout line is wider than 1/4 inch, expect to double these estimates. A wider joint requires multiple passes to reach the required depth without chipping the tile edges.
Many beginners make the mistake of using a standard oscillating multi-tool blade for epoxy grout. This will dull the blade in under three feet, forcing you to replace it constantly. If you encounter a rubbery, plastic-like texture when scraping, stop immediately. You’re dealing with epoxy and must switch to a diamond-coated blade to avoid overheating your tool motor.
Always wear safety glasses and a dust mask. Grout dust is fine and airborne, which can cause significant irritation to your lungs and eyes during the removal process.
Common Mistakes to Avoid
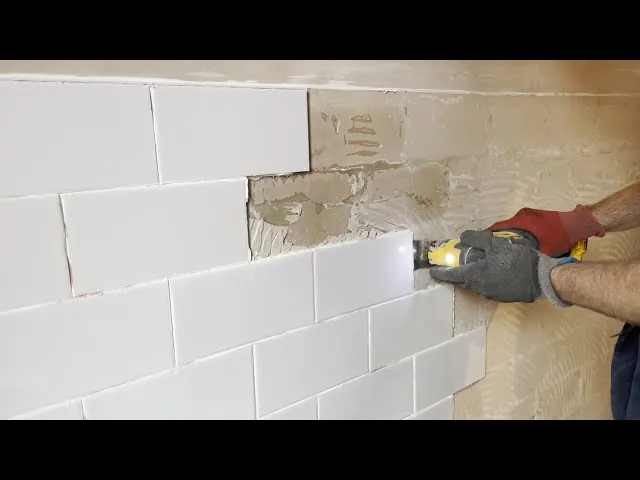
Most damage occurs when the operator loses focus or tries to work too quickly. If the blade starts to vibrate excessively, stop immediately and check that the blade is still tight in the tool head.
Another mistake is tilting the tool. Even a slight angle causes the edge of the blade to dig into the tile, which creates small chips that you can’t repair. Keep the tool base flat against the surface at all times. If you feel the tool pulling to one side, you have likely shifted your wrist angle.
Don’t try to remove all the grout in one pass. It’s safer to make two or three shallow passes to reach the desired depth rather than pushing the tool to the bottom of the joint in one go. If the grout is deeper than 1/4 inch, increase your pass count to four. Pushing too deep at once risks cracking the surrounding tile edges under the lateral pressure.
Related guides
Frequently Asked Questions
Can I use a standard metal cutting blade for this?
No, you should never use a standard metal cutting blade. These blades are too thick and aggressive, which will almost certainly cause the edges of your tiles to chip or shatter upon contact.
How do I know if I have gone too deep?
You have gone too deep if you hit the concrete backer board or the wood subfloor. Stop as soon as you feel the resistance change, as hitting the substrate can compromise the structural integrity of your floor.
What should I do if I accidentally chip a tile?
If you chip a tile, you’ll need to fill the gap with a color-matched epoxy or grout repair kit. While these fixes can hide small nicks, they’re rarely invisible, so preventing the damage is 3 times more important than fixing it.
Conclusion
Before you begin, practice on a spare piece of tile clamped to your workbench to get a feel for the tool’s vibration and control. Once you’re comfortable with the speed and depth, move to the actual floor or wall to finish the job carefully.