Electric Screwdriver Torque Settings Explained: How to Adjust Them
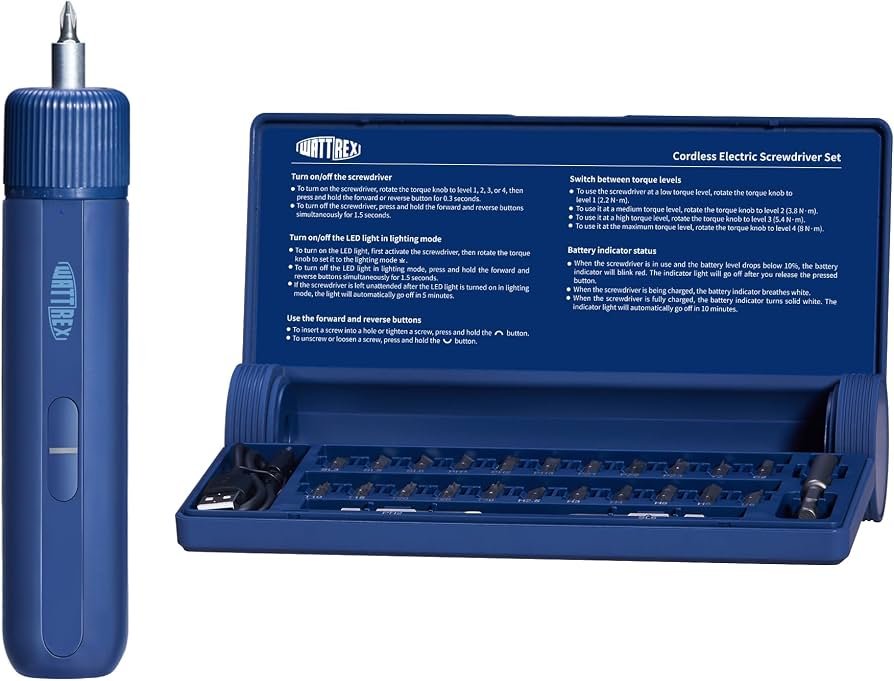
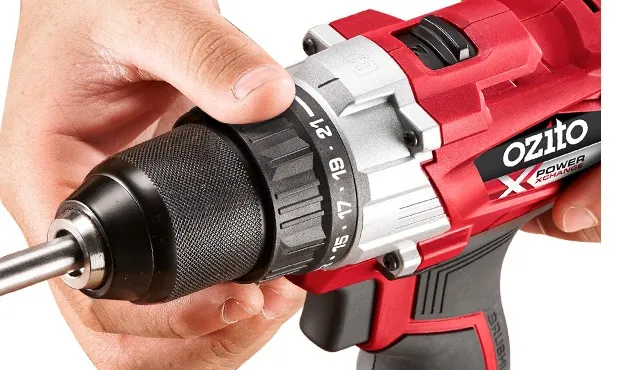
You adjust an electric screwdriver by rotating the collar behind the chuck to match the torque setting to your fastener and material. Higher numbers provide more force for large screws, while lower numbers prevent damage to delicate surfaces or small hardware.
How to Adjust Electric Screwdriver Torque Settings
Torque is the rotational force your tool applies to a screw. On most power tools, a numbered collar limits how much force the motor delivers before the clutch slips. This prevents you from driving a screw too deep or stripping the head. If you’re working with soft wood or plastic, you should use a low setting to avoid cracking the material.
For dense hardwoods or long screws, a higher setting ensures the fastener sinks flush without the motor stalling. A common misconception is that a higher number always means better performance, but using excessive torque on small screws often snaps them or ruins the thread.
How to Set Your Tool
- Test on scrap: Always drive a test screw into a piece of scrap material that matches your project.
- Start low: Begin at the lowest number on the collar.
- Drive the screw: Pull the trigger and watch how the screw sinks into the wood.
- Adjust upward: If the screw stops before it’s flush, rotate the collar to the next number.
- Check the depth: Continue testing until the screw head sits perfectly level with the surface.
- Lock it in: Once the screw is flush without the clutch “clicking” too early, you have found the right setting.
If the tool makes a loud clicking sound while the screw is still sticking out, you must increase the torque. If the screw head disappears into the wood, the torque is too high. If you’re using a tool with a high power rating, follow the safety guidelines from the Consumer Product Safety Commission to ensure you maintain control while operating the drill.
Quick Reference Table
| Material | Setting Range | Typical Fastener | Watch For |
|---|---|---|---|
| Soft wood | 1–5 | Small wood screws | Surface dimples |
| Plastic | 1–3 | Fine machine screws | Cracking |
| Hardwood | 6–12 | Deck screws | Heat buildup |
| Metal | 8–15 | Sheet metal screws | Stripped threads |
| Dense composite | 10–18 | Heavy lag bolts | Motor stall |
Achieving Consistent Results
Experienced users focus on the sound and feel of the tool. When the clutch clicks, it acts as a mechanical release, telling you that the desired force has been reached. Beginners often ignore this sound and keep pulling the trigger, which forces the bit to jump out of the screw head. This mistake ruins both the bit and the screw.
If you’re working on a long series of identical tasks, stop periodically to check that the screws are still seating correctly. Temperature and battery charge levels can slightly change how a tool performs over time. Keep your hand steady and apply firm, even pressure to the back of the tool to ensure the bit stays fully seated in the screw head.
Troubleshooting Common Issues
| What you notice | What it means | What to do first |
|---|---|---|
| Screw won’t sink | Torque too low | Turn collar to higher number |
| Screw head strips | Too much force | Decrease torque setting |
| Motor stops early | Clutch is slipping | Increase torque setting |
| Bit jumps out | Too much pressure | Hold tool straighter |
If the screw head strips, you have likely set the torque beyond the fastener’s material limit. Immediately stop driving to avoid stripping the threads inside the hole, which makes extraction nearly impossible.
When the motor stops early, verify you aren’t using an extension bit. Extensions absorb torque and trick the clutch into engaging prematurely.
Always test your setting on a scrap piece of the same material before starting your final project. If the screw sinks flush with the surface without marring the wood, your torque is dialed in. If it countersinks too deep, back the collar off one notch to prevent structural damage to the surrounding fibers.
Regulations and Safety Limits
Local safety standards often dictate that handheld power tools must have an accessible clutch adjustment to prevent injury from sudden rotational kicks. If you’re using a tool in a professional environment, consult the manufacturer’s manual for the specific torque values in Newton-meters (Nm) or inch-pounds (in-lbs). Never attempt to modify the internal clutch spring yourself, as this can void the warranty and create a safety hazard. If your tool requires internal repairs, take it to an authorized service center.
Tool Maintenance Tips
Clean your tool after every project to keep the adjustment collar moving smoothly. Dust and debris can get trapped inside the ring, making it difficult to turn or causing the clutch to stick. Wipe the exterior with a dry cloth and store the tool in a cool, dry place. If the collar feels stiff, a very light application of silicone lubricant may help, but check your manual first to ensure it doesn’t damage internal plastic components.
When to Use Other Tools
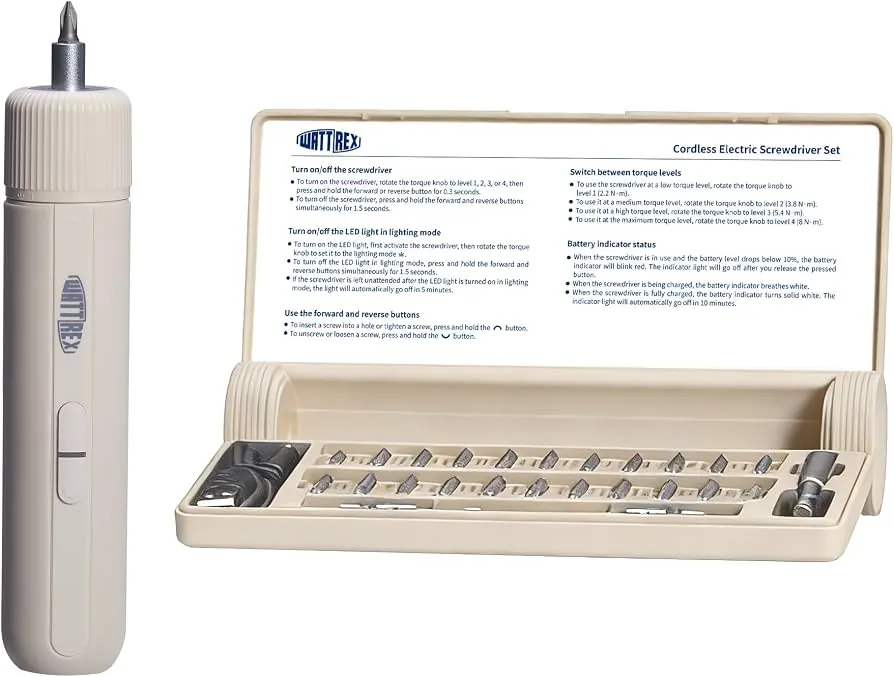
If you’re working with very small electronics, a standard electric drill might be too powerful even on the lowest setting. In these cases, use a dedicated precision screwdriver. For large structural projects like framing a house, a high-torque impact driver is often better than a clutch-based drill.
Impact drivers don’t use a clutch; they use concussive force to drive fasteners. Use an impact driver only when you need maximum power and speed, not when you need to prevent damage to delicate surfaces.
Related guides
Frequently asked questions
Can I use my drill on any material?
Yes, but you must adjust the torque and speed to match the density of the material. Use low torque for soft materials like pine or plastic, and high torque for hardwoods or metal.
How do I know if my torque is too high?
You’ll know the torque is too high if the screw head sinks below the surface or if the drill damages the surrounding material. Always test on a scrap piece first.
How long should a battery-powered drill last?
It varies based on the battery capacity, usually measured in Amp-hours (Ah), and the intensity of the work. Check the indicator light on your battery pack to see the remaining charge level.
Is it safe to use a drill for long screws?
Yes, it’s safe as long as you use a high-torque setting and a pilot hole. A pilot hole prevents the wood from splitting and makes the driving process much easier.
What happens if I set the torque too low?
The clutch will slip and make a clicking sound before the screw is fully driven. Simply increase the number on the adjustment collar and try driving the screw again.
How do I stop the bit from slipping?
Ensure you’re using the correct bit size for the screw head and apply firm forward pressure. If the bit still slips, the screw head might be damaged or the wrong size.
Conclusion
Always verify your specific model’s manual for the exact torque range, as the numbers on the collar represent relative force rather than universal units. Proper adjustment ensures your fasteners stay secure and your materials remain undamaged during assembly.