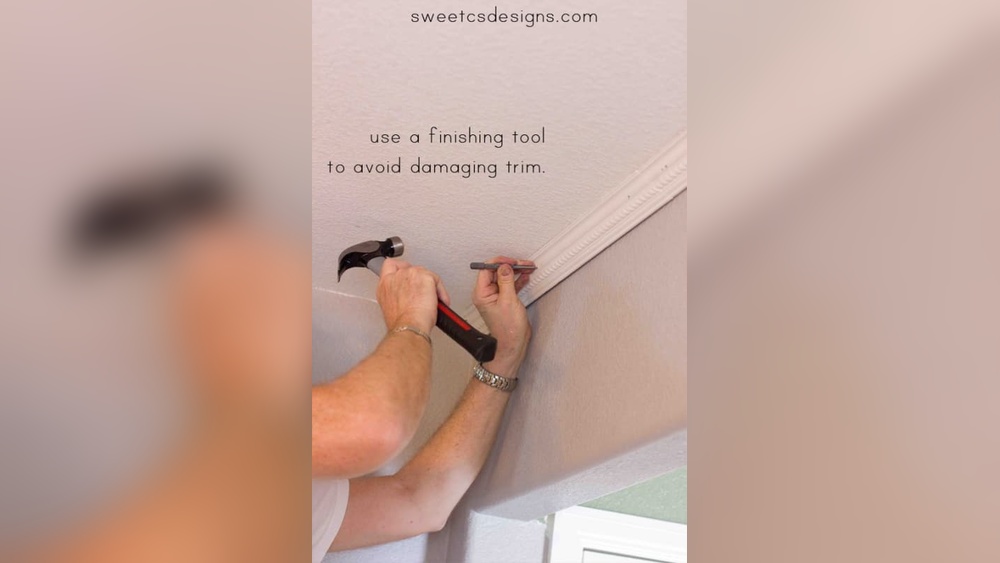
How to Put Up Trim Without a Nail Gun: Easy DIY Tips
Putting up trim without a nail gun might sound tricky, but it’s easier than you think. If you want a clean, professional look for your room without spending extra on tools, you’re in the right place.
This guide will show you simple, effective ways to get the job done using tools you likely already have. Stick with me, and you’ll learn how to make your walls look sharp and polished—no fancy equipment needed. Ready to transform your space?
Let’s dive in.
Choosing The Right Trim Materials
Choosing the right trim materials is key to a smooth installation without a nail gun. The right materials make the process easier and ensure lasting results. Not all trim types work well with manual methods. Picking quality wood adds strength and beauty to your project.
Types Of Trim Suitable For Manual Installation
Some trim types are better for manual installation. MDF trim is soft and easy to cut. It holds nails well without splitting. Pine trim is lightweight and affordable. It is simple to shape and install by hand. Avoid hardwood trims. They are dense and hard to nail without power tools. Choose trims that are light and have straight grains.
Selecting Quality Wood For Durability
Good wood lasts longer and looks better. Select wood with few knots and smooth grain. This wood resists cracking when nailed by hand. Avoid wood that bends or warps easily. Cedar and pine are strong and easy to work with. Sand the wood before installation for a clean finish. Proper wood choice saves time and effort during installation.

Credit: www.youtube.com
Tools Needed For Nail Gun-free Installation
Putting up trim without a nail gun requires the right tools. Using hand tools and alternative fasteners makes the job easier. This section covers the essential tools for a nail gun-free installation. Preparing well helps ensure smooth and neat trim fitting.
Essential Hand Tools
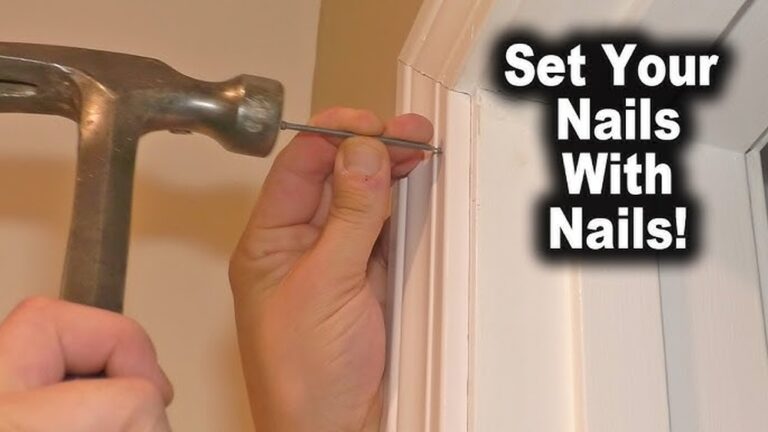
A good hammer is key for driving nails by hand. Choose one with a comfortable grip and balanced weight. A tape measure helps get accurate trim lengths. Use a miter box and saw to cut precise angles. A pry bar or putty knife assists in removing old trim. Nail sets help sink nails below the wood surface. Sandpaper smooths rough edges for a clean finish.
Alternative Fastening Options
Finishing nails work well with a hammer and nail set. Use small brad nails for delicate trim pieces. Construction adhesive offers extra hold without nails. Double-sided tape can hold lightweight trim temporarily. Small screws with pilot holes provide strong, secure fixing. Wood glue strengthens joints at corners. These options reduce the need for a nail gun but keep trim firmly in place.
Preparing The Trim And Wall
Preparing the trim and wall sets a strong base for a neat finish. Proper preparation helps the trim fit well and stick better without nails. It also reduces gaps and uneven edges.
Take your time with these steps for a smooth installation process and lasting results.
Measuring And Cutting Trim Accurately
Start by measuring the length of the wall where the trim will go. Use a tape measure and note the exact size. Measure twice to avoid mistakes.
Mark the trim piece clearly using a pencil. Use a miter box or a saw to cut straight and angled edges. Clean cuts prevent gaps and make the trim fit tightly.
Surface Preparation For Better Adhesion
Clean the wall surface to remove dust and dirt. Wipe the wall with a damp cloth and let it dry fully. A clean surface helps glue or adhesive stick firmly.
Check the wall for bumps or loose paint. Sand rough spots lightly and scrape off peeling paint. Smooth walls create better contact for the trim.
Techniques For Attaching Trim Without Nails
Attaching trim without a nail gun is simple with the right techniques. Using nails is common, but other methods work well too. These options help you install trim securely and neatly.
Using Adhesives Effectively
Adhesives provide a clean way to attach trim. Choose a strong construction adhesive designed for wood. Apply a thin, even layer on the back of the trim. Press the trim firmly against the wall or surface. Hold it in place for a few minutes to allow bonding. Clean any excess glue before it dries. Adhesives work best on smooth, clean surfaces.
Applying Finishing Nails With A Hammer
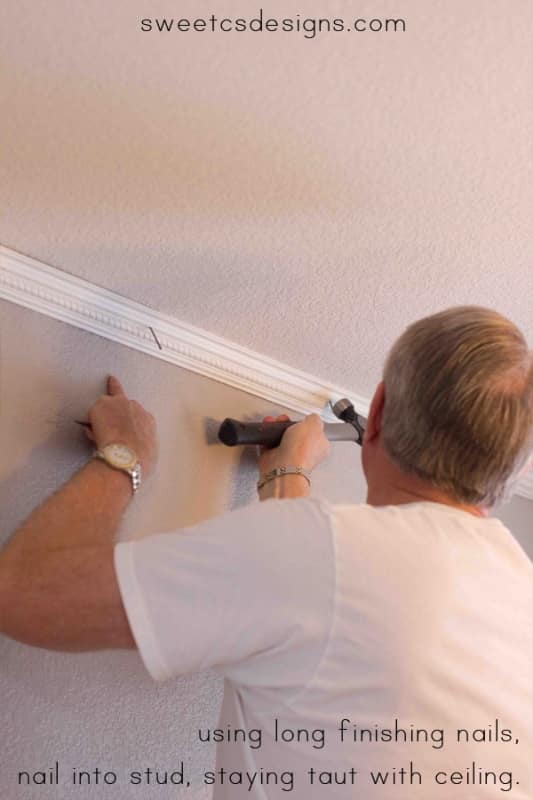
Finishing nails offer a classic trim attachment method. Use a small hammer to drive nails gently. Start by positioning the trim in place. Tap nails at an angle to avoid splitting the wood. Space nails about 12 inches apart for good hold. Countersink nails slightly below the trim surface. Fill holes with wood putty for a neat finish.
Utilizing Trim Screws And Anchors
Trim screws give strong support for heavier trim pieces. Use screws made for wood to avoid damage. Drill pilot holes to prevent wood splitting. Insert wall anchors if attaching to drywall. Drive screws carefully until snug, not too tight. Cover screw heads with wood filler or trim caps. This method ensures a solid and lasting installation.
Securing Corners And Joints
Securing corners and joints is a key step in putting up trim without a nail gun. Properly fixed corners and joints keep your trim stable and neat. This ensures the trim looks professional and lasts a long time. Using simple tools and techniques can help achieve strong connections. Here are ways to secure corners and joints effectively.
Mitered Corners Without Nail Guns
Mitered corners join two pieces of trim at a 45-degree angle. These corners look clean but need careful handling. Use wood glue on the cut edges for a tight bond. Hold the pieces together firmly with clamps until the glue dries. You can also add small finishing nails or brads by hand to hold the trim. Countersink the nails and fill holes with wood putty for a smooth finish.
Butt Joint Reinforcement Methods
Butt joints join trim pieces at a simple 90-degree angle. These joints can be weak without extra support. Use wood glue on the joint surfaces to strengthen the bond. Add small wooden blocks or corner braces behind the joint for more support. Secure the blocks with screws or nails by hand. This method keeps the trim aligned and sturdy over time.
Credit: sweetcsdesigns.com
Finishing Touches
After putting up trim without a nail gun, the finishing touches make the work look neat. These final steps hide imperfections and give your trim a smooth, clean look. Spending time on these details helps your project look professional.
Filling Gaps And Nail Holes
Small gaps between the trim and wall can distract from the overall look. Use a paintable caulk to fill these gaps. Apply a thin line and smooth it with a wet finger or a caulk tool.
Fill nail holes with wood filler or spackle. Press it in with a putty knife and wipe off extra. Let it dry completely before moving to the next step.
Sanding And Painting Tips
Lightly sand the filled areas with fine-grit sandpaper. This smooths the surface and blends the filler with the trim. Sanding also removes any rough edges or bumps.
Choose a paint that matches your trim or wall color. Use a small brush for better control around edges. Apply thin, even coats and let each dry well before adding another.
Patience here improves the final look. The trim will appear smooth and well-finished.
Safety Tips For Manual Trim Installation
Installing trim manually requires care and attention to safety. Without a nail gun, the process depends on hand tools. These tools need careful handling to avoid injuries. This section covers safety tips for manual trim installation. Follow these guidelines to stay safe and complete your project smoothly.
Proper Tool Handling
Hold tools firmly to keep control. Use a hammer with a comfortable grip. Always strike nails squarely to avoid bending or slipping. Cut trim pieces on a stable surface. Keep your fingers away from blades and sharp edges. Use a pencil to mark cuts instead of guessing. Keep tools clean and sharp for better performance. Store tools properly after use to prevent accidents.
Protective Gear Recommendations
Wear safety glasses to protect your eyes from flying debris. Use gloves to protect your hands from splinters and sharp edges. Wear a dust mask when sanding trim to avoid inhaling dust. Use ear protection if you work in a noisy environment. Wear closed-toe shoes to protect your feet. Dress in long sleeves and pants to protect your skin from scratches.

Credit: www.youtube.com
Frequently Asked Questions
Can I Install Trim Without A Nail Gun Effectively?
Yes, you can install trim without a nail gun using adhesive, clamps, or hand tools like a hammer and finish nails. These methods work well for small projects or areas where power tools aren’t available.
What Tools Are Needed To Put Up Trim Without Nails?
You need a hammer, finish nails, wood glue, clamps, and a measuring tape. These tools help you securely attach trim without relying on a nail gun.
How Do I Secure Trim With Glue Only?
Apply a strong wood glue evenly on the back of the trim. Press it firmly against the wall and use clamps until the glue dries to ensure a secure hold.
Is It Harder To Install Trim Without A Nail Gun?
Installing trim without a nail gun takes more time and effort. You need precision when hammering nails or using glue, but it is doable with patience and care.
Conclusion
Putting up trim without a nail gun is simple and doable. Use a hammer and finishing nails carefully. Take your time to measure and cut pieces right. Secure the trim firmly for a clean look. Patience and steady hands make a big difference.
This method saves money and avoids noisy tools. Anyone can get great results with basic tools. Try it yourself and enjoy the process.