Corded Drill Chuck Slipping? Causes, Checks and Easy Fixes
A corded drill chuck slips when the bit turns slower than the drill motor, or not at all, under load. The fix is to tighten the chuck jaws fully around the bit shank, clean off any oil or dust, and make sure the bit shank is the right size for the chuck. The most common cause is a bit shank that’s worn, greasy, or the wrong diameter for the chuck’s capacity.
Why a drill chuck slips
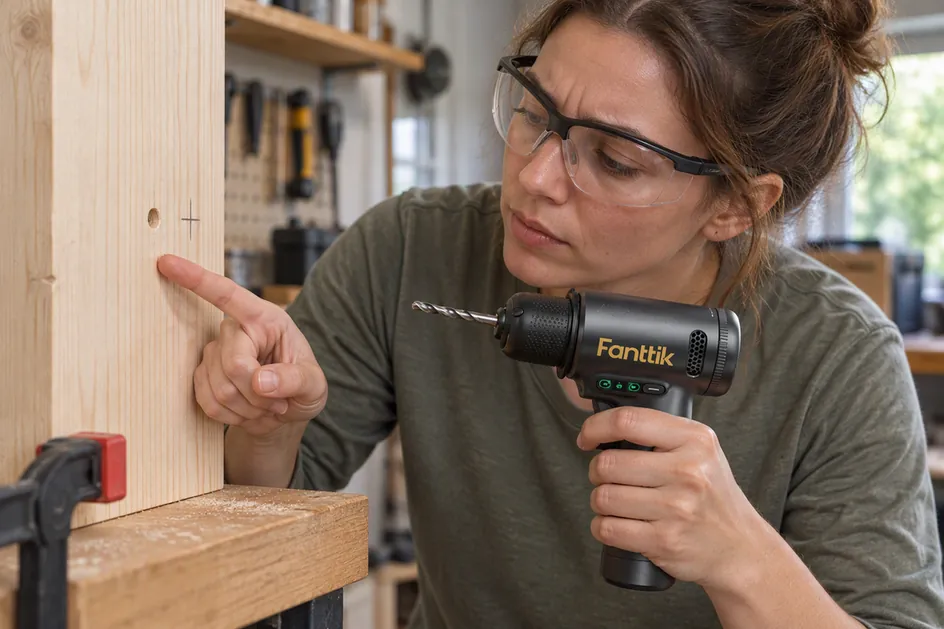
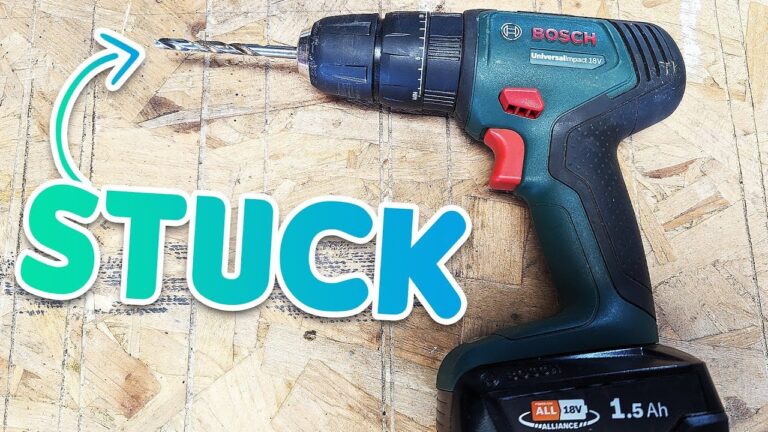
A chuck grips the bit by squeezing its shank with three jaws. If anything sits between the jaws and the metal, or if the shank is too small for the jaws’ reach, the grip fails and the bit spins inside the chuck while the motor keeps turning. Oil, dust, and metal shavings all act like a lubricant and let the bit turn. A worn shank has lost its roundness, so the jaws can’t bite.
A bent shank sits off-center and never seats fully. Tightening by hand often leaves the jaws loose enough to slip under load. You can check these causes yourself by looking at the shank and feeling how firmly the jaws close; if the chuck body itself is cracked or the jaws are visibly worn, that’s beyond a do-it-yourself fix and the drill needs a repair shop or a replacement chuck.
Tighten the chuck jaws fully
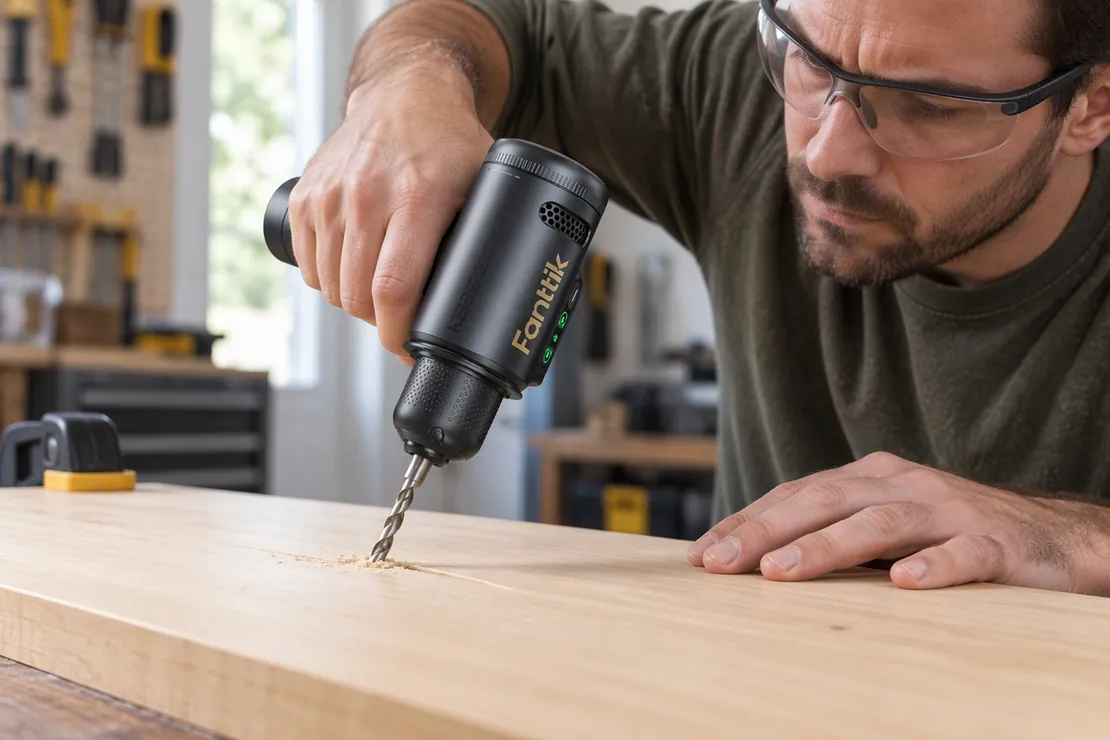
This fix is for a chuck that feels loose or a bit that spins freely when you press the drill against work. Insert the bit as far as it will go, then turn the chuck sleeve clockwise by hand until the jaws grip.
Give the sleeve one more firm turn, or use the chuck key if your model has one, until the bit doesn’t wobble. Run the drill briefly without load and listen for the bit to hold steady. If the bit still turns inside the chuck under light pressure, the jaws aren’t closing enough and you should move to the next fix.
A keyless chuck tightened only by fingertips often slips under real load, so use your full hand strength. This job needs no training or special equipment, but if the chuck sleeve is cracked or the key holes are stripped, stop and take the drill to a repair shop.
Clean the chuck jaws and bit shank
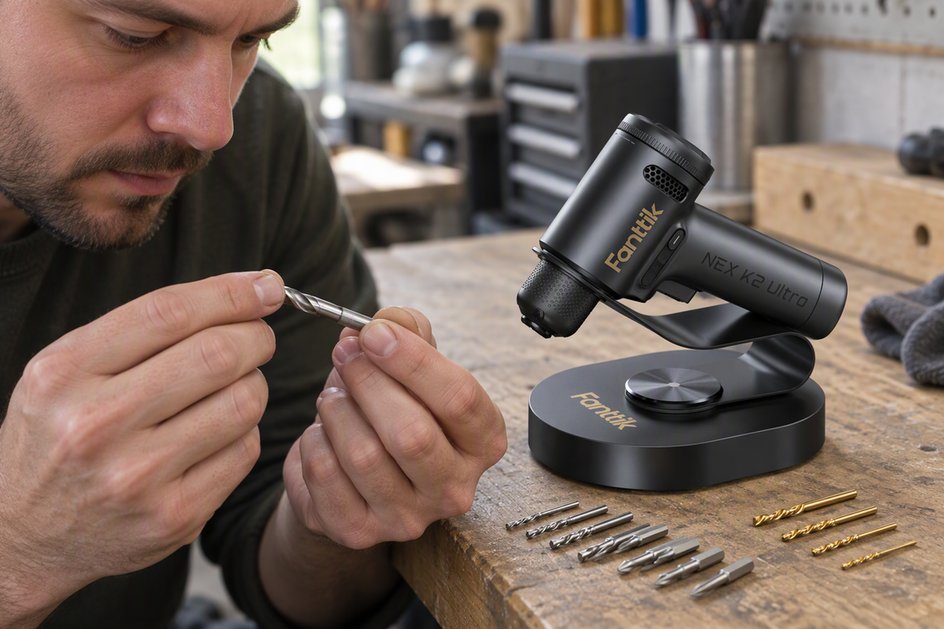
This fix is for a chuck that tightens but still slips because grease or dust sits between the jaws and the bit. Unplug the drill first. Wipe the bit shank with a rag and a little degreaser or rubbing alcohol, then wipe inside the chuck jaws as far as you can reach.
Dry both parts completely before inserting the bit. Tighten the chuck and test the bit under light pressure. If the bit now holds, the slip was caused by contamination, not wear.
Don’t leave oil inside the chuck, because it attracts dust and makes the problem return. If you see visible grooves worn into the metal face of the jaws, cleaning won’t restore the grip. In that case, the chuck needs replacing.
A common mistake is using a heavy lubricant like WD-40 to loosen a stuck chuck; this creates a film that causes immediate slippage. If the jaws feel gritty when you turn the sleeve, use a blast of compressed air to clear the internal threads before you wipe them down.
Replace the chuck or the drill
This is the fix for harder cases where the jaws are worn, the chuck body is cracked, or the key mechanism is stripped. It’s worth the time and cost when the drill is otherwise in good shape and a replacement chuck costs less than a new drill.
It isn’t worth it when the drill is old, the motor is weak, or a new chuck costs nearly as much as a replacement tool. If your motor smells like ozone or loses torque under light pressure, replace the entire unit rather than sinking money into the chuck.
Fitting a chuck usually needs the right chuck key, an Allen key for the retaining screw, and the correct thread size for your drill model. Most retaining screws are left-hand threaded, meaning you must turn them clockwise to loosen. Forgetting this detail often leads to a snapped screw head and a ruined spindle.
If you aren’t confident removing the old chuck, take the drill to a repair shop. A wrongly fitted chuck can wobble or come loose while running, which is a real safety risk.
Don’t do this with a slipping drill chuck
Don’t keep drilling while the bit slips. The friction of a spinning bit rapidly rounds off the shank, permanently ruining both the bit and the hardened steel chuck jaws. Once the shank is scored, it will never seat properly again.
Avoid wrapping tape or shim material around the shank to force a fit. This creates an uneven diameter that throws the bit off center. The resulting wobble creates dangerous vibrations that can snap smaller bits or cause the tool to kick back toward your hands.
Never use pliers or a pipe wrench to force a keyless chuck tighter. These tools exert uneven pressure that cracks the plastic or thin metal sleeve, destroying the internal mechanism. If you can’t tighten the chuck by hand, the threads are likely fouled with debris.
Don’t spray lubricant inside the chuck to free it. Oil reduces the necessary friction, making slipping worse. If the chuck is stiff, clean it with compressed air or a dry solvent instead.
Keep your drill chuck from slipping again
If you’re doing this, do this instead.
Storing bits loose in a bag; keep bits in a case or rack. This protects shanks from microscopic dents and wear that prevent a flush grip.
Drilling with oily or dusty bits; wipe the shank with a clean rag before each job. This removes the invisible film that acts as a lubricant, letting the jaws slide rather than bite.
Tightening keyless chucks by fingertips only; grip the sleeve with your whole hand. This provides the necessary leverage to engage the internal locking mechanism. If you feel a distinct click or hear a ratcheting sound, you have reached the proper torque.
Using the wrong bit size for the chuck; match the bit shank to the chuck capacity. Jaws only maintain parallel contact when the shank diameter falls within the tool’s rated range. If the shank is too small, the jaws tilt and lose surface area.
Ignoring a wobbling bit; stop and reseat or replace the bit. A bent shank prevents the chuck from centering, causing it to vibrate loose under load.
Related guides
- Corded Drill Buying Guide: Amps, Chuck Size, Speed & Features
- 3/8-Inch vs. 1/2-Inch Corded Drill: Which Chuck Size Do You Need?
- Choosing a Corded Drill for Metal: Speed, Bits & Setup
Frequently asked questions
Can a slipping chuck be fixed without tools?
Yes, if the cause is a loose grip or dirt on the shank. Tighten the chuck by hand and clean the bit and jaws first. If the jaws are worn or cracked, you need a replacement chuck and usually a tool to fit it.
Why does my drill bit spin inside the chuck?
Because the jaws aren’t gripping the shank tightly enough. Oil, dust, a worn shank, or a chuck that isn’t fully tightened are the usual reasons.
How long does a drill chuck last?
There’s no set lifespan; it depends on how often the drill is used and how well the chuck is kept clean. Check your drill manufacturer’s guidance for expected service life.
Is it safe to keep using a drill with a slipping chuck?
No. A slipping bit can damage the shank and chuck, and a loose bit can wobble or come out while the drill is running. Stop and fix it first.
What happens if I overtighten the chuck?
You can crack the chuck sleeve or strip the jaws, which destroys the grip and means the chuck must be replaced.
How often should I clean the chuck jaws?
Whenever you notice dust, oil, or metal shavings inside, or after any job where the bit slipped. There’s no fixed schedule; check it before each use.
What size bit will my chuck take?
It depends on the chuck’s capacity, which is marked on the chuck body or in your drill manual. Match the bit shank to that size.
Conclusion
If your drill still struggles after these quick adjustments, it’s likely time to replace the chuck or the bit itself. Don’t force a tool that isn’t gripping properly, as it’s dangerous. You’ll find that swapping out a damaged part makes your next project go much smoother and keeps your workspace safe.