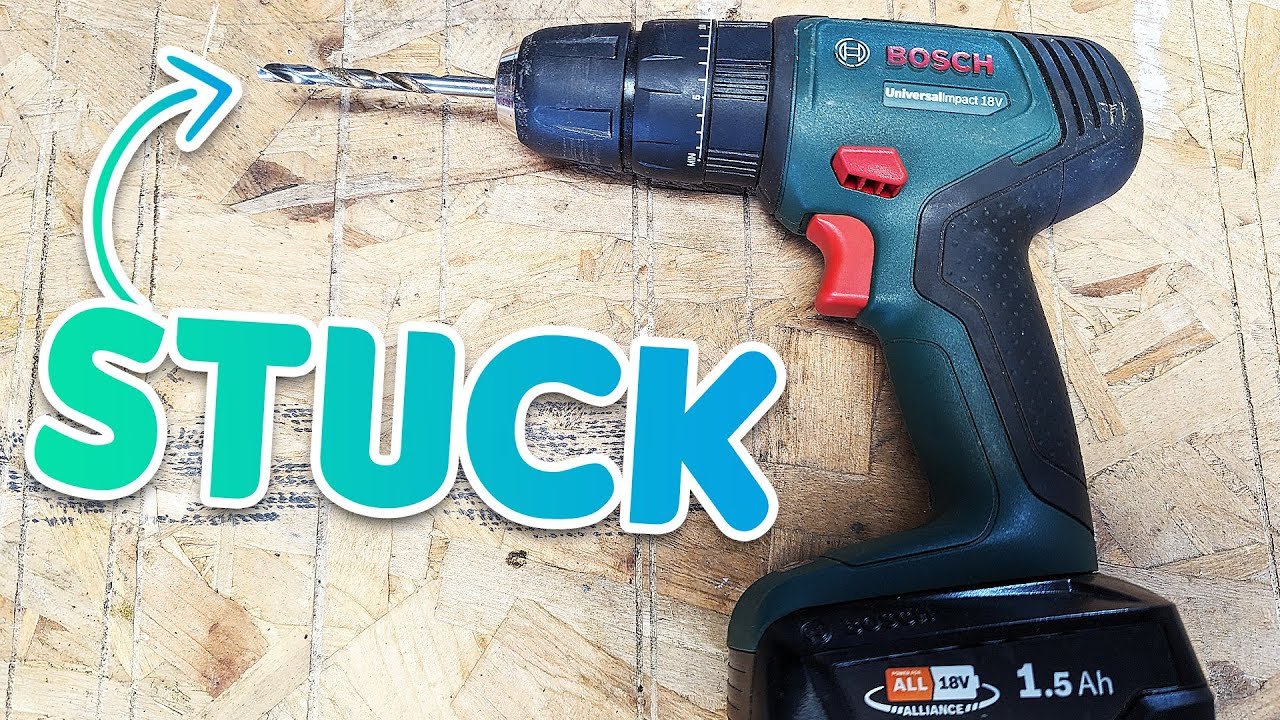
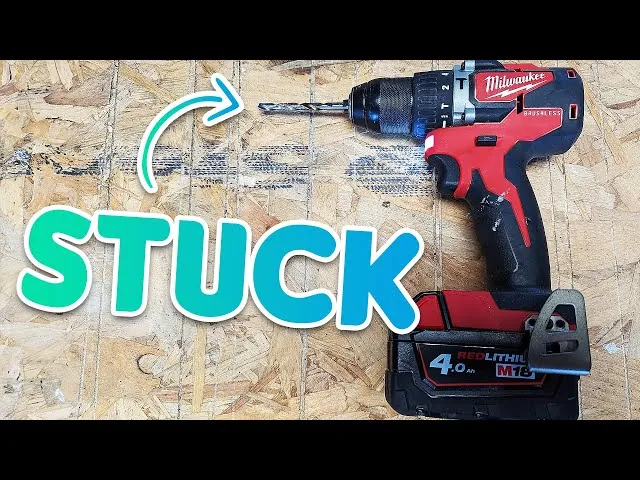
How to Remove a Stuck Drill Bit From a Cordless Drill
Removing a stuck drill bit from a cordless drill depends on whether your chuck is keyless or keyed. Most household drills use keyless chucks turned by hand, while older models require a chuck key. This simple task typically takes five to fifteen minutes using basic tools like pliers and a rubber grip.
Tools you need
You need a few common items before you begin. Nothing here is expensive or hard to find.
| Item | How much | Why it’s needed | A substitute |
|---|---|---|---|
| Cordless drill | One | Holds the stuck bit | none — don’t swap this |
| Slip-joint pliers | One pair | Grips the chuck sleeve to turn it | Channel-lock pliers |
| Rubber grip pad or wide rubber band | One | Adds grip on a smooth chuck | Thick work glove |
| Clean rag | One | Protects the chuck finish | Old T-shirt |
| Penetrating oil | A few drops | Frees a rusted bit | none — don’t swap this |
| Flathead screwdriver | One | Opens stuck jaws on keyed chucks | none — don’t swap this |
If your drill uses a keyed chuck, you also need the matching chuck key — a wrong size will round the keyhole and make the job harder.
Before you start
Switch the drill off and remove the battery so it can’t turn while you work. Point the chuck away from your face and hands. Lay a rag on your workbench to catch small parts and to protect the chuck finish from pliers marks. If the bit is rusty, wipe the area clean first so grime doesn’t fall into the mechanism.
The one preparation people skip is checking whether the drill is in reverse or forward — leaving it in forward can tighten the bit further when you try to turn the chuck. Name the limit: if the chuck body itself is cracked or the spindle won’t turn at all, stop and take the drill to a repair shop, because forcing it can break the drill beyond a simple bit removal.
Remove the stuck bit
- Remove the battery from the drill so the motor can’t start accidentally while your hands are near the chuck.
- Set the direction switch to reverse so turning the chuck loosens the jaws instead of tightening them further.
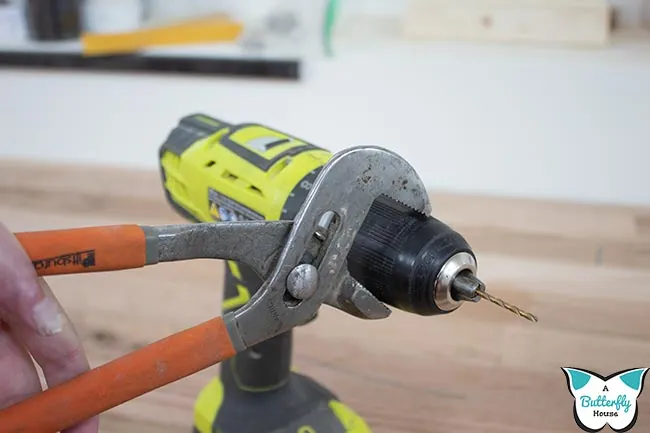
- Grip the chuck sleeve — the part that turns — with slip-joint pliers, and wrap a rag around it first to protect the finish.
- Turn the sleeve counterclockwise by hand while holding the drill body steady with your other hand.
- If the sleeve won’t budge, wrap a rubber grip pad or wide rubber band around it, then turn with the pliers for extra grip.
- For a keyed chuck, insert the chuck key into one of the side holes and turn it counterclockwise to open the jaws.
- If the bit still won’t release, apply one or two drops of penetrating oil where the bit meets the jaws and wait ten minutes before trying again.
- Once the jaws open, pull the bit straight out and inspect both the bit and the chuck for damage before reuse.
How to tell it worked
The bit slides out of the chuck with no force, and the jaws close and open smoothly when you turn the sleeve by hand. You should hear no grinding or clicking as the chuck turns. If you put a different bit in and the drill holds it without wobble, the job is done.
Signs it needs another round include a sleeve that spins freely but the jaws stay closed, a bit that wobbles after reinsertion, or visible rust and corrosion inside the jaws. Never use a look, a smell, or a taste as the safety check — a cracked chuck or damaged spindle can fail without warning, so inspect the metal itself before you drill again.
If something goes wrong
| What happened | Why | What to do |
|---|---|---|
| Chuck sleeve spins but bit stays | Jaws are rusted shut | Apply penetrating oil and wait |
| Bit snapped off inside | Too much force was used | Take drill to a repair shop |
| Chuck key slips in hole | Wrong key size | Find the matching key size |
| Chuck body is cracked | Overtightening damaged it | Replace the chuck or drill |
| Jaws won’t close fully | Debris is stuck inside | Blow out with compressed air |
How often to do this
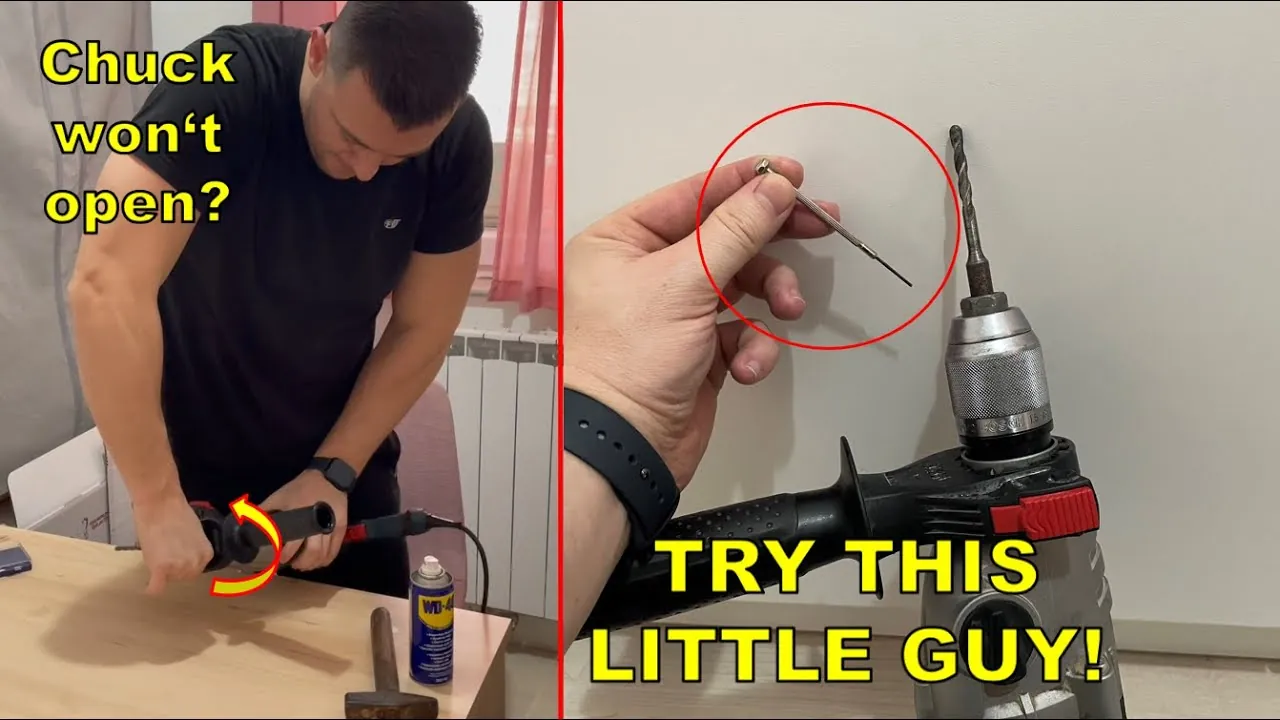
You only remove a stuck bit when it happens, so there’s no set schedule. Check the chuck whenever you change bits, and clean out dust and metal shavings after every few uses.
The two things that move this most are how often you drill into metal or masonry, which packs debris into the jaws, and whether you overtighten the chuck by hand. If you find yourself needing a pipe wrench to loosen the collar, you’re overtightening. Stop once you feel the resistance of the bit; the drill’s torque will finish the job for you.
A light coating of machine oil on the chuck threads keeps it turning freely, though the frequency depends on your usage and the owner’s manual is the final authority. Check your drill’s manual first, as some chucks are sealed and shouldn’t be oiled. If you see a small hole or port near the base, that’s where the lubricant belongs. Avoid heavy grease, which acts as a magnet for grit and creates a grinding paste.
Related guides
- 10 Best Cordless Drill for Assembling Furniture Picks
- 10 Best Cordless Drill Drivers for Beginners: Our Top Picks
- 10 Best Cordless Drill for Hanging Shelves Picks and Reviews
Frequently asked questions
Can I use pliers directly on the drill bit?
No — gripping the bit itself can bend or snap it, leaving a broken piece inside the chuck that’s much harder to remove. Turn the chuck sleeve, not the bit.
Why won’t the chuck turn at all?
The drill may be locked in forward, or the bit may be seized by rust from use on metal or masonry. Switch to reverse, apply penetrating oil, wait ten minutes, and try again.
How long should I wait after applying penetrating oil?
Wait about ten minutes so the oil can work between the bit and the jaws — the exact time depends on how rusted the area is, so longer is fine if it’s badly corroded.
Is it safe to tap the chuck with a hammer?
No — tapping can crack the chuck body or damage the spindle, turning a simple jam into a repair that costs more than the drill is worth.
What happens if the bit breaks off inside?
Stop and take the drill to a repair shop — trying to drill out a broken bit yourself can ruin the chuck and void your warranty.
Does it matter which direction I turn the chuck?
Yes — turn counterclockwise to loosen; turning clockwise tightens the jaws and can make a stuck bit impossible to remove by hand.
How do I keep this from happening again?
Don’t overtighten the chuck by hand, clean out dust after heavy use, and store the drill in a dry place so moisture can’t rust the jaws.
Conclusion
Take your time and work with the chuck, not against it — forcing a seized bit is how a five-minute job becomes a broken drill. If the chuck is cracked, the bit has snapped off inside, or the spindle won’t turn after oil and patience, that’s the point to stop and hand the drill to a repair shop rather than risk making it worse.