How to Change an Angle Grinder Disc Safely: A Step-by-Step Guide
To change an angle grinder disc safely, start by unplugging the tool from its power source, then use the included pin spanner wrench to loosen the locking nut while holding the spindle lock button.
The success of this task depends entirely on ensuring the power is cut before you touch the disc. If you’re using a corded tool, pull the plug from the wall; if it’s battery-powered, remove the battery pack completely. A common mistake is leaving the battery in the tool, which creates a risk of the motor turning on if the power trigger is bumped during the swap.
Replacing Your Grinder Disc
-
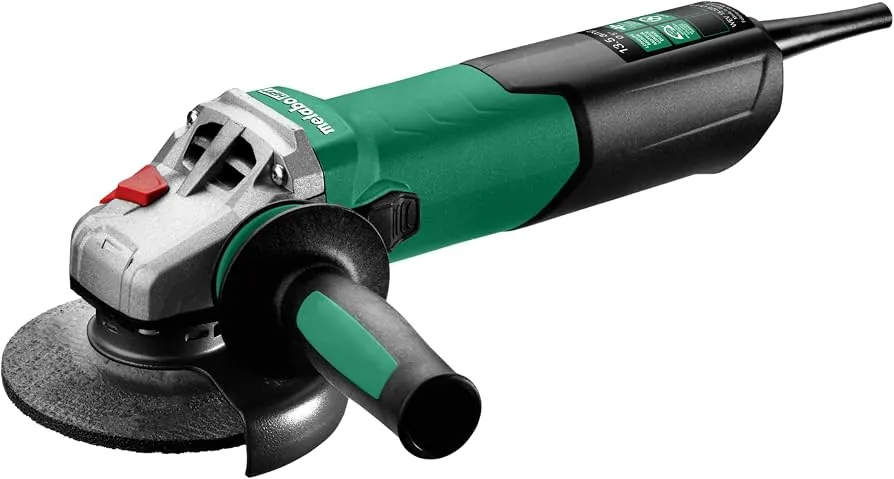
Disconnect the power cord from the outlet or remove the battery pack from the tool housing. Never skip this step, even for a quick swap. A live tool can engage accidentally, causing severe injury.
-
Press and hold the spindle lock button located on the gear head of the grinder to stop the spindle from rotating. If the button doesn’t engage, rotate the disc slightly by hand until the locking pin drops into the internal notch.
-
Insert the two prongs of the pin spanner wrench into the holes on the outer locking nut. Ensure the prongs are seated fully to prevent slipping.
-
Turn the wrench counter-clockwise while keeping the spindle lock button pressed until the nut comes loose. Remove the nut by hand.
-
Lift the old disc off the spindle. Inspect the center flange and backing plate for debris. If you see metal shavings or grit here, wipe them away with a clean rag. A flat, clean surface prevents the new disc from wobbling or cracking under pressure.
-
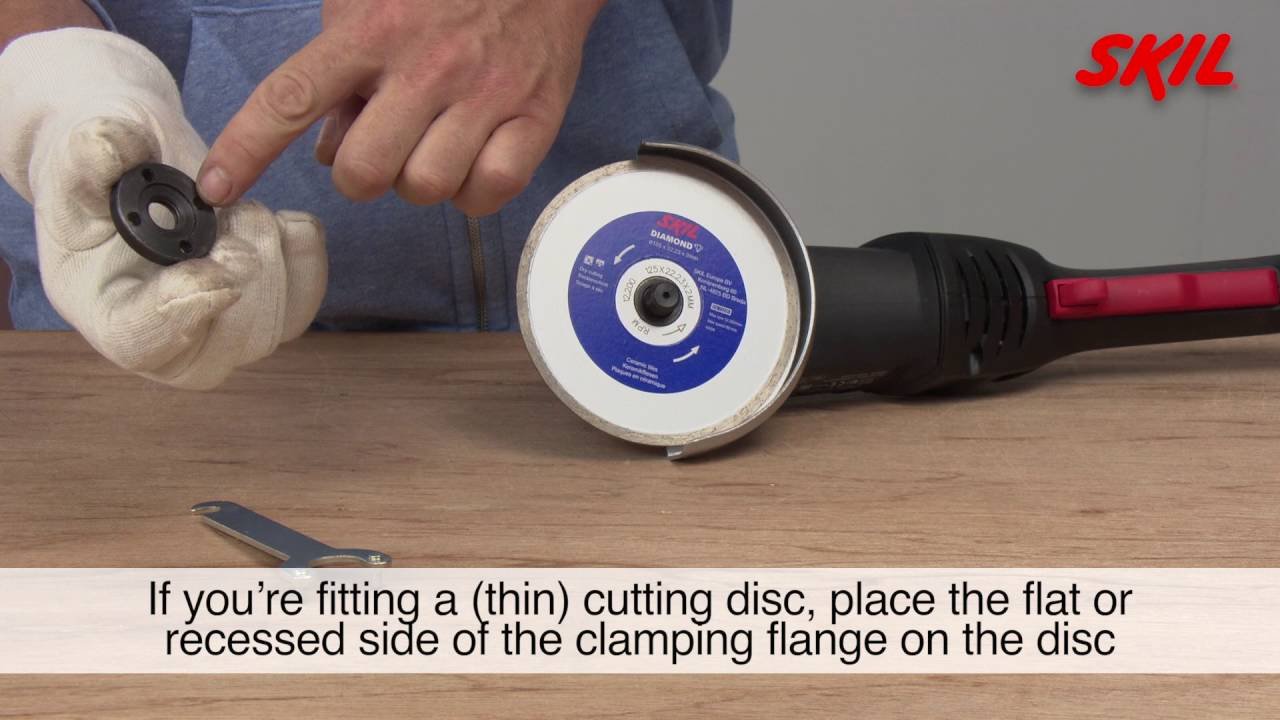
Place the new disc onto the center flange. Replace the locking nut by hand, then use the pin spanner wrench to tighten it firmly in a clockwise direction.
Don’t overtighten the nut. Hand-tight plus a quarter turn with the wrench is sufficient. Overtightening strips the threads or binds the nut, often requiring a hammer and punch to remove later.
Before mounting, hold the disc by the center hole and tap it lightly with a screwdriver handle. A healthy disc rings clearly; a dull thud indicates hidden structural cracks.
Time Required for Disc Changes
Changing an angle grinder disc takes between 2 and 5 minutes for most users, though this depends on the model and your familiarity with the tool. If you find that the locking nut is stuck, you may need a few extra minutes to apply penetrating oil or use a larger wrench for better leverage.
| Situation | How long | What changes it | What to watch for |
|---|---|---|---|
| Standard corded model | 2 minutes | Tool design | Stuck locking nuts |
| Battery-powered unit | 3 minutes | Battery removal | Trigger safety lock |
| Deeply seized nut | 5+ minutes | Rust or debris | Damaged threads |
If it takes longer than 5 minutes to remove a stuck nut, stop and inspect the spindle for cross-threading rather than forcing the tool.
Most beginners fail to engage the spindle lock button fully before applying torque. This mistake often rounds off the nut or strips the internal pin, turning a routine swap into a permanent jam. If the button feels springy or doesn’t click, don’t force the wrench. Instead, rotate the disc by hand until you feel the lock seat firmly into the gear housing.
Apply this rule: if the nut resists after two firm pulls, stop immediately. If you hear a grinding noise while the spindle is locked, you have already sheared the locking pin. In this case, you must use a pair of locking pliers on the nut’s outer flange to avoid damaging the spindle threads beyond repair.
Checking the Disc Installation
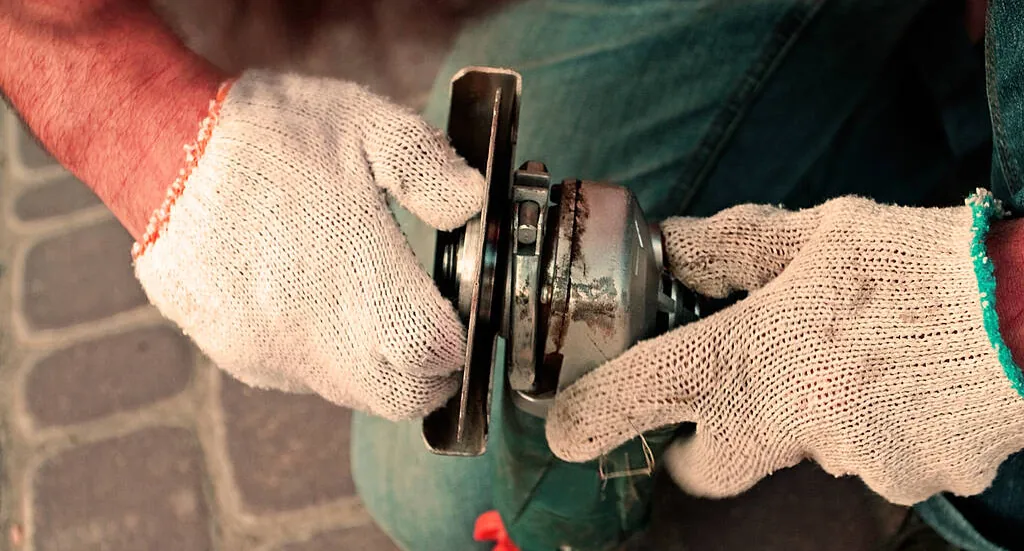
The disc is installed correctly when it sits perfectly flush against the inner flange and doesn’t wobble when you rotate it by hand. The locking nut is installed correctly when it sits flush against the disc, securing it firmly against the inner flange.
If the disc feels loose or sits at an angle, remove it immediately and check for debris trapped between the flange and the abrasive material. Even a grain of sand can cause a dangerous imbalance at high speeds.
The ultimate test is to spin the tool by hand while it’s unplugged. If it rotates smoothly without vibration, it’s ready for use.
If you feel a rhythmic ticking or see the edge of the disc rise and fall, the arbor is likely misaligned. Don’t attempt to force the nut tighter to correct this. Instead, back the nut off completely and reseat the disc. If the wobble persists, the flange itself may be warped and requires an immediate replacement to prevent a catastrophic shatter.
Errors That Damage Grinders
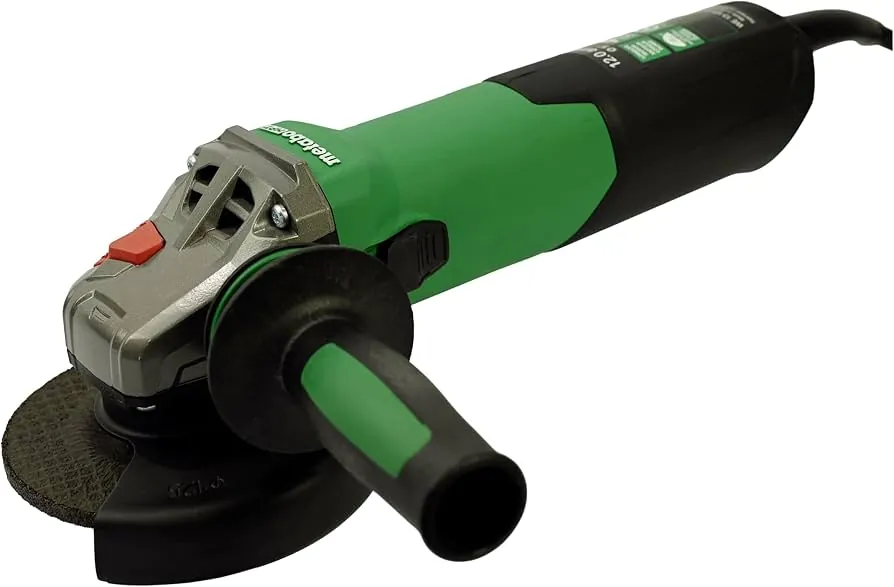
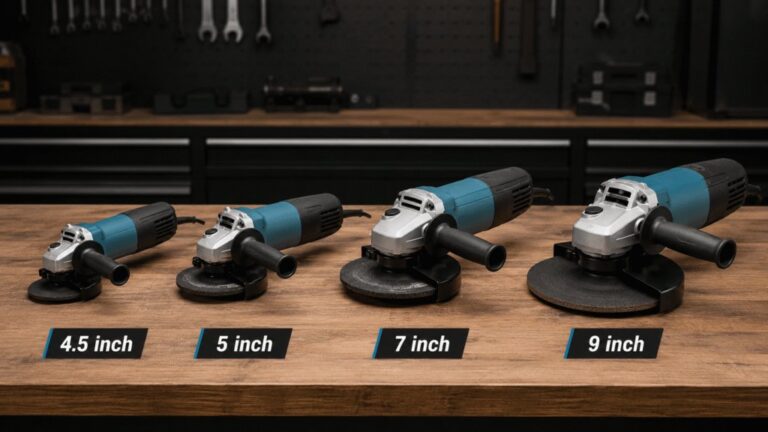
Installing a disc that exceeds the maximum diameter rating for your grinder guard causes the tool to become unbalanced and dangerous. Always check the tool’s manual to confirm the maximum disc diameter and speed rating before mounting any accessory. If you run a disc rated for 8,000 RPM on a grinder spinning at 11,000 RPM, the centrifugal force will likely shatter the abrasive material, sending shrapnel toward your face.
Pushing a disc that doesn’t fit the arbor hole can crack the material, leading to catastrophic failure during use. If the hole is too small, don’t attempt to modify the disc. Buying the correct size for your specific machine is the only safe path. Forcing a fit creates internal stress fractures that remain invisible until the disc explodes under load.
Mounting a diamond or segmented blade backwards reduces its cutting efficiency and increases the risk of the blade binding in the material. Look for a small directional arrow printed on the face of the disc and ensure it matches the rotation direction indicated on the grinder head. If your blade lacks a visible arrow, assume the cutting edge should point in the direction of the tool’s rotation to prevent kickback.
Related guides
- Angle Grinder Safety: Guards, Kickback, Discs, and PPE Guide
- 4.5-Inch vs. 5-Inch Angle Grinder: What’s the Difference?
- 10 Best Angle Grinders for DIY, Metalworking, and Workshop Use
Frequently asked questions
Can I use pliers to remove the locking nut?
No, you should avoid using standard pliers because they can slip and damage the nut holes or the spindle. Use only the specific pin spanner wrench that came with your grinder, as it’s designed to fit the locking nut holes perfectly and provide the correct leverage for safe removal.
How often should I replace the disc?
You should replace the disc as soon as it shows signs of wear, such as deep cracks, missing segments, or when the diameter has shrunk to the point where it no longer clears the guard. Always inspect the disc for damage before every use, regardless of how many hours of work you have performed.
Is it safe to change a disc while the battery is connected?
No, it’s never safe to change a disc while a battery is connected to the tool. Always remove the battery pack completely before touching the disc or the locking nut to eliminate the risk of accidental activation, which could cause severe injury to your hands or fingers.
What happens if I overtighten the nut?
Overtightening the nut makes it nearly impossible to remove the disc later without damaging the spindle threads or the locking nut itself. Use the spanner wrench only to snug the nut until it feels firm, as the natural rotation of the grinder helps keep the nut tight during normal operation.
How do I know if my disc is compatible?
The disc is compatible if its maximum RPM rating is equal to or higher than the maximum speed listed on your grinder’s nameplate. You must also ensure the arbor hole size matches the spindle diameter exactly; never use a bushing or adapter unless it’s specifically provided by the grinder manufacturer for that model.
Conclusion
Always store your spare discs in a dry, flat area away from moisture to prevent the binding material from weakening over time. If a disc has been dropped or shows signs of dampness, discard it immediately to ensure your safety during future grinding tasks.