How to Change a Die Grinder Collet and Install a Bit Safely
To change a die grinder collet and install a bit, you must first disconnect the power source, use the provided wrenches to loosen the collet nut, swap the components, and then tighten the assembly securely. Mastering this process ensures that your rotary tool remains both functional and safe during heavy-duty grinding, deburring, or polishing tasks. Whether you’re working with pneumatic or electric models, the fundamental mechanics of the collet chuck system remain consistent across professional-grade equipment.
Key Takeaways
- Always disconnect the air supply or power cord before attempting any maintenance on the tool.
- Match the collet size precisely to the shank diameter of the accessory you intend to use.
- Never tighten the collet nut without a bit inserted, as this can damage the internal threading.
- Inspect the threads and the collet body for debris or metal chips before reassembly.
- Use two wrenches to prevent the spindle from spinning while you exert force on the nut.
Safety First Before Starting
Before you reach for your tools, you must ensure the unit is completely de-energized. For pneumatic die grinders, this means disconnecting the air hose and bleeding the remaining pressure from the line. For electric corded or cordless models, remove the battery or pull the plug from the wall outlet.
Neglecting this step can lead to accidental activation while your fingers are near the sharp cutting edges of a bit. Always wear impact-resistant safety glasses and heavy-duty work gloves to protect against flying debris or accidental slips during the loosening process.
Tools You Will Need
To perform these tasks, you generally only need the specific wrenches that came with your tool. Most manufacturers include two thin, open-ended wrenches designed to fit the spindle and the collet nut perfectly. If you have misplaced these, don’t use pliers or adjustable wrenches, as they can mar the surfaces and strip the nut.
| Tool Component | Purpose | Material/Type |
|---|---|---|
| Spindle Wrench | Holds the shaft stationary | Hardened Steel |
| Collet Nut Wrench | Rotates the collet nut | Drop-Forged Steel |
| Cleaning Brush | Removes metal dust | Brass or Nylon |
| Lubricant | Prevents thread seizing | Anti-Seize Compound |
How to Change a Die Grinder Collet and Install a Bit
The process requires a methodical approach to ensure the bit runs true and doesn’t vibrate during operation. If the bit isn’t centered, it will cause excessive tool fatigue and potentially ruin your workpiece.
Step 1: Loosen the Collet Nut
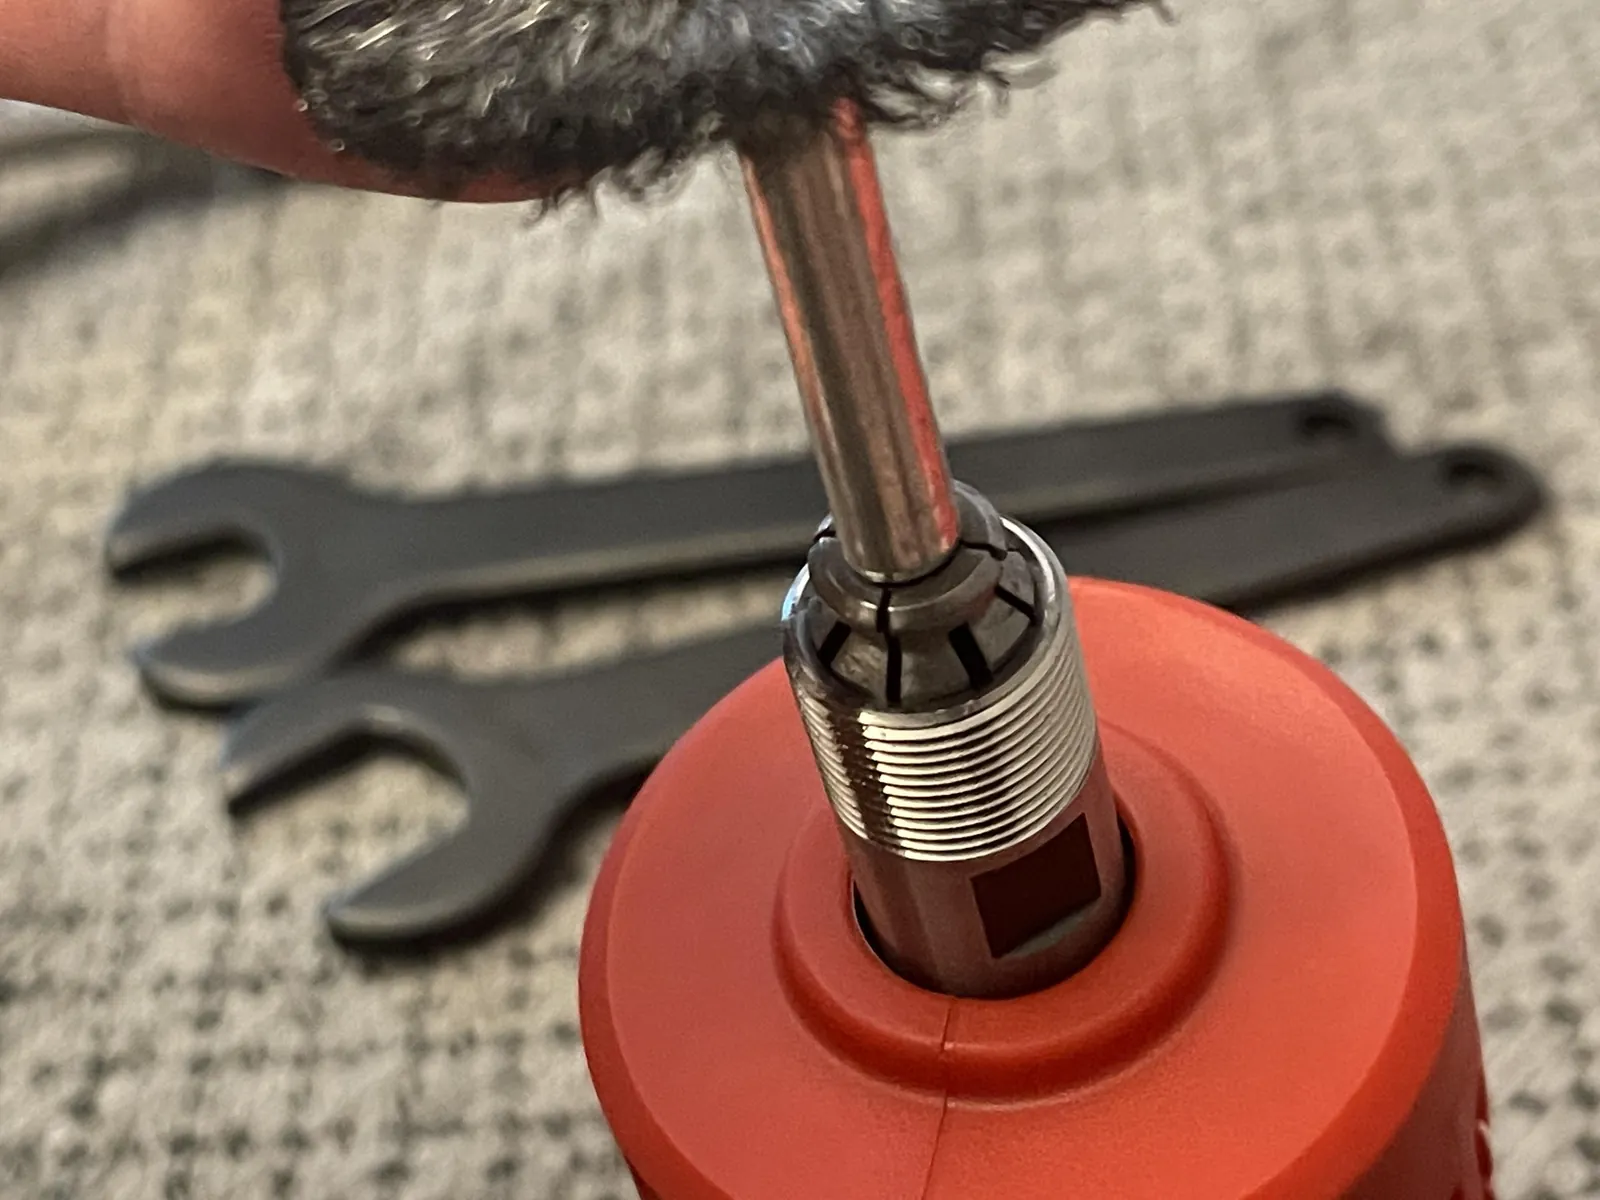
Slide the spindle wrench onto the flat sections of the grinder shaft. Once the shaft is held securely, place the second wrench onto the collet nut. Rotate the nut counter-clockwise. You may need to apply firm, steady pressure to break the initial seal, especially if the tool has been used extensively.
Step 2: Remove and Inspect the Collet
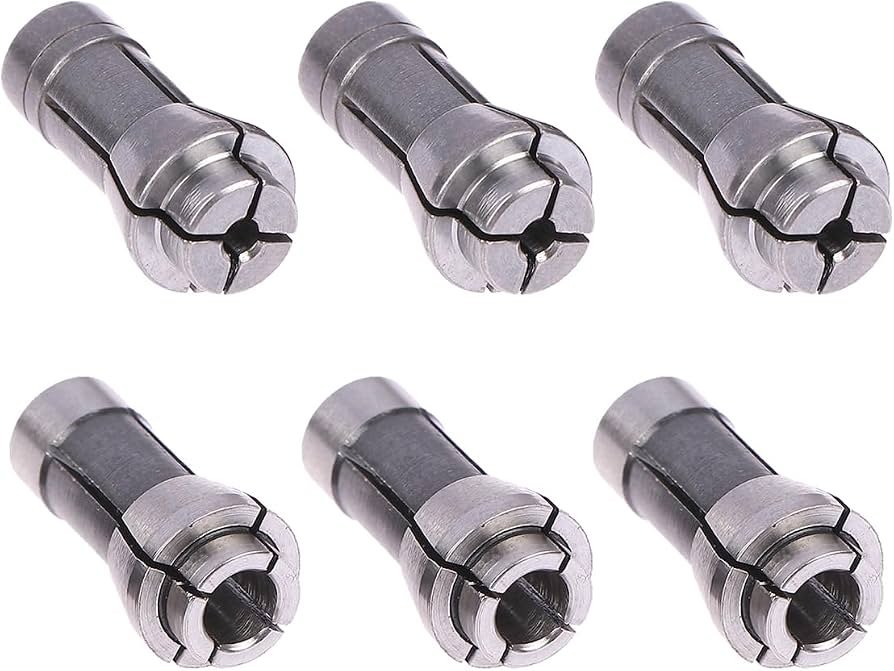
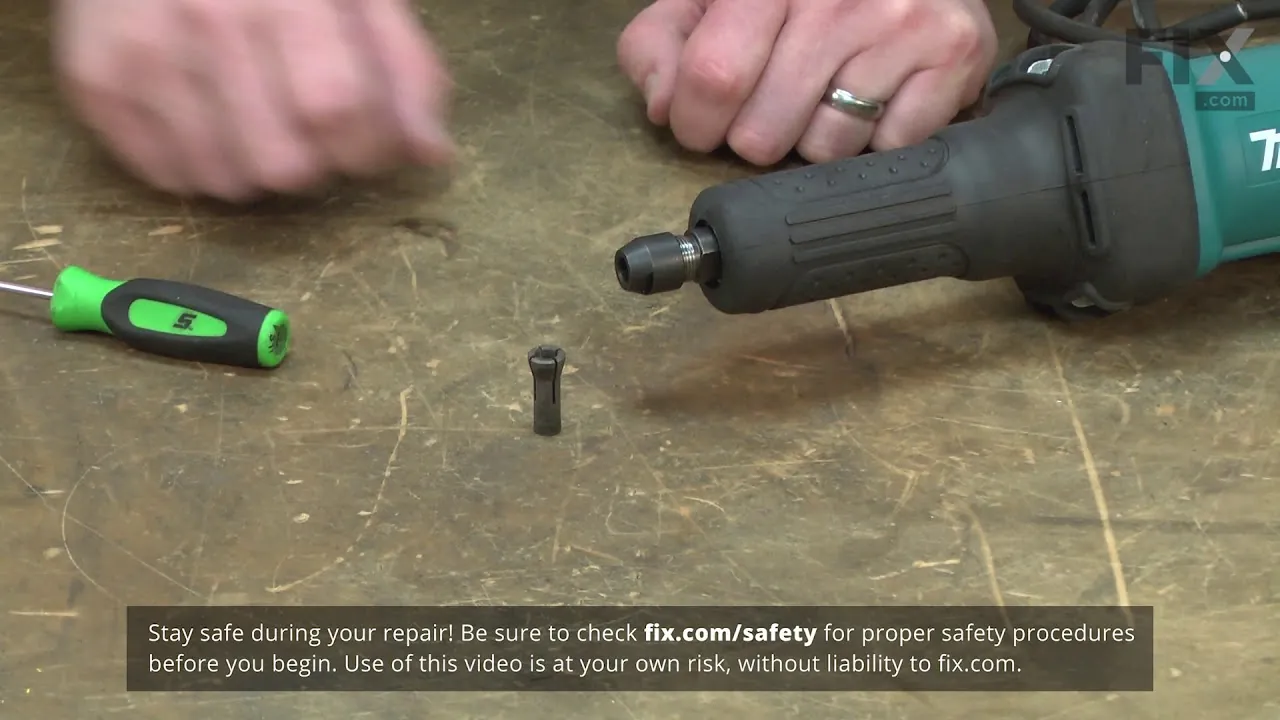
Once the nut is unscrewed completely, the collet—a small, slotted metal sleeve—will slide out. Inspect the collet for signs of cracking or deformation. If you see any hairline fractures, discard the part immediately. A compromised collet is a significant safety hazard that can cause the bit to eject at high speeds.
Step 3: Inserting the New Collet
Place the new collet into the spindle. Ensure it’s seated correctly before threading the nut back on by hand. Hand-tightening the nut ensures that you don’t cross-thread the delicate internal components. Once it’s threaded a few turns, insert your chosen bit.
Step 4: Final Tightening Procedures
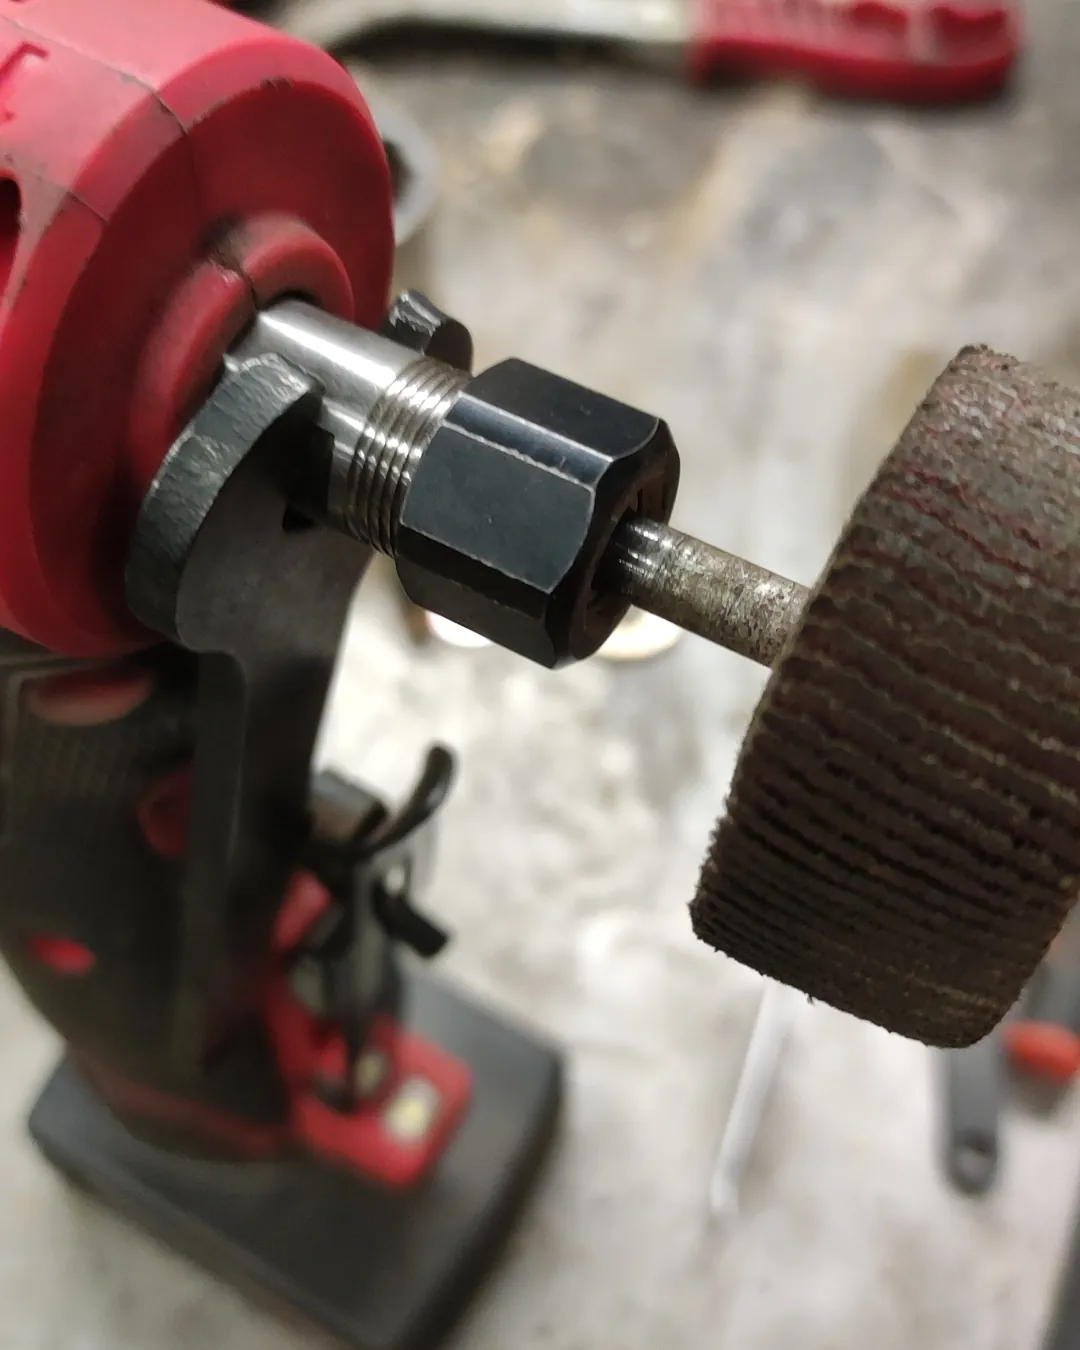
Insert the bit shank into the collet, ensuring at least 75% of the shank length is inside the collet. Don’t bottom the bit out against the back of the spindle, as this can cause it to bind or snap. Use your wrenches again to tighten the nut firmly.
Choosing the Right Bit Shank
Most standard die grinders accept 1/4-inch or 1/8-inch shanks. Using an adapter or the wrong collet for your bit size is a common cause of tool failure. Always verify the shank diameter stamped on the bit packaging.
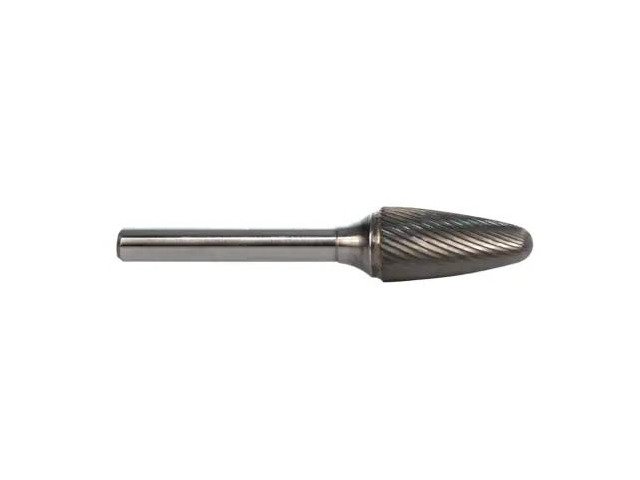
- Carbide Burrs: Ideal for shaping metal and wood.
- Mounted Stones: Used for precision grinding and sharpening.
- Flap Wheels: Excellent for sanding and surface finishing.
- Wire Brushes: Best for removing rust and scale.
Troubleshooting Common Issues
If you find that your bit is slipping while you’re working, your collet is likely worn out or the nut isn’t tight enough. Conversely, if the bit is difficult to remove, you may have over-tightened the assembly or allowed metal dust to pack into the threads.
| Problem | Likely Cause | Solution |
|---|---|---|
| Bit slips during use | Worn collet or loose nut | Replace collet; tighten nut |
| Excessive vibration | Bent bit or poor centering | Inspect bit; re-seat collet |
| Nut is seized | Debris in threads | Clean with solvent; apply lubricant |
Maintaining Your Collet System
To extend the life of your equipment, keep the collet and nut clean. Every time you change a bit, take a moment to blow out the spindle with compressed air. A small amount of high-quality machine oil applied to the threads of the collet nut will keep the movement smooth and prevent corrosion. If you store your tool in a humid environment, consider keeping the collets in a sealed container with a desiccant pack to prevent rust buildup.
Proper Storage and Care
Warning: Never store a die grinder with a bit left inside the collet. Over time, the pressure can cause the collet to lose its spring tension, making it difficult to hold bits securely in the future. Always remove the bit, clean the collet, and place the tool in a dedicated case or on a wall rack where it’s protected from moisture and impact. Keeping your maintenance routine consistent will save you from needing to replace expensive parts prematurely.
Related guides
- 10 Best Die Grinders for Wood Carving: Professional Reviews & Expert Buying Guide 2025
- 10 Best Pneumatic Die Grinders for Auto Repair and Metalworking
Frequently Asked Questions
Why does my bit keep wobbling?
A wobbling bit usually indicates that the collet is worn out, the bit shank is bent, or the bit wasn’t inserted deep enough into the collet. Ensure you’re using the correct collet size for your bit shank and that the nut is tightened securely. If the problem persists, the spindle itself may have been damaged from a previous impact, which requires professional repair or replacement.
Can I use pliers to tighten the collet?
You should never use pliers or adjustable wrenches on a collet nut. These tools are designed to grip flat surfaces, and using them on a collet nut will round off the corners, making it nearly impossible to loosen or tighten the nut in the future. Always use the specific open-ended wrenches provided by the manufacturer to ensure a proper, non-damaging fit.
How much should I tighten the nut?
You should tighten the nut until it feels firm and the bit is held securely in place. Don’t use extreme force or a “cheater bar” to gain extra leverage, as this can snap the collet or strip the threads. A firm pull with the factory-provided wrenches is sufficient to hold the bit for any standard grinding or deburring operation you might encounter.
What if the collet is stuck?
If the collet is stuck in the spindle, don’t force it with a screwdriver, which could scratch the interior. Instead, try using a small amount of penetrating oil to loosen any debris or rust. Let it sit for a few minutes, then tap the side of the spindle gently with a rubber mallet. If it remains stuck, use a pair of needle-nose pliers to pull it out gently.
Are all collets interchangeable?
No, collets are generally specific to the brand and model of the die grinder. A collet designed for one manufacturer’s tool may have different thread pitches or outer dimensions compared to another. Always consult your owner’s manual or the manufacturer’s website to identify the exact part number required for your specific tool to ensure compatibility and safe operation during your projects.
Conclusion
Following these steps will keep your tools in top condition for years. To ensure you’re getting the best performance, always check the manufacturer’s user manual for specific torque recommendations for your model. Regularly inspecting your collet for wear and keeping the assembly clean will prevent most common malfunctions, allowing you to focus on your work with confidence and precision.