Die Grinder RPM Explained: How to Match Speed to Accessories
Precision in metal fabrication and woodworking depends on how tool velocity interacts with your materials. Matching a die grinder’s speed to its accessory is essential for safety and efficiency, as these tools typically spin between 5,000 and 30,000 RPM. Failing to align the bit’s rating with the tool’s output can cause the abrasive media to fail catastrophically.
Key Takeaways
- Never exceed the maximum RPM rating stamped on the shank of any burr or abrasive wheel.
- Larger diameter accessories require slower speeds to prevent them from shattering due to centrifugal force.
- Harder materials like stainless steel often demand lower speeds to prevent burning and premature accessory wear.
- Variable speed control is essential for switching between heavy material removal and fine finishing tasks.
- Always inspect your accessories for micro-cracks or damage before mounting them to the collet.
Why Die Grinder RPM and Accessory Speed Ratings Matter
The physics governing rotary tools are unforgiving. Every accessory, whether it’s a carbide burr, a flap wheel, or a mounted point, has a structural limit. When you spin an accessory faster than its rated speed, the internal stresses caused by centrifugal force exceed the material’s tensile strength. This leads to the accessory exploding, which can send shrapnel toward the operator at incredible velocities. Understanding the relationship between diameter and speed is the first step in maintaining a safe shop environment.
Matching Speed to Accessory Diameter
As a general rule, the larger the diameter of the accessory, the slower the operating speed must be. This is because the outer edge of a larger diameter wheel travels much faster than the edge of a smaller bit at the same rotational speed. According to the American National Standards Institute safety requirements for abrasive wheels, operators must ensure the machine speed doesn’t exceed the maximum operating speed marked on the abrasive product.
| Accessory Type | Diameter Range | Recommended RPM |
|---|---|---|
| Mounted Points | 1/4″ to 1/2″ | 20,000 – 30,000 |
| Carbide Burrs | 1/8″ to 1/4″ | 15,000 – 25,000 |
| Flap Wheels | 1″ to 2″ | 8,000 – 15,000 |
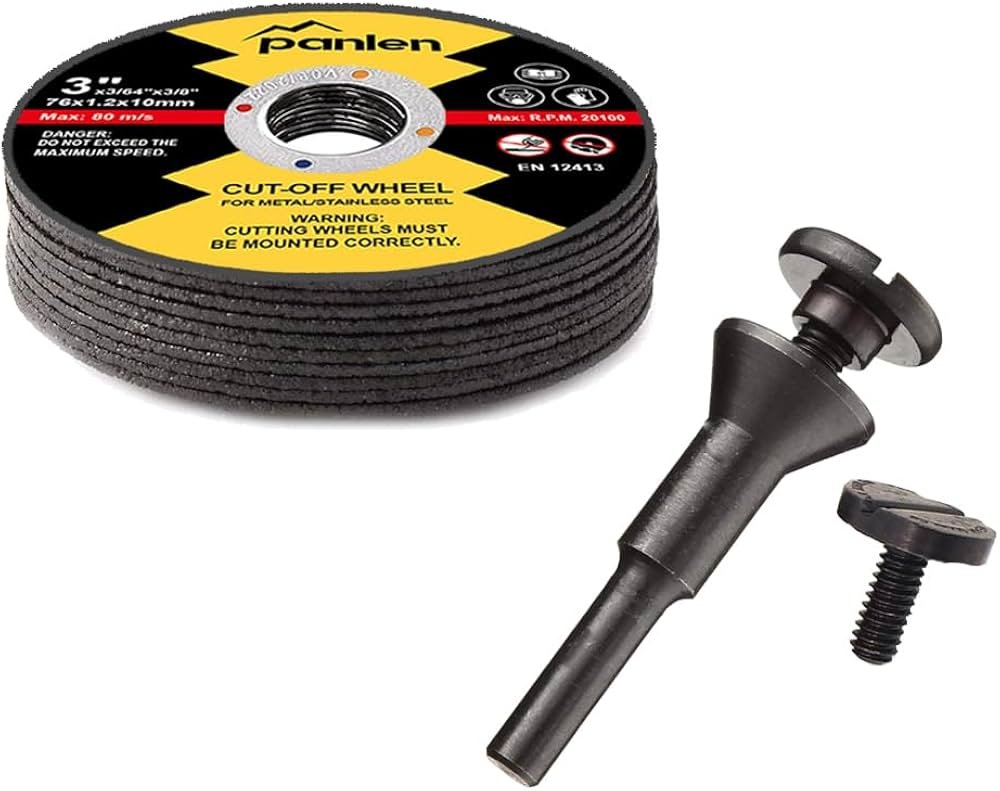
| Cut-off Wheels | 2″ to 3″ | 5,000 – 12,000 |
Material Hardness and Tool Speed
The material you’re working on dictates the optimal speed for your accessory. Harder materials, such as hardened steel or titanium, require lower speeds to prevent the accessory from overheating and losing its hardness. Conversely, softer materials like aluminum or wood can often be worked at higher speeds to achieve a smoother finish and prevent the material from clogging the flutes of a burr.
- Soft Metals (Aluminum, Brass): Higher speeds prevent gumming.
- Hard Metals (Stainless, Tool Steel): Lower speeds prevent work hardening.
- Wood and Plastics: Moderate speeds prevent melting or burning.
Warning: Always ensure your collet is securely tightened to the manufacturer’s torque specifications, as a loose accessory will vibrate violently and potentially shatter even if the RPM is within the safe range.
How to Control Your Grinder Speed
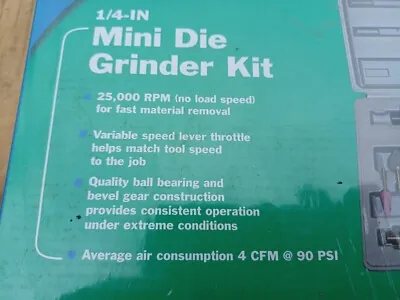
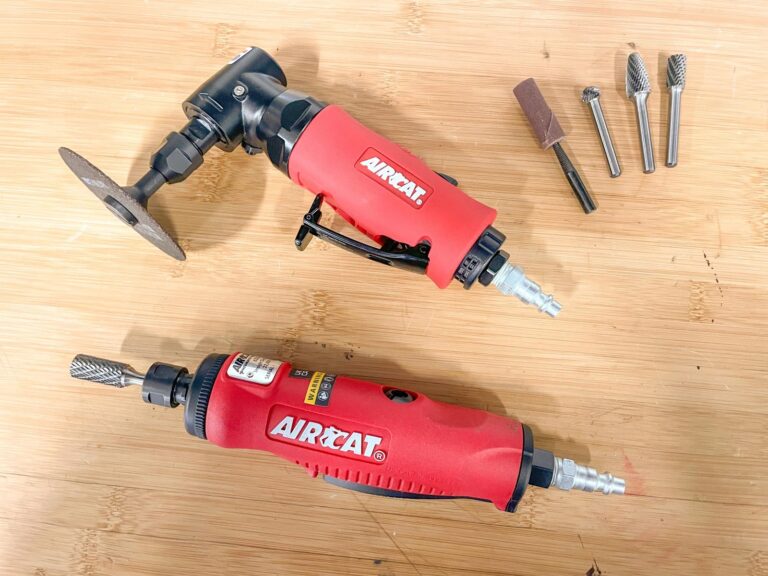
Most professional-grade pneumatic die grinders have a fixed speed based on their air intake, while electric models usually feature a dial for speed control. If you’re using a pneumatic tool, you can regulate the speed by adjusting the air pressure via an inline regulator, though this also reduces the torque of the tool. Electric variable speed grinders offer a more consistent experience by maintaining torque even at lower RPM settings.
Identifying Accessory Limits
Every manufacturer of high-quality abrasives is required to print the maximum RPM on the shank or the label of the accessory. If you find an accessory that lacks a speed rating, don’t use it. Reliable brands that adhere to these standards include:
- PFERD: Known for high-performance carbide burrs.
- Norton Abrasives: Excellent for flap wheels and cut-off discs.
- Dremel: Common for smaller mounted points and hobbyist tools.
- 3M: Industry standard for abrasive discs and finishing pads.
Troubleshooting Common Speed Issues
If your accessory is vibrating excessively, it’s likely that the RPM is too high for the diameter or that the accessory is unbalanced. Vibration is the primary cause of premature bearing failure in your die grinder. If you notice discoloration on the workpiece, such as blue or straw-colored tints on steel, you’re likely running your tool too fast, which is causing friction-induced heat.
Pro Tip: If you’re working on stainless steel, keep your speed moderate and use a light touch; excessive pressure combined with high speed will work-harden the surface, making it nearly impossible to grind further.
Assessing Your Tooling Needs
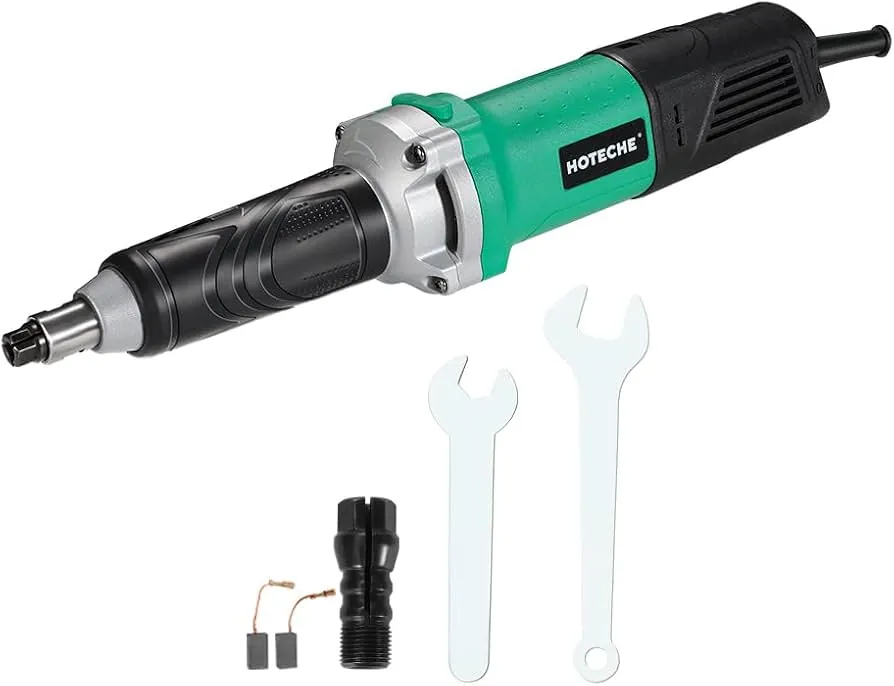
When selecting a die grinder, consider the nature of your projects. If you perform a wide variety of tasks, a variable speed electric die grinder is the most versatile option. If you primarily work in a high-production environment, pneumatic grinders are often preferred for their power-to-weight ratio and ability to run continuously without overheating.
| Project Type | Best Tool Type | Speed Range |
|---|---|---|
| Heavy Deburring | Pneumatic Grinder | 18,000 – 25,000 |
| Precision Carving | Electric Variable | 5,000 – 15,000 |
| Surface Polishing | Variable Speed | 3,000 – 8,000 |
Maintenance for Long-Term Performance
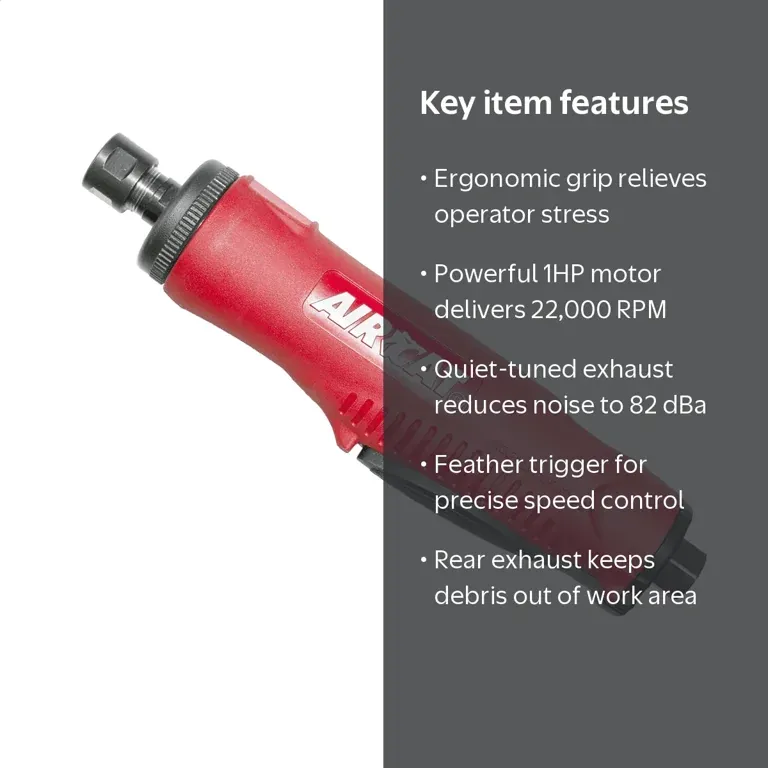
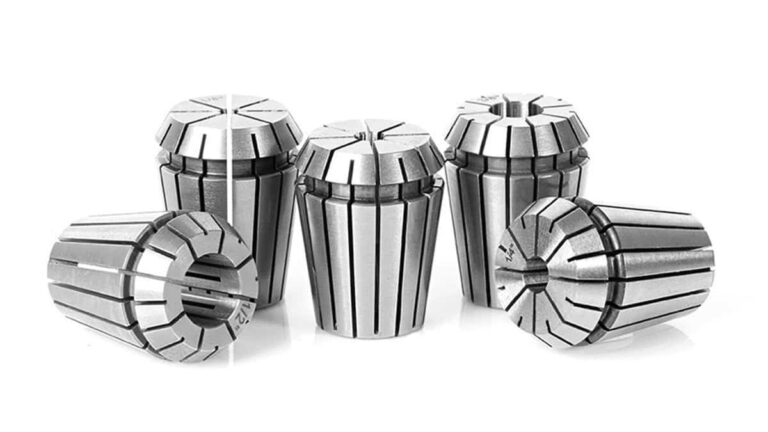
Regularly clean the air intake of your pneumatic tool to prevent dust buildup. For electric tools, ensure the cooling vents are free of debris. If you use a collet, inspect it for burrs or wear every time you change an accessory. A worn collet won’t hold the shank centered, leading to runout, which manifests as vibration and poor surface finish, regardless of the speed setting.
Related guides
- 10 Best Die Grinders for Wood Carving: Professional Reviews & Expert Buying Guide 2025
- 10 Best Pneumatic Die Grinders for Auto Repair and Metalworking
- Best Cordless Die Grinders: What to Compare Before You Buy
Frequently Asked Questions
Can I use a high-speed burr in a low-speed drill?
While you can physically mount a burr in a drill, it’s generally ineffective. Drills are designed for high torque and low speed, whereas die grinder accessories are optimized for high-speed material removal. You’ll likely experience significant chatter and a very poor surface finish. Furthermore, the chuck of a drill isn’t designed for the lateral forces encountered during grinding, which can damage the tool.
What happens if I exceed the rated RPM?
Exceeding the rated RPM of an accessory exposes the material to forces it wasn’t engineered to withstand. The most common result is the catastrophic failure of the abrasive or the burr head. This can lead to the part shattering, potentially causing severe injury to the operator or bystanders. Always prioritize safety by adhering to the manufacturer’s stated limits for every specific accessory.
How do I know if my grinder is too fast?
You’ll know the speed is excessive if you see the material changing color, which indicates overheating. You might also hear a high-pitched whine that changes in tone as you apply pressure. Additionally, if the accessory seems to “bounce” or vibrate across the surface of the workpiece rather than cutting smoothly, you’re likely operating at an RPM that’s too high for the current task.
Is it better to use air or electric?
The choice depends on your workspace. Pneumatic grinders are lighter and more compact, making them ideal for tight spaces, but they require a high-capacity air compressor. Electric grinders provide consistent torque and don’t require a separate air source, but they’re often bulkier and heavier. If you need fine control for delicate work, a variable-speed electric unit is usually the superior choice.
Why does my accessory keep slipping?
Slipping usually occurs because the collet is worn or the shank diameter is slightly undersized for the collet. Ensure you’re using the correct collet size for your accessory shank (typically 1/4″ or 1/8″). If the collet is clean and the size is correct, ensure you’re tightening the nut firmly. If it continues to slip, the collet itself may be fatigued and should be replaced immediately.
Conclusion
Mastering the balance between tool velocity and material interaction is a skill that develops with time and careful observation. Always verify the maximum RPM rating of your specific abrasive before you begin a task, and prioritize wearing proper eye and respiratory protection during every grinding session. Take your next step by inspecting your current collection of bits and marking their maximum safe speeds clearly on their storage cases.