How to Use a Trim Router Safely: Setup, Bits, and Basic Cuts
Proper setup for basic cuts with a trim router requires securing your workpiece, choosing the right bit, and keeping a firm grip with the base flat. Because these tools spin at high speeds, you must wear eye protection to guard against flying wood chips and debris.
Essential Tools for Routing

To work effectively, you need a few core items ready on your workbench. Having these prepared saves time and keeps your workspace organized during the cut.
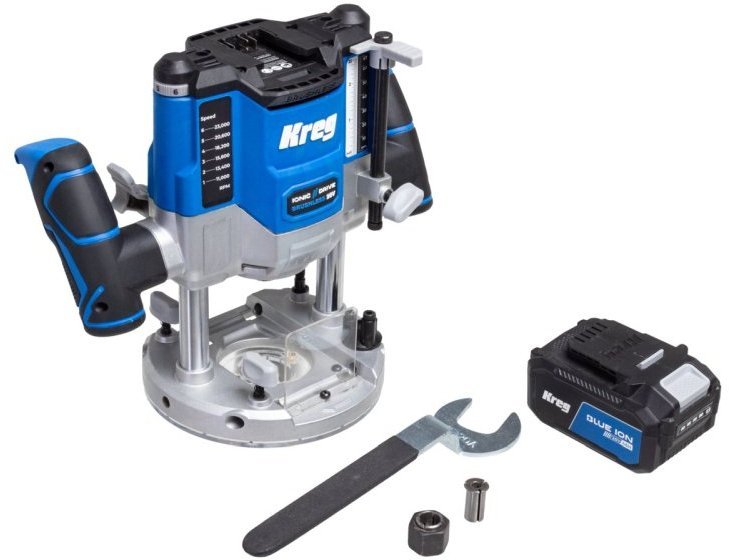
- Trim router with a variable speed control dial.
- Sharp, carbide-tipped router bits suitable for your specific profile.
- Sturdy clamps to lock the wood to the table.
- Safety glasses that meet the ANSI Z87.1 standard for impact protection.
- Hearing protection, such as earplugs or earmuffs.
- A vacuum or dust port attachment for the router.
If you’re using a new bit, ensure the shank is fully seated in the collet before tightening. Never use a bit with a cracked or chipped blade, as it may shatter at high speeds.
Operating Your Trim Router
- Disconnect the power cord before changing any bit to prevent accidental startups.
- Insert the bit into the collet until it bottoms out, then pull it back out approximately 1/8 inch to ensure the shank is fully gripped by the collet without bottoming out.
- Set your desired depth of cut on the depth adjustment scale.
- Clamp your workpiece firmly to a stable surface so it can’t move while you push the tool.
- Plug in the router and hold it with both hands, keeping the base plate flat against the surface.
- Turn the tool on and wait for it to reach full speed before touching the wood.
- Move the router in the opposite direction of the bit’s rotation to maintain control.
Careful: Always move the router from left to right when working on the outer edge of a board. If you push it the wrong way, the tool may “climb” and jump away from you.
Tip: If you need to remove a lot of material, take multiple shallow passes rather than one deep cut to avoid burning the wood.
Adjusting for Different Materials
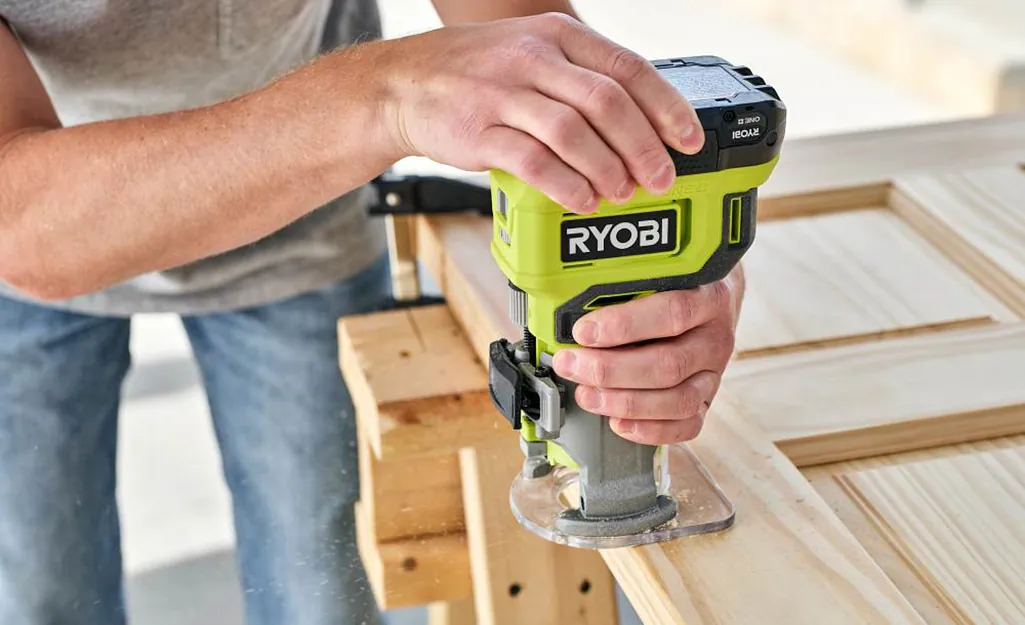
The speed and feed rate change depending on the wood density and the size of the bit you select.
| Material Type | Recommended Speed | Feed Rate | Watch For |
|---|---|---|---|
| Softwood | High | Fast | Burning |
| Hardwood | Medium-High | Slow | Chipping |
| Plastic/Laminate | Low | Steady | Melting |
It’s much safer to start with a slow, shallow pass and increase your speed once you feel comfortable with the tool’s vibration.
Checking Your Work Quality
A good result looks like a clean, smooth edge with no signs of “chatter” or burn marks. If you see dark, charred lines, it usually means you moved the tool too slowly or your bit is dull. To fix this, increase your movement speed slightly or replace the blade.
Always check that your bit is secure after every few minutes of use, as vibrations can loosen the nut over time. If the bit feels hot to the touch, you’re pushing too hard or running the motor at an incorrect RPM.
Test your technique on a scrap piece of the same material before committing to the final cut.
Safety Rules for Trim Router Setup and Basic Cuts
The Consumer Product Safety Commission highlights that power tools require constant focus to avoid severe lacerations. When you finish your project, always unplug the router and store it in a clean, dry area.
Wipe the bit clean with a light solvent to remove resin or sap buildup, which can cause the tool to drag during the next use. If you notice the motor struggling or the bit heating up prematurely, resin buildup is likely the culprit.
If the power cord shows any fraying or exposed wires, stop using the tool immediately and have it repaired by a certified professional. Never attempt to bridge these gaps with electrical tape, as the internal heat will eventually melt the adhesive and cause a short. If your router vibrates excessively during operation, check the collet for debris before assuming the motor is failing.
Alternative Routing Methods
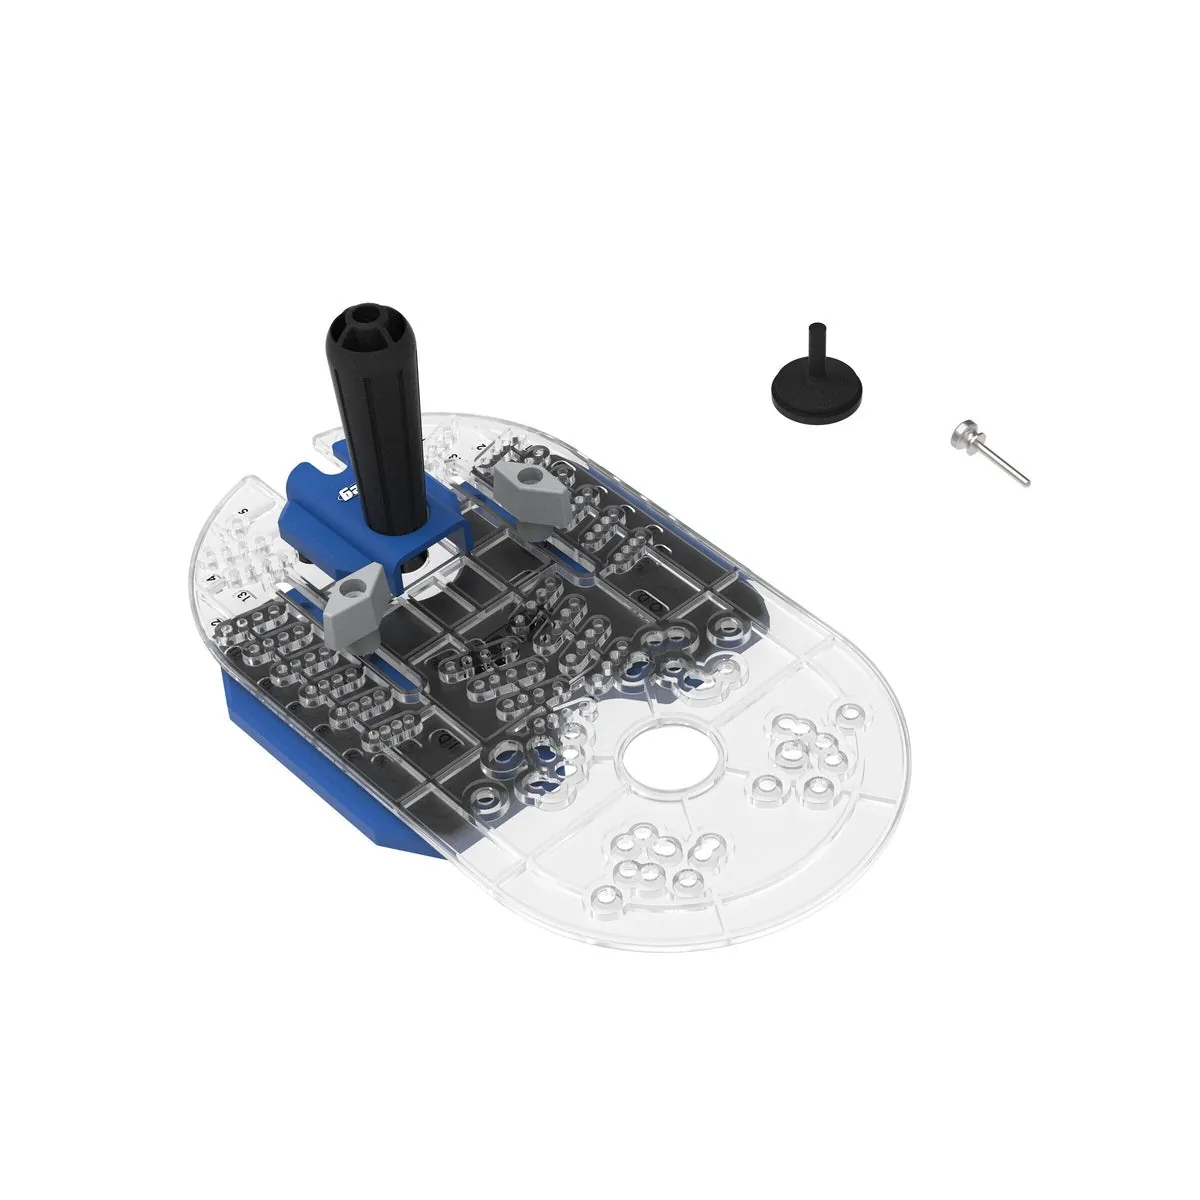
Handheld Template Routing
This method uses a physical guide or template attached to the wood. You use a bearing-guided bit that follows the template shape. This is perfect for repeating the same design multiple times with high accuracy, though it requires more time to set up the template correctly.
Router Table Work
Mounting your router upside down in a table allows you to feed the wood into the bit. This offers better control for small pieces of stock. It’s safer for detailed edge profiles, but it requires a dedicated table and specific safety guards to protect your fingers.
Fixed-Base vs. Plunge
A fixed-base router is best for edge work where you stay at one depth. A plunge router allows you to lower the bit into the wood while the tool is running. Choose a plunge base if you need to create internal slots or decorative patterns.
Related guides
- Cordless vs. Corded Trim Routers: Which Makes More Sense?
- 10 Best Trim Routers for Woodworking: Our Top Shop Picks
- Best Cordless Trim Routers for Woodworking: Expert Guide
Frequently asked questions
How fast should a trim router spin?
Most trim routers perform best between 15,000 and 25,000 RPM. Always check the bit manufacturer’s packaging for the maximum rated speed. If you use a large bit, reduce the speed to the lower end of the range to prevent excessive vibration and potential tool damage.
Can I use a trim router for deep cuts?
No, you should never attempt a deep cut in a single pass. Make multiple passes of about 1/8 inch each to reach your final depth. This prevents the motor from stalling and ensures a much smoother finish on the wood surface.
Why does the wood look burnt?
Burning happens when the bit moves too slowly through the wood or the blade is dull. The friction creates heat that scorches the fibers. To stop this, keep the router moving at a steady pace and ensure your bits are sharp and free of resin.
How do I know if the bit is sharp?
A sharp bit cuts cleanly without requiring you to force the tool forward. If you find yourself pushing hard to get the router to move, or if the wood edges look fuzzy or torn, the bit is likely dull and needs to be replaced or sharpened.
Is it safe to use a trim router with one hand?
No, you must always use both hands to maintain full control of the tool. A trim router can kick back unexpectedly if it hits a knot in the wood. Keeping two hands on the handles ensures you can react quickly if the tool moves off-course.
How often should I clean my router?
Clean your router after every major project or whenever dust accumulates in the vents. Using a vacuum to clear the motor housing prevents overheating, while checking the collet ensures bits seat properly. Regular cleaning extends the tool’s lifespan and maintains consistent performance during your woodworking tasks.
Conclusion
Once you’ve finished your first project, take a moment to inspect the tool for any resin buildup. Keeping your bits clean ensures they’ll stay sharp and cut smoothly for years to come. You’re ready to start your next design, so don’t be afraid to experiment with different shapes and edge profiles today.