Die Grinder Bits and Attachments: A Guide to Every Accessory
Die grinders are versatile high-speed rotary power tools, and knowing the function of each bit and attachment is essential for metal fabrication, woodworking, or automotive repair. These tools operate at 10,000 to 30,000 RPM, requiring the correct accessory for the specific material and task. Individual bits typically cost between $3.00 and $25.00, while starter kits range from $20.00 to $150.00 based on quality and quantity.
Key Takeaways
- Always match the bit material to your workpiece; carbide is for hard metals, while high-speed steel (HSS) is better for softer materials.
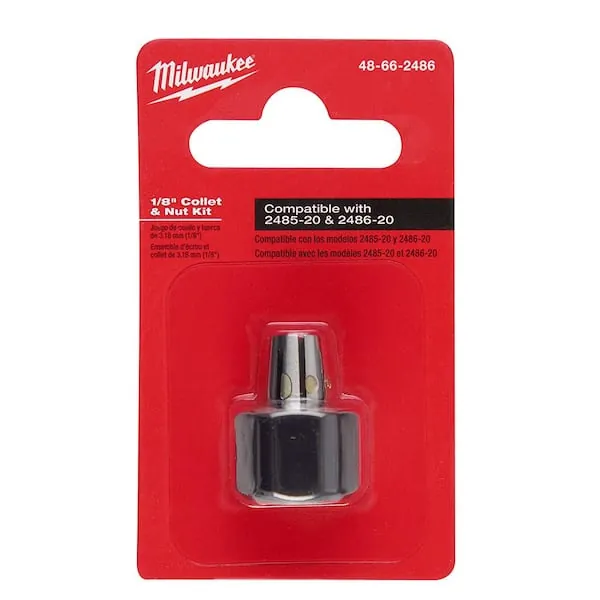
- Check the collet size of your tool before purchasing; 1/4-inch and 1/8-inch shanks are the industry standards.
- Use lower speeds for larger diameter bits and higher speeds for smaller burrs to prevent burning the material or tool.
- Prioritize safety by wearing ANSI-rated eye protection and thick gloves during all grinding or cutting operations.
- Properly seat the shank deep into the collet, leaving at least 1/2 inch of space from the collet nut to avoid vibration.
Choosing Die Grinder Bits and Attachments for Each Accessory
The most critical factor when selecting an accessory is the shank diameter. Most professional die grinders use a 1/4-inch collet, while smaller, precision-oriented tools often utilize a 1/8-inch collet. If your bit shank is too small for the collet, the tool will wobble, leading to poor finishes and potential damage to the grinder’s motor.
| Shank Size | Typical Application | Common Compatibility |
|---|---|---|
| 1/8 Inch | Detail work, engraving | Dremel, micro die grinders |
| 1/4 Inch | Heavy duty, fabrication | Industrial pneumatic grinders |
| 3/8 Inch | Specialized deep grinding | Large format electric grinders |
Understanding Carbide Burrs
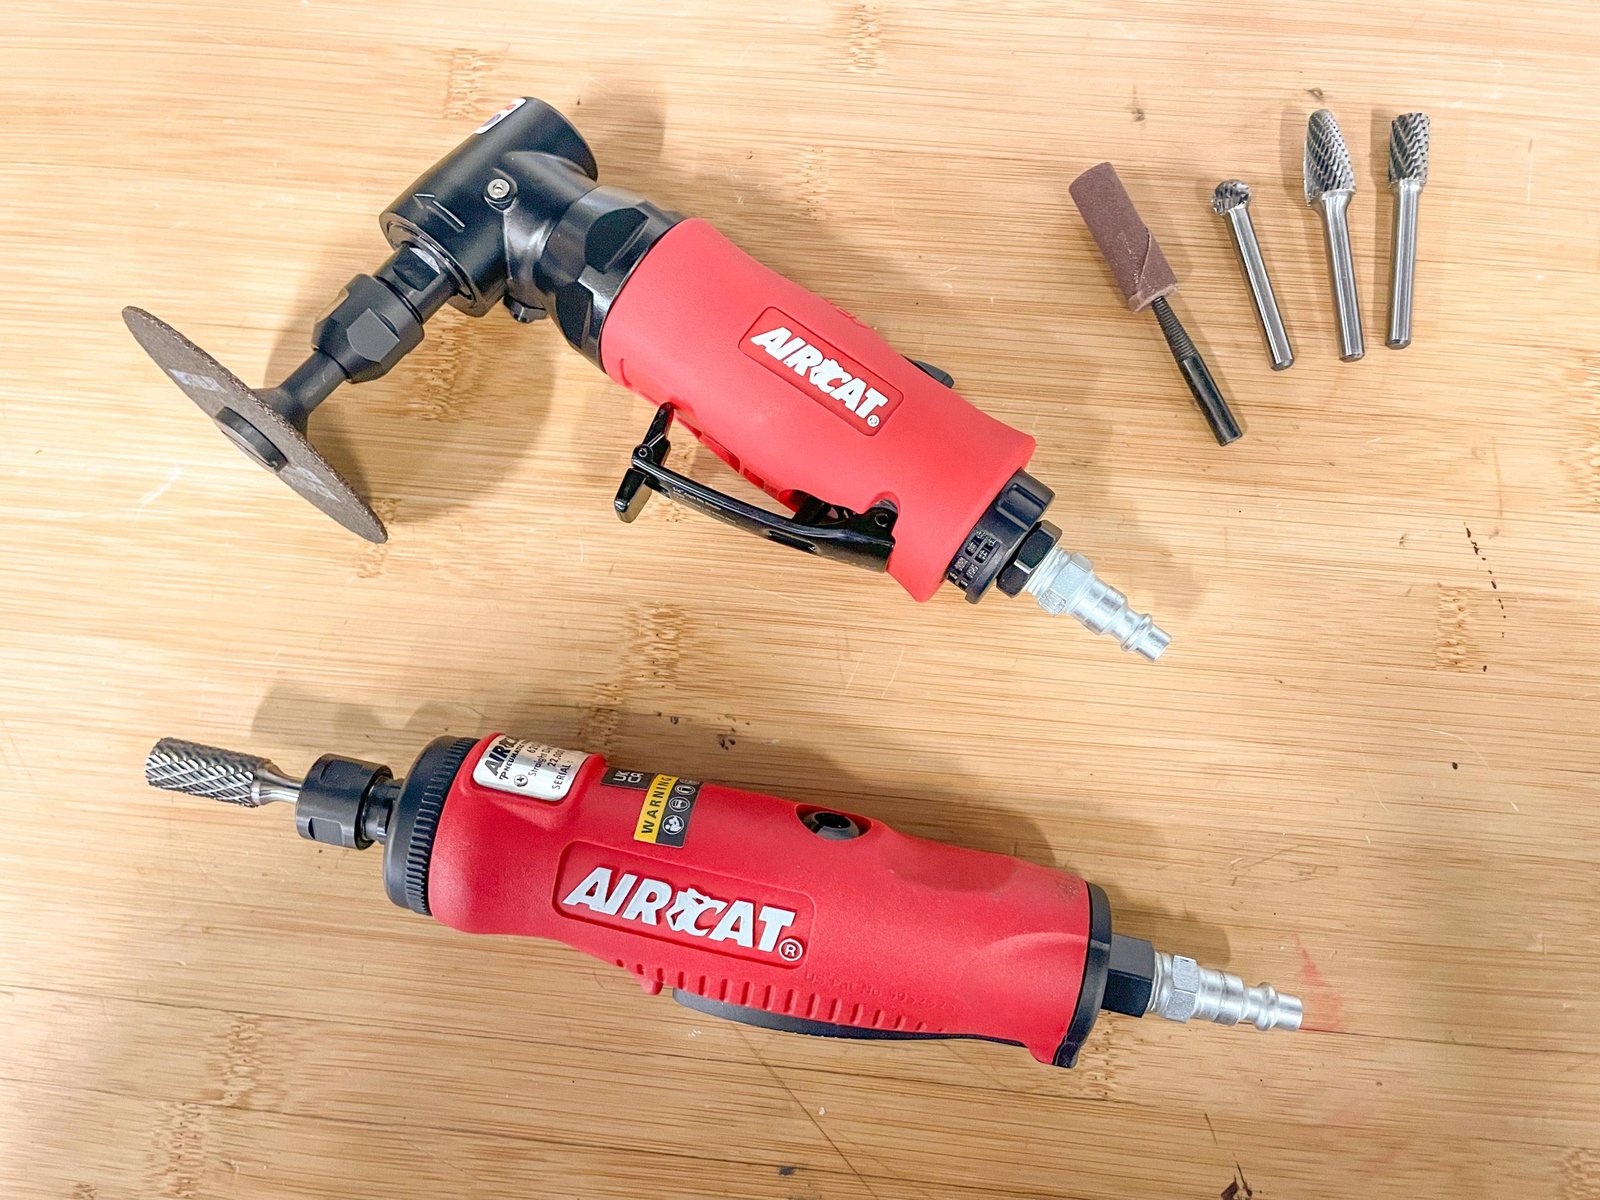
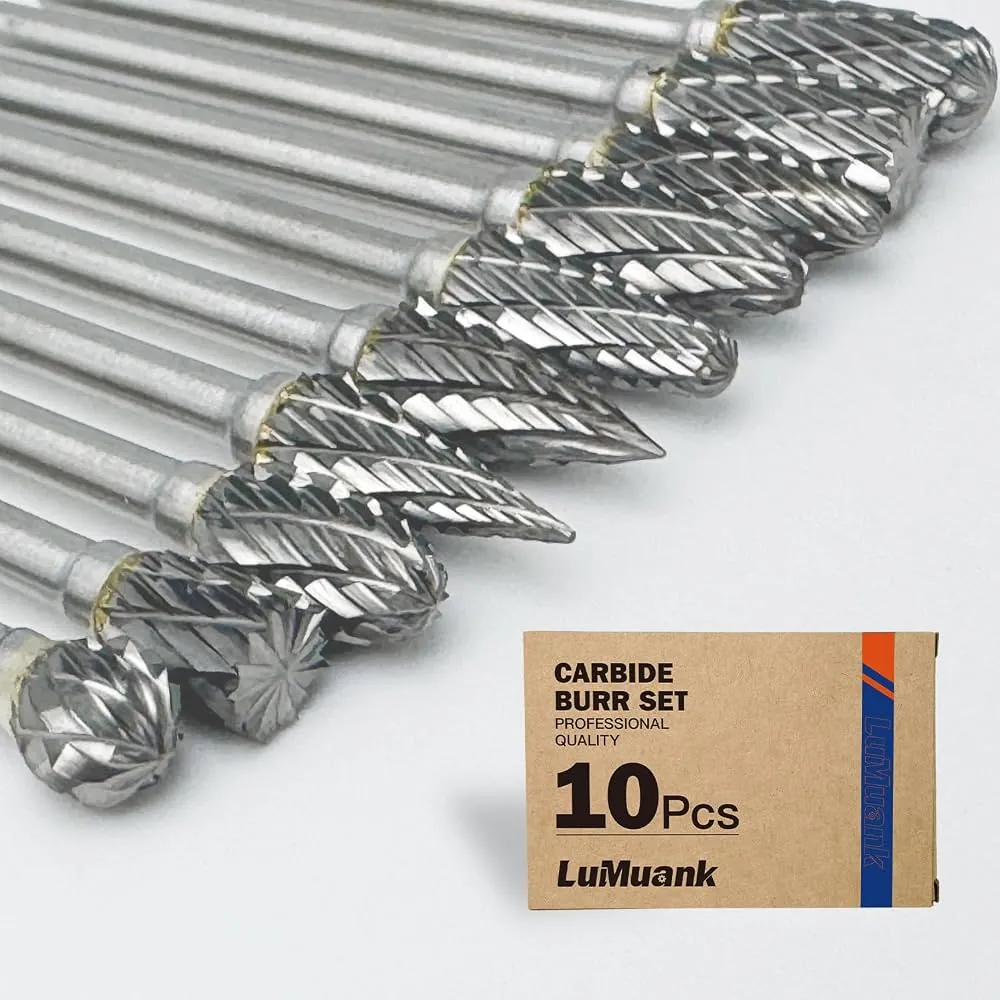
Carbide burrs are the workhorses of the die grinder world. These bits feature extremely hard cutting edges designed for deburring, shaping, and removing weld beads from steel, stainless steel, and cast iron. They come in various shapes, such as cylindrical, ball-nose, tree, and flame, each serving a distinct purpose in material removal.
- Cylindrical burrs: Best for flat surfaces and edge smoothing.
- Ball-nose burrs: Ideal for contouring and internal grinding.
- Tree-shaped burrs: Excellent for reaching into tight corners or concave areas.
Pro Tip: When using a carbide burr, let the speed of the tool do the work rather than applying heavy manual pressure, as excessive force can cause the brittle carbide to chip or snap.
Abrasive Flap Wheels and Discs
When you need to blend welds, remove rust, or prepare a surface for painting, abrasive attachments are your best choice. Unlike solid burrs that cut deeply, flap wheels and discs provide a uniform finish by sanding the material down.
- Flap wheels: These consist of multiple overlapping abrasive strips arranged in a circle. They’re flexible and conform well to curved or irregular surfaces.
- Quick-change discs: These feature a threaded backing that allows for rapid swapping. They’re commonly used for stripping paint or cleaning rust off flat metal sheets.
What Are Mounted Points Used For?
Mounted points, sometimes called grinding stones, are vitrified abrasive wheels permanently attached to a steel shank. They’re typically made from aluminum oxide or silicon carbide. These bits are essential for precision grinding of hardened steels, sharpening tools, or cleaning up internal diameters of pipes and tubing.
According to the Occupational Safety and Health Administration, operators must ensure that the speed rating of the mounted point is equal to or greater than the maximum rated speed of the grinder to prevent wheel disintegration.
Cutting Discs for Metal Fabrication
For slicing through thin metal, bolts, or rusted fasteners, use thin-profile cutting discs. These are designed for edge-on cutting only. Never apply side pressure to these discs, as they aren’t reinforced for lateral forces and can shatter under stress. Always ensure you’re using a mandrel that’s correctly sized for the disc’s center hole.
Wire Brushes and Buffing Pads
Wire brushes and buffing pads are finishing attachments. Wire wheels, made of carbon steel or stainless steel, are used to remove heavy scale, rust, or paint without removing the base metal. Buffing pads, usually made of felt or cotton, are used in conjunction with polishing compounds to create a mirror-like finish on aluminum or stainless steel components.
How to Maintain Your Accessories
Proper storage and maintenance extend the lifespan of your bits. Keep your carbide burrs separated so they don’t strike each other, which causes micro-chipping. For abrasive wheels, ensure they’re stored in a cool, dry environment, as humidity can degrade the bonding agents over time.
- Clean carbide burrs with a wire brush to remove embedded metal shavings.
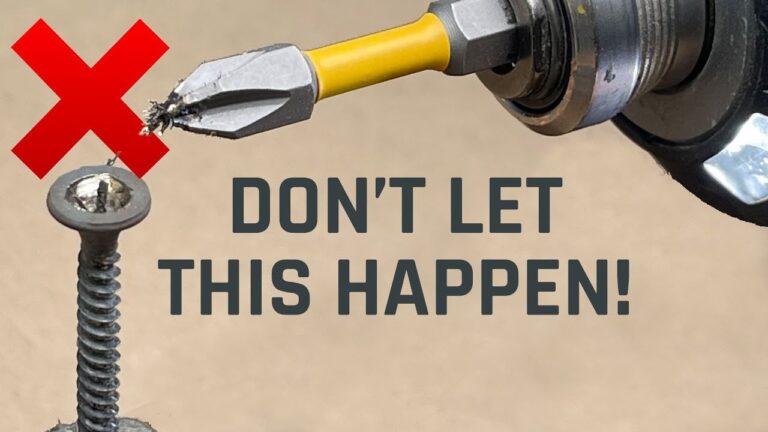
- Inspect all shanks for signs of bending or stress cracks before every use.
- Discard any disc that shows signs of moisture damage or structural fraying.
Troubleshooting Common Grinding Issues
If you notice your grinder vibrating excessively, the most likely culprit is an imbalanced or bent bit. Always stop the tool immediately if you feel unusual heat or chatter.
| Issue | Likely Cause | Solution |
|---|---|---|
| Excessive Chatter | Loose collet or dull bit | Tighten collet; replace bit |
| Burnt Material | Too much pressure | Decrease feed rate; increase speed |
| Bit Slipping | Incorrect shank size | Use proper collet insert |
| Uneven Surface | Worn abrasive material | Swap for a new flap wheel |
Warning: Never modify a shank by grinding it down or using makeshift shims to fit a collet, as this creates a dangerous imbalance that can eject the bit at high velocity.
Frequently Asked Questions
Can I use die grinder bits in a drill?
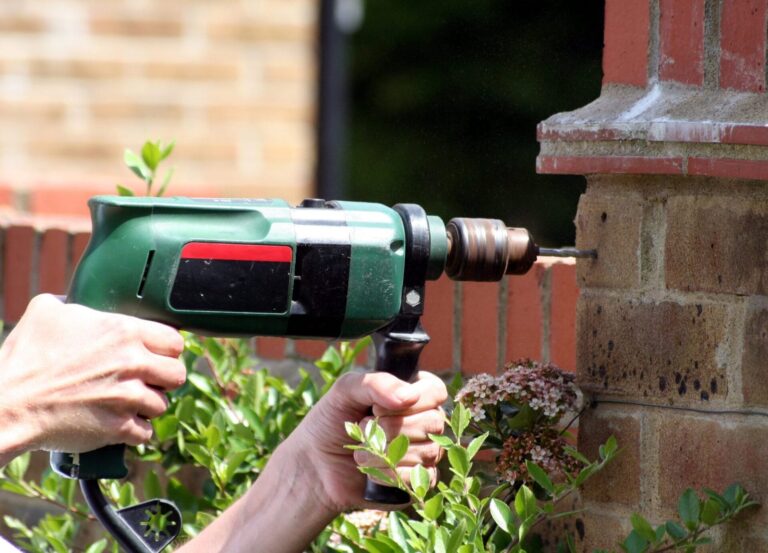
You can use them in a drill, but it’s rarely recommended. Drills operate at much lower RPMs than die grinders, meaning the bits won’t cut efficiently and may cause the motor of the drill to overheat. Additionally, drills aren’t designed to handle the lateral pressure often applied during grinding operations, which can damage the chuck or the internal gears of the drill.
How do I remove a stuck bit?
If a bit is stuck in the collet, first ensure the tool is disconnected from the power or air source. Use two wrenches: one to hold the spindle and one to loosen the collet nut. If it remains stuck, apply a small amount of penetrating oil to the collet threads and let it sit for several minutes before attempting to loosen it again.
What is the difference between HSS and carbide?
High-speed steel (HSS) bits are softer and more flexible, making them ideal for softer materials like wood or mild plastics. Carbide is significantly harder and more heat-resistant, which is required for cutting through hardened steel, stainless steel, and cast iron. Carbide is more expensive and brittle, but it holds a sharp edge much longer than HSS when used on hard surfaces.
Are all die grinder attachments universal?
No, attachments aren’t universal. You must match the shank diameter (usually 1/8 or 1/4 inch) to your specific tool’s collet. Furthermore, the maximum RPM rating of any attachment must be equal to or higher than the maximum RPM of your die grinder. Using an accessory rated for lower speeds than your tool can result in the accessory exploding during operation.
How do I know when a bit is dull?
A dull bit will require more manual pressure to achieve the same amount of material removal as a sharp one. You may also notice the material darkening or burning, which indicates friction rather than cutting. If your carbide burr stops biting into the metal or begins to skip across the surface, it’s time to replace it or have it professionally sharpened.
Do I need a specific speed for different materials?
Yes, material hardness dictates speed. Harder materials, such as hardened steel, typically require lower speeds to prevent the bit from overheating and losing its temper. Softer materials, like aluminum or wood, can be worked at higher speeds to achieve a smoother finish and prevent the bit from becoming clogged with debris. Always consult the manufacturer’s speed chart provided with your specific bits.
Conclusion
Once you have identified the appropriate bits for your project, start by practicing on scrap material of the same type you intend to finish. This allows you to calibrate your hand speed and pressure without risking your final piece. Always maintain a firm grip on the tool and ensure your workpiece is securely clamped to a workbench before starting your grinder.