How to Prevent Tear-Out When Using a Trim Router: Pro Tips
You prevent tear-out when using a trim router by making small passes and maintaining a consistent feed direction. This process relies on controlling the blade’s exit point and the speed of your movement. Mastering these variables keeps the grain intact and saves your project from jagged edges.
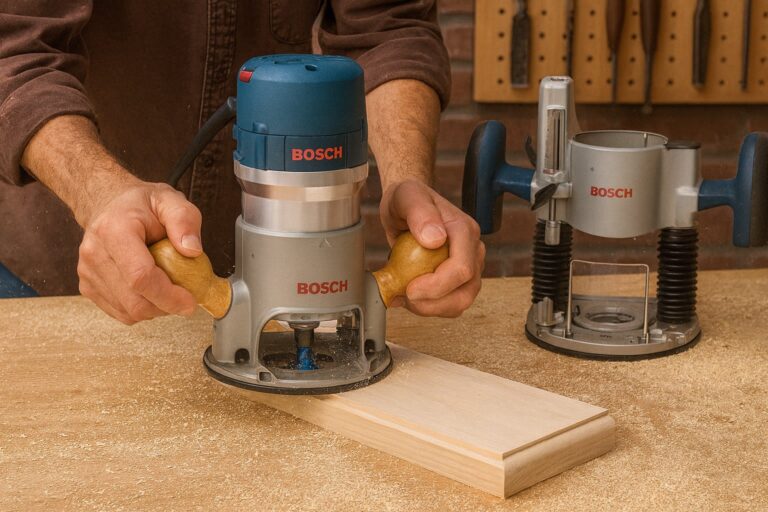
Preventing tear out when using trim routers
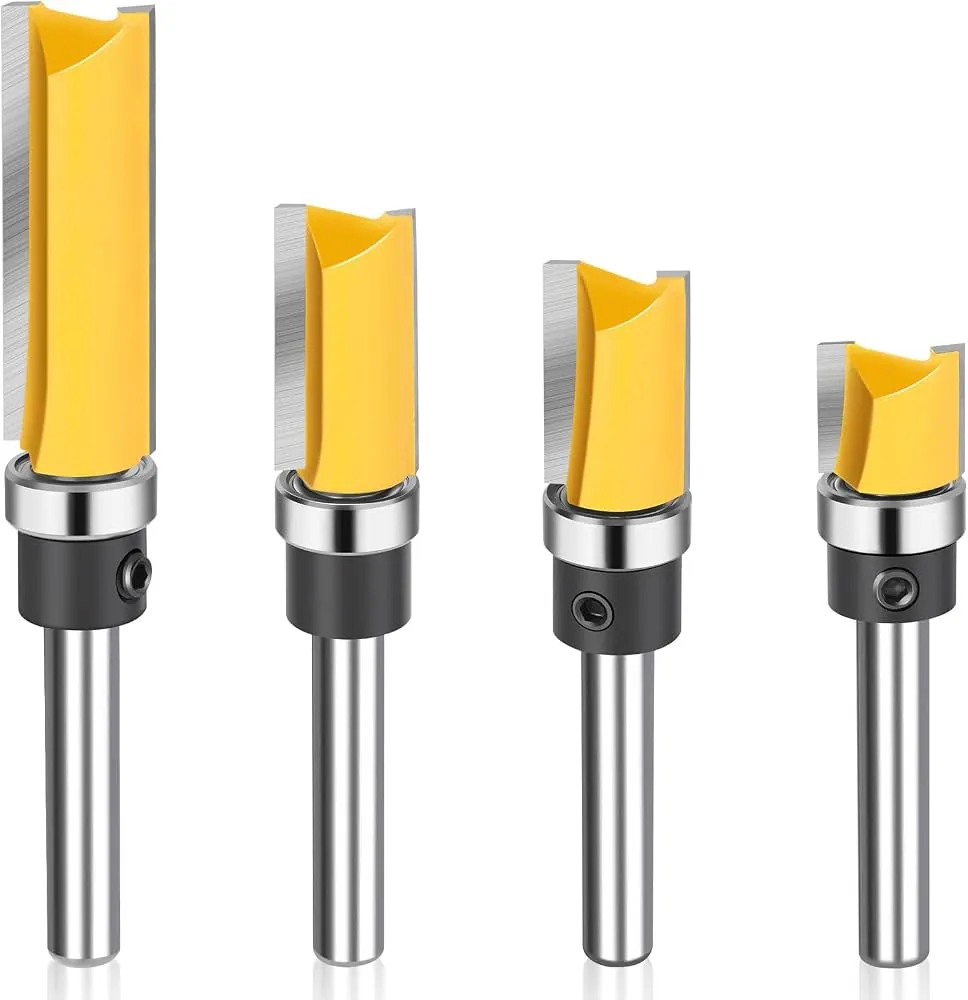
Most people rush their cuts or move the router in the wrong direction relative to the grain. This table shows how common habits compare to professional methods for a clean finish.
| What most people do | What to do instead | Why it matters |
|---|---|---|
| One deep, single pass | Multiple shallow passes | Reduces vibration and splintering |
| Pushing against the grain | Cutting with the grain | Prevents fiber lifting and tear-out |
| High router speed | Speed matched to wood | Lowers friction and burning risk |
| Fast feed rate | Consistent, steady speed | Keeps the cut edge smooth |
| Removing large edges | Using a sacrificial backer | Supports fibers at exit point |
| Dull router bits | Sharp, carbide-tipped bits | Requires less force and pressure |
If your wood is hard, like maple, use a slower feed rate to prevent burning; if it’s soft, like pine, maintain a consistent feed rate to prevent friction-induced heat buildup.
Prioritize Sharp Bits and Proper Speed
You must use sharp bits because a dull edge pushes the wood fibers rather than slicing through them. When a bit loses its edge, it creates heat through friction, which causes the wood to char and the fibers to lift away from the surface. Always check your bit for signs of wear, such as dark streaks on the cutting edge or a need for extra pressure during a pass.
Router speed is the second factor that changes your result. Most trim routers run at high revolutions per minute (RPM). If you move the tool too slowly, the bit stays in one spot and burns the wood. If you move too fast, the bit can’t clear the shavings, leading to uneven edges. Keep your router steady and let the machine do the work without forcing it into the wood.
Use Sacrificial Backing to Support Fibers
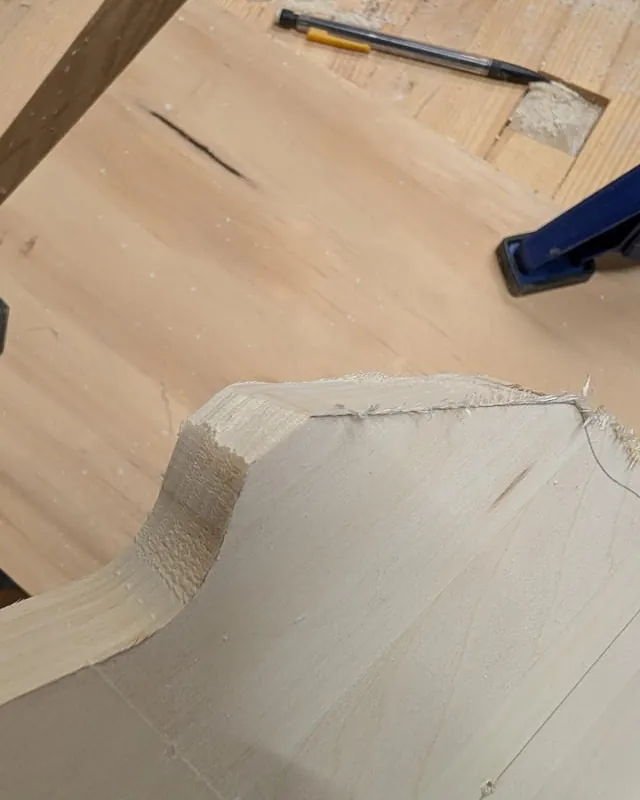
Tear-out happens most often at the very end of a cut, where the bit exits the wood. Without support, the wood fibers at the edge have nothing to hold them in place as the cutter spins past. A sacrificial backer is a simple piece of scrap wood clamped tightly against the exit side of your workpiece. This board acts as an extension of your project and absorbs the force of the bit as it finishes the cut.
Always ensure the backer board is flush against the edge of your project piece. If there’s even a small gap between the two, the fibers will still catch and tear. If you’re routing all four sides of a square board, start with the end grain sides first. When you route the long edges afterward, they will clean up any small splinters left behind from the first cuts. This sequence ensures a crisp, professional edge on every single side.
Master These Essential Routing Habits
You can ignore the common advice to “just go faster” to avoid burning, as this often leads to a loss of control and dangerous kickback. Also, ignore suggestions to use lubricant on the wood, as this can stain the surface and ruin your final finish. Don’t try to hold the piece by hand while routing; always use clamps to keep the wood and the backer board perfectly still.
- Avoid freehand routing: Always use a guide or fence to keep your path straight and prevent the bit from wandering into the wood.
- Ignore deep cut claims: Never try to remove the full depth of a profile in one go, as this creates too much resistance for a trim router.
- Don’t ignore dust: Clear the area often, as packed sawdust can hide your line and cause you to deviate from the path.
- Skip the “fast feed” myth: A consistent speed is better than a fast one; let the router’s motor speed dictate the rate of the cut.
Steps for a Smooth Router Finish
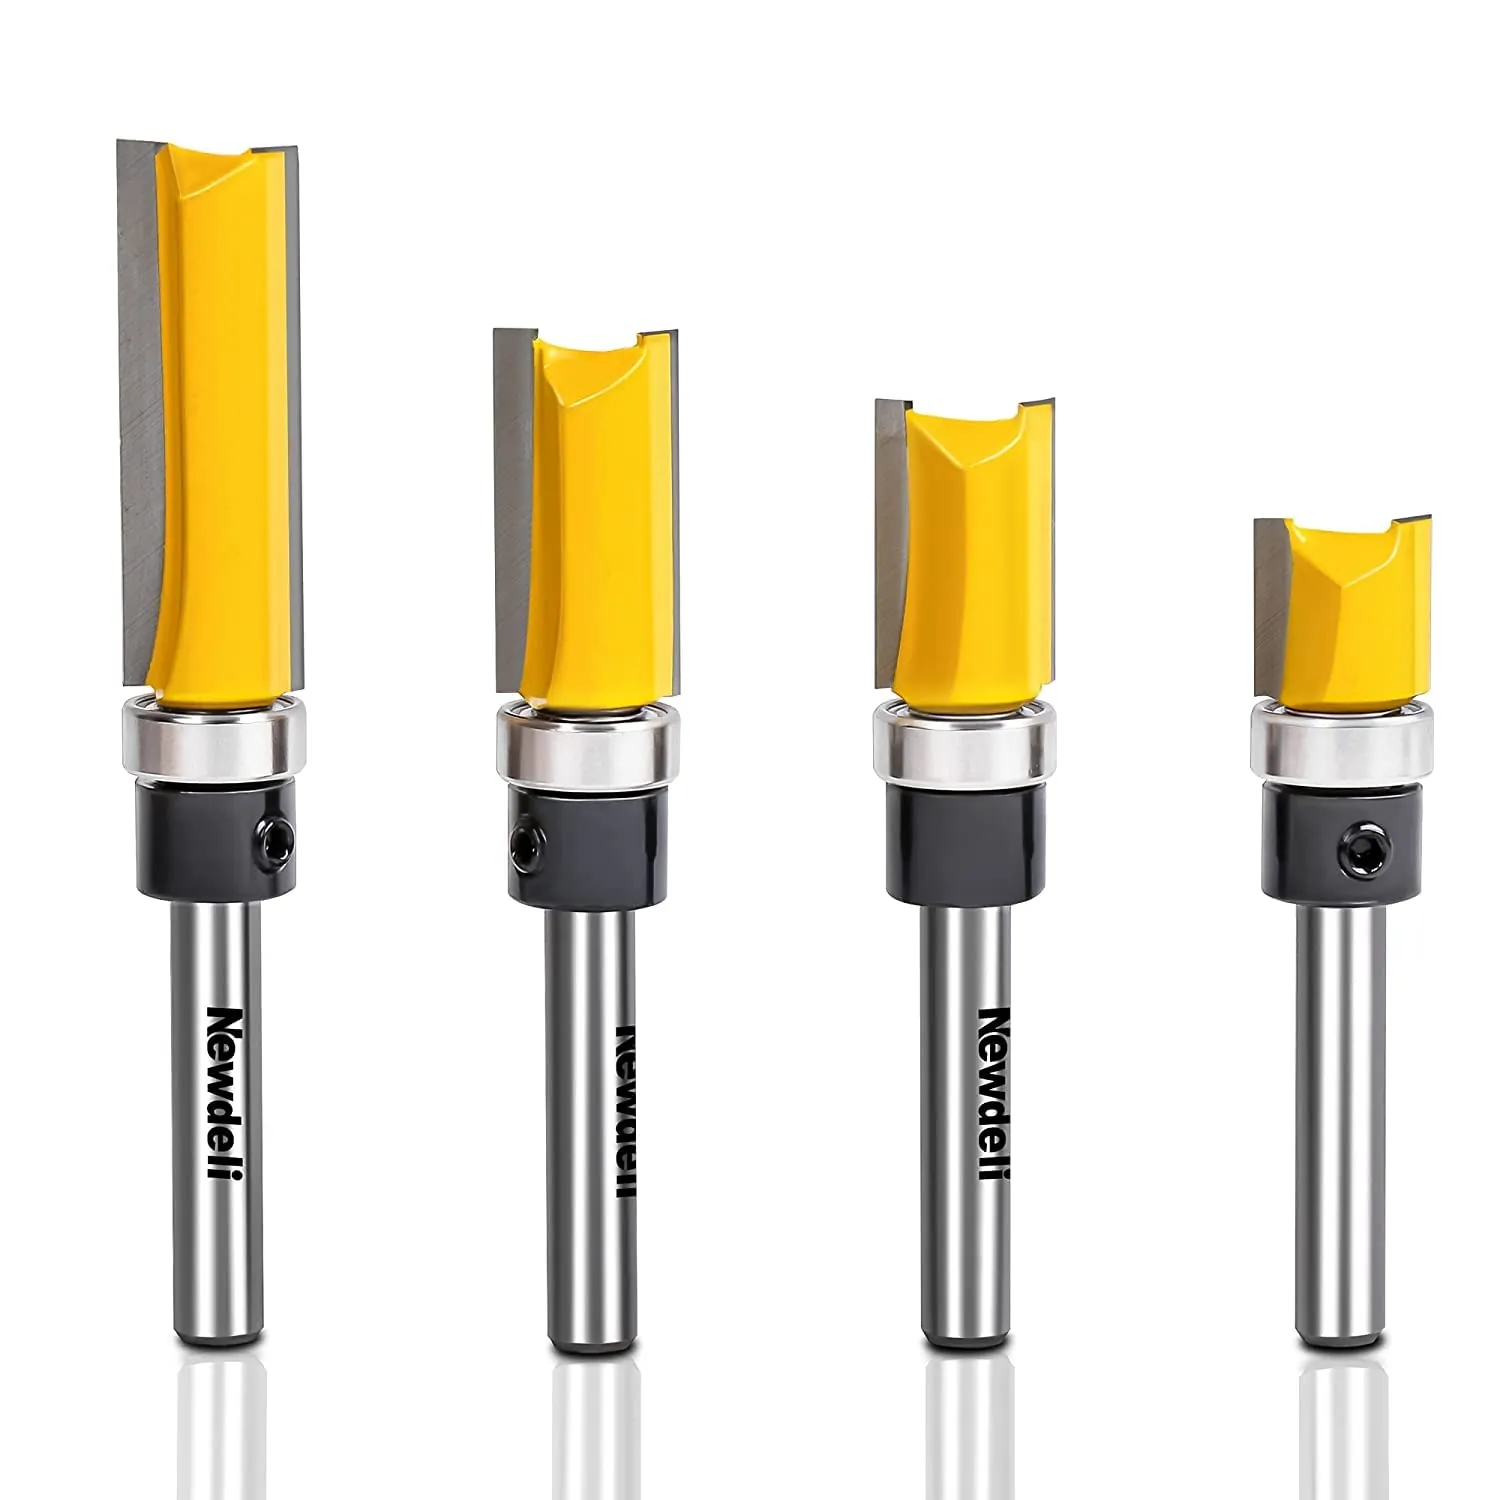
- Secure your workpiece: Use two or more clamps to fix the wood and a sacrificial backer board to your workbench. Ensure the wood doesn’t move during the cut.
- Set the bit depth: Adjust your router so the bit removes no more than 1/8 inch of material per pass. If you need a deeper cut, repeat the process.
- Check the grain direction: Look at the wood grain and plan your route to move with the direction of the fibers. This prevents the bit from lifting the wood.
- Position the router: Place the router base firmly on the surface before turning it on. Keep the bit away from the wood until the motor reaches full speed.
- Maintain steady pressure: Move the router along the edge at a constant speed. If the motor sounds like it’s struggling, slow down your movement slightly without stopping.
- Complete the pass: Push the router all the way through the backer board. Don’t pull the router back toward you while the bit is still spinning.
- Inspect the edge: Turn off the router and wait for the bit to stop completely before lifting the tool. Check the edge for any remaining rough spots.
Related guides
- Trim Router vs. Plunge Router: Differences and Which to Buy
- Cordless vs. Corded Trim Routers: Which Makes More Sense?
- 10 Best Trim Routers for Woodworking: Our Top Shop Picks
Frequently asked questions
Does the router bit material matter?
Carbide-tipped bits stay sharp for much longer than steel bits, which reduces the chance of tear-out. You should choose carbide bits for all hardwood projects to maintain a clean cut. If you’re working with softwoods, steel is fine, but you must sharpen or replace the bit as soon as you notice resistance.
How do I know if my router speed is correct?
Your router speed should be high for small bits and lower for larger bits to maintain a clean surface. Check the manufacturer’s manual for the exact RPM settings for your specific bit diameter. If you smell burning wood, your speed is likely too high or your feed rate is too slow.
Is it safe to route without a fence?
It’s rarely safe to route without a fence or guide because the router can easily slip and ruin your workpiece. Always use a straight-edge guide clamped to your table to keep the router on a predictable path. If your project is too small for a fence, use a template or a bearing-guided bit.
What happens if I stop mid-cut?
Stopping mid-cut usually causes a burn mark or a deep gouge where the bit sits in one place. If you must stop, turn off the power and wait for the bit to stop spinning before moving the router. To fix the mark, you’ll need to sand the area or perform a very light, shallow pass.
How long should each pass take?
Each pass should take about 5 to 10 seconds per foot of wood, depending on the hardness of your material. If you find yourself pushing hard to move the router, you’re taking too much material off at once. Increase the number of passes rather than increasing the force applied to the tool.
Can I fix tear-out after it happens?
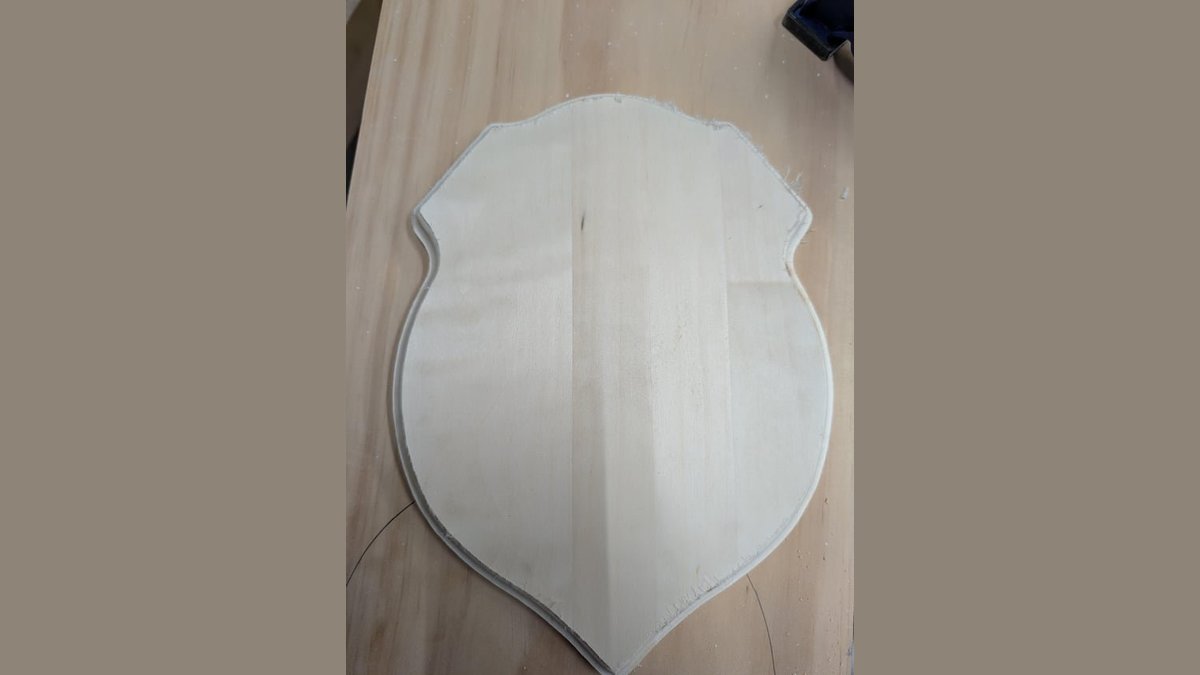
You can fix minor tear-out by gluing the splinter back in place or using a color-matched wood filler. If the damage is deep, sand the edge until the jagged area is removed. Note that these repairs may remain visible depending on the wood species and finish.
Conclusion
Once your edges look clean and smooth, you’ll feel much more confident tackling your next build. Don’t be afraid to practice these techniques on some scrap wood before you start your final piece. You’ll find that a little patience today makes your future projects look professional and polished every single time.