How to Round Over Wood Edges with a Trim Router: Easy Steps
You can achieve smooth, professional results by rounding over wood edges with a trim router and a dedicated carbide-tipped bit.
Gathering tools to round wood edges
Having the right gear makes the difference between a clean edge and a ruined project. You need to gather these items before you begin to ensure you don’t have to stop mid-process.
| Item | How much | Why it’s needed | A substitute |
|---|---|---|---|
| Trim router | 1 unit | Powers the bit | None — don’t swap |
| Round-over bit | 1 piece | Cuts the profile | Hand sanding block |
| Clamps | 2 pieces | Holds wood steady | Heavy weights |
| Safety glasses | 1 pair | Protects your eyes | Face shield |
| Hearing protection | 1 set | Protects your ears | Noise-canceling earmuffs |
| Scrap wood | 1 board | Tests the depth | Cardboard sample |
Preparing your workspace
- Switch off the router and unplug it from the power source before you change any bits or adjust the depth settings.
- Clear your workbench of all loose tools, screws, or wood dust to provide a stable, flat surface for the router base.
- Clamp your workpiece tightly to the bench; if the wood moves during the cut, you’ll ruin the edge profile instantly.
- Always check the bit’s shank and collet for debris, as even a small amount of dust causes vibration that leads to jagged cuts.
Using a router for edge profiles
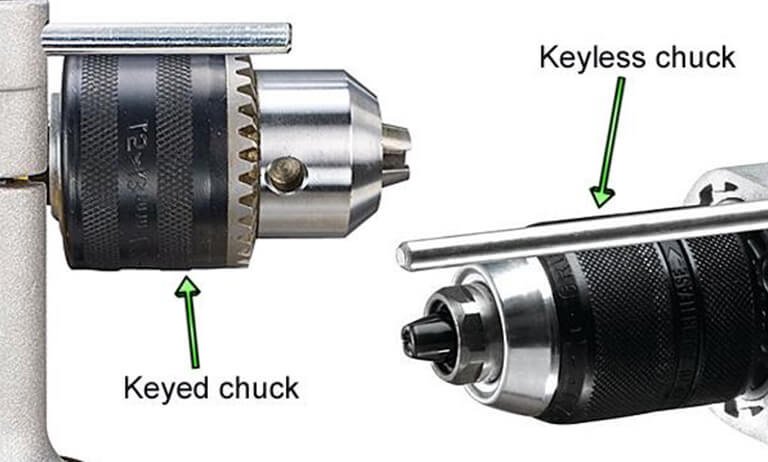
- Insert the round-over bit into the router collet until it bottoms out, then pull it back approximately 1/8 inch before tightening it securely using the provided wrenches.
- Adjust the router base so the pilot bearing of the bit aligns perfectly with the edge of your workpiece, which ensures a consistent profile along the entire length.
- Plug in the router and place it on your scrap wood first to verify the depth of the cut, adjusting the height dial until the bit creates the desired radius.
- Position the router on the edge of your actual workpiece, keeping the pilot bearing flush against the wood side to guide the cut without letting the bit wander.
- Turn on the router and wait for it to reach full speed, then move the tool along the edge in the direction that keeps the router base firmly against the workpiece.
- Keep the router base flat against the top surface of the wood throughout the entire pass, as tilting the tool will cause an uneven or gouged edge.
- Maintain a steady, moderate pace; moving too slowly burns the wood, while moving too quickly causes the bit to chip the surface of the grain.
- Turn off the router and wait for the bit to stop spinning completely before you lift it away from the wood to avoid accidental surface marks.
Checking your results
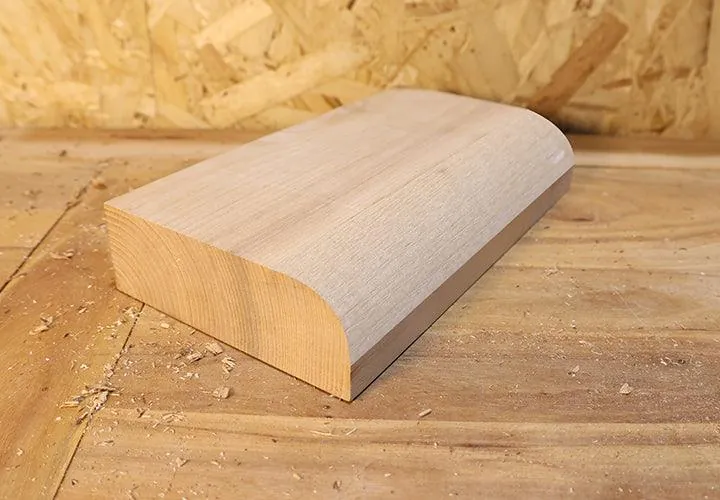
The edge should feel uniform and smooth to the touch, with no visible ridges or burn marks along the curved profile. Inspect the wood grain for any signs of “chatter,” which looks like tiny ripples; this usually happens if you moved the router too slowly or if the bit is dull. If you see these marks, a light sanding with 220-grit paper will typically remove them.
If the router left a small “step” at the bottom of the curve, the bit was set too low; simply raise the bit slightly and run the router again. If the edge is uneven, it means the router base tilted during the pass. You must keep the base perfectly flat against the wood surface for the entire duration of the cut to ensure a professional finish.
Managing common edge defects
| What happened | Why | What to do |
|---|---|---|
| Burn marks | Moving too slowly | Increase your speed |
| Chipped grain | Moving too fast | Slow down slightly |
| Uneven depth | Router tilted | Keep base flat |
| Rough surface | Dull bit | Replace the bit |
| Chatter marks | Loose workpiece | Tighten the clamps |
If you see dark, charred streaks, you’re dwelling too long in one spot. Increase your feed rate until the wood remains its natural color.
When your bit leaves jagged, splintered edges, you’re likely pushing the tool faster than the cutters can clear the waste. Reduce your pace by roughly ten percent to allow the teeth to shear the fibers cleanly.
If your router base rocks during the cut, the depth will fluctuate visibly. Always ensure the baseplate has full contact with the surface. If the workpiece is small, use a sacrificial board to provide a wider, stable platform for the router.
Finally, check for vibration. If you feel a rhythmic buzzing in the handles, your clamps are likely failing to hold the material rigid. Tighten them until the piece is immovable.
When to perform this task
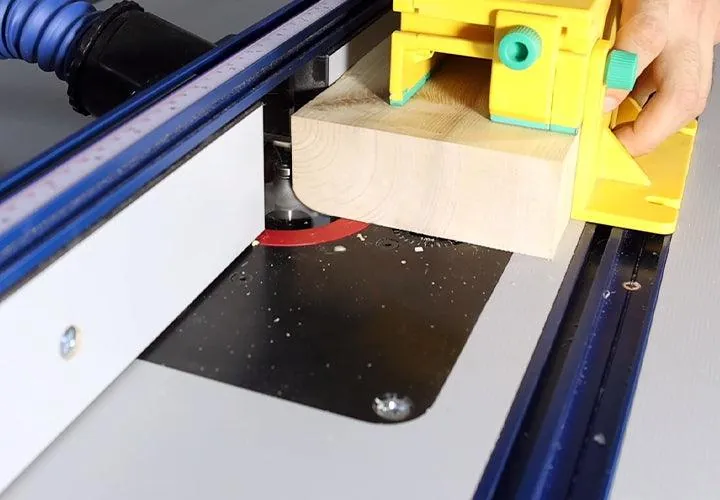
You should round over edges whenever you finish the joinery phase of a project, but before you start the final sanding or staining. The frequency depends entirely on your project volume and the density of the wood you use.
Harder woods like oak or maple dull bits faster than pine, so you’ll need to check your bit sharpness more often if you work with dense stock. If the router feels like it is “fighting” you or requiring extra pressure, your bit has reached its limit and needs sharpening or replacement.
Related guides
- Trim Router vs. Plunge Router: Differences and Which to Buy
- Best Nail Gun for Quarter Round: Top Picks for Precision Trim Work
Frequently asked questions
Can I use a round-over bit on curved edges?
Yes, you can use a round-over bit on curved edges by keeping the pilot bearing in constant contact with the wood edge at all times. You must move the router slowly around the curve to ensure the bit doesn’t lose its reference point, which would cause an inconsistent cut.
How do I know if my bit is dull?
Your bit is dull if you notice black burn marks on the wood or if the router requires significantly more pressure to move forward. A sharp bit should glide through the wood with minimal resistance; if you have to force it, stop immediately and check the cutting edges for damage.
Is it safe to use a trim router with one hand?
It isn’t safe to use a trim router with one hand because the tool can easily kick back or tip over during the cut. Always use both hands to maintain full control of the router base and ensure the tool remains flat against the surface of the wood at all times.
What happens if I move the router too fast?
Moving the router too fast causes the bit to “chatter” or skip, which leaves small, ugly gouges along the edge of your wood. You must maintain a steady, moderate pace to allow the cutters to remove the material cleanly without vibrating or jumping across the wood surface.
Does the wood grain direction matter?
The wood grain direction matters because cutting against the grain often causes the bit to tear out small chunks of wood rather than slicing them. If you notice tear-out, try to orient your passes so you’re moving with the grain or make a very light climb cut first.
How deep should the round-over be?
The depth should be set so the bit’s bearing rides exactly on the side of the board, creating a radius that matches your bit’s specifications. You can check the depth by looking at the profile on a piece of scrap wood; if the curve is too small, lower the bit slightly.
Conclusion
Always unplug your router before you make any adjustments to the bit depth or change the bit itself. This simple habit prevents accidental starts that could lead to serious injury or damage to your workpiece. Once you verify your settings on scrap wood, you can proceed with confidence on your main project.