How to Drill Clean Holes in Wood With a Corded Drill: Pro Tips
Drilling clean holes in wood with a corded drill requires starting at low speed, using sharp bits, and backing the workpiece with scrap wood to prevent tear-out. A standard corded drill with a twist bit works well for holes up to 1 inch. Always verify the bit size on the shank before starting.
What you need to drill wood cleanly
| Item | How much | Why it’s needed | A substitute |
|---|---|---|---|
| Corded drill | one | turns the bit at steady speed | none — don’t swap this |
| Twist drill bit | one, matching hole size | cuts the hole | brad-point bit for cleaner entry |
| Scrap wood | one board, same thickness or thicker | supports the back so wood doesn’t splinter | none — don’t swap this |
| Clamps | two | hold the work still | heavy weight if clamps are missing |
| Pencil and square | one each | mark hole center and keep it straight | none — don’t swap this |
| Safety glasses | one pair | stop chips from hitting your eyes | none — don’t swap this |
Set up on a flat bench or table. Clamp your workpiece down so it can’t spin when the bit bites. Place the scrap board directly underneath where the hole will go, because that’s where breakout happens. Mark the center with a pencil and a square.
If you’re drilling near an edge, keep at least one bit diameter of wood between the hole and the edge, or the wood can split. The preparation most people skip is testing the depth on a scrap piece first; skipping it’s what causes most ruined holes. If your drill has no variable speed trigger, stop and ask someone with the right tool — don’t force a single-speed drill through hardwood.
Drill clean holes in wood
- Mark the exact center of the hole with your pencil and square. A wrong mark means a crooked hole you can’t fix without filling it.
- Clamp the workpiece to the bench and lay the scrap board underneath. Hold the drill perpendicular to the surface so the hole goes in straight.
- Fit the bit into the chuck and tighten it by hand, then with the chuck key. A loose bit wobbles and tears the wood.
- Set the drill to its lowest speed and place the bit tip on your mark. High speed at start burns the wood and dulls the bit.
- Squeeze the trigger gently and let the bit cut its own way in. Don’t press hard — forcing it makes the bit wander and splints the edge.
- Drill until the tip just breaks through the back, then ease off the pressure. Pushing through at full force blows out the back face.
- Pull the bit out while it’s still spinning, then finish the hole from the back side if you need a perfectly clean exit.
- Clear the chips from the hole and check the size against your mark before moving on.
How to tell the hole came out clean
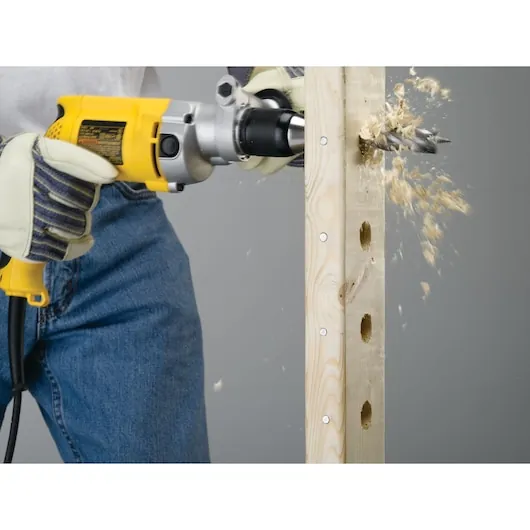
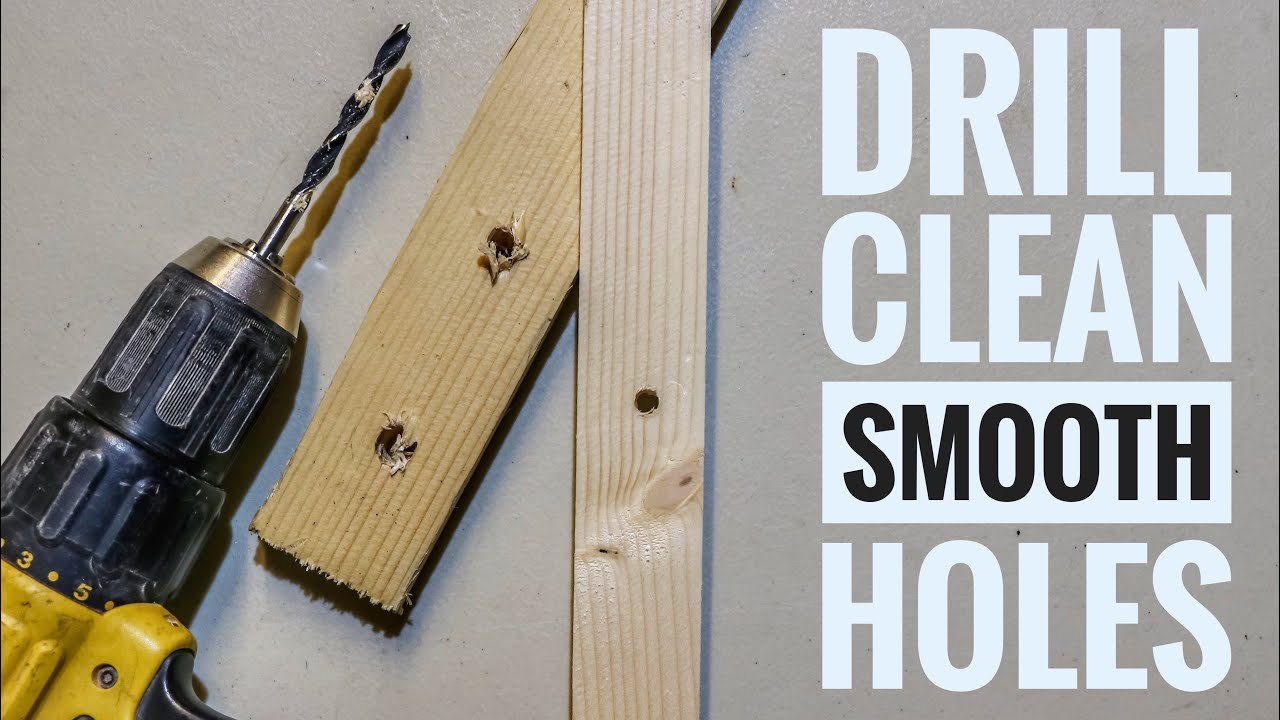
A clean hole has sharp, crisp edges with no torn fibers around the rim. The back face should look almost as neat as the front, especially if you used the scrap board and finished from behind.
If you see fuzzy edges or splinters, the bit was dull or you pushed too hard. Run your finger lightly across the exit side. If it catches, the hole needs another pass with a sharper bit or a slower feed.
When you encounter tear-out, stop immediately. Attempting to drill through the same hole with a dull bit will only enlarge the diameter and ruin your workpiece. If you must salvage the hole, switch to a brad-point bit and clear the debris before starting from the back.
Apply firm, consistent pressure that lets the cutting edges do the work. If you feel the drill vibrating or hear a high-pitched whine, you’re moving too fast. Never check a drilled hole by smell or taste; wood dust and treatment chemicals provide no warning.
If something goes wrong
| What happened | Why | What to do |
|---|---|---|
| Splintered exit hole | no backing board | drill from the back side with a sharp bit |
| Wandering bit | mark was off-center | start a new hole with a center punch |
| Burnt wood | speed too high | lower the speed and let the bit cut |
| Rough inner walls | dull bit | sharpen or replace the bit |
| Crooked hole | drill tilted | keep the drill perpendicular and reclamp |
If the bit smokes or the drill slows, stop immediately and let the motor cool. Continuing risks burning out the motor or ruining the bit temper.
For deep holes, pull the bit out every few seconds to clear chips. Packed chips overheat the metal and scorch the wood grain. If you’re drilling through hardwood, use a peck-drilling technique to prevent heat buildup.
Check your bit before starting. If the cutting edge feels dull under your thumbnail, it will create friction rather than removing material. Friction is the primary cause of scorched wood.
If you’re drilling into end grain, expect more heat. Use a lower RPM setting than you would for face grain. If the drill bit grabs or chatters, you’re likely applying too much downward pressure. Ease off and let the tool do the work. If the bit binds, reverse the drill slowly to back it out safely.
How often to drill holes this way
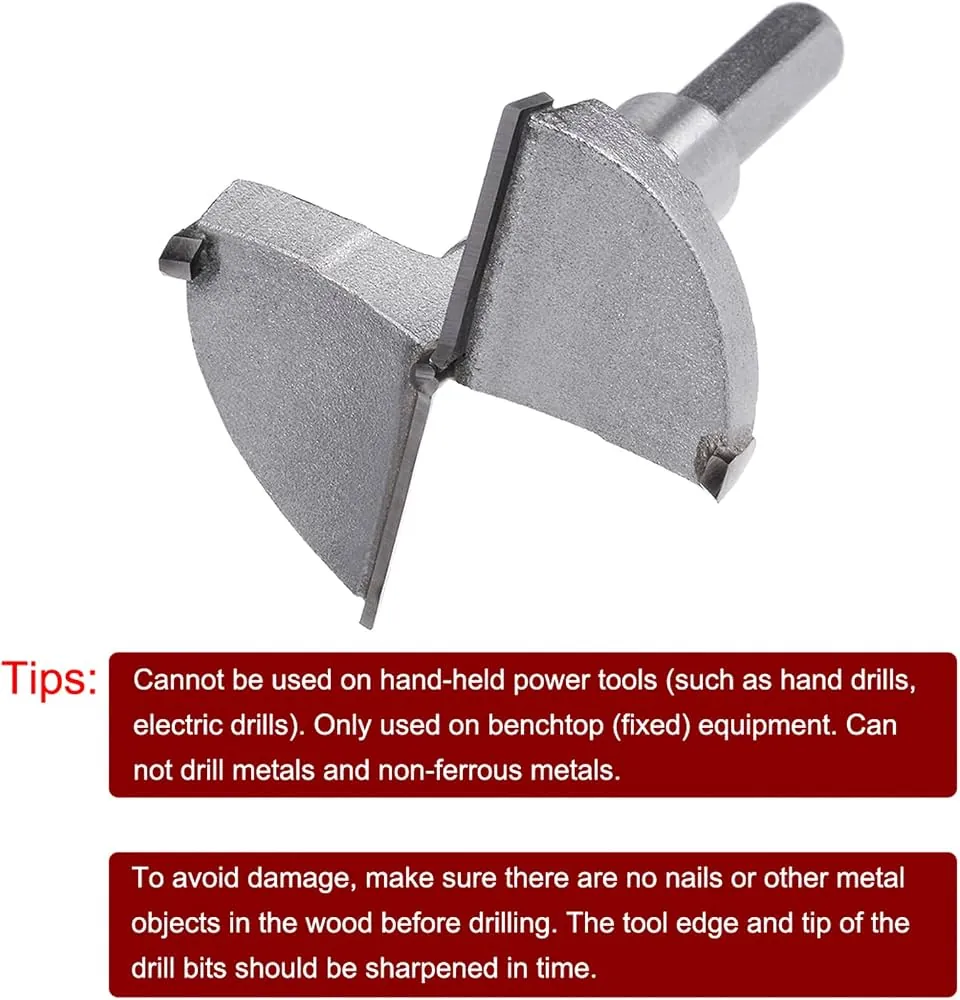
There’s no set schedule—you drill when a project calls for a hole, not on a calendar. The two things that change how you work are the wood species and the hole size. Hardwoods like oak or maple need slower speed and sharper bits than soft pine, and holes wider than about one inch call for a spade bit or a hole saw instead of a twist bit.
If you encounter smoke or burning wood, you’re moving too fast or using a dull bit. Stop immediately to prevent heat damage that ruins the surrounding fibers. For holes over one-half inch in diameter, drill a pilot hole first. This prevents the bit from wandering and saves your motor from excessive strain.
Check your drill’s manual for the maximum bit size its chuck can hold. Match the bit to the wood before you start. If the bit wobbles, the chuck is loose.
Frequently asked questions
Can I drill clean holes without a drill press?
Yes. A corded drill with a sharp bit and a scrap backing board produces clean holes in most wood up to about one inch in diameter; a drill press only makes it easier to keep the drill perfectly perpendicular.
Why does the back of the hole splinter?
Because the bit tears fibers as it exits; place a scrap board underneath and finish the hole from the back side with light pressure to prevent it.
How long does one hole take?
About five to fifteen minutes, assuming a standard twist bit in softwood or hardwood and a workpiece clamped to a bench.
Is it safe to drill without clamps?
No. The workpiece can spin when the bit bites, which can injure your hand or ruin the hole — clamp it down every time.
What happens if I push too hard?
The bit wanders, the edge splinters, and the wood can burn — let the bit cut at its own speed with gentle pressure.
Does bit size matter for clean holes?
Yes. Match the bit to the exact hole size you need, and check your drill’s chuck capacity before buying larger bits.
Conclusion
Once you’ve finished your project, take a moment to inspect the edges for any stray fibers. If you find a few rough spots, a quick pass with fine-grit sandpaper will leave the surface feeling smooth. You’ll be ready to start your next build with confidence, so don’t hesitate to keep practicing your technique.