How to Use an Oscillating Multi-Tool: Beginner Setup and Safety
To use an oscillating multi-tool safely, you must select the correct blade for your material, secure your workpiece firmly, and always wear safety glasses to protect against flying debris. Start by setting your speed to the lowest level for precise cuts, then increase it only when you feel comfortable controlling the tool’s vibration as it bites into the surface.
Steps for operating your multi-tool
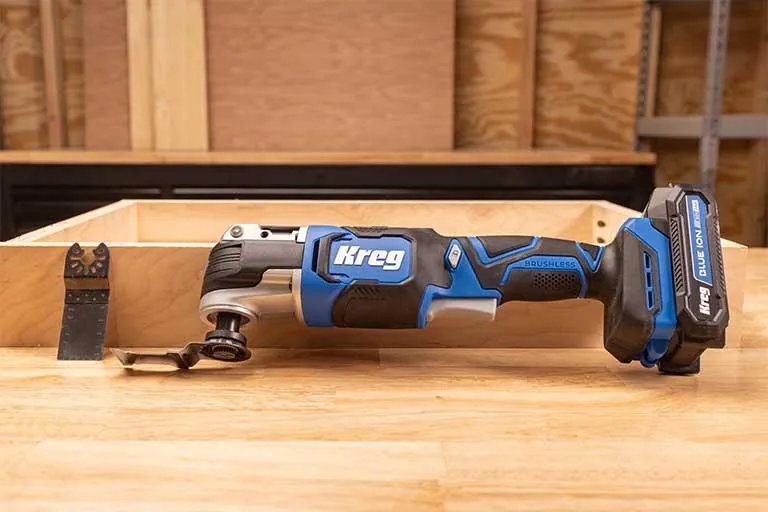
Operating this tool requires a steady hand and an understanding of how the blade oscillates back and forth at high speeds, so follow these steps to ensure you maintain control while cutting or sanding.
Disconnect the power. Always unplug your tool or remove the battery before you swap blades to prevent accidental activation. A common mistake is leaving the battery in while adjusting the angle; this can trigger the motor if your thumb brushes the switch, resulting in deep lacerations.
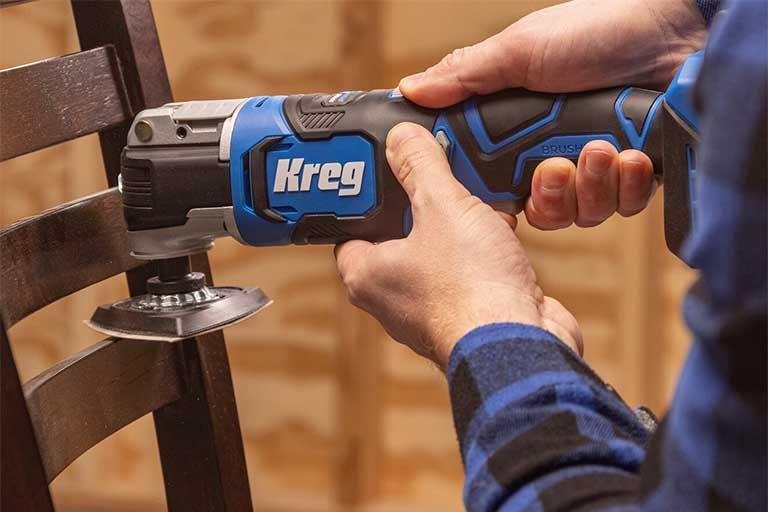
Attach the accessory. Align the blade or sanding pad with the mounting interface, then tighten the bolt or lock the quick-release lever firmly. If the accessory rattles upon start-up, stop immediately. A loose blade will vibrate violently and can shatter under high oscillation.
Secure your workpiece. Use clamps to hold your material steady so you don’t have to use your hands near the vibrating blade. If you’re cutting thin metal, use two clamps spaced four inches apart to prevent the material from vibrating against the blade, which creates a deafening screech and ruins the cut.
Set the speed. Turn the dial to the lowest setting if you’re a beginner. This reduces the risk of the tool jumping or marring your surface. Use high speeds only for wood or drywall; use low speeds for metal or plastic to prevent melting the edge.
Begin the cut. Place the blade against the material before you turn the tool on. Press the power switch and apply gentle, steady forward pressure. Start your cut at a slight angle to the surface to help the teeth bite into the material without skidding.
Follow the line. Let the tool do the work by guiding it along your mark rather than forcing it. Forcing the tool causes the blade to bind and kick back.
Monitor for heat. Stop every 60 seconds to check if the blade is hot. Excessive heat dulls the teeth and scorches your material. If you see smoke, you’re pushing too hard; back off and let the oscillation clear the debris.
Expected performance and timing
The time required for a task depends on the density of your material and the type of accessory you choose. Use this table as a general guide to help you estimate your project duration and settings.
| Task Type | Accessory | Suggested Speed | Estimated Time |
|---|---|---|---|
| Softwood cuts | Wood blade | Medium | 10–20 seconds |
| Hardwood cuts | Wood/Metal blade | Medium-High | 30–60 seconds |
| Metal pipe | Bi-metal blade | Low-Medium | 60–120 seconds |
| Paint removal | Sanding pad | Low | 3–5 minutes |
If your material begins to smoke or smell like burning, stop immediately. You’re moving too fast, which dulls the teeth and risks permanent damage to the motor. Reduce your speed by one setting and apply less downward pressure.
If you’re cutting through reclaimed lumber with hidden nails, always switch to a carbide-tipped blade. Using a standard wood blade on metal will ruin the edge in under five seconds.
Common mistakes and safety warnings
Most users struggle because they push too hard or use a dull blade. Forcing the tool makes the vibration harder to manage and often burns the wood rather than cutting it. Always check that your blade is sharp before starting, as a dull accessory requires more pressure and increases the risk of slipping.
If you find yourself leaning your full body weight into the tool to make progress, stop. You’re likely using a blade intended for soft pine on dense hardwoods like oak or maple. Switch to a carbide-tipped accessory to handle the increased resistance without overheating the motor.
Always keep your fingers away from the cutting path and ensure your workspace is free of cords that could tangle during operation. Never attempt to use a blade that appears bent or cracked, as the high-speed oscillation can cause damaged metal to shatter.
If the tool vibrates violently, stop immediately to check that the attachment is seated correctly and the mounting nut is tight. A loose accessory will rattle against the housing, which can permanently warp the drive spindle and ruin the tool’s precision.
Related guides
- 10 Best Oscillating Multi-Tools for DIYers and Pros Reviewed
- 10 Best Cordless Oscillating Multi-Tools: Tested Picks and Advice
- Nail Gun Safety Tips for Beginners: Your Complete Guide
Frequently Asked Questions
Can I use this tool to cut through nails?
Yes, you can cut through nails if you use a specific bi-metal blade designed for metal. Ensure the speed is set to a low level to prevent the teeth from wearing down instantly, and go slowly to avoid overheating the metal.
Is it safe to use this tool on drywall?
Yes, it’s safe, but you must be careful not to cut too deep into the wall. There may be electrical wires or plumbing pipes hidden behind the drywall that you can’t see, so always verify what is behind the surface before you start.
Why does my tool get hot during use?
The tool gets hot because of the friction generated by the rapid oscillation of the blade. If the body of the tool becomes too hot to touch, turn it off and let it rest for at least 5 minutes to prevent damage to the internal motor.
Conclusion
Before you start your first project, practice making simple cuts on a scrap piece of wood to get a feel for how the tool reacts under pressure. Once you’re comfortable with the vibration and control, you can move on to more delicate work on your finished surfaces.