Keyed vs. Keyless Drill Chuck: Which One Should You Choose?
A keyless drill chuck lets you change bits by hand in seconds, while a keyed chuck holds bits tighter for tougher jobs. Most DIYers and home users should choose keyless because speed matters more than grip in everyday drilling. If you drill into masonry or drive large holes daily, the keyed chuck wins because it won’t slip under heavy torque.
Keyed vs keyless drill chucks compared
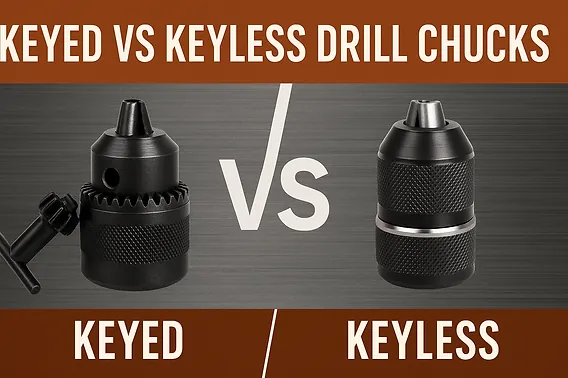
The two designs trade speed for holding power. Here is how they line up for common workshop use.
| Method | How long | Effort | Cost | Best for |
|---|---|---|---|---|
| Keyless chuck | Seconds by hand | Low | Low to medium | Everyday DIY, wood, light metal |
| Keyed chuck | Slower — needs the chuck key | Medium | Low to medium | Masonry, large bits, heavy torque |
| SDS or quick-release system | Fastest | Lowest | High | Hammer drilling, frequent bit swaps |
Keyless chucks rely on internal ratchets or friction. If you’re drilling into hardwood or using a hole saw, that friction often fails. You’ll hear a clicking sound as the bit spins inside the jaws, which ruins the shank of your drill bit.
Switch to a keyed chuck when you need to drive large fasteners or bore deep holes. The key provides mechanical advantage, allowing you to tighten the jaws far beyond what your grip can manage.
If you lose the key, don’t reach for pliers to force the chuck closed. Pliers damage the teeth and lead to an uneven grip. Instead, buy a universal key sized to your specific chuck diameter. If you frequently switch between a pilot bit and a countersink, the time lost hunting for a misplaced key will cost you more than the upgrade to a quick-release system.
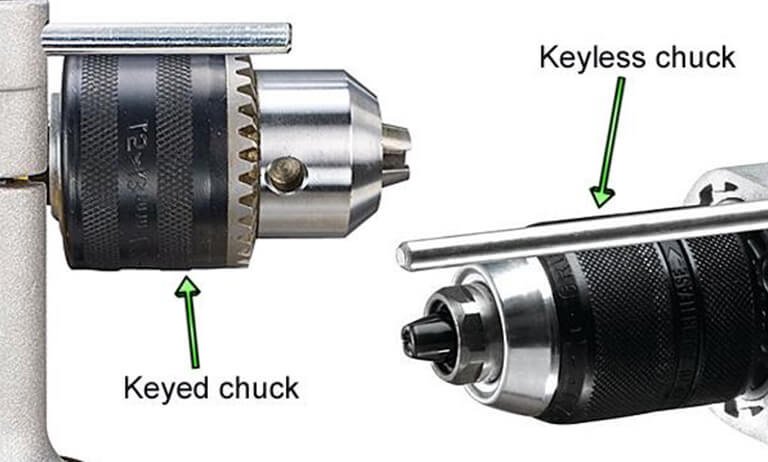
Keyless drill chuck
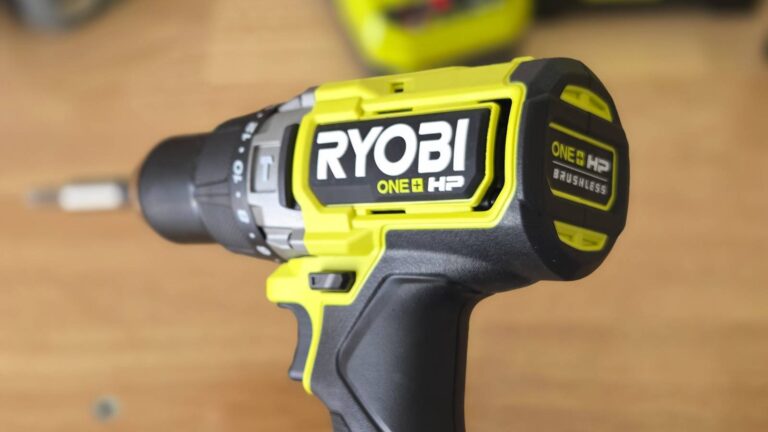
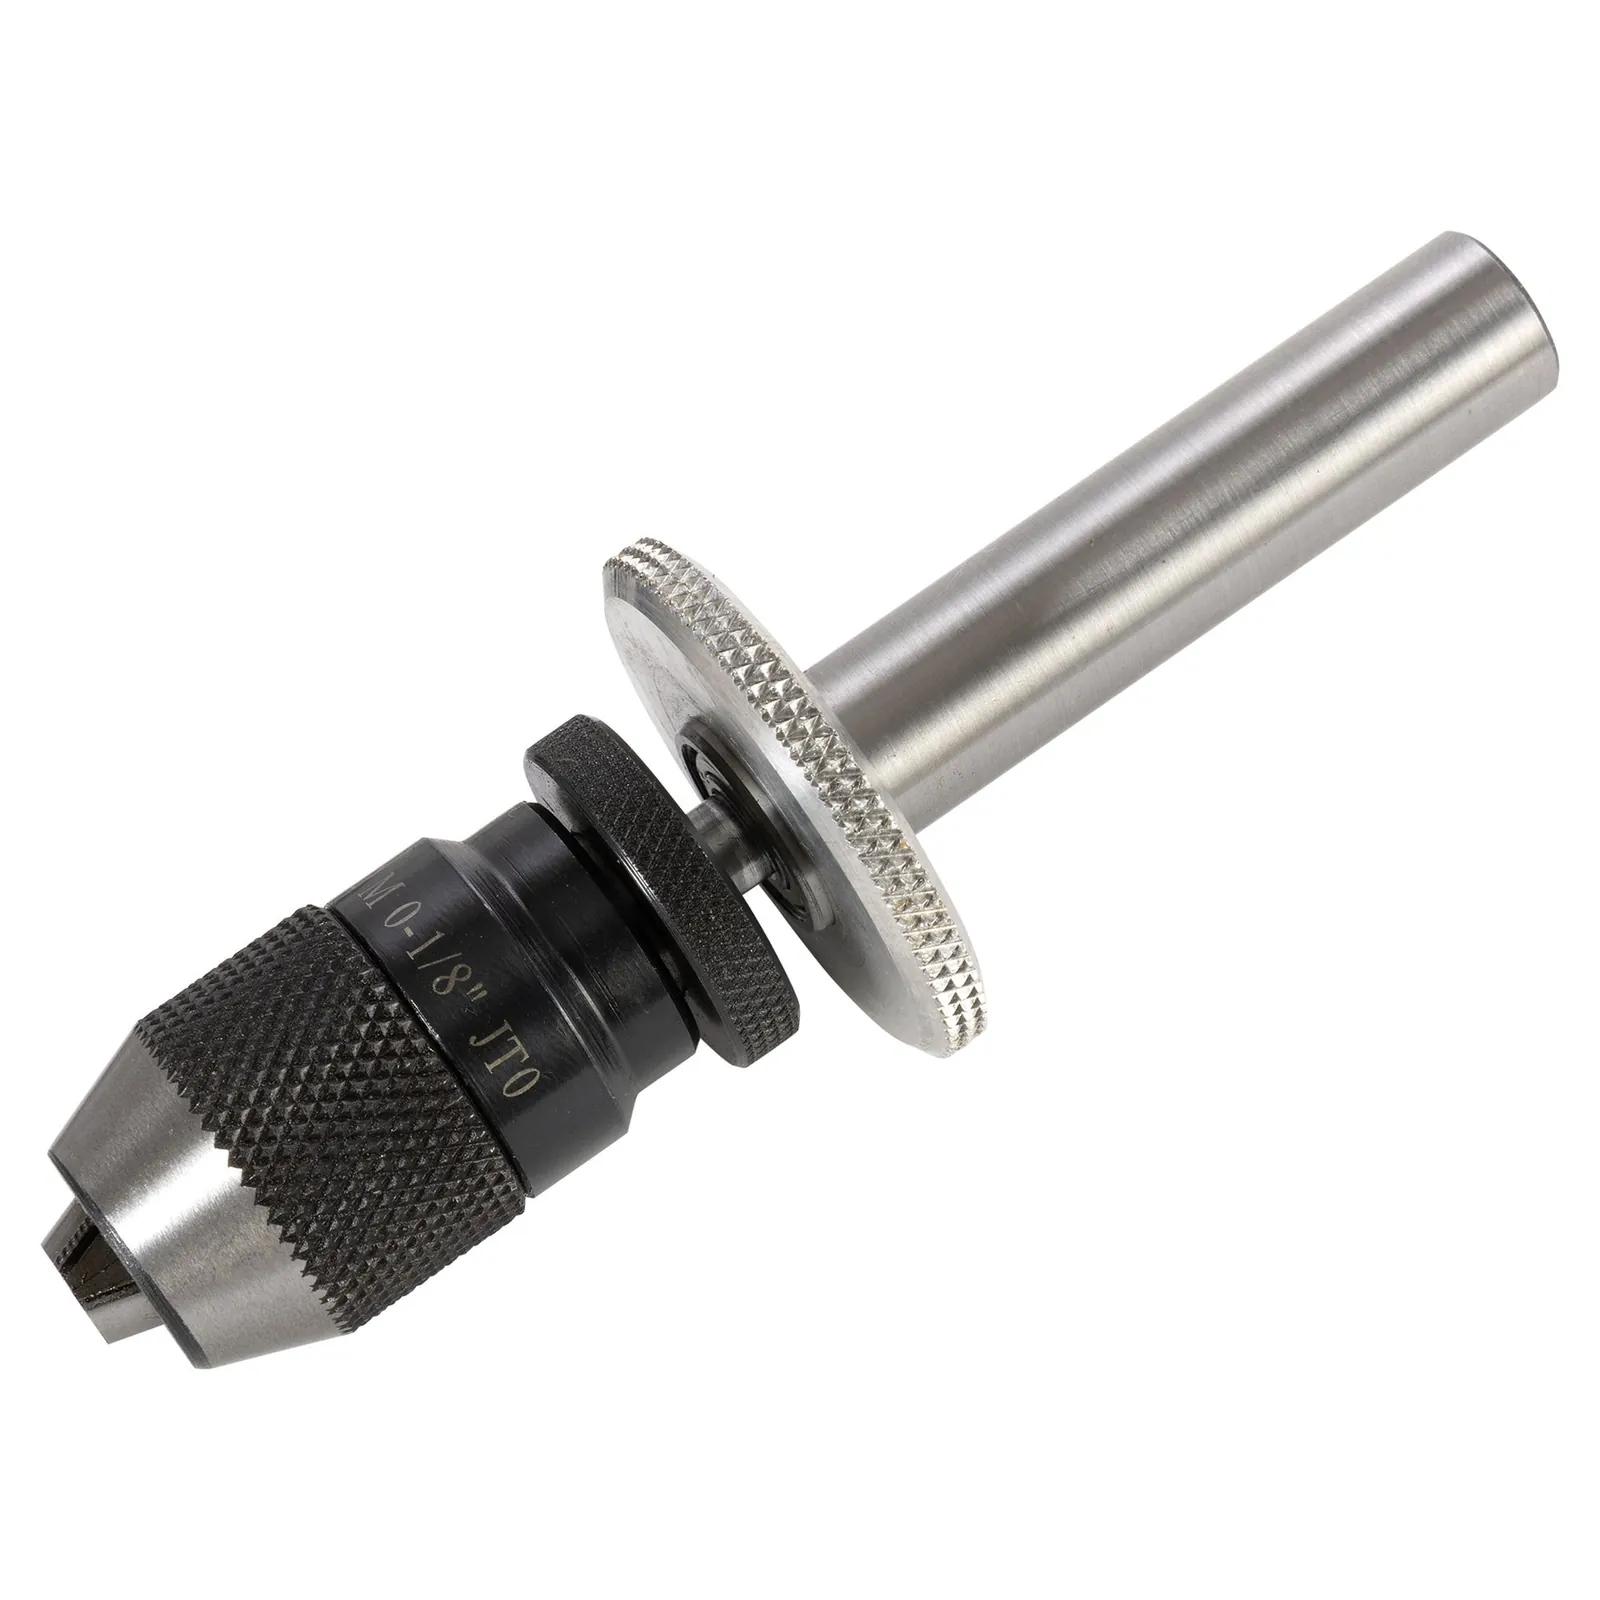
You grip the sleeve and turn it by hand to open or close the jaws around the bit. Most cordless drills ship with this design because bit changes happen constantly on a typical job.
- Hold the drill collar steady with one hand.
- Turn the chuck sleeve counterclockwise to open the jaws.
- Insert the bit and tighten the sleeve by hand until it grips.
- Give it a final firm tug to confirm the bit is seated.
It shines for speed and convenience—you never lose a key because there’s none to lose. The weakness is grip; under high torque, the bit can spin inside the jaws. If you’re drilling holes over 1/2 inch in diameter or working with hardened steel, this design often fails.
Many users make the mistake of failing to engage the chuck’s ratcheting mechanism. If you hear a series of clicks while tightening, keep turning until the sound stops; that noise indicates the internal locking teeth are fully seated. If the chuck lacks a ratcheting feature, you must apply significantly more manual force. For heavy masonry or large-diameter spade bits, switch to a keyed chuck to prevent the shank from slipping and ruining your workpiece.
Keyed drill chuck
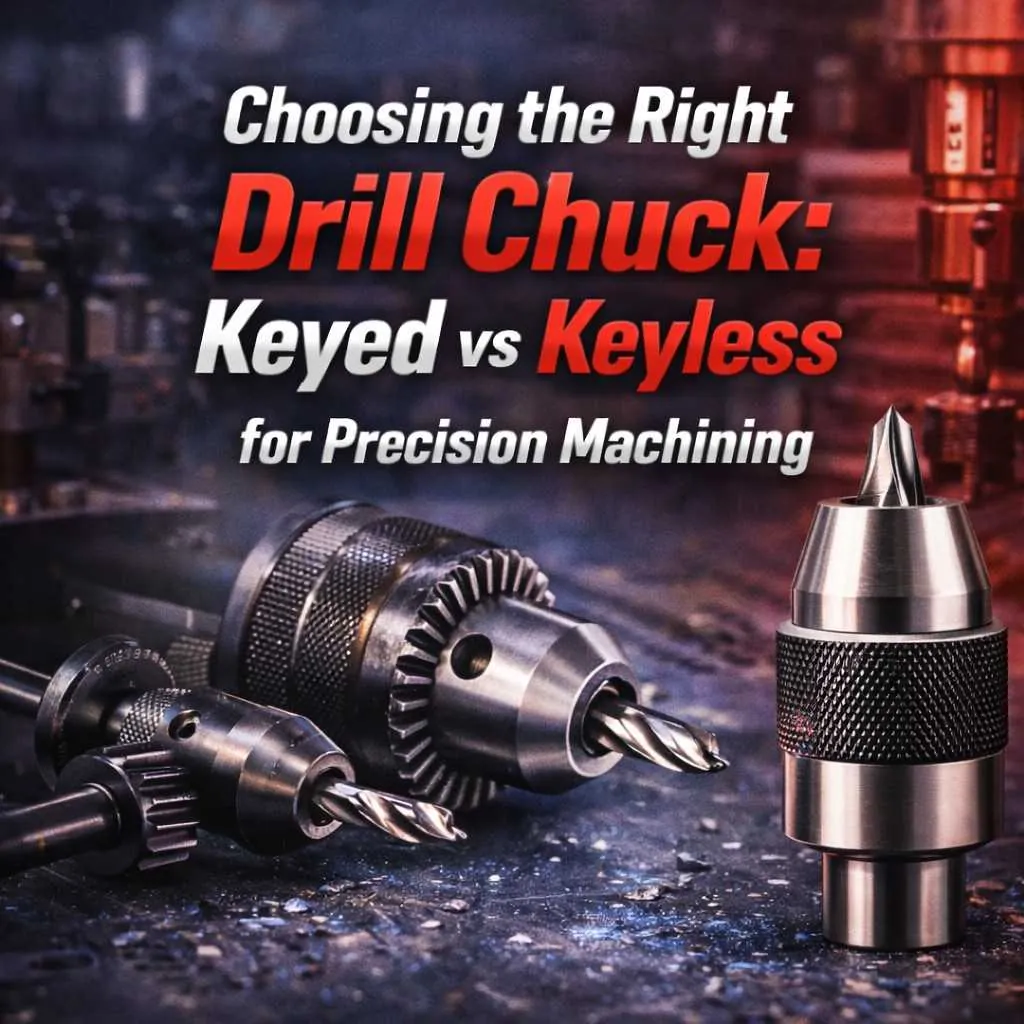
You insert a toothed key into holes on the chuck and turn it to tighten or release the jaws mechanically. This design is common on corded drills and workshop presses where holding power matters more than speed.
- Fit the chuck key into one of the side holes.
- Turn the key to open the jaws wide enough for the bit.
- Insert the bit, then tighten each hole in turn with the key.
- Remove the key before you start the drill — leaving it in turns it into a projectile.
Its strength is a secure, slip-free grip on large bits and tough materials. The real drawback is the key itself: it’s easy to misplace, and every bit change takes longer. If you value speed over maximum holding force, this design will frustrate you.
SDS and quick-release systems
If neither of the above fits, an SDS chuck or quick-release adapter is the third option. It locks bits with a sliding mechanism rather than jaws, so changes take a fraction of a second and there’s no slippage under hammer action.
This system is essential for masonry work or whenever you swap bits more than twenty times in a single shift. The sliding collar allows for a secure, high-torque connection that standard keyless chucks simply can’t replicate under heavy vibration.
The primary mistake is assuming these adapters work with every tool. If your drill lacks the specific SDS-Plus or SDS-Max drive, you must buy a dedicated converter, which adds three inches of length to your bit. This extra leverage increases the risk of bit snap during high-torque applications. If you’re drilling into soft wood or light metal, stick to a standard chuck. Only invest in quick-release systems if you’re consistently hammering into concrete or stone.
Choosing the right drill chuck for your work
In a hurry, pick keyless. You change bits in seconds without hunting for a lost key. If you’re a beginner, start with keyless; there’s nothing to learn and no risk of overtightening the jaws.
If you require absolute precision, choose a keyed chuck. Its mechanical grip prevents bit slippage under heavy torque, which is essential when boring into masonry or drilling holes larger than half an inch.
The trade-off is speed versus holding power. Keyless wins on convenience, but keyed wins when the bit must not rotate under load. If you find your bit spinning inside the chuck while drilling steel, you have exceeded the torque capacity of your current keyless model and must switch to a keyed alternative.
Match the chuck to the material you drill most often rather than buying the most expensive option. For light wood projects, keyless is superior. For metal fabrication or deep masonry work, the keyed chuck is the only professional choice.
Drill chuck safety and setup rules
Whatever chuck you choose, a few habits keep the job safe and the bit secure. First, always remove the chuck key before starting a keyed drill. A spinning key becomes a high-velocity projectile that causes serious injury. If you find yourself frequently misplacing the key, attach it to the power cord with a short, retractable lanyard.
Second, check that the bit shank matches the chuck capacity printed on the tool. Forcing an oversized bit damages the internal jaws, leading to permanent runout. If the bit shank is smaller than the minimum capacity, the jaws won’t close evenly, causing the bit to wobble and snap under load.
Third, pause during long jobs to confirm the bit is still tight, especially when drilling into hard steel or concrete. Vibration often loosens the grip over time. If you notice the bit slipping, stop immediately to avoid scoring the shank.
Finally, loosen the jaws slightly when you finish. Leaving them under constant tension weakens the springs over months of storage. If your work involves masonry or large holes, use a side handle to prevent wrist strain if the bit catches. Always wear impact-rated eye protection.
Frequently asked questions
Can I use a keyless chuck for masonry?
Yes, but only for light masonry work. Under heavy hammer torque the bit can slip, so a keyed or SDS chuck is the better choice for concrete and brick.
Why does my bit slip in a keyless chuck?
It slips because the jaws aren’t tightened enough or the bit is too large for the chuck’s capacity. Tighten by hand, then give the collar one more firm turn.
How long does it take to change a bit?
A keyless chuck takes seconds by hand. A keyed chuck takes longer because you must insert and turn the key in each hole, assuming the key is within reach.
Is it safe to leave the chuck key in the drill?
No. Never start the drill with the key inserted — it can be thrown out at high speed and injure someone. Remove it every time before you pull the trigger.
What happens if I over-tighten a keyless chuck?
You can strip the jaws or damage the bit shank. Tighten until the bit holds firmly, then stop — hand pressure is enough for nearly all drilling.
Which chuck lasts longer?
A keyed chuck often lasts longer under heavy use because its metal gears handle high torque better. Lifespan depends on how often you use the drill and how well you keep the jaws clean.
Conclusion
Think about the projects you have planned for the weekend and pick the option that fits your style. If you’re still unsure, head to your local hardware store and test how each feels in your hand. You’ll find that choosing the right tool makes your next home repair much easier.