
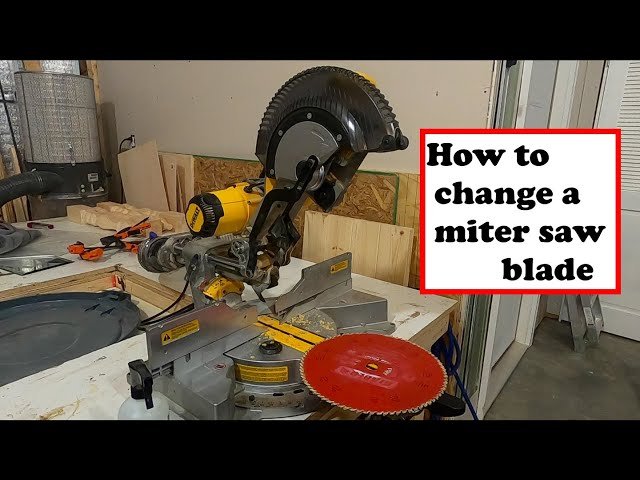
How to Change a Miter Saw Blade Safely: Step-by-Step Guide
You can perform a miter saw blade change by unplugging the tool, locking the arbor, and using a wrench to loosen the bolt. This process takes about 10 to 15 minutes, depending on your familiarity with the machine’s specific locking mechanism.
Required Tools and Safety Gear
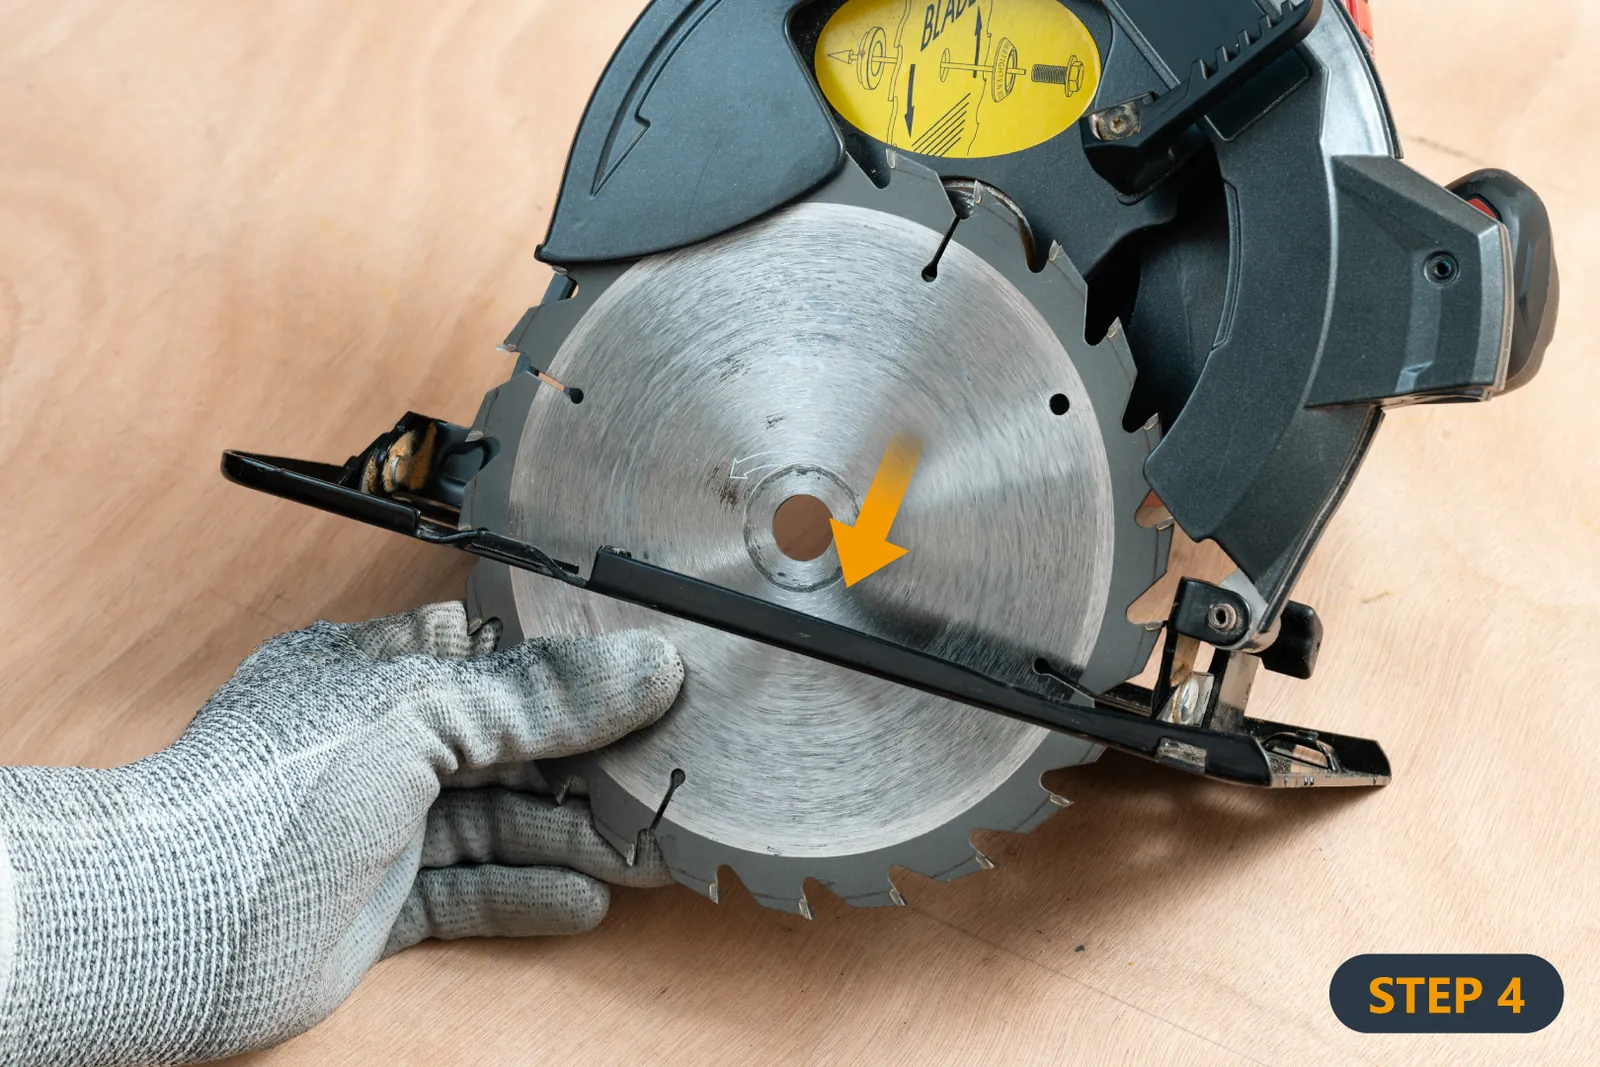
To safely swap a blade, you need a few specific items to ensure the job is done without damage to the tool.
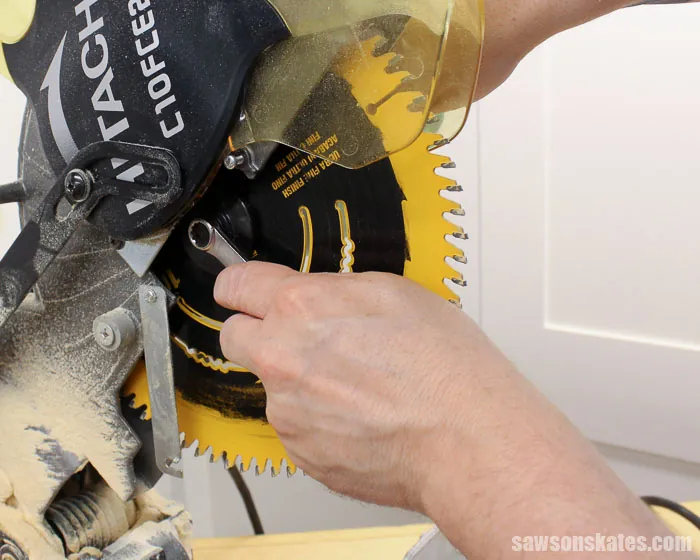
- Manufacturer-provided arbor wrench or a socket wrench of the matching size.
- A clean, dry rag to wipe away sawdust.
- Work gloves to protect your hands from sharp teeth.
- Safety glasses to prevent debris from entering your eyes.
- Replacement blade that matches the arbor size and diameter of your saw.
If you lose your original wrench, use a matching socket wrench; never use pliers, which may strip the bolt. Always check your owner’s manual for the exact arbor bolt size to ensure a proper fit.
Steps to Change a Miter Saw Blade Safely
- Disconnect the power cord from the wall outlet to ensure the saw can’t start during the process.
- Raise the saw arm to its highest position and secure it using the locking pin.
- Loosen the screw holding the blade guard cover, then rotate the cover out of the way to expose the arbor bolt.
- Press and hold the arbor lock button located on the saw housing to prevent the blade from spinning.
- Turn the arbor bolt counter-clockwise with your wrench to loosen it; note that most miter saws use a reverse-threaded bolt.
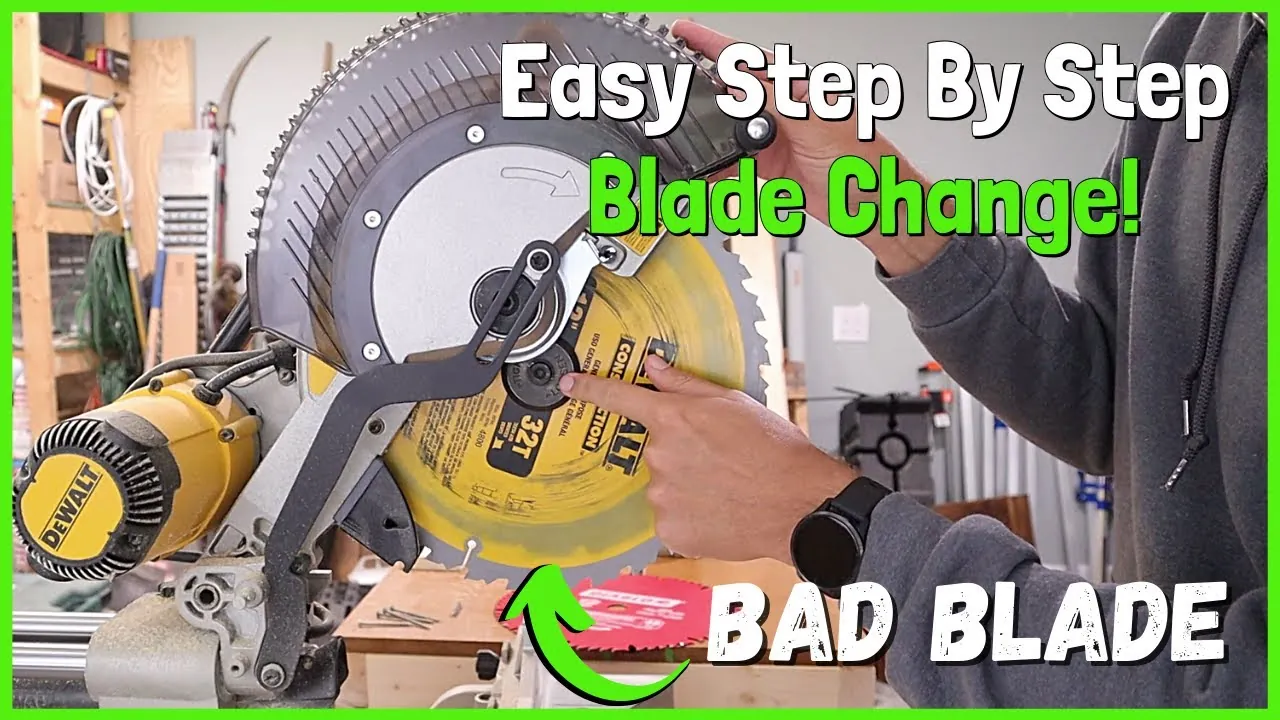
- Remove the outer flange and the old blade carefully by pulling them straight off the shaft.
- Clean the inner flange with your rag to remove any buildup that could cause the new blade to wobble.
- Slide the new blade onto the shaft, ensuring the teeth point downward toward the front of the saw.
- Replace the flange and bolt, tightening them firmly by hand before using the wrench for a final quarter turn.
Careful: Over-tightening the bolt can damage the threads, while leaving it loose is a major safety hazard. Tip: If the bolt feels stuck, apply a small amount of penetrating oil and wait five minutes before trying again.
Variations in Blade Change Time
The time required to change a blade varies based on the complexity of the guard and your experience level.
| Situation | Estimated Time | What Changes | Watch For |
|---|---|---|---|
| Standard Saw | 10 Minutes | Simple guard access | Bolt tightness |
| Laser-Equipped | 15 Minutes | Wiring in the way | Laser alignment |
| Older Models | 20 Minutes | Rusted hardware | Thread condition |
It’s always safer to start slow and check your work twice rather than rushing and skipping the final tightening step.
How to Verify Your Work
A successful blade change results in a blade that sits perfectly flat against the inner flange without any side-to-side movement. If the blade wobbles, you likely have trapped sawdust between the flange and the blade surface. Wipe the flanges clean and ensure the arbor bolt is seated squarely.
Standards and Post-Maintenance
Following the safety standards set by the American National Standards Institute, you should always inspect the blade for cracks or missing teeth before installation. Lower the blade guard and tighten the cover screw securely. Verify the guard operates smoothly by moving the saw arm. If the guard sticks, don’t operate the saw; consult the manufacturer for replacement parts or a professional service technician to ensure the safety system functions as intended.
Alternative Methods for Blade Maintenance
Professional Sharpening Services
Instead of buying a new blade, you can send your dull blade to a professional sharpening service. This is cheaper than buying a high-quality replacement but adds a week or more to your turnaround time.
Using a Blade Stabilizer
If you notice vibration during cuts, you can add a blade stabilizer to your setup. This is a metal disc that provides extra support to the blade. It increases the cost but improves cut accuracy.
Mobile Tool Technicians
For those uncomfortable working with mechanical parts, mobile tool technicians can perform the swap for you. This is the most expensive option, but it ensures that the blade is installed and calibrated by a trained professional.
Related guides
Frequently asked questions
Can I change a miter saw blade without a special wrench?
Yes, you can use a standard socket wrench if the size matches the arbor bolt, but never use pliers or locking grips. Ensure the socket fits perfectly to avoid stripping the bolt head, which makes future changes much harder.
How long does it take to change a miter saw blade?
It typically takes 10 to 15 minutes for an experienced user. If you’re doing this for the first time, allow 20 minutes to carefully navigate the guard removal and ensure the bolt is tightened to the manufacturer’s specification.
Is it safe to change a miter saw blade myself?
Yes, it’s safe as long as the saw remains unplugged throughout the entire process. If you find the arbor bolt is seized or the housing is damaged, stop immediately and contact a professional technician to avoid causing further damage.
What happens if I install the blade backward?
The saw won’t cut properly and the blade will likely burn the wood or kick back violently. Always ensure the blade teeth are pointing downward toward the front of the saw before you tighten the arbor bolt.
Why does my new blade wobble?
A wobbly blade is usually caused by sawdust trapped between the inner flange and the blade. Clean both surfaces thoroughly with a dry rag and ensure the flange is properly seated on the arbor before tightening the bolt again.
How often should I change my miter saw blade?
You should change the blade when you notice burning on the wood or when the saw requires more force than usual to complete a cut. Dull blades are dangerous because they increase the risk of binding and kickback.
Conclusion
Changing a blade is a standard maintenance task that keeps your cuts clean and your equipment running smoothly. By keeping your tools clean and following the manufacturer’s specific sequence for your model, you ensure that the saw remains a reliable part of your workshop for many years. Always prioritize safety by keeping the power disconnected until you’re fully ready to test the new blade.

One Comment