How to Deburr Metal With a Die Grinder: Step-by-Step Guide
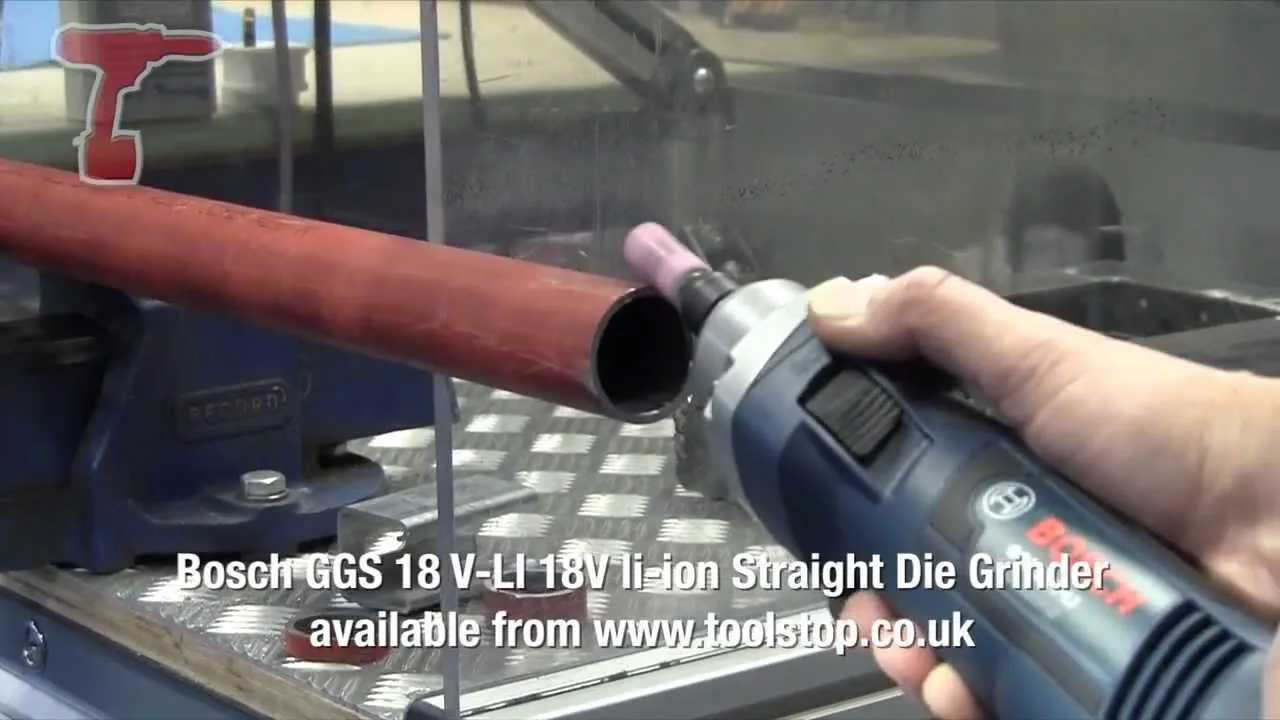
Deburring metal with a die grinder involves using high-speed rotary action to remove sharp, jagged edges created during cutting, shearing, or machining. By selecting the correct carbide burr and controlling the tool’s movement, you can safely refine rough edges into smooth, professional finishes. This process is essential for safety, as raw metal edges can cause severe lacerations, and for part fitment in mechanical assemblies.
Key Takeaways
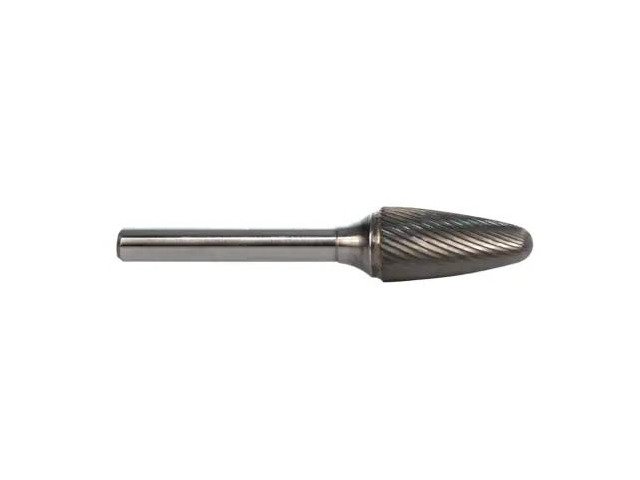
- Always match the carbide burr shape to the profile of the edge you’re cleaning.
- Wear ANSI-rated impact protection at all times to prevent metal shards from causing eye injury.
- Keep the die grinder moving constantly to avoid creating flat spots or gouges in the metal.
- Match your tool’s RPM rating to the manufacturer’s recommended speed for the specific burr size.
- Use a light, consistent touch; let the burr do the work rather than forcing the tool.
Safety Equipment Requirements
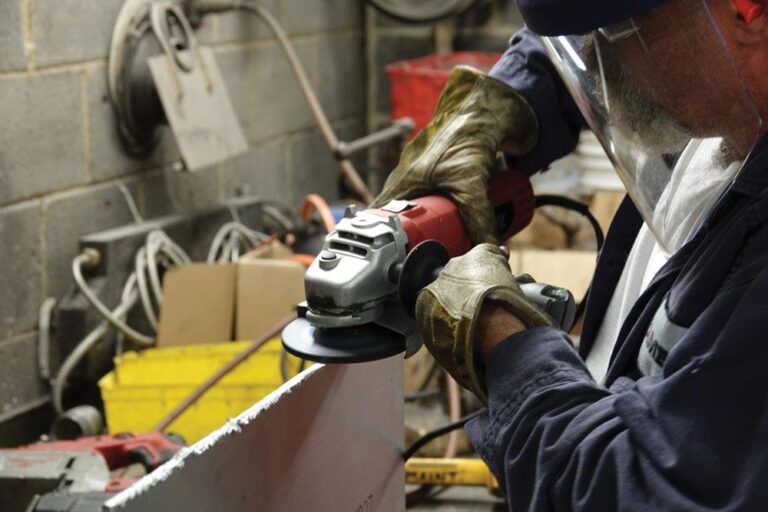
Working with a die grinder is inherently hazardous due to the high rotational speeds and the production of flying metal debris. You must prioritize personal protective equipment to mitigate these risks. According to the Occupational Safety and Health Administration, proper eye and face protection is mandatory when operating power tools that generate hazardous dust or flying particles.
| Equipment Item | Purpose | Minimum Rating/Standard |
|---|---|---|
| Safety Glasses | Impact resistance | ANSI Z87.1 |
| Face Shield | Full-face coverage | ANSI Z87+ |
| Work Gloves | Vibration and heat | Leather or Kevlar |
| Hearing Protection | Decibel reduction | NRR 25dB or higher |
| Respirator | Metal dust filtration | N95 or P100 |
How to Deburr Metal With a Die Grinder
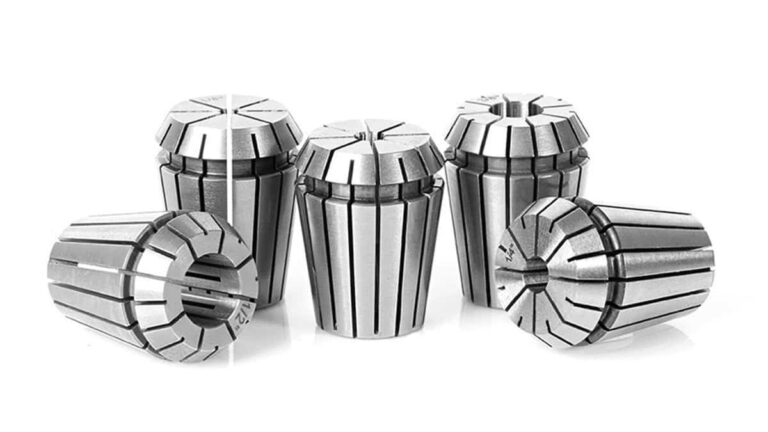
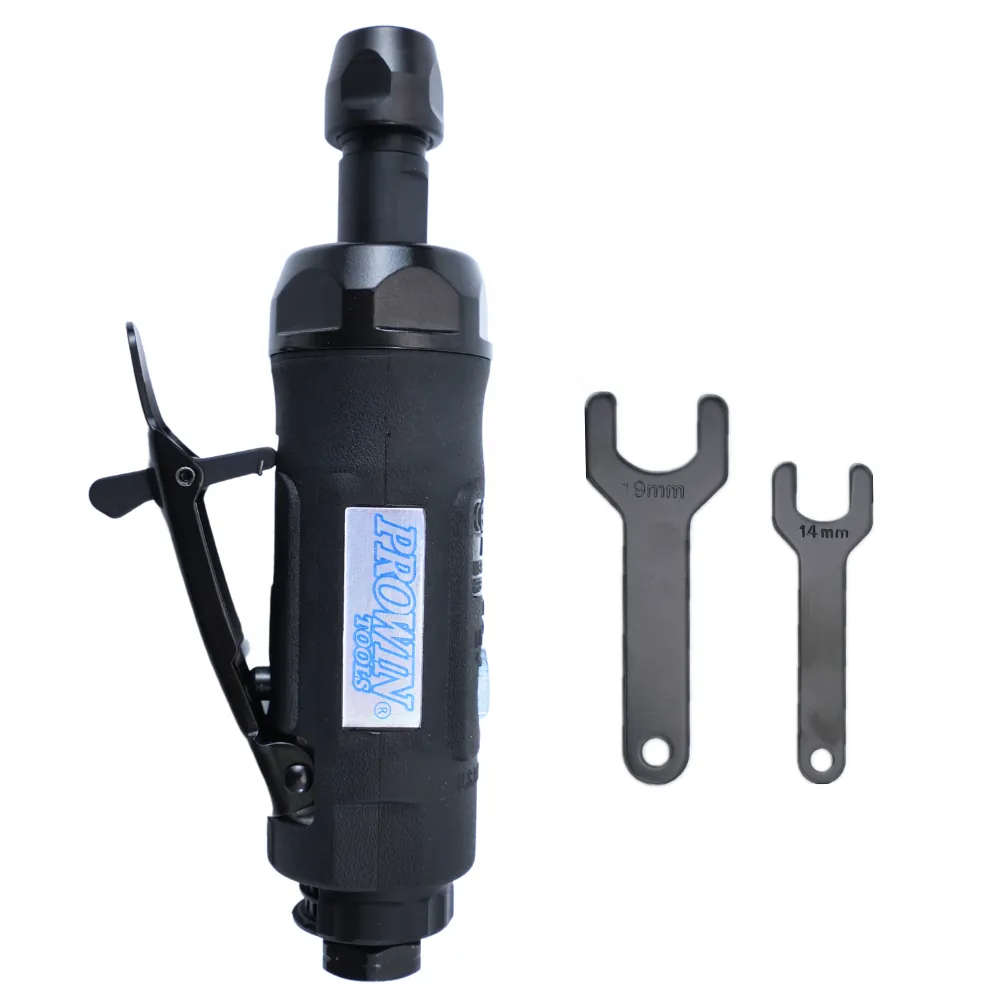
The process begins with securing your workpiece firmly in a bench vise. Never attempt to deburr a piece of metal while holding it by hand. Once secured, insert your chosen carbide burr into the collet of the die grinder, ensuring at least 1/2 inch of the shank is inserted. Tighten the collet nut securely using the provided wrenches.
Before applying power, check the tool’s air pressure or battery level to ensure it can maintain consistent speed under load. Start the tool away from the metal, then bring the burr into contact with the edge at a shallow angle. Use a smooth, sweeping motion to follow the contour of the metal edge, maintaining a steady pace to ensure an even finish.
Choosing the Right Carbide Burr
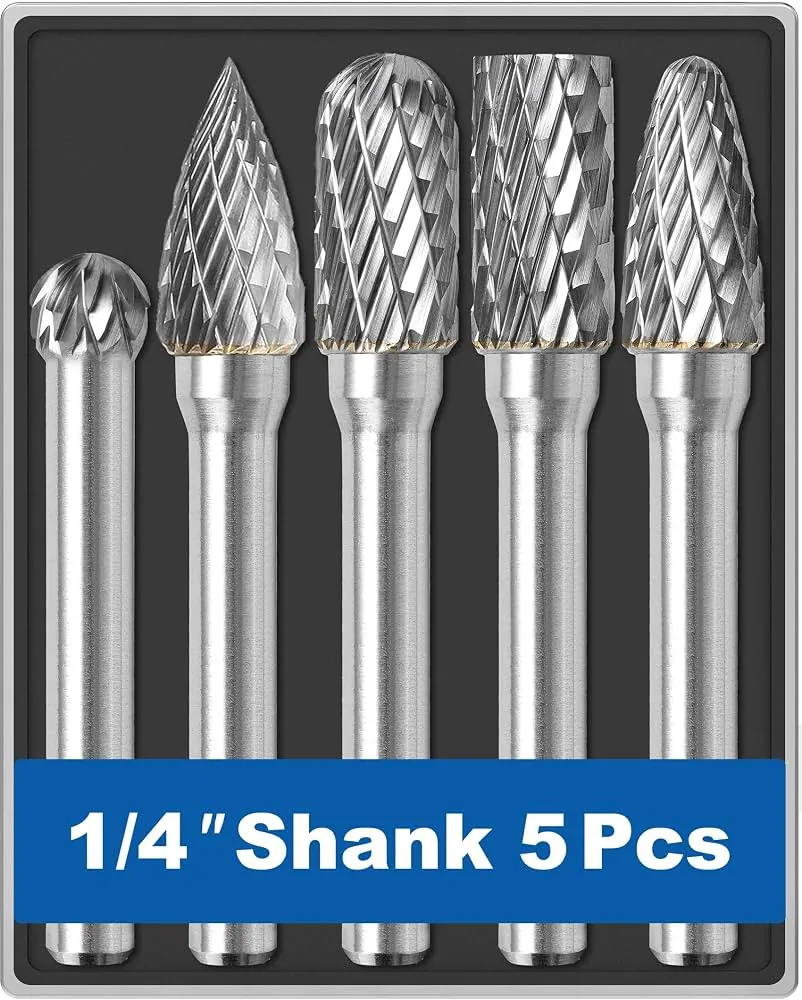
Carbide burrs come in various shapes and cut patterns, each serving a specific purpose. For general edge deburring, a cylinder or ball-nose shape is the most versatile. The “cut” of the burr refers to the tooth pattern on the carbide head. A single-cut burr is ideal for steel and hard materials, providing a smooth finish, while a double-cut burr is better for rapid material removal on softer metals like aluminum.
| Burr Shape | Primary Use Case | Best For |
|---|---|---|
| Cylinder | Straight, flat edges | General deburring |
| Ball-Nose | Internal contours and curves | Complex geometry |
| Tree-Shape | Tight corners and slots | Hard-to-reach areas |
| Flame | Concave edges and radii | Finishing radius edges |
Setting Up Your Workspace
Effective deburring requires a stable environment. A heavy-duty bench vise is the most reliable way to hold metal parts. If you’re working on large sheets, use C-clamps to hold the material against a workbench edge. Ensure your workspace is clear of flammable materials, as the process will throw sparks. Proper lighting is also essential; use a high-lumen LED work light to ensure you can clearly see the burr’s interaction with the metal surface.
Managing Tool Vibration and Control
Die grinders can be aggressive, and the vibration can lead to hand fatigue or loss of control if not managed properly. Hold the tool with both hands whenever possible, using one hand on the body of the grinder and the other near the collet for guidance.
If you feel the tool “grabbing” or jumping, you’re likely applying too much pressure. Tool stability is achieved by keeping your wrists locked and using your shoulders to guide the movement along the edge of the metal.
Troubleshooting Common Grinding Issues
Even with experience, you may encounter problems that affect the quality of your finish. If you notice the burr is “chattering” or bouncing, the speed may be too low, or you’re holding the tool at too steep an angle. If you find deep gouges in the metal, you’re likely lingering in one spot for too long.
- Chattering: Increase your RPM or reduce your feed pressure.
- Gouging: Keep the tool moving; never stop in one location.
- Loading: Burrs can become “loaded” with metal shavings; clean them with a wire brush.
- Heat buildup: If the metal turns blue, you’re moving too slowly or applying excessive force.
Warning: Never use a die grinder with a damaged collet or a bent burr shank, as this creates dangerous vibration that can cause the tool to kick back or the burr to shatter during operation.
What Are the Best RPM Settings?
The speed of your die grinder should be adjusted based on the diameter of the burr. Larger burrs require lower RPMs to avoid excessive vibration and premature wear, while smaller burrs can handle higher speeds. Most pneumatic die grinders operate between 15,000 and 25,000 RPM.
Always consult the manufacturer’s manual for your specific tool, as exceeding the maximum rated speed of a carbide burr can lead to catastrophic failure. Consistent speed is more important than raw power when working on delicate edges.
Maintenance for Long-Lasting Burrs
Carbide is incredibly hard but brittle. Dropping a burr on a concrete floor can cause microscopic cracks that lead to failure under high-speed operation. After each session, inspect your burrs for chipped teeth. Keep them organized in a dedicated case rather than loose in a toolbox.
If you notice the cutting efficiency dropping, it’s time to replace the burr, as a dull burr requires more pressure, which increases the likelihood of slipping and injury. Proper storage ensures your tools remain sharp and safe for future projects.
Related guides
- Best Cordless Die Grinders: What to Compare Before You Buy
- 10 Best Die Grinders for Metalworking, Auto Repair, and Shop Use
- 10 Best Die Grinders for Wood Carving: Professional Reviews & Expert Buying Guide 2025
Frequently Asked Questions
Can I use a die grinder on aluminum?
Yes, you can use a die grinder on aluminum, but you must select a burr with an aluminum-specific cut. Standard steel-cutting burrs will clog, or “load,” almost instantly when used on soft aluminum. Look for burrs labeled as “Aluma-Cut” or those with fewer, deeper flutes designed to clear chips efficiently without packing the teeth with soft metal.
Is it necessary to wear a respirator?
Yes, wearing a respirator is highly recommended. Deburring metal creates fine metallic dust and microscopic particles that are harmful if inhaled. While larger chips fall to the floor, the finer dust can hang in the air around your face. An N95 or P100-rated mask provides the necessary protection to prevent long-term respiratory irritation from metal particulates.
Why does my burr keep jumping?
Burr jumping, or chattering, is usually caused by excessive pressure or an incorrect angle. If you press too hard, the flutes of the burr catch the metal rather than shaving it. Try using a lighter touch and maintaining a shallower angle. Additionally, ensure your workpiece is clamped as tightly as possible, as vibration in the metal itself can cause the burr to bounce.
How do I know when a burr is dull?
A dull burr will require significantly more pressure to remove the same amount of material. You may also notice the tool getting hotter than usual or the metal edge becoming discolored from friction. If you find yourself pushing hard to achieve results, the carbide teeth have likely lost their edge. Continued use of a dull burr increases the risk of the tool slipping.
Can I use a die grinder for precision?
While a die grinder is primarily a tool for material removal and rough shaping, it can be used for precision work with practice. Using smaller diameter burrs and controlling your depth of cut allows for fine refinement. However, for extreme precision or tight tolerances, a rotary tool with a more controlled speed range or a hand file is often a better choice for the final pass.
Conclusion
To get the best results, start by practicing on a scrap piece of the same metal type you intend to finish. This allows you to calibrate your pressure and speed without risking your actual project. Once you feel comfortable with how the burr engages the material, move to your final piece and work in smooth, deliberate strokes to achieve a clean, professional edge.