Trim Router Dust Collection: Ports, Shrouds, and Shop-Vac Setups
Effective trim router dust collection: ports, shrouds, and shop-vac setups requires a high-velocity airflow path from the bit to the vacuum. Because these small tools operate at high speeds, they create fine, airborne particulates that move quickly away from the cutting edge. You must balance the small footprint of the router with a shroud that captures debris without blocking your line of sight or changing the tool’s balance.
Comparing Router Dust Management Tools
Managing debris effectively depends on matching the right accessory to your specific router model and the type of cuts you perform. The table below outlines the standard options for keeping your workspace clear of fine wood dust.
| Accessory | Best For | Concrete Example |
|---|---|---|
| Dust Shroud | Edge routing and profiles | Clear acrylic base shroud |
| Vacuum Port | General debris removal | 1.25-inch threaded hose adapter |
| Dust Hood | Fixed base plunge cuts | Rear-mounted plastic dust deflector |
| Hose Swivel | Maneuverability during routing | 360-degree rotating hose connector |
| Cyclone Separator | Prolonging filter life | Bucket-mounted centrifugal pre-separator |
Dust Shrouds
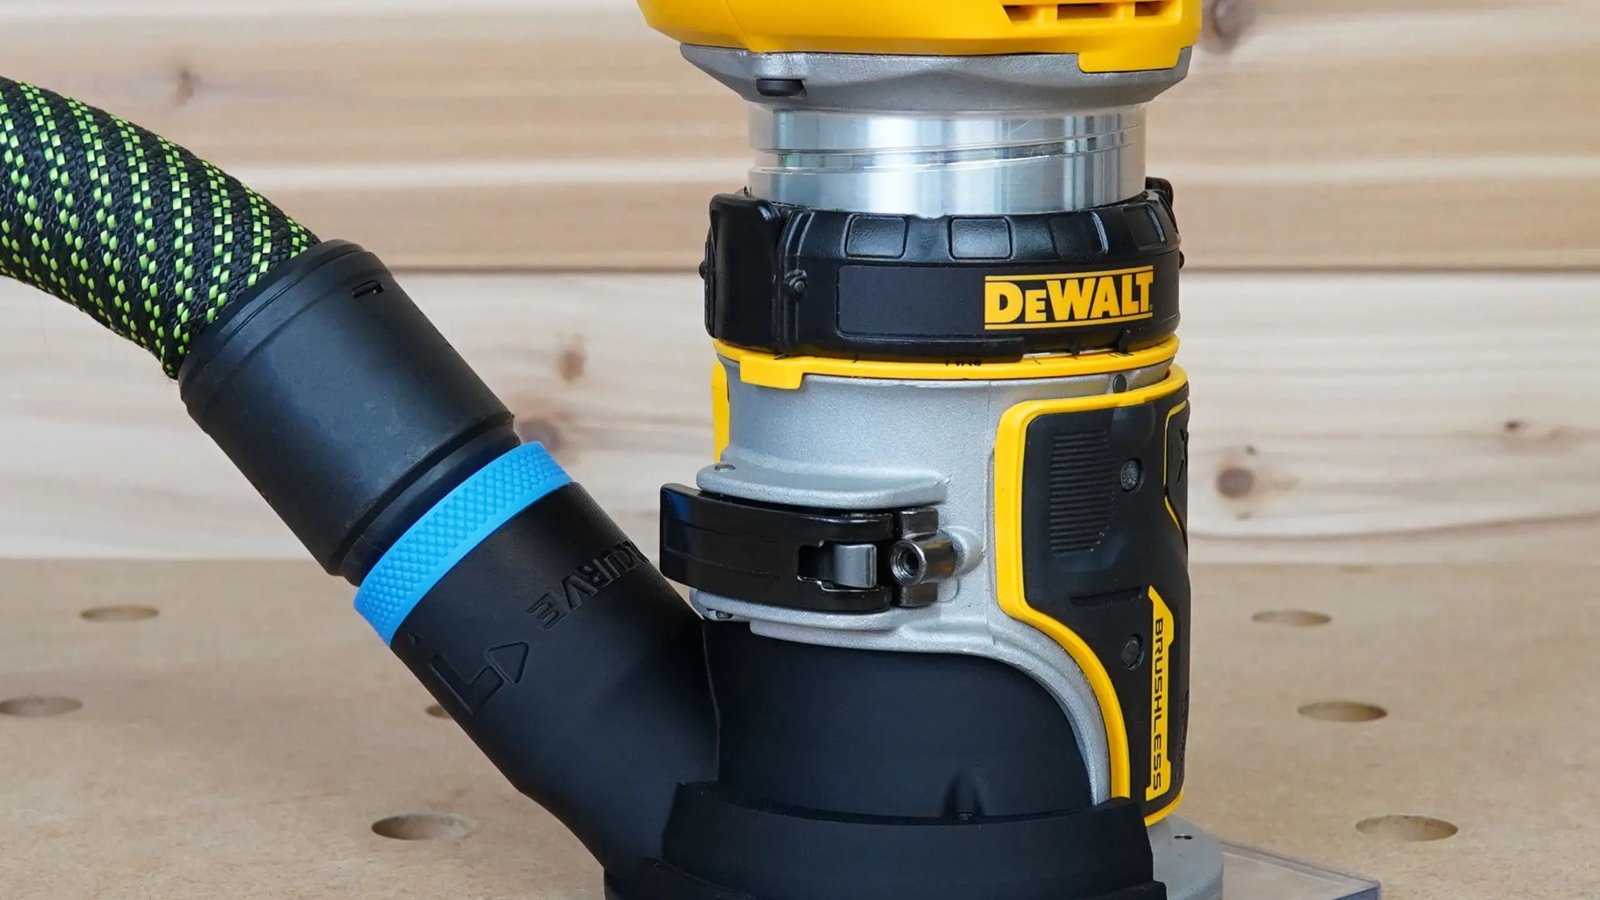
A dust shroud is a specialized attachment that surrounds the router bit to contain chips at the source. It’s ideal for users who perform edge-routing tasks, as it keeps the bit visible while funneling debris into the vacuum hose.
- Increases capture efficiency by creating a vacuum seal against the workpiece surface.
- Allows for better visibility of the cutter through transparent polycarbonate or acrylic materials.
- Reduces the volume of airborne fine dust that settles on shop surfaces.
If you’re using a fixed-base router, the shroud usually attaches directly to the sub-base. If the bit diameter changes, you must ensure the shroud opening is wide enough to avoid contact, which could melt the plastic or damage the bit.
Vacuum Ports
A vacuum port acts as the primary connection point between your router and the shop-vac system. It’s best for woodworkers who want a simple, low-profile way to connect their machines without adding bulky enclosures to the tool.
- Provides a standardized diameter for attaching universal 1.25-inch or 2.5-inch vacuum hoses.
- Maintains a low profile to keep the router’s center of gravity stable during freehand work.
- Minimizes drag by using smooth internal walls to prevent clogs from larger wood chips.
You should always verify the port diameter against your specific hose size. If the port is 1.25 inches but your shop-vac hose is 2.5 inches, you’ll need a flexible rubber reducer. A mistake people often make is using a hose that’s too heavy, which pulls the router off-center; always use a lightweight, anti-static hose to maintain control.
Dust Hoods
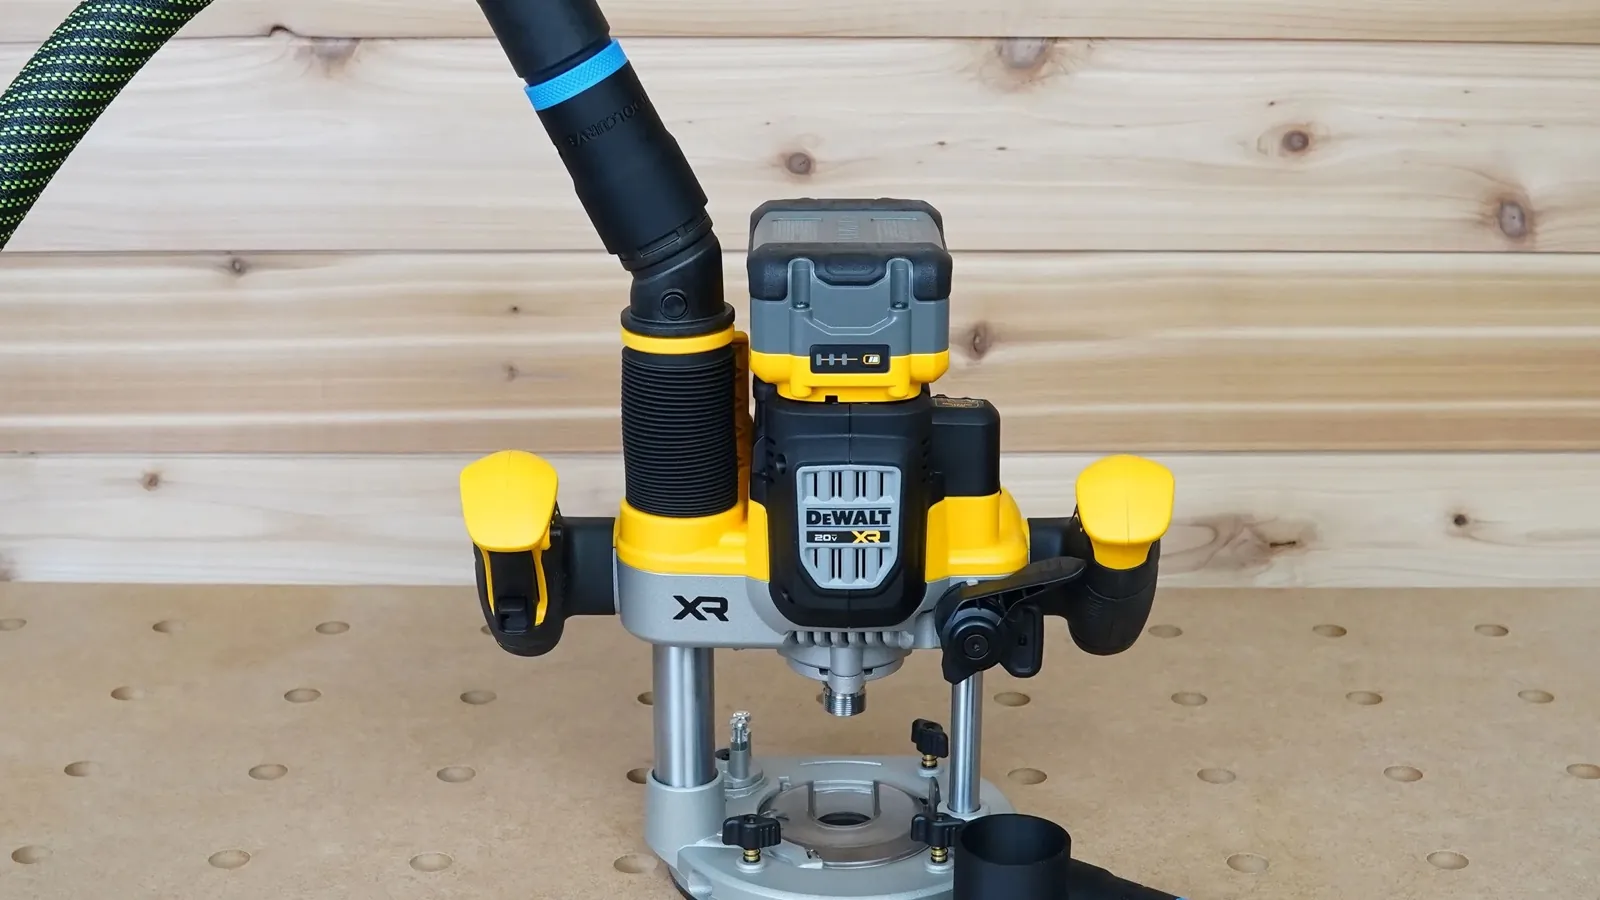
A dust hood is a larger, often rear-mounted accessory designed for plunge routers or table-mounted setups. It suits those who prioritize heavy-duty chip extraction over the compact size of a handheld shroud.
- Captures high-volume debris thrown by large bits during deep dado or groove cuts.
- Keeps the hose away from the operator’s hands by directing it toward the back of the tool.
- Prevents debris buildup in the plunge mechanism, which can cause the tool to stick.
This equipment requires a stable mount, often using the existing screw holes on the router’s baseplate. If your router is mounted in a table, the hood must be positioned to avoid interference with the fence. Note that using a large hood on a small trim router can block your view of the bit, making it difficult to follow a template or scribe line.
Hose Swivels
A hose swivel is a small, rotating adapter that prevents the vacuum hose from tangling or binding while you move the router. It’s essential for freehand routing where the tool must move in multiple directions across a workpiece.
- Eliminates hose torque that can cause the router to tip during a delicate pass.
- Extends the life of the hose by preventing sharp kinks at the connection point.
- Allows the router to turn 360 degrees without twisting the vacuum line.
For example, attaching a 1.25-inch swivel to the rear port of a compact trim router allows you to rout a circular inlay without stopping to reposition the vacuum hose. This device is a small investment that significantly improves the ergonomics of the tool.
Additional Collection Methods
- Cyclone Separator: This device sits between the router and the vacuum to pull heavy debris out of the air stream. It’s ideal for high-volume work to prevent the vacuum filter from clogging, which keeps suction power constant throughout the project.
- Anti-Static Hoses: These specialized vacuum lines prevent the buildup of static electricity. They’re necessary when routing plastics or dry hardwoods, as static charge can attract dust to the router and the workpiece surface.
- Brush Skirts: These attach to the bottom of a shroud to create a flexible seal against uneven surfaces. They’re best for routing over textured wood where a rigid shroud can’t maintain a tight seal.
Choosing Your Trim Router Dust Collection and Shop-Vac Setup
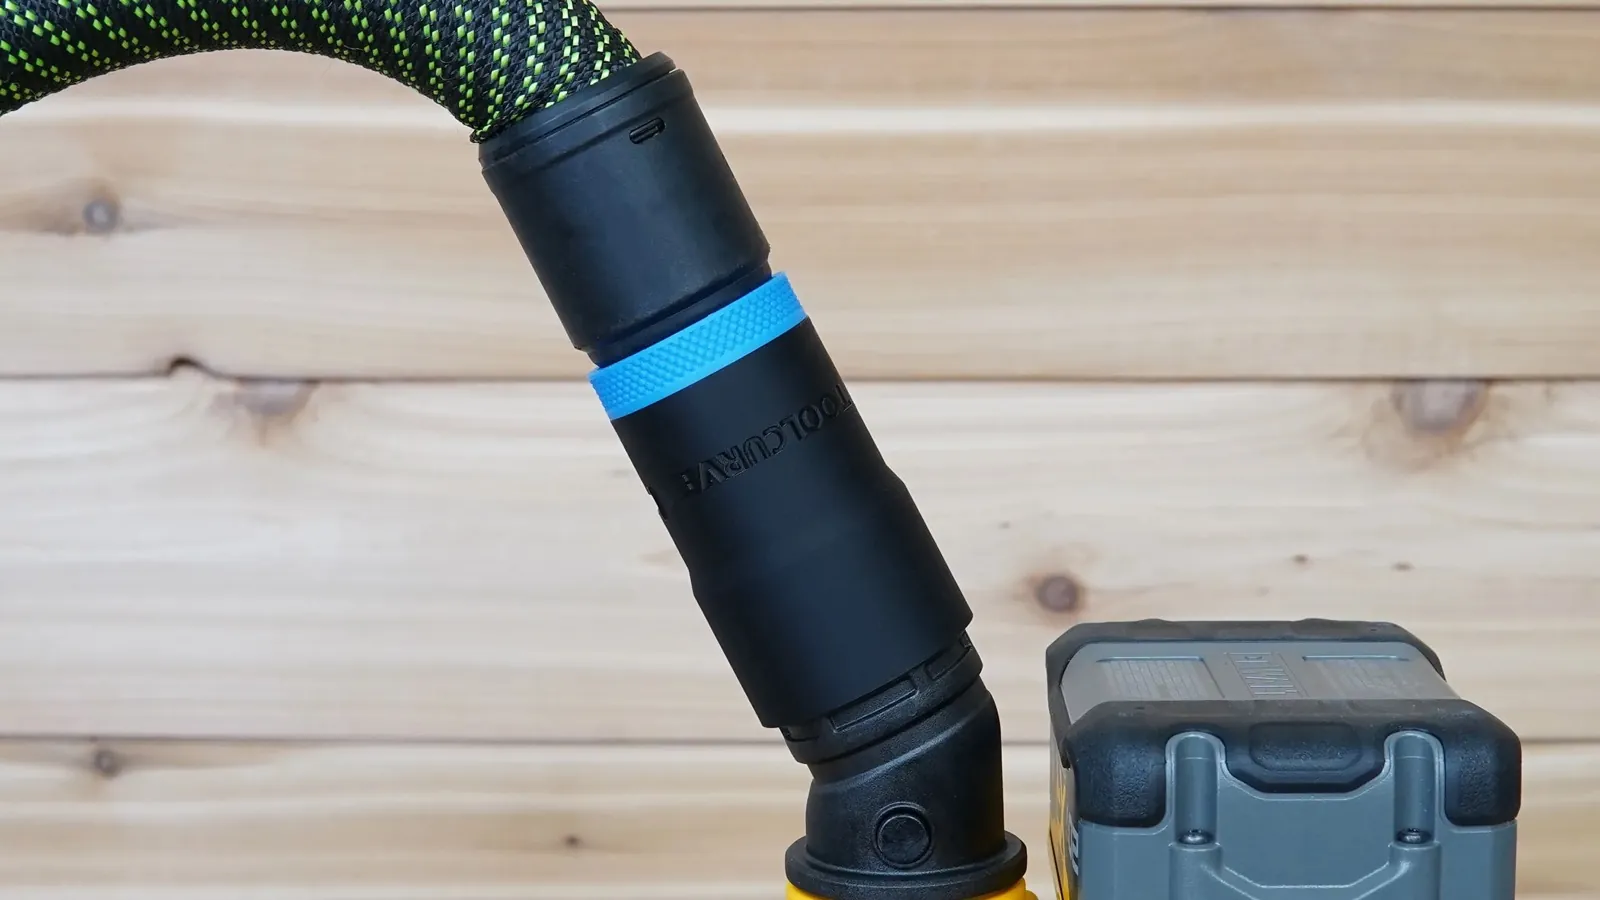
The choice between these items depends on your primary routing task and the equipment you already own. If you focus on edge profiles, a dust shroud is the most effective choice for capturing chips before they scatter.
If you’re doing deep grooves or dadoes, a dust hood is necessary to handle the higher volume of debris. If you frequently move the router across large panels, prioritize a hose swivel to maintain control and prevent the vacuum hose from pulling the tool off your line.
You can often combine these methods, such as using a shroud with a swivel adapter, but be careful not to add too much weight. Adding too many attachments can make a small trim router top-heavy, which leads to uneven cuts. According to the Occupational Safety and Health Administration, controlling fine dust is essential for preventing long-term respiratory issues when working with wood.
Frequently asked questions
Can I use a household vacuum for my router?
You can use a household vacuum, but its performance will be lower than a shop-vac. The main limitation is the filter’s capacity; household filters clog quickly with fine wood dust, causing the vacuum to overheat or lose suction within 5 to 10 minutes of operation.
How long should the hose be for a trim router?
The hose should be between 6 and 10 feet long to allow for comfortable movement. A hose longer than 10 feet creates too much air resistance for most compact trim routers, which significantly reduces the suction force at the shroud.
Is it safe to route without a dust port?
It’s safe to route without a port, but you’ll inhale significant amounts of fine wood dust. You must wear a respirator rated N95 or higher if you aren’t using a collection system, as fine particles stay suspended in the air for hours after the work stops.
What happens if the dust port gets clogged?
The router bit will begin to recut the chips, which causes the bit to overheat and dull rapidly. If you notice a sudden drop in suction, stop the router immediately and check the port for a blockage to avoid damaging your bits or the motor.
Does a larger shop-vac provide better suction?
A larger shop-vac provides more total airflow, but it doesn’t change the suction speed at the small port of a trim router. The bottleneck is the diameter of the router’s dust port, not the size of the vacuum tank or the motor’s total horsepower.
How do I stop the hose from pulling the router?
You should use a hose swivel or a bungee cord to suspend the vacuum hose above your workbench. By taking the weight of the hose off the router, you ensure the tool remains flat on the surface, which prevents gouging and uneven edge profiles.
Conclusion
Start by checking your router’s baseplate for pre-drilled mounting holes for a dust shroud. Once you attach the shroud and vacuum hose, perform a test pass on a scrap piece of wood to ensure the airflow is clear and the hose doesn’t drag. If the router feels unstable or the bit is recutting chips, stop the machine immediately and adjust the shroud position.