How to Change a Wood Router Bit Safely: A Step-by-Step Guide
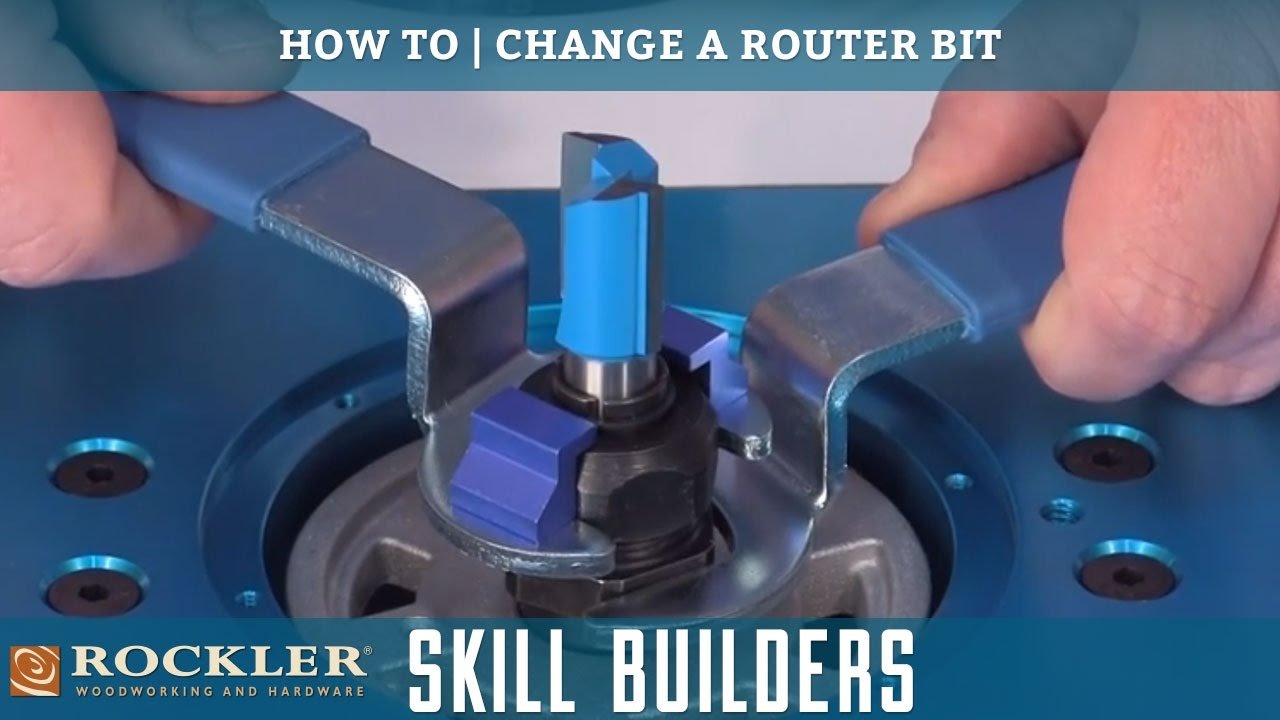
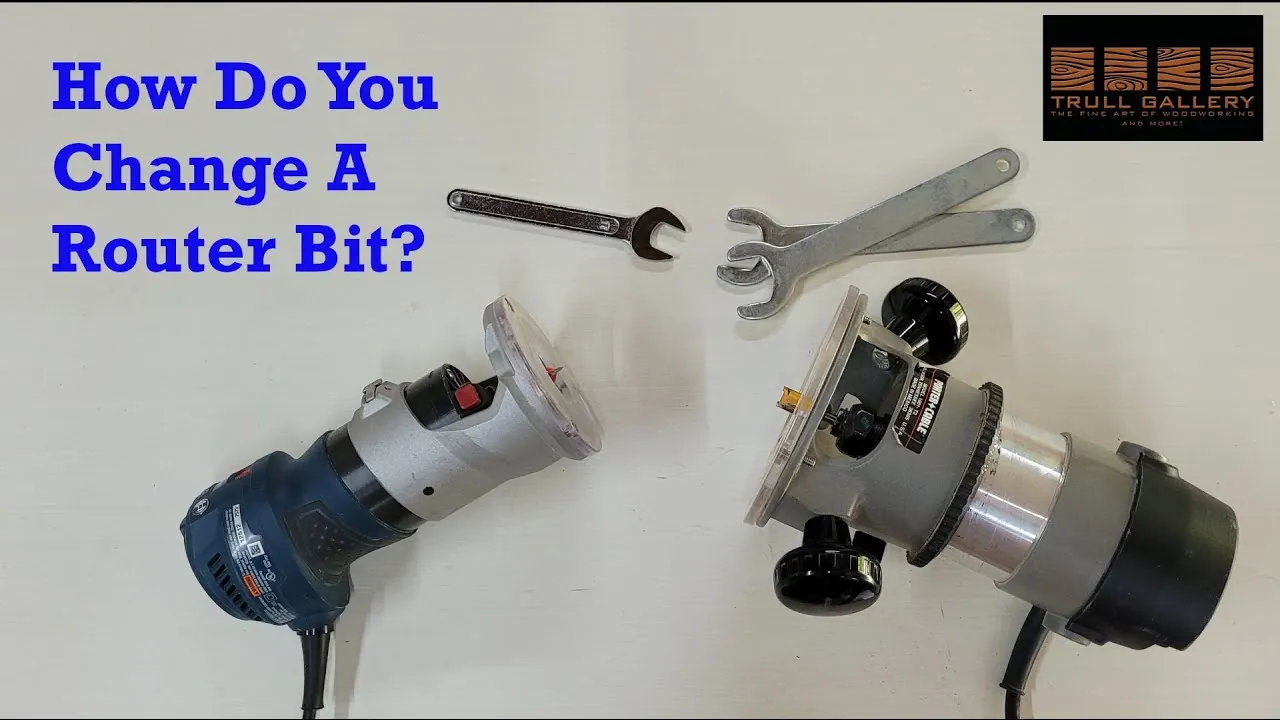
To change a wood router bit safely, you must first disconnect the tool from its power source and wait for the collet to cool down before loosening the nut with the provided wrenches. This procedure ensures the machine can’t start accidentally while your fingers are near the sharp cutting edges. Always wear safety glasses to protect your eyes while you swap the tooling.
Understanding the collet system is the main factor that decides if your bit stays secure or slips during use. A common mistake is failing to clean the collet before inserting a new bit, which leads to vibration and a poor finish on your wood. If you ignore the dust inside the collet, the bit won’t grip properly, potentially causing it to fly out during high-speed operation.
How to safely change your router bit
-
Unplug the router from the wall outlet or remove the battery pack to ensure the power is off. Never rely on the switch alone to keep the tool from turning on while you work.
-
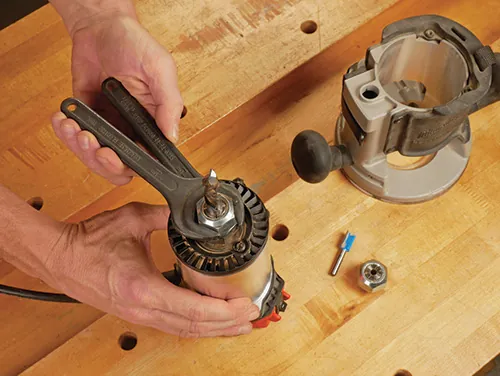
Place the router on a stable workbench and lock the spindle using the button or the lever provided by the manufacturer. If your model lacks a spindle lock, hold the shaft steady with one wrench while you loosen the collet nut with another.
-
Loosen the collet nut by turning it counter-clockwise about two full rotations, but don’t remove the nut completely unless you need to clean the collet. Pull the old bit out carefully, gripping it with a rag to avoid cuts from the sharp edges.
-
Clean the inside of the collet and the shank of the new bit with a dry cloth or a soft brush to remove sawdust and resin.
-
Insert the new bit into the collet, then pull it back out about 1/8 inch to prevent it from bottoming out, which can cause heat buildup and bit breakage. If the bit bottoms out against the motor shaft, the collet can’t tighten properly, and the bit may eject during operation.
-
Tighten the collet nut firmly with your wrenches, ensuring the bit shank is gripped by at least 3/4 of the collet’s length. Avoid overtightening, which can crack the collet.
If you feel the bit slipping or it makes a high-pitched squealing sound, stop immediately. Check that the collet isn’t worn or damaged. A collet with a hairline crack or uneven wear will never hold a bit securely, regardless of how much force you apply.
Time required for tool changes
The time it takes to change a bit depends on the access to the collet and the type of router you’re using. A plunge router often requires more steps to reach the collet compared to a fixed-base model. If you’re struggling for more than five minutes, stop and verify that the spindle lock is fully engaged before applying more force.
Most operators make the mistake of over-tightening the collet nut during the final turn. This creates excessive friction that leads to seized bits later. If you can’t loosen the nut with standard hand pressure, check that the spindle lock is fully engaged and use the proper wrenches.
| Situation | How long | What changes it | What to watch for |
|---|---|---|---|
| Simple bit swap | 1-2 minutes | Ease of access | Sharp blade edges |
| Cleaning the collet | 3-5 minutes | Amount of resin | Thread wear on nut |
| Stuck or seized bit | 5-10 minutes | Rust or debris | Damaged collet walls |
If the bit remains stuck, inspect the collet slot for hairline fractures. A damaged collet will never grip a bit securely and must be replaced immediately to prevent the tool from vibrating loose during high-speed operation.
Signs the bit is secure
You can confirm the bit is ready by performing a manual pull test after tightening the nut. Try to pull the bit out of the collet with your fingers; it shouldn’t move or wiggle at all. If the bit slides even slightly, the collet isn’t tight enough or the shank size doesn’t match the collet diameter.
Measure the shank with digital calipers before insertion. If the shank is 1/4 inch but your collet is 6mm, the bit will never hold securely regardless of how hard you tighten the nut. This mismatch is a common error that ruins collets and causes dangerous bit ejection.
Listen to the router once you power it back on for a test run. A properly installed bit will hum steadily, while a loose bit will create a distinct, uneven vibration or rattling sound. If you notice any wobbling or excessive noise, turn the tool off immediately. Always check the manufacturer’s manual for the specific torque requirements, as over-tightening can crack the collet or damage the spindle threads.
Common mistakes during bit changes
-
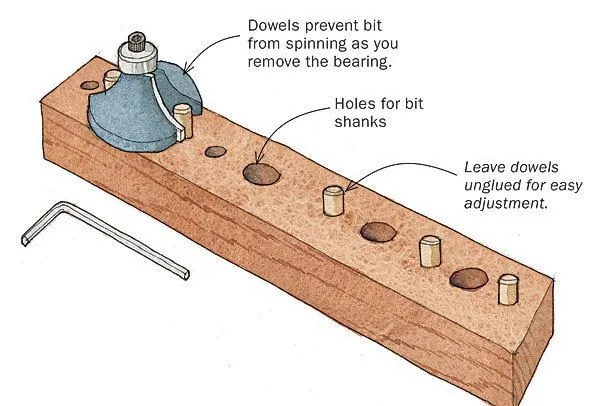
Inserting the bit too deep: Pushing the bit all the way to the bottom of the collet prevents the collet from tightening evenly and causes the bit to heat up. Always pull the bit out slightly so it isn’t touching the bottom of the spindle housing. Aim for a gap of roughly 1/8 inch. This clearance ensures the collet jaws can flex inward to grip the shank across their entire surface area.
-
Using a dirty collet: Sawdust or hardened resin inside the collet prevents the metal from gripping the shank tightly, which is a leading cause of bit slippage. Clean the internal surfaces with a non-flammable solvent before every change to ensure a perfect fit. If you see dark, glassy streaks on the collet interior, use a brass wire brush to remove the buildup. A clean collet should look like raw, matte steel.
-
Forgetting to tighten the nut: Failing to fully secure the nut allows the bit to vibrate loose during operation, which ruins your workpiece and risks injury. Always double-check the tightness by trying to rotate the bit by hand before you plug the power cord back into the wall. If the bit moves even a fraction of a millimeter, your collet is likely worn out or the nut is bottoming out on the spindle threads.
Related guides
Frequently Asked Questions
Can I use pliers to tighten the collet nut?
No, never use pliers or locking grips to tighten the collet nut. Always use the specific open-ended wrenches provided with your router to prevent rounding the nut corners. If you have lost your original wrenches, purchase a replacement set designed for your specific router model.
How often should I clean the collet?
Clean the collet every time you change a bit to prevent the buildup of wood resin and fine dust. Resin buildup can make bits difficult to remove or insert. If you work with oily hardwoods like teak or rosewood, clean the collet every three to four hours of run time.
Is it safe to change a bit while the router is in the table?
Yes, it’s safe to change a bit in a router table if you have a lift mechanism or a collet that extends above the table. Always ensure the router is unplugged before you reach under the table. If your router lacks above-the-table adjustment, remove the motor to safely access the collet.
What happens if I use the wrong size bit shank?
Using a bit with a shank size that doesn’t match your collet is dangerous and can cause the bit to fly out. Always verify that the bit shank diameter matches the collet size marked on your router exactly. If you must use a 1/4-inch bit in a 1/2-inch collet, purchase a high-quality reducing sleeve.
Why does my bit get stuck in the collet?
A bit gets stuck because resin buildup acts like glue between the shank and the collet walls. If the bit won’t come out, don’t force it with heavy tools to avoid bending the spindle. Instead, use a light tap on the wrench or a collet release tool.
Conclusion
Once the new bit is locked in place, you’re ready to get back to your project. Double-check that the collet is tight and the base is secure before plugging it back in. You’ll find that taking these few extra moments makes your woodworking much smoother and keeps your focus on the creative work ahead.