Sliding vs. Non-Sliding Miter Saw: Which One Should You Buy?
For most home workshops, a sliding vs. non-sliding miter saw: which one should you buy? depends on the size of boards you plan to cut. A non-sliding model works best for smaller trim and picture frames, while a sliding saw is necessary if you need to crosscut boards wider than 6 inches.
Understanding sliding and non-sliding miter saws
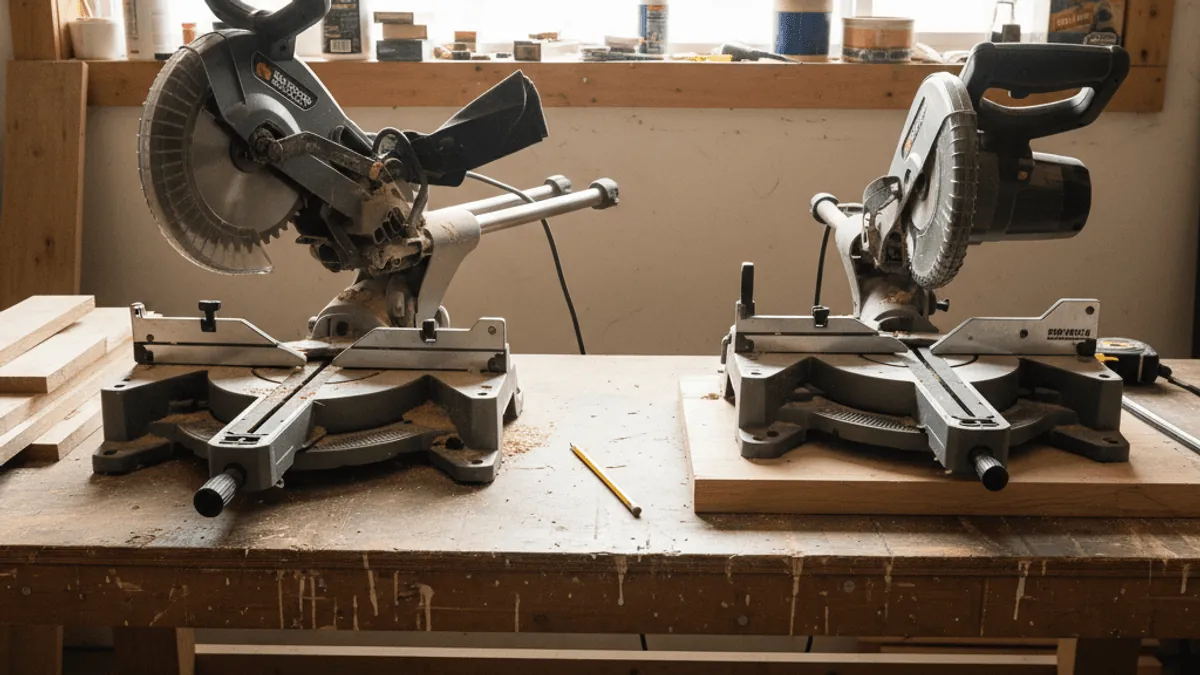
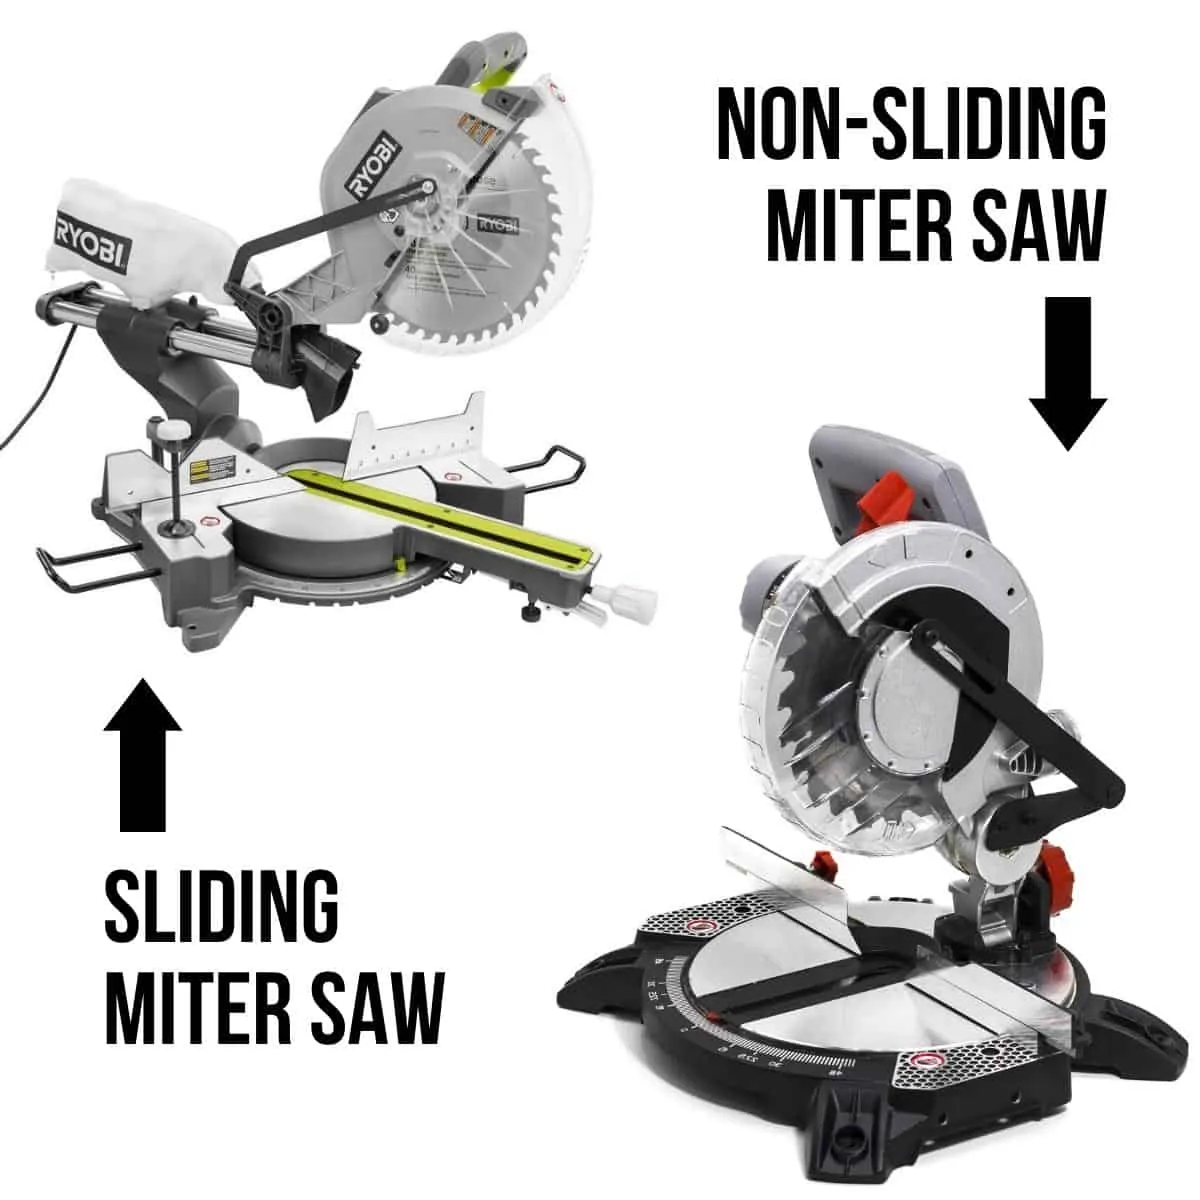
Choosing the right saw requires looking at how much space you have and what materials you cut. A non-sliding saw offers better precision for small work because it has fewer moving parts that can flex. However, a sliding saw provides the reach needed for wide lumber.
| Method | How long | Effort | Cost | Best for |
|---|---|---|---|---|
| Non-sliding | Fast | Low | Low | Trim work |
| Sliding | Moderate | Medium | High | Wide boards |
| Compound sliding | Moderate | Medium | High | Complex cuts |
Using a standard non-sliding miter saw
This tool stays in a fixed position, meaning you pull the blade straight down into the wood. It’s simple to operate and holds its calibration better than sliding models over time.
- Place your workpiece firmly against the fence.
- Align your pencil mark with the blade path.
- Lower the handle until the blade clears the wood completely.
- Release the trigger and wait for the blade to stop spinning before lifting.
It excels at repetitive tasks like cutting baseboards or crown molding. The biggest weakness is its limited reach, as you can’t cut boards wider than the blade diameter allows.
Operating a sliding miter saw
The sliding feature allows you to pull the blade forward toward you before pushing it down through the wood. This movement lets the saw cut wider boards than a fixed saw can handle.
- Unlock the sliding rail mechanism.
- Pull the saw head toward you until it clears the front of the board.
- Start the motor and press the blade down into the wood.
- Push the saw head backward along the rails to complete the cut.
This design gives you the versatility to cut wide shelving or flooring. You must keep the rails clean, as dust buildup can cause the movement to feel stiff or jerky.
Utilizing a compound sliding miter saw
A compound saw adds the ability to tilt the head for beveled cuts while you also adjust the miter angle. This is essential for complex woodworking projects where you join pieces at multiple angles.
- Set your miter angle on the base scale.
- Tilt the head to your desired bevel angle.
- Pull the rails forward to engage the full width of your board.
- Lower the head and slide it back to finish the cut.
It provides the most flexibility for custom carpentry. If you only build simple frames, these extra adjustments often add unnecessary bulk and weight to your workbench.
Choosing the right tool for your project
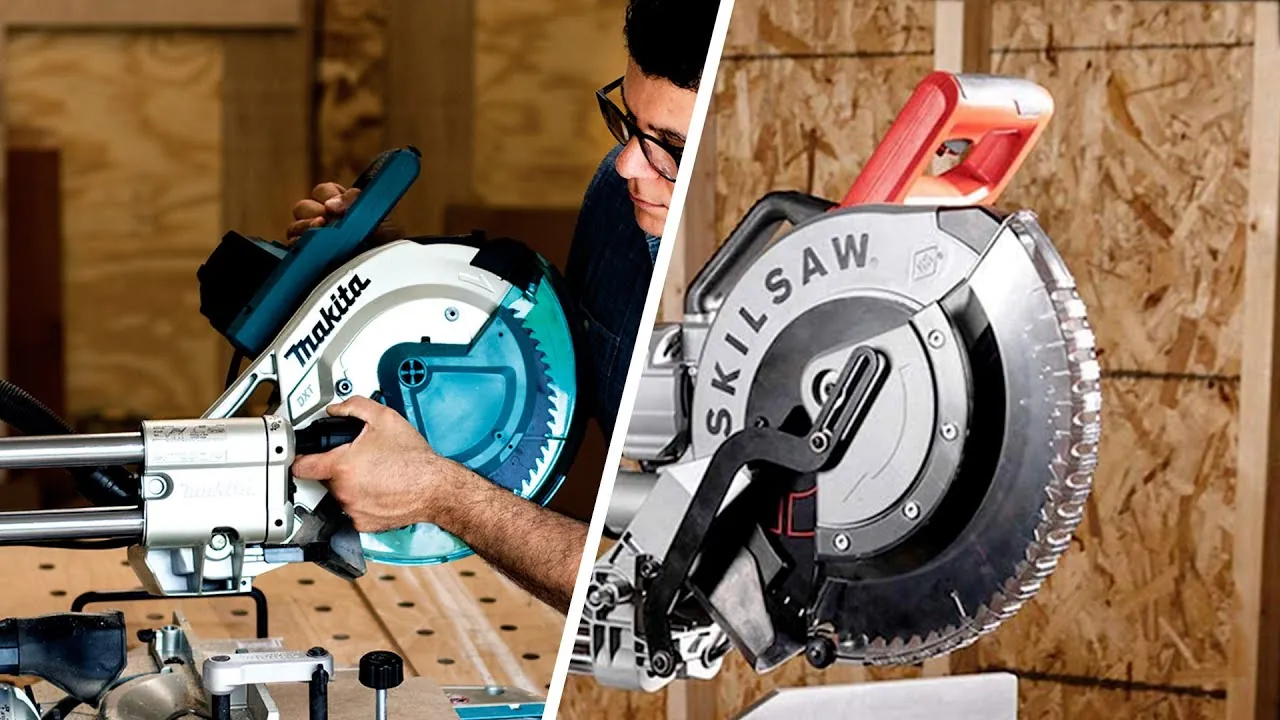
When you’re in a hurry and just need to cut small trim, the non-sliding saw wins because it’s lightweight and ready to go. If you’re doing this for the first time, a non-sliding model is easier to master since there are no rails to manage.
If you want the best possible result whatever it takes, choose a sliding saw to ensure you never run out of capacity on a wide project. You trade off the simplicity of a fixed base for the ability to handle larger lumber sizes.
Maintenance and safety for your saw
Regardless of the model, you must prioritize safety to prevent accidents. Always wear impact-resistant eye protection that meets the American National Standards Institute safety requirements for eye and face equipment. Before you start, ensure your workpiece is clamped down so it can’t kick back during the cut.
Check your blade for dull teeth regularly, as a dull blade forces the motor to work harder and ruins your finish. If you lack experience with power tools, ask a professional for a demonstration before plugging in your saw.
Related guides
- Track Saw vs. Table Saw: Which One Do You Need?
- 10 Best Miter Saw Blades: Expert Picks for Quality Cuts
- Corded vs. Cordless Track Saws: Which One Is Worth Buying
Frequently Asked Questions
How do I know if I need a sliding saw?
You need a sliding saw if you regularly cut boards wider than 6 inches, such as wide shelving or flooring. If your projects only involve trim or small lumber, a non-sliding saw provides better accuracy and is easier to transport.
Is it safe to use a miter saw alone?
Yes, it’s safe if you follow all manufacturer guidelines and keep your hands at least 6 inches away from the blade. Always wait for the blade to come to a complete stop before you remove any scraps from the table.
What happens if the rails get stuck?
The rails will get stuck if wood dust builds up inside the sliding mechanism. You can fix this by cleaning the rails with a dry cloth and applying a light coat of dry lubricant to keep the movement smooth.
Can I cut wide boards with a non-sliding saw?
No, a non-sliding saw is limited to the physical width of the blade’s path. Attempting to cut wider boards by flipping them over is dangerous and usually results in an uneven, unsafe cut that doesn’t align properly.
How often should I calibrate the saw?
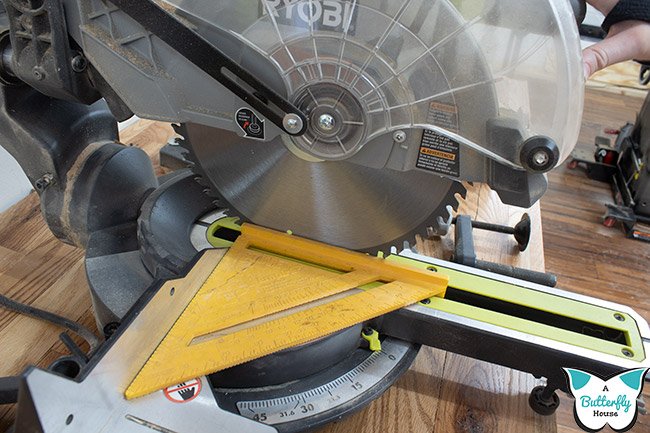
You should check your saw’s calibration every time you move it to a new location. Use a precision square against the blade and fence to ensure they’re at a perfect 90-degree angle before starting your work.
How do I know when to replace a miter saw blade?
A blade typically lasts for several months of regular use, but it depends on the type of wood you cut. Hardwoods and composite materials will dull the blade teeth much faster than soft pine or cedar.
Conclusion
Choosing between these tools comes down to your workspace size and your typical project needs. If you have the space and budget, the sliding model is the more versatile choice. If you prioritize portability and simple, precise cuts for home repairs, a fixed saw is usually the better investment for your shop.