How to Cut Plywood with a Track Saw Without Tear-Out
You can achieve a professional, furniture-grade edge on plywood by using a sacrificial base, a correctly calibrated track saw, and a high-tooth-count blade to prevent splintering. Tear-out occurs when the carbide teeth of the saw blade exit the wood fibers, lifting them upward rather than slicing through them cleanly. By managing the entry and exit points of the blade, you can ensure that the fragile veneer of your plywood remains intact throughout the entire cutting process.
Key Takeaways
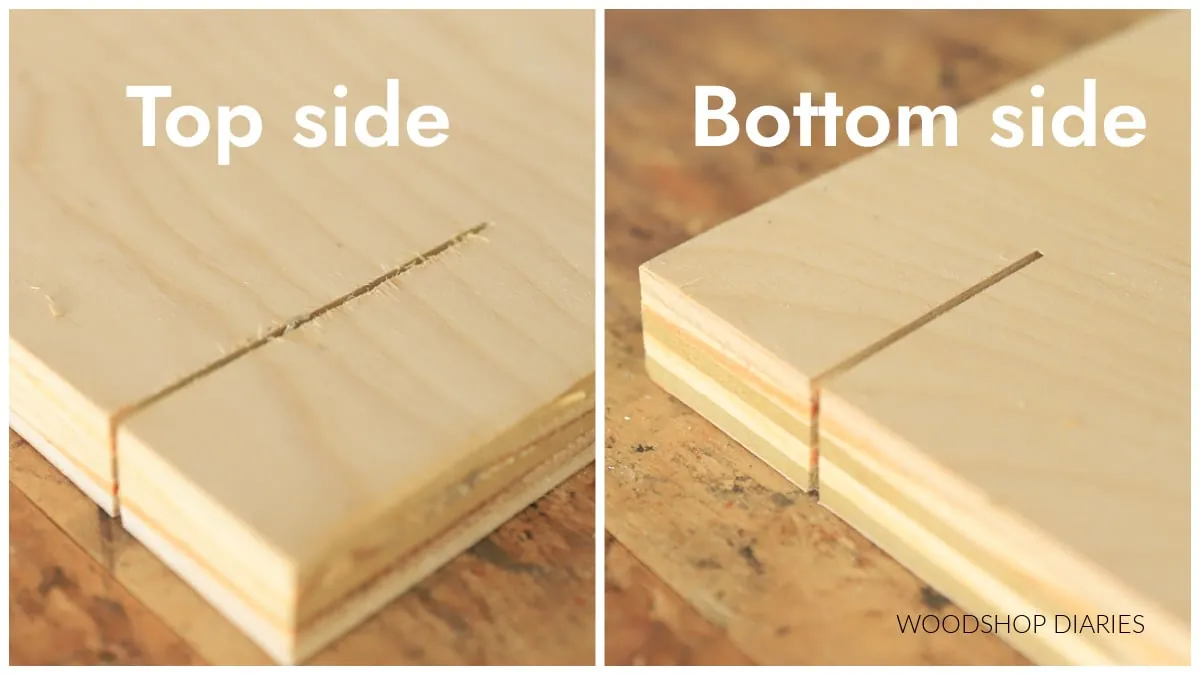
- Always use a splinter guard (or track strip) that has been pre-cut to your specific saw’s blade offset.
- Prioritize a fine-finish blade with at least 48 to 60 teeth for a standard 6.5-inch saw.
- Place the “good” side of the plywood face-down if you’re using a circular saw, or face-up if using a track saw.
- Score the veneer with a utility knife before your primary cut to guarantee a perfectly crisp transition.
- Maintain a steady, consistent feed rate to prevent the blade from burning the wood fibers.
Understanding Plywood Tear-Out Causes
Plywood is composed of thin layers of wood glued in alternating directions. Because the grain of the veneer runs perpendicular to the length of the board, the saw blade acts like a chisel. As the teeth rotate, they catch the grain and pull it away from the core. This is especially prevalent in soft woods like birch or pine. The primary causes of tear-out include:
- Dull blade teeth that pound the wood rather than slicing it.
- An incorrect blade depth setting that allows the teeth to exit at an aggressive angle.
- Lack of a rigid zero-clearance support directly against the veneer.
- Excessive feed pressure that causes the blade to deflect.
How to Cut Plywood With a Track Saw Without Tear-Out
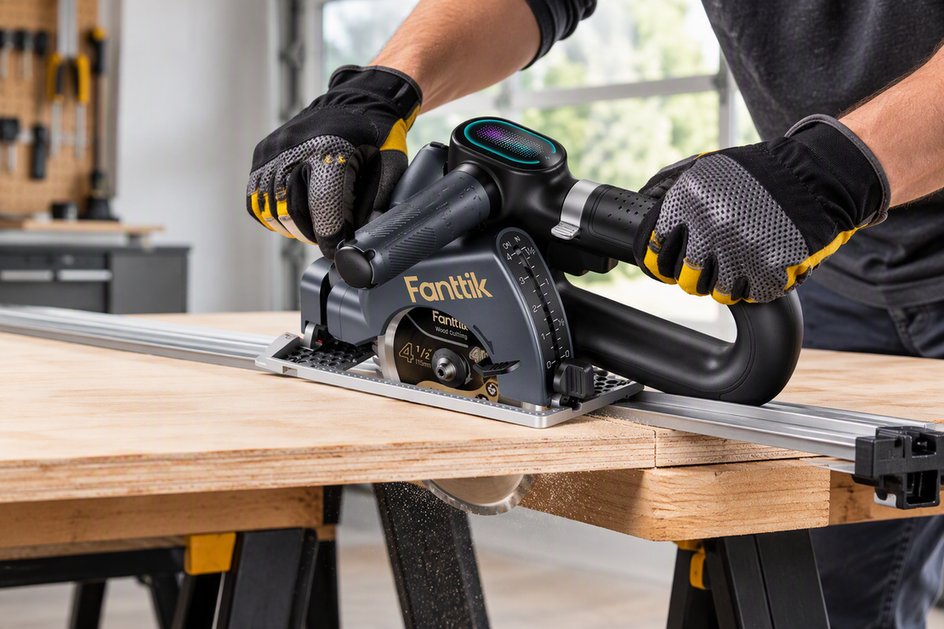
The most effective method involves creating a zero-clearance environment. When you use a track saw, the rubber strip on the edge of the guide rail acts as a physical barrier. If this strip is damaged or improperly trimmed, it loses its effectiveness. Ensure your rail is firmly secured to the workpiece using clamps to prevent any lateral movement, which is the most common cause of jagged edges.
| Technique | Primary Benefit | Skill Level |
|---|---|---|
| Zero-Clearance Strip | Immediate fiber support | Beginner |
| Scoring Veneer | Prevents fiber lift | Intermediate |
| Sacrificial Backer | Eliminates exit tear-out | Beginner |
| Climb Cutting | Removes stubborn fibers | Advanced |
Choosing the Right Saw Blade
Your choice of blade is the single most important factor in cut quality. For plywood, you should look for a blade labeled as “Fine Finish” or “Crosscut.” These blades feature an Alternate Top Bevel (ATB) or High Alternate Top Bevel (Hi-ATB) grind. These geometries shear the wood fibers at an angle rather than chopping them straight on.
- Freud Diablo D0660X 60-tooth blade.
- Festool 48-tooth Fine Cut blade.
- Forrest Woodworker II series.
Setting the Proper Blade Depth
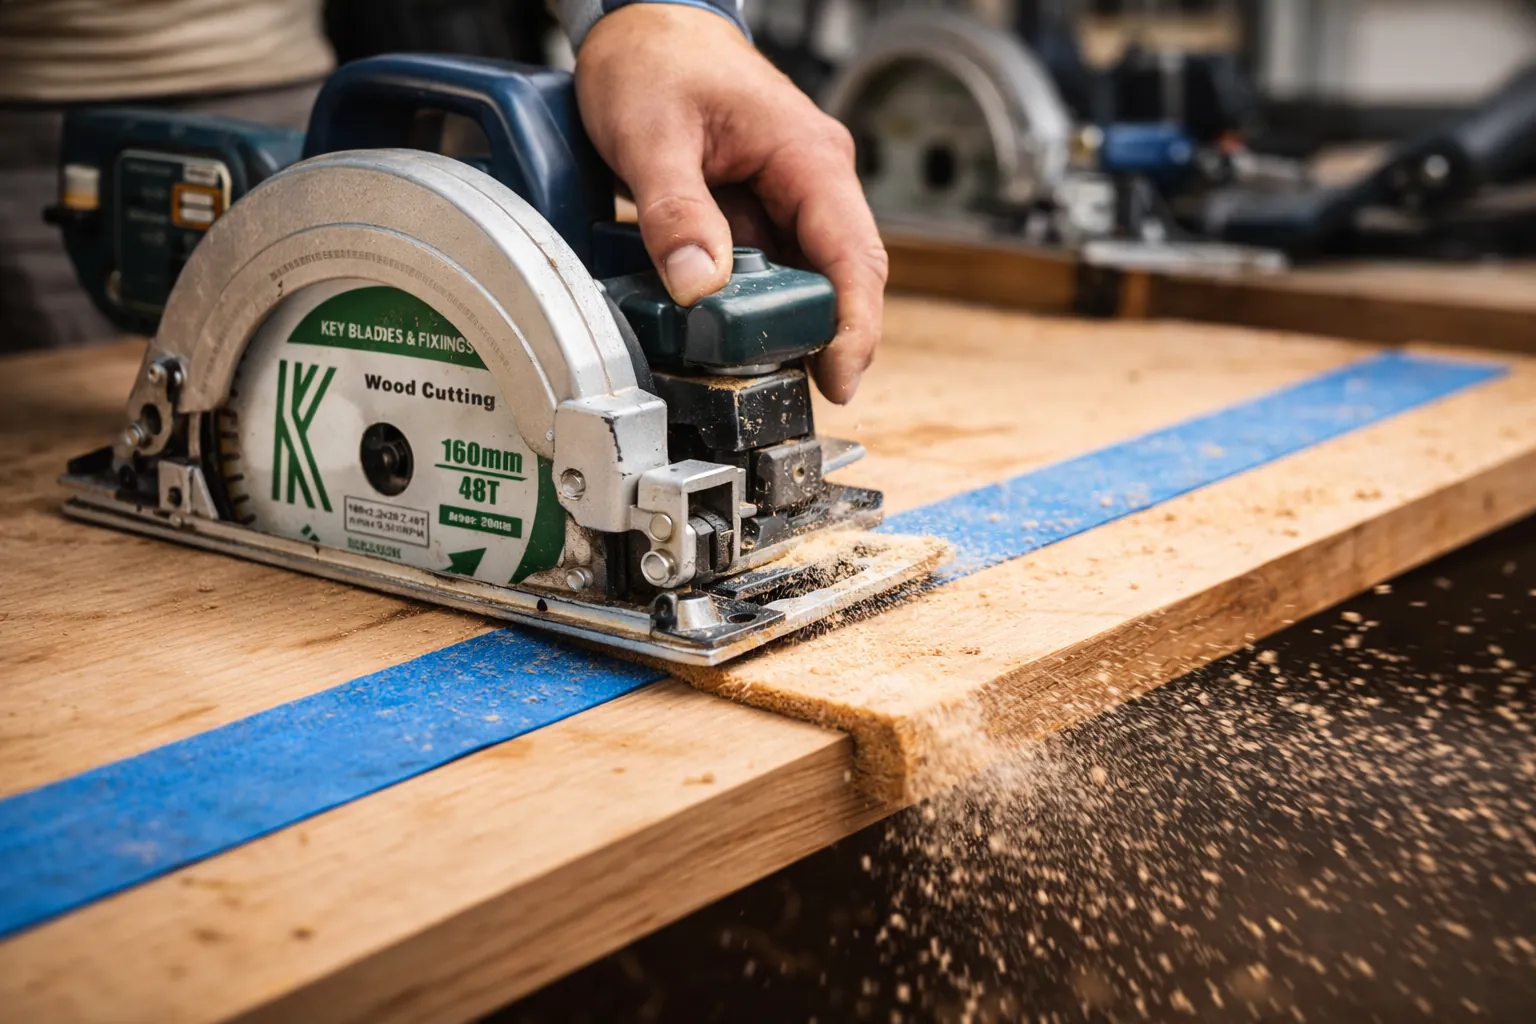
Pro Tip: Set your blade depth so that the tips of the teeth extend no more than 1/8 to 1/4 inch below the bottom of the plywood. This shallow angle ensures the teeth enter and exit the wood at a steeper, more controlled trajectory, which significantly reduces the mechanical force applied to the delicate surface veneers.
The Role of Sacrificial Backers
When cutting through high-end hardwood plywood, even a track saw can sometimes leave minor burrs on the underside. By placing a piece of cheap 1/8-inch hardboard or scrap plywood beneath your workpiece, you create a solid backing that supports the fibers as the blade exits.
Should You Use Tape?
Many woodworkers swear by applying blue painter’s tape over the cut line before sawing. While this does help hold the fibers in place, it’s generally considered a secondary defense. If your blade is dull or your track isn’t properly set, tape won’t prevent tear-out. Use tape only as a supplement to, not a replacement for, proper setup and sharp tooling.
Managing Your Feed Rate
Consistency is the secret to a professional finish. If you push the saw too slowly, the heat generated by the friction will char the wood and potentially melt the plastic splinter guard. If you push too fast, the blade will deflect and tear the grain. Listen to the motor; it should maintain a constant, high-pitched hum without bogging down. If the motor changes pitch, adjust your speed accordingly.
Comparing Cutting Methods
| Method | Tear-Out Risk | Setup Time |
|---|---|---|
| Track Saw | Low | Moderate |
| Table Saw | Medium | High |
| Circular Saw | High | Low |
| Hand Saw | Very Low | High |
Troubleshooting Common Cut Issues
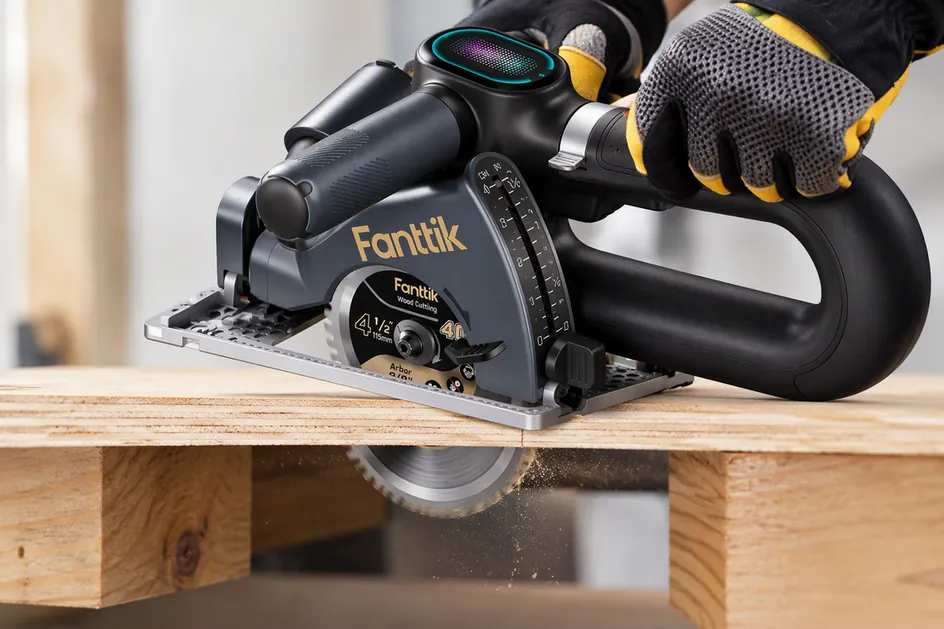
- Burn Marks: Increase your feed rate or check if the blade is gummed up with pitch.
- Wavy Edges: Check that your track is fully supported and not sagging over the edge of your workbench.
- Splintering on Top: Replace your splinter guard strip; it has likely worn out or been cut too wide.
- Splintering on Bottom: Use a sacrificial backer board or ensure your blade depth is minimized.
Frequently Asked Questions
Does the wood species affect tear-out?
Yes, certain species are more prone to splintering than others. Hardwoods like oak and maple have dense, brittle fibers that chip easily, while softer woods like birch or poplar can tear if the blade isn’t sharp. Always adjust your feed speed when switching between species to ensure the blade is cutting the fibers cleanly rather than forcing its way through the dense grain.
How often should I replace the splinter guard?
You should replace the splinter guard strip whenever it becomes frayed or if you switch to a blade with a different kerf width. If the strip has been trimmed too wide, it no longer provides the necessary support to hold the wood fibers down. A fresh, properly trimmed strip is the most effective way to guarantee a zero-clearance cut every single time you operate the saw.
Is climb cutting really necessary?
Climb cutting, or moving the saw in the opposite direction of the blade’s rotation, can provide an incredibly clean edge, but it’s dangerous. It can cause the saw to “climb” out of the track and kick back toward the operator. Only attempt this if you’re highly experienced, have a saw with an anti-kickback feature, and are making a very shallow, controlled scoring pass.
Can I use a standard blade for plywood?
You should avoid using standard framing or demolition blades for fine plywood work. These blades have fewer teeth and a different tooth geometry designed for speed, not finish. Using a coarse blade will almost guarantee tear-out, regardless of your technique. Always use a high-tooth-count finishing blade specifically designed for cross-cutting veneers and laminates to achieve the best possible results on your projects.
Why is my plywood edge still fuzzy?
Fuzzy edges are usually caused by a dull blade or a high moisture content in the wood. If your blade is sharp and the wood is dry, try a quick pass with 220-grit sandpaper along the edge. If the fuzziness persists, your blade may have accumulated resin from the plywood glue, which can be cleaned off with a specialized blade cleaner to restore cutting efficiency.
Conclusion
The key to achieving flawless results lies in preparation and the quality of your consumables. By ensuring your track saw is properly calibrated, using a high-tooth-count blade, and supporting the underside of your plywood, you eliminate the variables that lead to unsightly damage. Start your next project by double-checking your blade depth and verifying that your splinter guard is perfectly aligned for a clean, professional cut.