How to Grind Welds With an Angle Grinder: Discs and Finishing
To grind welds with an angle grinder, use a grinding wheel for removing material and a flap disc for smoothing the surface. Most projects require a 4-1/2 inch tool operating at 10,000 to 11,000 RPM. This process helps metalworkers clean structural joints in preparation for painting or additional fabrication.
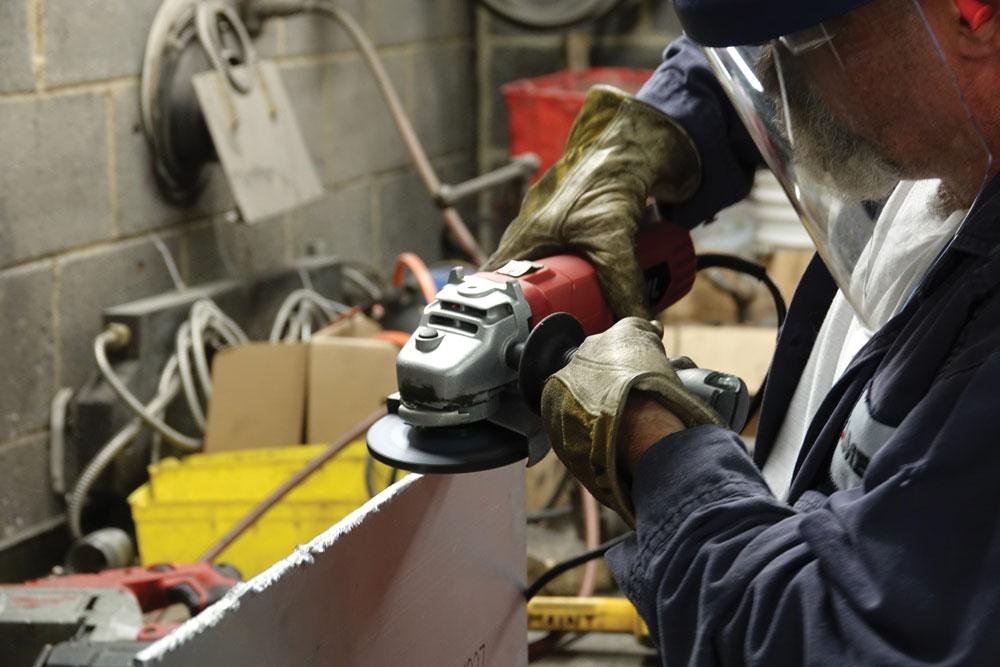
Angle grinder gear for grinding welds
To prepare your work area and ensure a clean finish, you need the right setup before you begin. Having these items organized prevents delays and keeps your workflow steady.
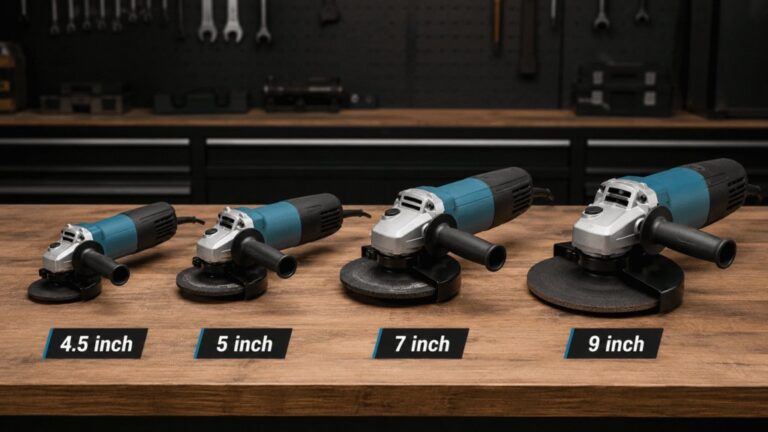
- Angle Grinder: A 4-1/2 inch corded or cordless model with a side handle for control.
- Grinding Wheels: 1/4 inch thick depressed-center wheels for heavy stock removal.
- Flap Discs: 40 to 80 grit discs for smoothing and surface blending.
- Safety Gear: ANSI Z87.1-rated safety glasses, a face shield, and leather gloves.
- Clamps: C-clamps or V-blocks to hold your workpiece firmly to the bench.
- Wire Brush: A hand-held steel brush to clean slag from the weld bead.
For power, you should always verify your grinder’s maximum RPM matches the rating on your discs. If the disc is rated for lower speeds than your grinder, it can shatter during use. Always consult the Occupational Safety and Health Administration guidelines regarding proper machine guarding and personal protective equipment. You can buy these tools at most hardware stores, but ensure you receive proper training on tool handling before starting.
Steps to Smooth Your Welds
Grinding metal requires patience and a steady hand to avoid gouging the base material. Follow these steps to achieve a professional result.
- Secure the workpiece: Clamp the metal tightly to your workbench so it can’t vibrate or shift while you apply pressure.
- Clear the slag: Use your wire brush to remove the loose, hardened slag from the surface of the weld bead.
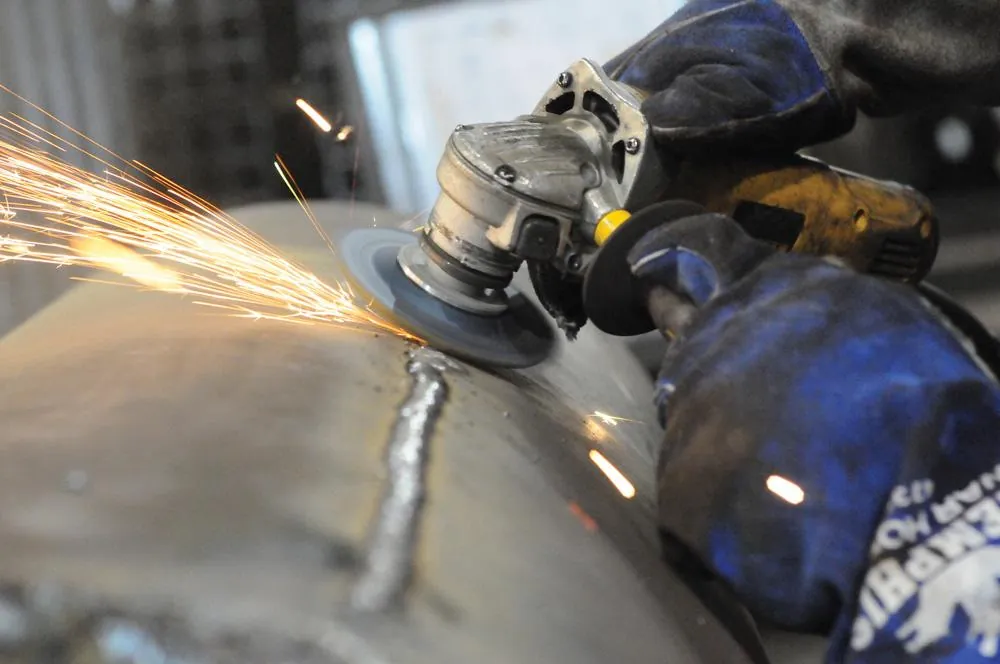
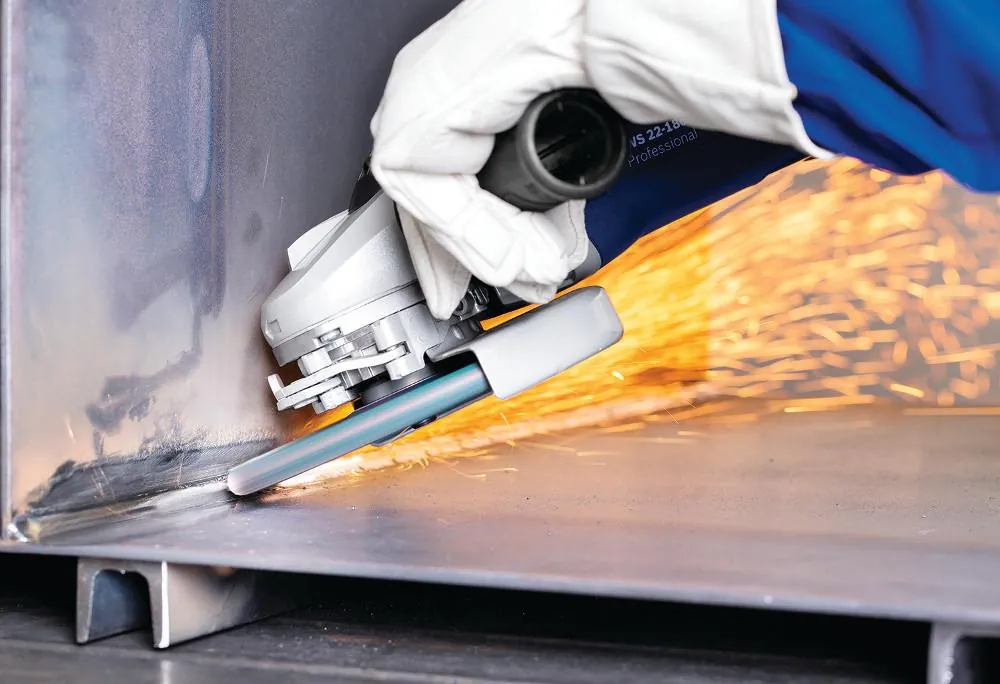
- Start with the grinding wheel: Hold the grinder at a 20 to 30-degree angle to the surface and move it back and forth over the weld.
- Remove excess material: Use light pressure and let the speed of the tool do the work, moving across the joint until the bead is level.
- Switch to the flap disc: Change to a 60 or 80 grit flap disc once the weld is near the height of the base metal.
- Blend the surface: Move the flap disc in long, overlapping strokes to remove deep scratches and smooth the transition between the weld and metal.
Tip: Keep the grinder moving at all times to avoid creating a low spot or a heat-affected depression. Careful: Never press too hard, as this can overheat the metal and cause it to warp or lose strength. If you’re working on thin sheet metal, use a lighter touch and a finer grit to prevent burning through the material.
Adjusting for Different Metal Situations
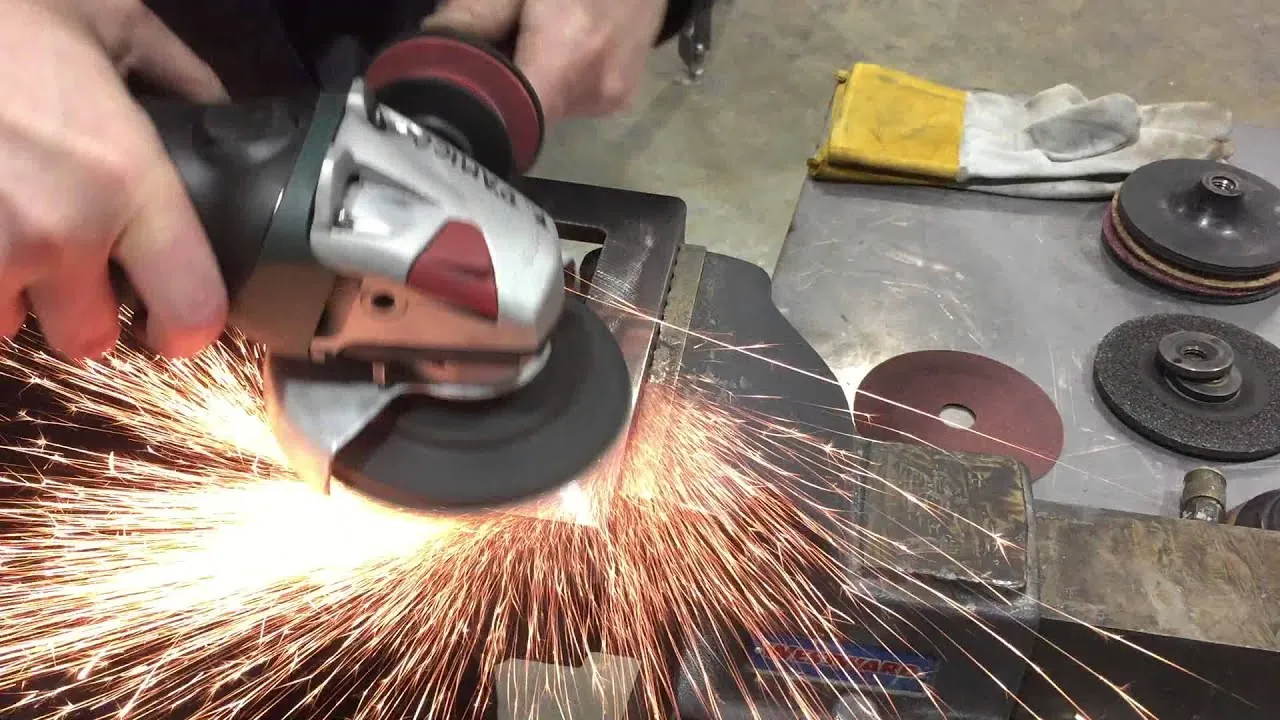
Your grinding approach changes based on the metal type and the final look you want to achieve. Starting with a less aggressive tool is safer because you can always remove more material, but you can’t put it back once it’s gone.
| Situation | Time/Effort | What is Different | Watch For |
|---|---|---|---|
| Mild Steel | Low | Fast material removal | Heat buildup |
| Stainless Steel | High | Needs specific discs | Discoloration |
| Large Joints | High | Deep beads to level | Tool fatigue |
| Sheet Metal | Low | Risk of thinning | Heat warping |
Starting small allows you to gauge how much metal you’re removing before you commit to a heavy-duty cut.
Judging Your Grinding Quality
A good finish means the weld area feels smooth and looks flush with the surrounding metal. If you see deep grooves or craters, your angle or pressure was likely too aggressive during the grinding process. These marks happen because the abrasive edge of the disc is cutting too deeply into the base material rather than sliding across it.
To prevent this, maintain a shallow angle and use consistent, light pressure throughout the entire stroke. You should also replace your discs when they become clogged with metal dust, as a dull disc requires more force and leads to poor control. Regularly checking your progress by touch helps you find high spots that the eyes might miss in bright light.
Safety Rules and Maintenance
Always follow the manufacturer’s safety manual for your specific grinder model to avoid accidents. After you finish, unplug the tool and clear all metal dust from the motor vents using compressed air. Store your discs in a dry place, as moisture can weaken the resin bonds in abrasive wheels, making them prone to breaking during high-speed rotation.
If you’re working in a shop, ensure your fire extinguisher is nearby and that no flammable materials are within 35 feet of the work zone. If you have any doubt about the structural integrity of the weld after grinding, consult a professional to determine if the weld requires non-destructive testing or re-welding. Following these steps ensures your tools last longer and your work stays safe.
Alternative Ways to Finish Welds
Belt Grinders
A bench-mounted belt grinder offers more control than a handheld tool. It’s ideal for flat surfaces where you need a perfectly level finish. This method is slower but produces a much more consistent scratch pattern across the entire length of the joint.
Die Grinders
For tight corners or intricate shapes, a die grinder with a small carbide burr works best. These tools reach spots an angle grinder cannot, though they remove material slowly. Use these when you need to clean out internal angles without touching the surrounding flat surfaces.
Manual Filing
For very small welds or delicate parts, a flat metal file is the most precise option. It requires significant physical effort and time, but it eliminates the risk of accidentally grinding away too much metal. This is the safest way to achieve a high-quality finish on expensive or thin components.
Related guides
- Angle Grinder Safety: Guards, Kickback, Discs, and PPE Guide
- 10 Best Angle Grinders for DIY, Metalworking, and Workshop Use
- How to Use an Angle Grinder: A Beginner’s Guide
Frequently asked questions
Can I use a cutting disc for grinding welds?
No, you should never use a thin cutting disc for grinding. Cutting discs are designed for radial cutting forces and will shatter if you apply lateral pressure. Always use a thick grinding wheel or a reinforced flap disc for smoothing operations to ensure your personal safety while operating the tool.
How long does a flap disc last?
A flap disc typically lasts for 30 to 60 minutes of continuous use, depending on the hardness of the metal and the pressure you apply. You’ll know it’s time to change the disc when the abrasive leaves no mark on the steel or when the flaps wear down to the backing plate.
Is it safe to grind stainless steel with a standard disc?
No, you should use discs specifically labeled for stainless steel to avoid cross-contamination. Standard carbon steel discs can leave iron particles on the surface, which will cause the stainless steel to rust later. Always keep your stainless steel consumables separate from your mild steel tools to maintain the metal’s corrosion resistance.
How do I remove deep gouges from grinding?
You can remove deep gouges by switching to a lower grit flap disc, such as a 40 grit, to level the surrounding area. After the surface is flat, work back up to an 80 grit disc to blend the scratches. Always move in long, smooth strokes to avoid creating new, uneven spots.
What happens if I overheat the metal?
Overheating the metal can cause it to warp or change its molecular structure, which often weakens the weld. If the metal turns blue or purple, you’re applying too much heat and need to move faster or take more breaks. Let the workpiece cool to the touch before you continue grinding to prevent permanent damage.
How much pressure should I apply?
Apply only enough pressure to keep the disc in contact with the metal, letting the tool’s rotation do the work. If you must push hard, your disc is likely dull and needs replacement. Excessive force causes the tool to bounce, which creates an uneven, wavy finish on your weld.
Conclusion
Once your surface looks smooth and uniform, you’ll want to wipe the area down with a clean cloth and some acetone. Removing the leftover metal dust ensures your primer or paint won’t flake off later. You’re ready to move on to your next project, so take your time and enjoy the results.