
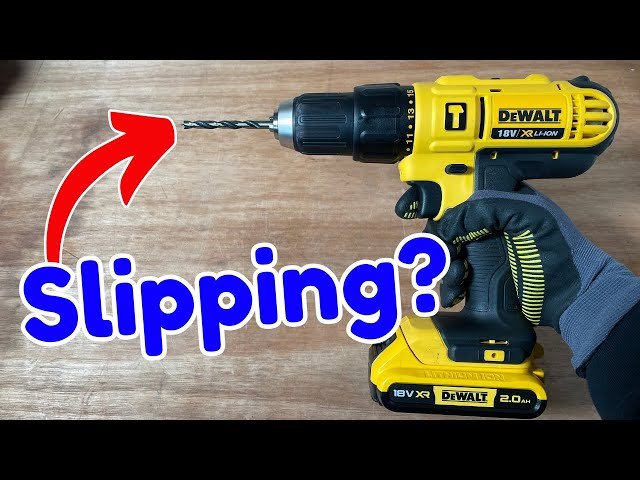
Cordless Drill Chuck Keeps Slipping: How to Fix the Grip
A cordless drill chuck keeps slipping when the jaws lose their grip on the bit, which usually means worn jaws, a loose retaining screw, or a bit shank that’s too smooth or slightly undersized. If you searched cordless drill chuck keeps slipping, you probably want to know whether the tool can be saved or if it’s time for a replacement. Most slipping problems come down to a few mechanical causes you can check in a few minutes, and many of them are fixable without buying a new drill.
Key Takeaways
- Clean the chuck jaws and bit shank with a degreaser; oil, dust, and metal shavings are the most common causes of grip loss.
- Inspect the bit for a rounded, worn, or undersized shank, and replace it if it no longer fills the jaws evenly.
- Tighten the chuck by hand until it clicks, then give it one firm quarter-turn; don’t rely on the drill’s motor to seat the bit.
- Check the internal retaining screw; if it’s loose or stripped, the chuck can wobble and release the bit under load.
- Replace the chuck if the jaws are visibly worn, cracked, or no longer close evenly around a straight bit.
- Match the bit shank size to the chuck capacity—usually 3/8 inch or 1/2 inch—before assuming the drill is at fault.
What Makes a Chuck Slip
A keyless chuck holds a bit by friction and mechanical pressure. When you tighten the sleeve, three or four jaws move inward and clamp the shank. Slipping happens when that clamp can’t hold the torque the drill produces.
The most common culprits are oily or dirty jaws, a bit with a worn or undersized shank, a chuck that isn’t fully tightened, or internal wear inside the chuck itself. Less often, the problem is the drill’s hammer mode or an accessory adapter that doesn’t seat squarely.
Common causes:
- Grease, sawdust, or rust inside the chuck jaws
- Worn, rounded, or incorrectly sized bit shanks
- A loose or damaged internal retaining screw
- Worn chuck jaws that no longer close evenly
- Using the wrong chuck capacity for the bit
Clean the Chuck and Bit
Dirt and oil act like a lubricant between the jaws and the bit shank, which is exactly what you don’t want. Start by unplugging the charger and removing the battery. Wipe the outside of the chuck with a rag, then spray a small amount of degreaser or isopropyl alcohol into the jaws.
Open and close the chuck several times to work the cleaner in, then wipe it dry. Do the same with the bit shank. Even a thin film of cutting oil from a new bit can reduce grip enough to cause slipping under load.
Warning: Don’t soak the chuck in solvent or spray cleaner into the drill’s motor housing; liquids inside the tool can damage the electronics and void the warranty.
After cleaning, inspect the jaws with a flashlight. If you see metal shavings packed into the jaw teeth, pick them out with a wooden toothpick or a plastic pick. Metal tools can scratch the jaws and make the problem worse.
Check the Bit Shank
Not all bits are created equal. A hex-shank bit in a standard round chuck, or a bit whose shank has worn round from use, will never grip as tightly as a fresh, straight shank. Measure the shank with calipers if you have them, or compare it to a bit that doesn’t slip. If the shank is visibly tapered, chewed up, or smaller than the chuck’s rated capacity, replace the bit.
Bits with a 1/4-inch hex shank are meant for impact drivers and quick-change adapters, not for a 3/8-inch or 1/2-inch keyless chuck. Using an adapter can introduce wobble, and wobble leads to slipping.
Tighten the Chuck Correctly
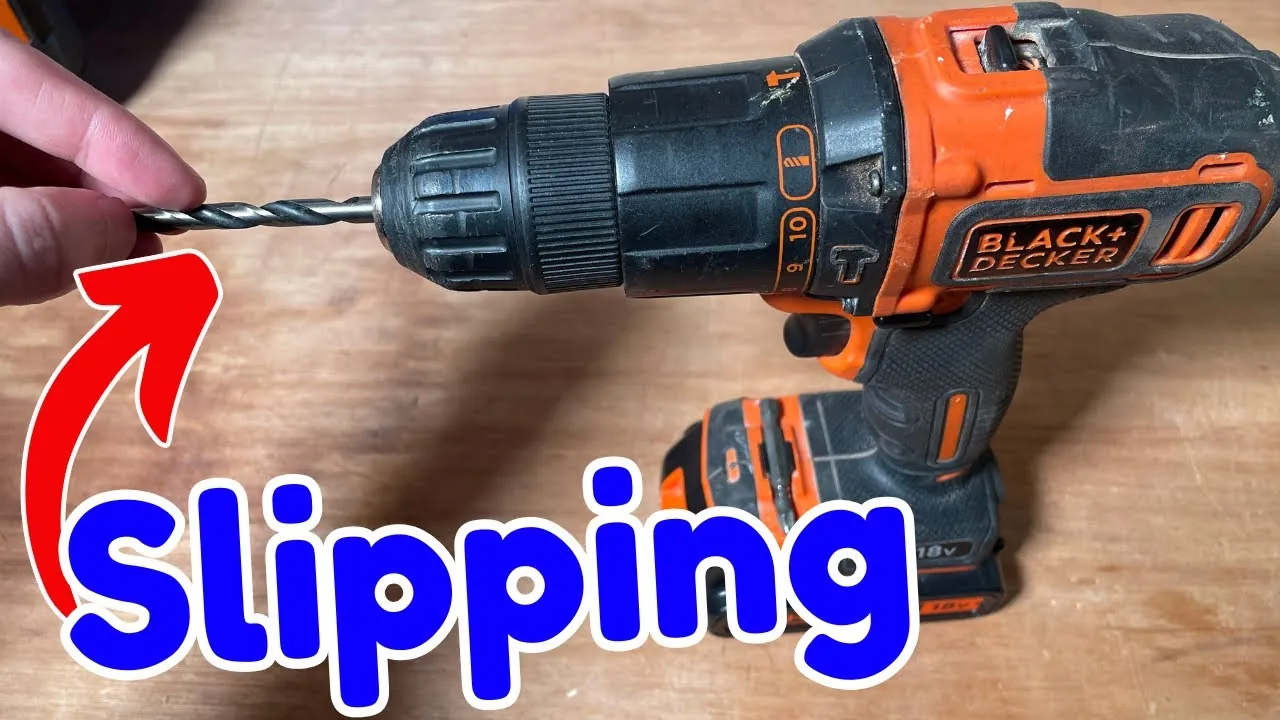
Many people tighten a keyless chuck by squeezing the trigger while holding the sleeve, but that method often leaves the jaws only partially seated. The correct method is to insert the bit, rotate the sleeve by hand until it clicks, and then give it one additional firm quarter-turn. The click tells you the jaws have contacted the bit; the extra turn seats them fully.
If your drill has a ratcheting chuck, you’ll feel and hear distinct clicks as you tighten. Stop when the resistance increases sharply; over-tightening can distort the jaws or crack the chuck body.
Inspect the Retaining Screw
Most keyless chucks are held to the drill spindle by a small retaining screw inside the jaws. Open the chuck fully and look inside with a flashlight. You should see a screw, usually with a Phillips or hex head.
If it’s loose, the chuck can shift slightly under load, which feels like slipping. Tighten it with the correct driver. Note that many retaining screws have reverse threads, meaning you turn them clockwise to loosen and counterclockwise to tighten. Check your manual before turning anything.
If the screw head is stripped or the screw is missing, the chuck may not sit squarely on the spindle. A crooked chuck grips unevenly and releases bits under torque.
Look for Worn Chuck Jaws
Over time, the jaws inside a keyless chuck wear down, especially if you frequently use the drill at high torque or drop it on concrete. Worn jaws may still close, but they don’t close evenly. One side may grip while the other side leaves a gap, and that gap is where the bit starts to spin.
To test, insert a straight bit and tighten the chuck. Look at the gap between the bit and the chuck body all the way around. If the gap is wider on one side, or if the bit wobbles when you spin it by hand, the jaws are likely worn. You can also try a different bit of the same size; if multiple bits wobble, the chuck is the problem, not the bit.
When to Replace the Chuck
If cleaning, correct tightening, and a new bit don’t stop the slipping, the chuck itself is probably worn out. Replacement chucks are widely available, but you must match the thread size and the chuck capacity to your drill. Common sizes are 3/8 inch and 1/2 inch, and the spindle thread is often 1/2 inch by 20 TPI, though you should verify this in your drill’s manual or on the manufacturer’s website.
Replacing a chuck usually requires an Allen wrench or a chuck removal tool, depending on the model. Some drills have a screw that must be removed first; others require you to tap the chuck off with a mallet after loosening an internal fastener.
Pro Tip: Before ordering a replacement chuck, search your drill’s model number plus “chuck replacement” on the manufacturer’s official support page to confirm the exact part number and thread size.
| Symptom | Likely Cause | Fix |
|---|---|---|
| Bit spins freely under load | Oily or dirty jaws | Clean chuck and bit with degreaser |
| Bit wobbles in the chuck | Worn or undersized shank | Replace the bit |
| Chuck feels loose on the spindle | Loose retaining screw | Tighten or replace the screw |
| Gap is uneven around the bit | Worn chuck jaws | Replace the chuck |
| Slipping only in hammer mode | Internal clutch or chuck wear | Service or replace the drill |
Match the Bit to the Chuck Capacity
Cordless drills usually come with either a 3/8-inch or a 1/2-inch keyless chuck. The number refers to the largest bit shank diameter the chuck is designed to hold. Using a bit near the upper limit of that range is fine, but using a bit that’s slightly too small—say, a 1/4-inch bit in a loose 1/2-inch chuck—can cause slipping because the jaws can’t close far enough to generate full friction.
If you regularly drill small holes, consider keeping a smaller drill or a drill with a 3/8-inch chuck for those jobs, and reserve the 1/2-inch drill for larger bits where its extra grip is an advantage.
Lubrication and Maintenance
A chuck doesn’t need much maintenance, but an occasional drop of light machine oil on the outside sleeve threads can keep it operating smoothly. Wipe off any excess so it doesn’t drip into the jaws. Store the drill with the jaws partially open, not clamped tight on a bit, so the jaws aren’t under constant pressure.
If you work in dusty or damp conditions, blow out the chuck with compressed air every few weeks. Moisture can cause surface rust on the jaws, and rust is another reason a chuck loses its grip.
Related guides
- 10 Best Cordless Drill for Assembling Furniture Picks
- 10 Best Cordless Drill Drivers for Beginners: Our Top Picks
- 10 Best Cordless Drill for Hanging Shelves Picks and Reviews
Frequently Asked Questions
Why does my chuck slip only when I use large bits?
Large bits create more torque, and if the jaws are dirty, worn, or the bit shank is undersized, that extra force overcomes the friction holding the bit. Clean the jaws, try a fresh bit, and make sure you’re tightening the chuck fully by hand.
Can I use a 1/4-inch hex bit in my cordless drill chuck?
Only if you use the correct adapter, and even then the connection may wobble under load. Hex shanks are designed for impact drivers and quick-change chucks, not standard round keyless chucks.
How do I know if my retaining screw is loose?
Open the chuck fully and look inside for a screw at the base of the jaws. If it turns easily with a screwdriver or you can see movement in the chuck body when you wiggle it, it needs tightening. Remember that many retaining screws use reverse threads.
Is it worth replacing a chuck, or should I buy a new drill?
If the drill is otherwise in good condition and the chuck is the only problem, a replacement chuck usually costs far less than a new drill. If the drill’s motor, gearbox, or battery are also failing, replacing the whole tool makes more sense.
Conclusion
The next step is to pull the battery, clean the chuck jaws and bit shank, and retighten by hand until you feel a firm click. If the bit still spins under load after that, inspect the retaining screw and jaw wear, and order a replacement chuck only if those checks come up empty.
2 Comments