How to Use a Plunge Router for Wood Inlays: A Precise Guide
Using a plunge router for wood inlays involves carefully milling precise, shallow recesses into a workpiece to accept decorative materials like contrasting hardwoods, metal, or mother-of-pearl. This technique relies on the plunge mechanism to lower a spinning bit vertically into the wood surface, allowing you to stop the cut at a specific, consistent depth while maintaining full control over the router’s position. By employing templates and guides, you can create intricate patterns that elevate a simple woodworking project into a sophisticated piece of craftsmanship.
Key Takeaways
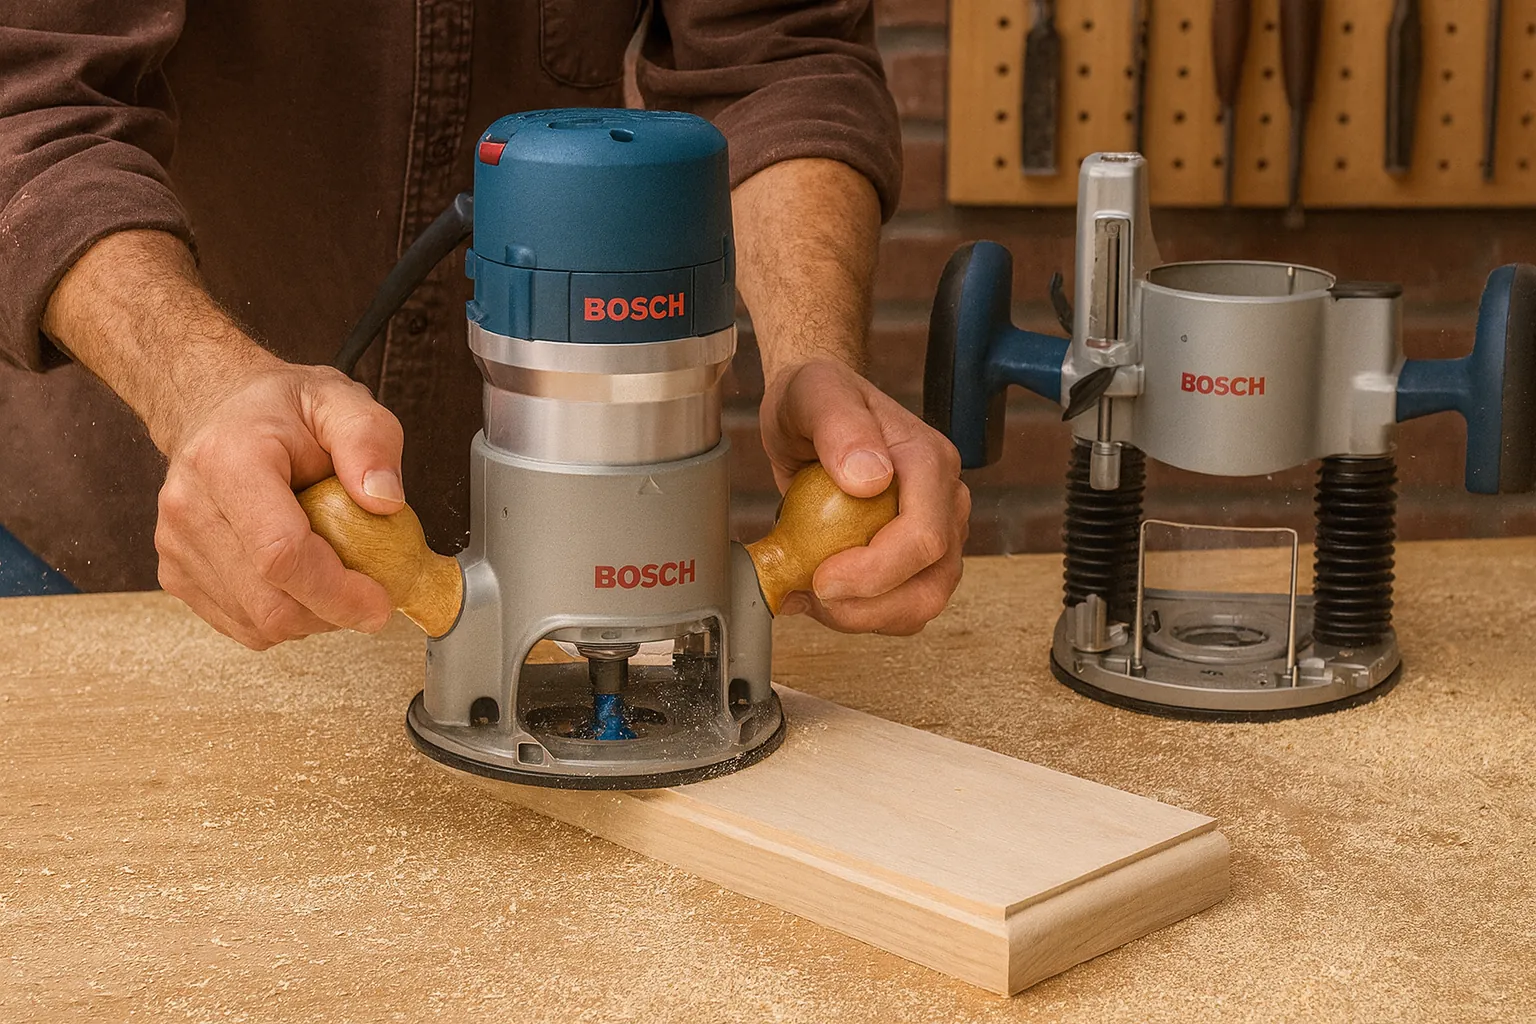
- Always use a high-quality down-cut bit to ensure clean, crisp edges on the inlay recess.
- Create a dedicated template for every inlay shape to ensure repetitive accuracy and consistent fit.
- Perform all routing in multiple shallow passes to reduce vibration and prevent burning the wood.
- Test your inlay fit on scrap material of the same species before routing the final workpiece.
- Use a plunge router with a fine depth adjustment knob to achieve tolerances within a fraction of a millimeter.
How to Use a Plunge Router for Wood Inlays
To successfully execute an inlay, you must first secure your workpiece firmly to the bench using clamps or double-sided tape. The plunge router is uniquely suited for this task because it allows you to start the cut while the bit is above the surface, preventing the “plunge mark” that occurs if you try to tilt a standard fixed-base router into the wood.
Once the router is positioned over the starting point of your inlay, lock the depth stop to your required measurement and slowly lower the spinning cutter.
Essential Tools for Success
You’ll need more than just a router to achieve professional results. A stable workspace and precise measurement tools are non-negotiable.
| Tool Name | Primary Purpose | Required Feature |
|---|---|---|
| Plunge Router | Material removal | Fine depth adjustment dial |
| Down-cut Router Bit | Clean edge cutting | Carbide-tipped for durability |
| MDF or Acrylic Template | Shape guidance | Smooth, sanded edges |
| Guide Bushing | Template interaction | Proper diameter for bit clearance |
| Depth Gauge | Measurement | Digital or vernier scale |
Selecting the Right Router Bits
The quality of your inlay recess depends heavily on the geometry of your bit. A down-cut spiral bit is the gold standard for inlays because it shears the wood fibers downward, preventing the frayed, splintered edges that often plague up-cut bits.
For smaller, delicate inlays, you may need a bit as small as 1/8 inch or even 1/16 inch. Always ensure your collet is clean and free of debris, as even minor runout in the bit will result in a sloppy fit that ruins the aesthetic of the piece.
Creating Precise Inlay Templates
Your inlay is only as accurate as the template you use to guide the router. Most woodworkers prefer using 1/4-inch MDF or clear acrylic for templates because they’re easy to shape and provide a stable surface for the guide bushing.
To ensure the inlay piece fits perfectly, remember that the router bit leaves a radius in the corners of your recess. You must either square these corners by hand using a sharp chisel or round the corners of your inlay material to match the radius of your router bit.
Setting the Plunge Depth
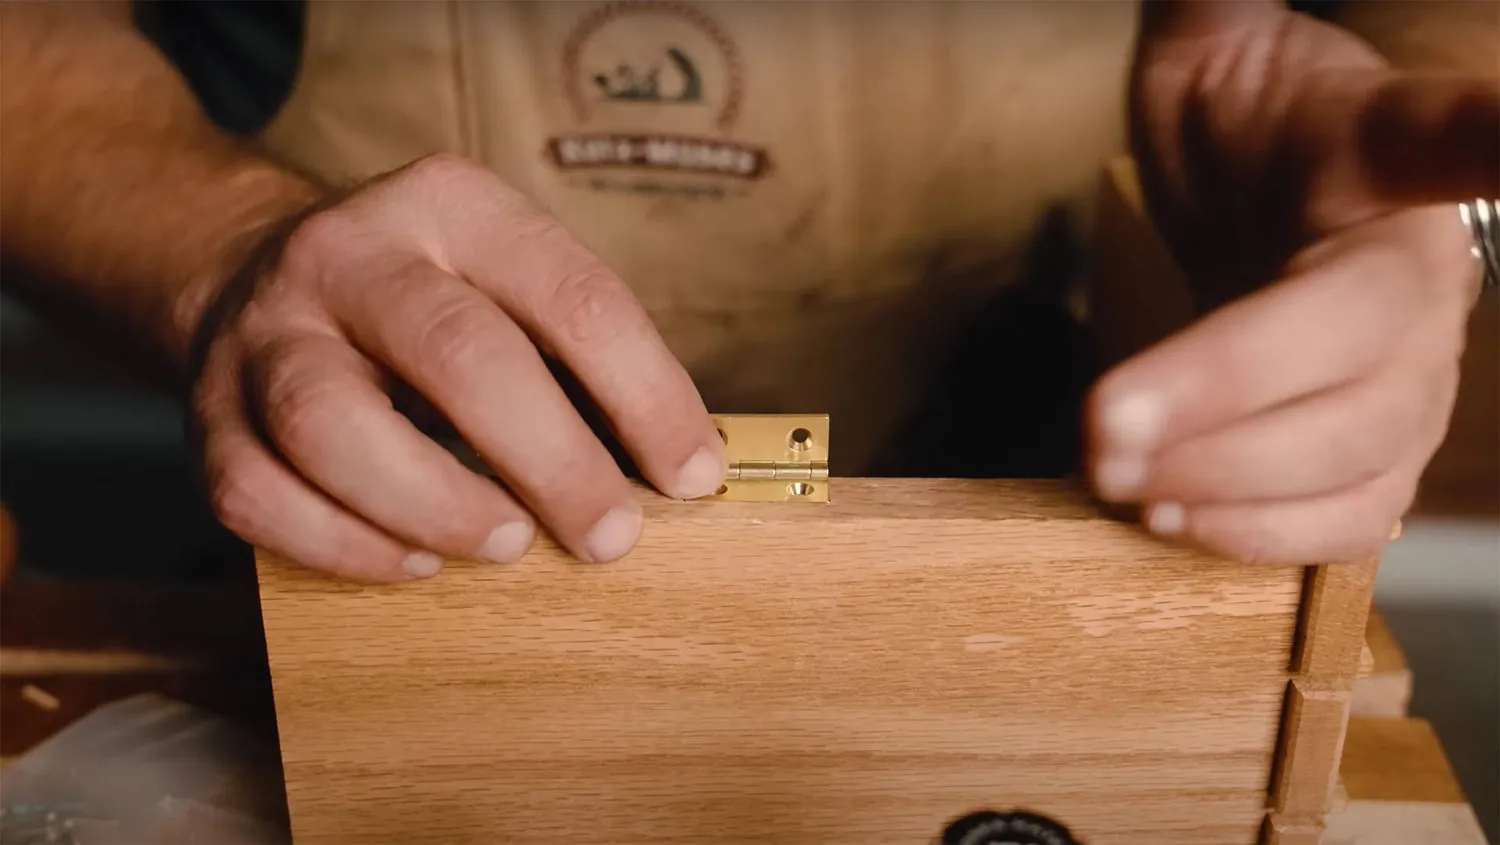
Accuracy is the foundation of a tight-fitting inlay. Start by setting your plunge depth on a piece of scrap wood identical to your final project. Use the American National Standards Institute safety guidelines for power tools to ensure you’re operating your equipment within recommended parameters.
After setting the depth stop, perform a test plunge. If the inlay sits too high, lower the depth stop by a small increment. If it sits too low, you have compromised the surface, and you’ll need to sand the surrounding area or start over.
Can You Use Freehand Routing?
While it’s theoretically possible to use a plunge router freehand for inlay work, it’s rarely recommended for beginners. Freehand routing lacks the consistency required for tight-fitting joints and often leads to wandering lines. Instead, use a fence or a template guide to maintain a straight path.
If you must route freehand, draw your pattern clearly on the wood and use a very small diameter bit, taking extremely light passes to minimize the risk of the router “grabbing” the wood and ruining the design.
Managing Dust and Visibility
Visibility is critical when working with inlays. A plunge router can quickly become covered in dust, obscuring your reference lines and template edges. Use a shop vacuum attachment or a dedicated dust collection shroud to keep the cutting area clear.
If your router doesn’t have built-in lights, consider using a small LED work light positioned at a low angle across the workpiece; this casts shadows that help you see the exact depth of the cut and any potential tear-out before it becomes a permanent mistake.
Troubleshooting Common Inlay Problems
Even experienced woodworkers encounter issues during the inlay process. If you notice your bit is burning the wood, your feed rate is likely too slow, or the bit is dull. If the inlay piece is loose, your guide bushing may be slightly too large for the bit, or you may have applied too much pressure against the template.
| Problem | Likely Cause | Suggested Fix |
|---|---|---|
| Burning edges | Dull bit / Low speed | Replace bit / Increase feed rate |
| Loose inlay fit | Excessive lateral pressure | Maintain light contact with template |
| Chipped wood grain | Incorrect bit direction | Switch to a down-cut bit |
| Uneven depth | Depth stop vibration | Tighten locking knob securely |
Preparing the Wood Surface
Before you begin routing, the surface of your workpiece must be perfectly flat. If the wood is cupped or bowed, the router will cut deeper in some areas and shallower in others, leading to an uneven inlay.
Use a hand plane or a thickness planer to ensure the board is uniform. Sand the surface to 220 grit before routing, as it’s much harder to sand the surface flat once the inlay is glued into place, especially if the inlay material is a different hardness than the base wood.
Why Use a Guide Bushing?
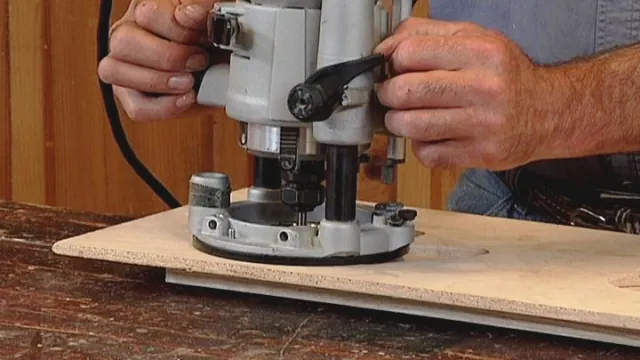
A guide bushing acts as the intermediary between your router and the template. When selecting a bushing, you must account for the offset—the distance between the outside edge of the bushing and the cutting edge of the bit. If you’re creating your own templates, you must calculate this offset to ensure the final recess matches the size of your inlay piece. Many professionals use a “bushing-to-bit” chart to keep these calculations consistent and avoid the frustration of a mismatched fit.
Frequently Asked Questions
What bit size is best for inlays?
The best bit size depends on the scale of your inlay. For small, intricate designs, a 1/8-inch or 1/4-inch down-cut spiral bit is ideal. These sizes allow for tight corner navigation while remaining rigid enough to prevent snapping during the plunge. Always choose the largest bit possible for the design to ensure maximum stability and durability throughout the cutting process.
How do I prevent tear-out?
Tear-out is best prevented by using a sharp, high-quality down-cut spiral bit. This bit geometry pushes the wood fibers into the surface rather than pulling them up. Additionally, scoring the outline of your inlay with a sharp marking knife before routing provides a clean line for the router bit to follow, which effectively severs the wood fibers before the bit can lift them.
Can I use a palm router?
Yes, you can use a palm plunge router for small-scale inlays. These tools are lightweight and easy to maneuver, making them excellent for delicate work. However, they lack the raw power and depth capacity of a full-sized plunge router. If your inlay requires deep recesses or large bits, you should opt for a full-sized router to ensure the motor doesn’t bog down under load.
How deep should the inlay be?
An inlay should typically be between 1/8 inch and 1/4 inch deep. This depth provides enough material for a secure bond and allows for future sanding or refinishing without wearing through the inlay. Always ensure the inlay material is slightly thicker than the recess, allowing you to sand it flush with the surface of the workpiece after the glue has fully cured.
Is a template necessary?
While you can technically route freehand, a template is highly recommended for any professional-looking result. Templates ensure that every recess is identical in shape and size, which is critical when matching an inlay piece to the hole. Without a template, achieving a consistent, tight-fitting seam between the inlay and the surrounding wood is significantly more difficult, even for highly skilled woodworkers with steady hands.
Conclusion
Focus on creating a test piece using the exact materials and bits you plan to use for your final project. This “practice run” reveals potential issues with your feed rate, bit sharpness, and depth settings without risking your primary workpiece. Once you have successfully completed a test inlay, proceed to your final project with confidence, taking your time to ensure a clean, precise fit.