How to Connect Track Saw Rails for Long, Straight Cuts
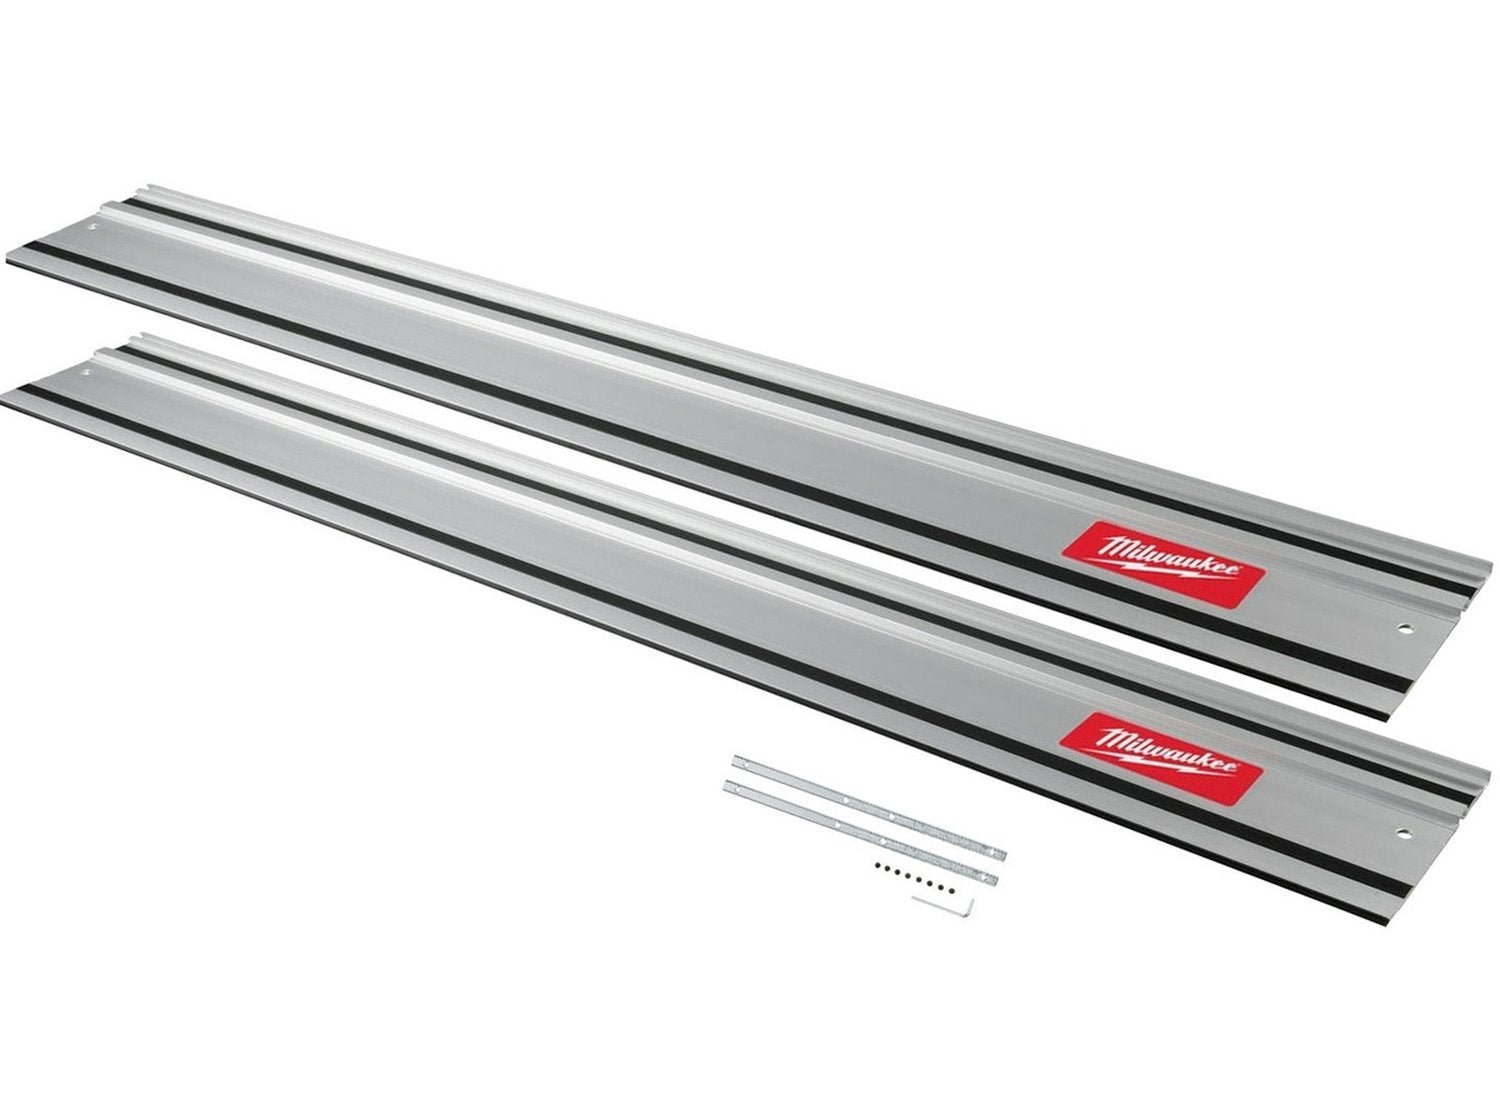
Connecting track saw rails for long, straight cuts requires a precise alignment process to ensure your saw glides seamlessly across the joint without catching or deviating. When you need to bridge multiple tracks to handle full-sheet materials or long timber, the goal is to create a single, continuous, and perfectly flat surface that mimics the behavior of a factory-length rail. This process involves the use of specialized connectors that bridge the gap between sections, locking them into a rigid line. By following a systematic approach to tensioning these connectors and verifying the straightness of the resulting assembly, you can achieve professional-grade accuracy in your workshop.
Key Takeaways
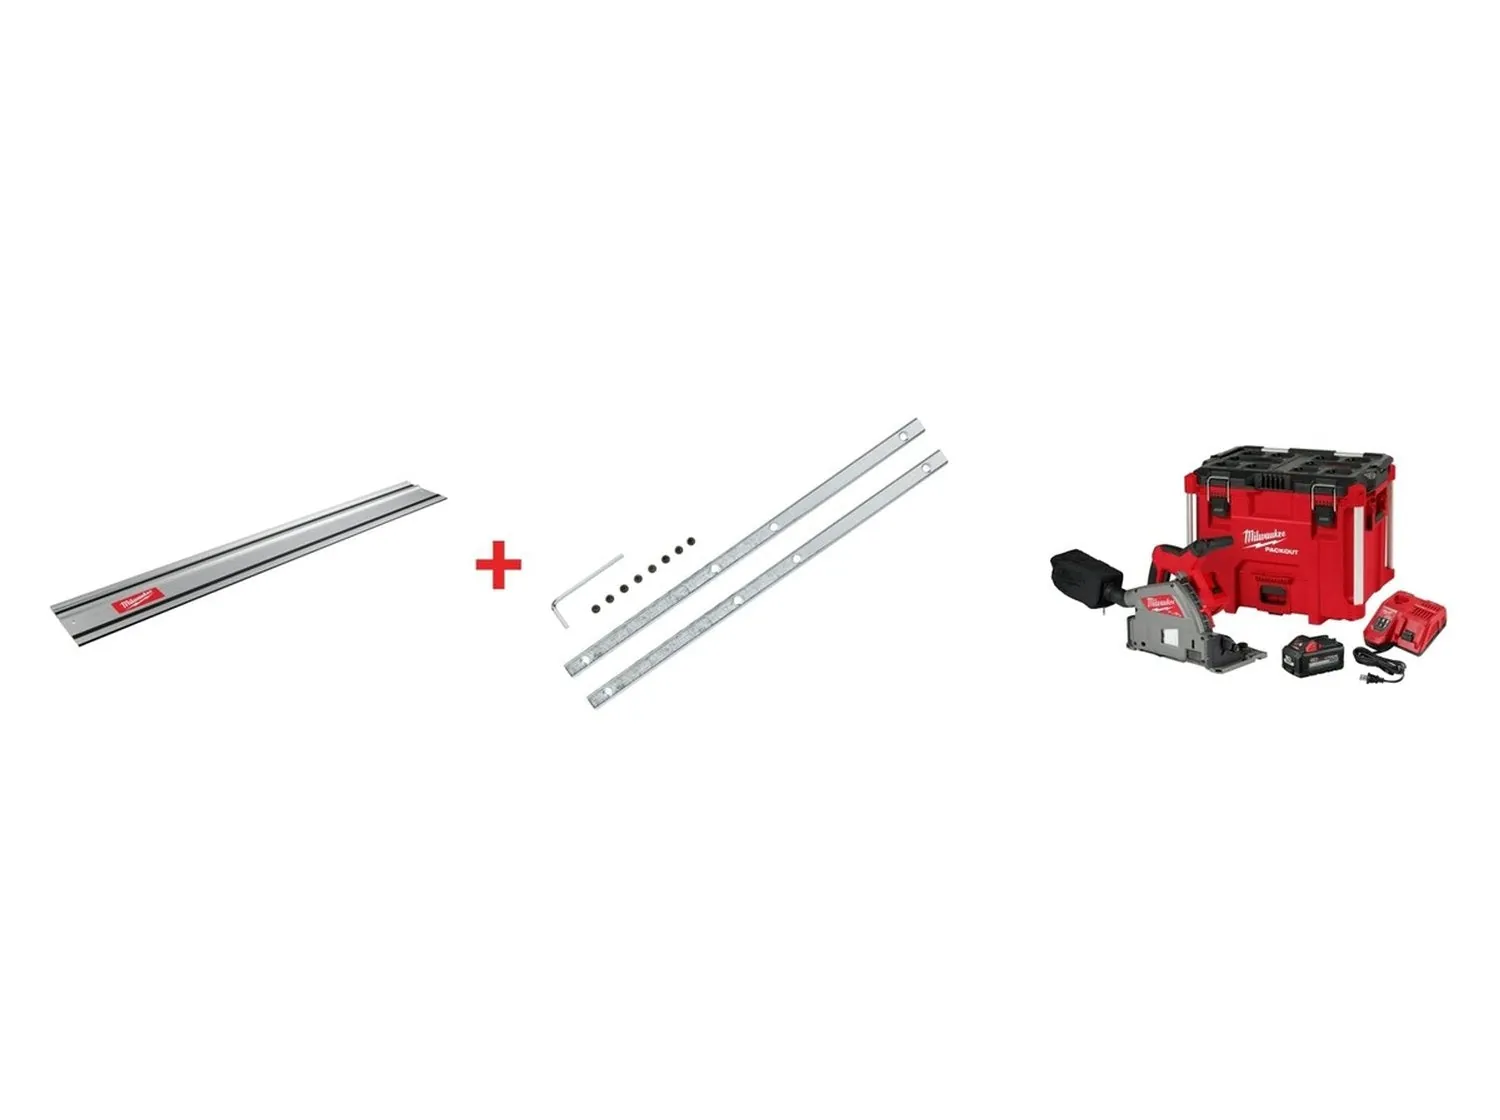
- Always use manufacturer-specific connectors to ensure compatibility with the internal T-slots of your track system.
- A long, rigid straightedge is essential for verifying that the joint is perfectly aligned before tightening the set screws.
- Stagger the rail connectors to distribute stress evenly across the joint, preventing weak points in the assembly.
- Clean the interior of the rail channels thoroughly to remove dust or debris that could impede the seating of the connector.
- Periodically check the alignment of the joined rails, as vibrations or temperature fluctuations can cause microscopic shifts over time.
Steps to Connect Track Saw Rails for Long Cuts
Connecting rails is a fundamental skill for woodworkers who frequently cut large panels. The process begins with the selection of the correct hardware, which is almost always proprietary to your specific rail brand. Whether you use Festool, Makita, or Bosch, the connection hardware is designed to slide into the underside channels.
Preparing the Rails and Connectors
Before you begin, ensure your workspace is flat and stable. Lay your rail sections on a pair of sawhorses or a large workbench. Use a microfiber cloth to wipe the inside of the extruded grooves.
Even a small amount of sawdust trapped inside the channel can prevent the connector bars from seating flush, which will introduce a slight bow into your rail system. You should also inspect the ends of the rails for burrs or damage that might prevent them from butting together tightly.
The Installation Process
- Slide the connector bars halfway into the channel of the first rail.
- Tighten the set screws on the first rail to lock the connectors in place.
- Slide the second rail onto the exposed half of the connectors.
- Bring the two rails together until they’re touching firmly.
- Tighten the set screws on the second rail while maintaining firm pressure between the segments.
| Component | Function | Material |
|---|---|---|
| Connector Bar | Bridges the rail gap | Hardened Steel |
| Set Screws | Applies clamping force | Alloy Steel |
| T-Slot Channel | Guides the connector | Extruded Aluminum |
| Alignment Tool | Verifies straightness | Precision Aluminum |
Can You Use Aftermarket Connectors?
While you might find third-party connectors online, it’s generally safer to stick with the hardware provided by the tool manufacturer. The tolerances inside track saw rails are extremely tight, often measured in hundredths of a millimeter.
Using a connector that’s slightly too thin or too thick can lead to a “hump” or a “dip” at the joint, which will cause your saw to chatter or veer off-path. If you must use a substitute, ensure it matches the exact profile of the OEM part.
How to Verify Rail Straightness
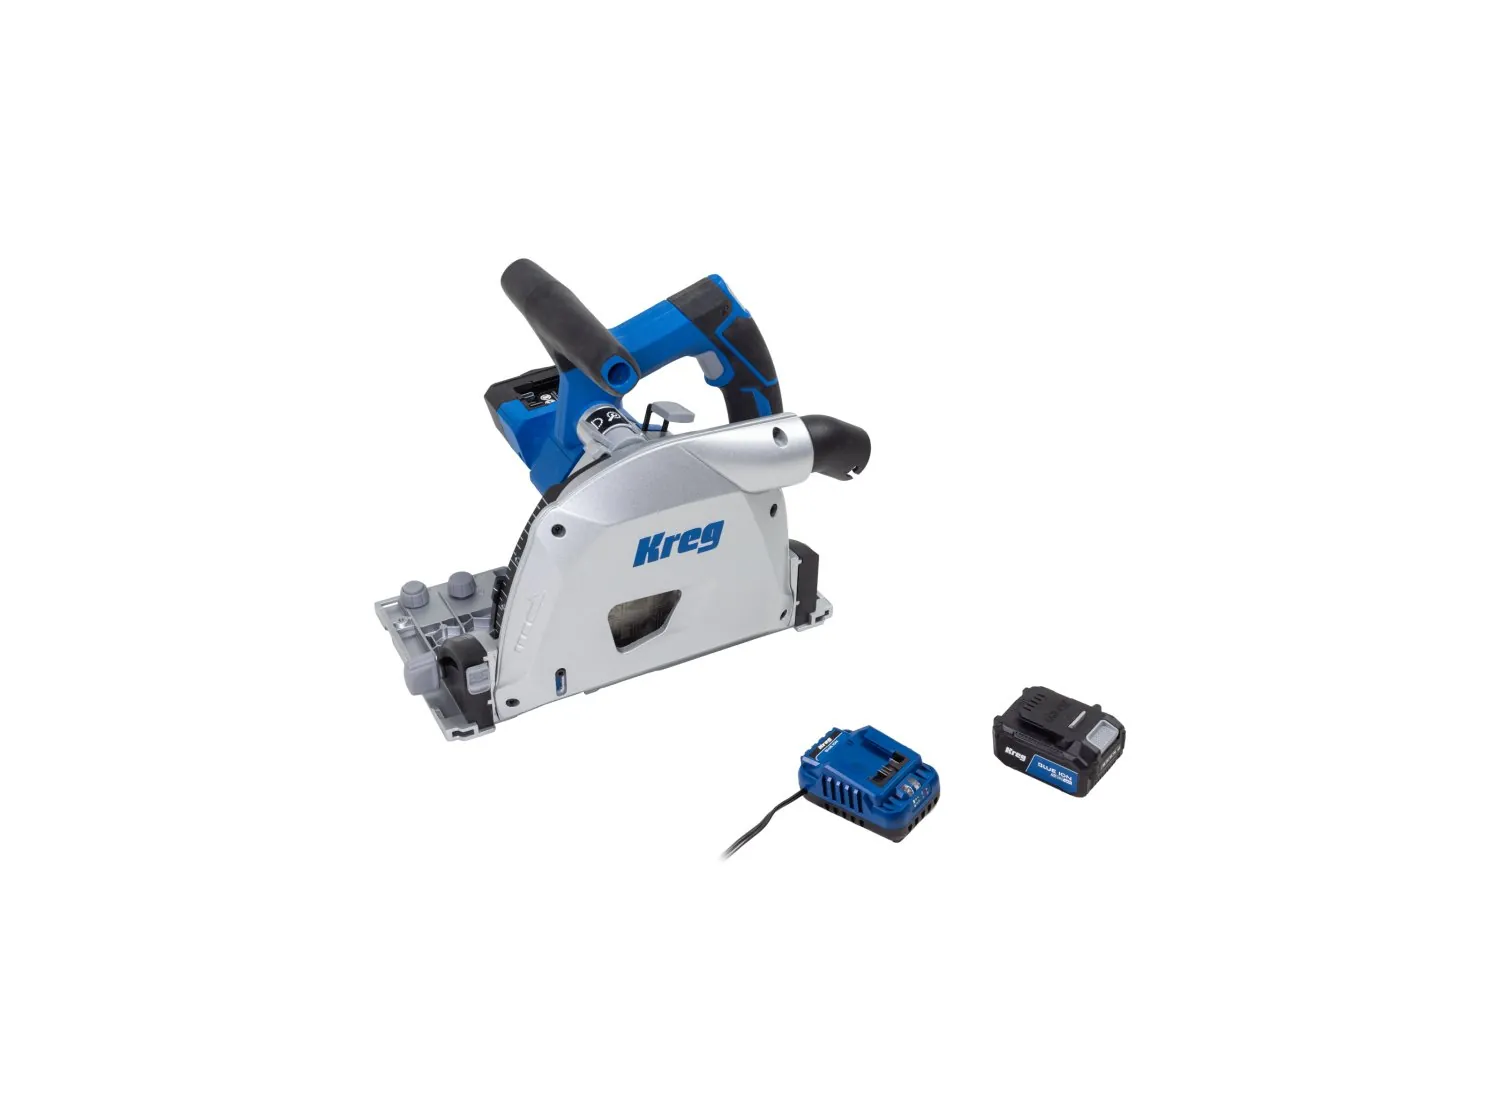
The most critical step after joining your rails is verifying that they’re perfectly straight. Even a deviation of a fraction of a degree can lead to a noticeable error over a long cut. Use a high-quality, long straightedge—preferably a precision-machined aluminum model—to check the alignment across the joint. Place the straightedge along the guide edge of the rail and look for any gaps between the tool and the rail.
Warning: Never attempt to force a rail joint by overtightening the set screws if the rails aren’t already sitting flush against each other, as this can permanently warp the aluminum profile.
Troubleshooting Common Joint Issues
If you notice your saw catching at the joint, the issue is almost always a misalignment. A small step between rails will act as a speed bump for the saw’s baseplate.
| Symptom | Probable Cause | Solution |
|---|---|---|
| Saw catches at joint | Uneven rail faces | Loosen screws and realign |
| Rail flexes at joint | Loose set screws | Tighten screws firmly |
| Cut isn’t straight | Debris in channel | Clean tracks thoroughly |
Pro Tip: Use a small amount of dry lubricant, such as a PTFE spray, inside the rail channels before sliding the connectors in. This prevents the metal from seizing and allows for smoother adjustments during the alignment phase.
Maintaining Your Rail System
Proper maintenance ensures that your rails remain straight for years. When not in use, store your rails flat or hang them vertically in a way that doesn’t put stress on the joints. If you frequently join and separate your rails, check the set screws for wear. Over time, the tips of these screws can become rounded, reducing their ability to grip the inside of the rail channel securely.
Essential Tools for Rail Setup
- Long Precision Straightedge (at least 48 inches)
- Hex key or screwdriver matched to the connector screws
- Microfiber cleaning cloth
- Dry lubricant spray
- Rubber mallet for gentle seating
Why Use Long Rails?
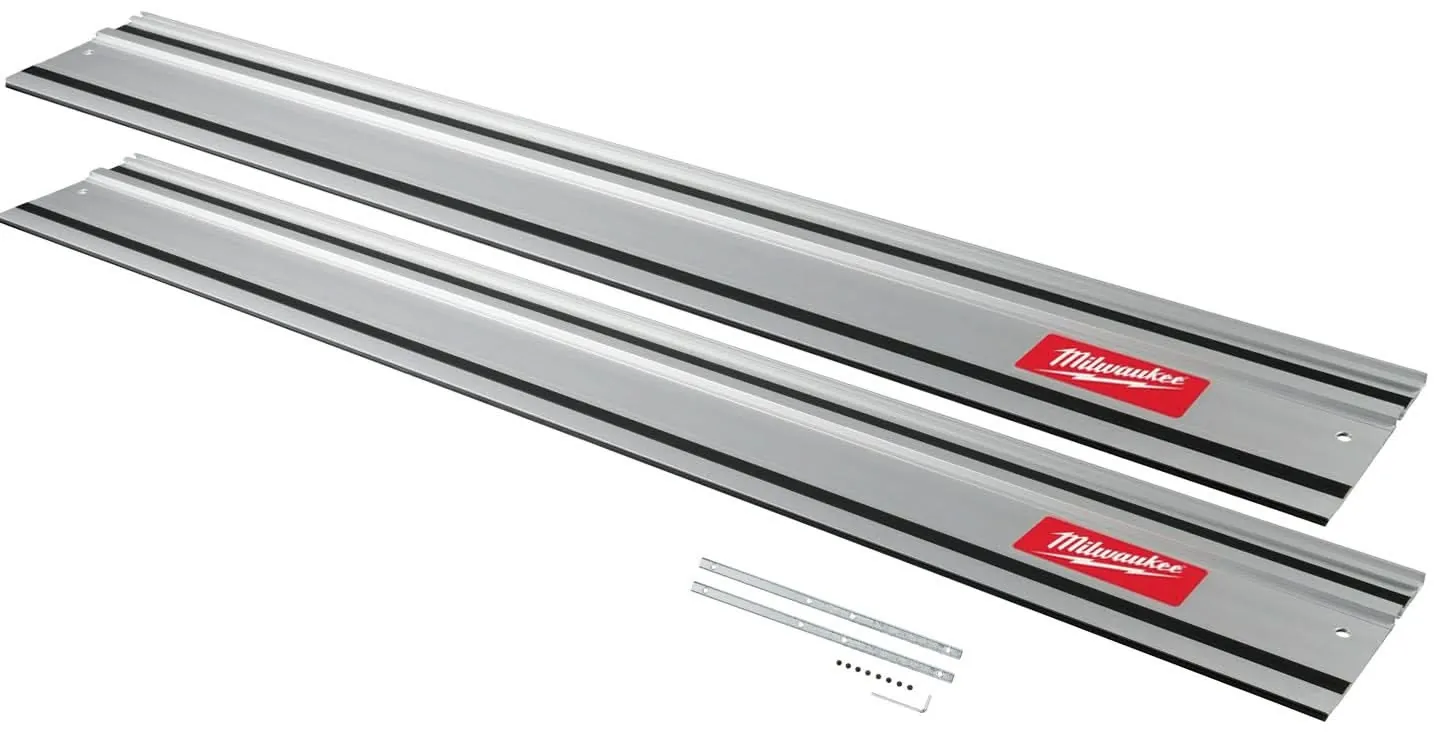
Using a single, long rail system is vastly superior to trying to guide a saw along multiple individual segments. When you connect rails properly, you eliminate the need to reposition the track mid-cut, which is a common source of error. By creating a unified rail, you ensure the saw maintains a consistent angle throughout the entire length of the workpiece.
Frequently Asked Questions
Do I need to re-align rails every time I use them?
If you store your rails while connected, you may not need to re-align them every single time. However, if you transport them or disassemble them for storage, you must perform the full alignment process before every use. Even a slight bump can shift the connection, leading to inaccurate cuts. Always verify the joint with a straightedge before starting a critical project.
What if my rails are different brands?
It’s rarely possible to successfully connect rails from different brands. Each manufacturer uses a unique extrusion profile and T-slot geometry. Even if the rails look similar, the internal channels will have different widths and depths, meaning the connectors won’t fit correctly. Attempting to mix and match brands usually results in a weak joint that poses a significant safety risk during operation.
How do I know if the rails are tight enough?
The rails should feel like a single piece of metal. If you can feel any movement or “give” at the joint when you apply pressure, the connection is too loose. Tighten the set screws until you feel firm resistance, but don’t use excessive force, as you might strip the threads or distort the aluminum. A solid, rigid connection is the mark of a well-set-up track system.
Can I connect more than two rails?
Yes, you can connect multiple rails to achieve very long lengths, such as for cutting full-length plywood sheets or long timber beams. The procedure remains the same: ensure every connection is perfectly aligned and that the total assembly is supported along its entire length. Keep in mind that a very long, joined rail assembly can be heavy and prone to sagging, so ensure your workpiece support is adequate.
Should I use thread locker on set screws?
Using a mild thread locker, such as a blue-grade compound, is a good idea if you leave your rails assembled for long periods. This prevents the screws from vibrating loose during transport or storage. Avoid using high-strength, permanent thread lockers, as you’ll eventually need to loosen these screws to disassemble the rails or perform maintenance on the connectors.
Conclusion
To ensure your future projects are as precise as possible, perform a test cut on a piece of scrap material after joining your rails. This allows you to verify that the saw glides smoothly over the joint without any resistance or deviation. Once you confirm the setup is stable, you can proceed with confidence, knowing your long, straight cuts will be perfectly accurate every single time.