Die Grinders for Porting: Tool Features, Burrs, and Setup Guide
Modifying engine components to a professional standard requires knowledge of die grinder features, burr selection, and proper setup. Getting started involves budgeting between $80 and $650 for either a basic pneumatic or professional electric system. This cost includes the power unit, a set of carbide burrs, and the safety gear needed to remove material from cylinder heads.
Key Takeaways
- Always match the grinder’s RPM rating to the size and material of the burr to prevent chatter and tool damage.
- Use a variable-speed control system to maintain consistent material removal rates when transitioning from roughing to finishing.
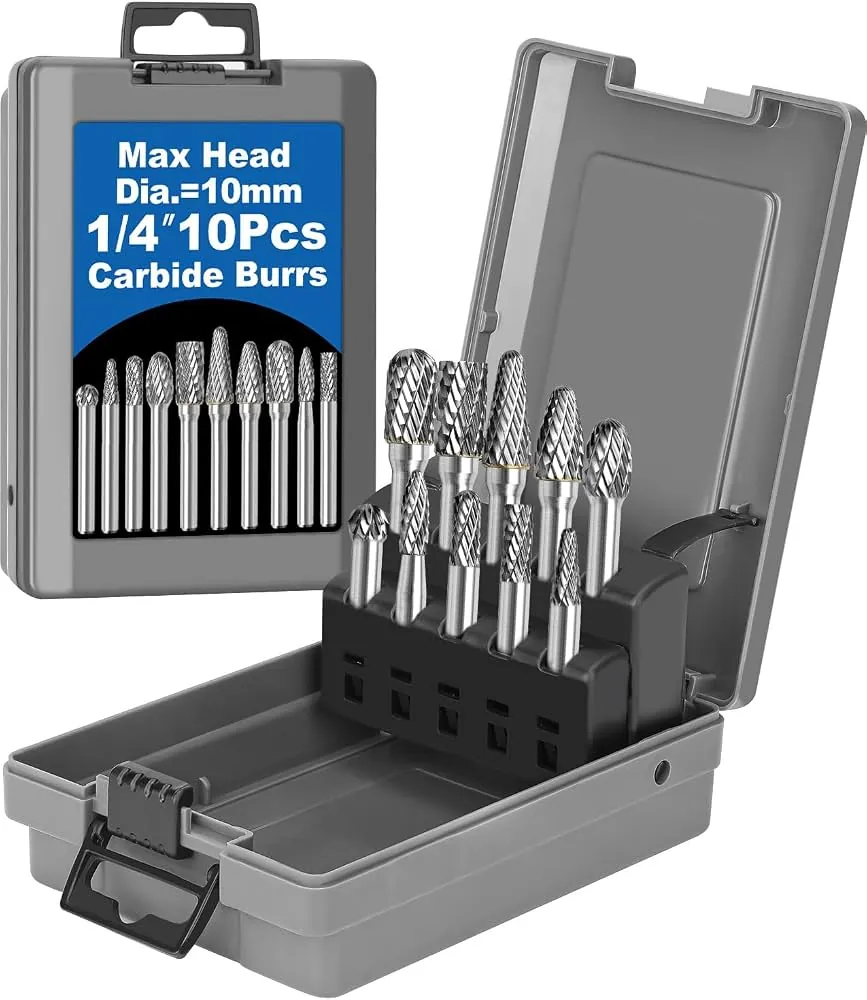
- Select the correct burr geometry—such as ball, flame, or cylinder—to match the specific curvature of the intake or exhaust runner.
- Prioritize air filtration and eye protection, as fine metal dust poses significant respiratory and ocular hazards during prolonged porting sessions.
- Ensure your air compressor provides sufficient cubic feet per minute (CFM) to sustain the grinder under load without stalling.
Essential Grinder Features
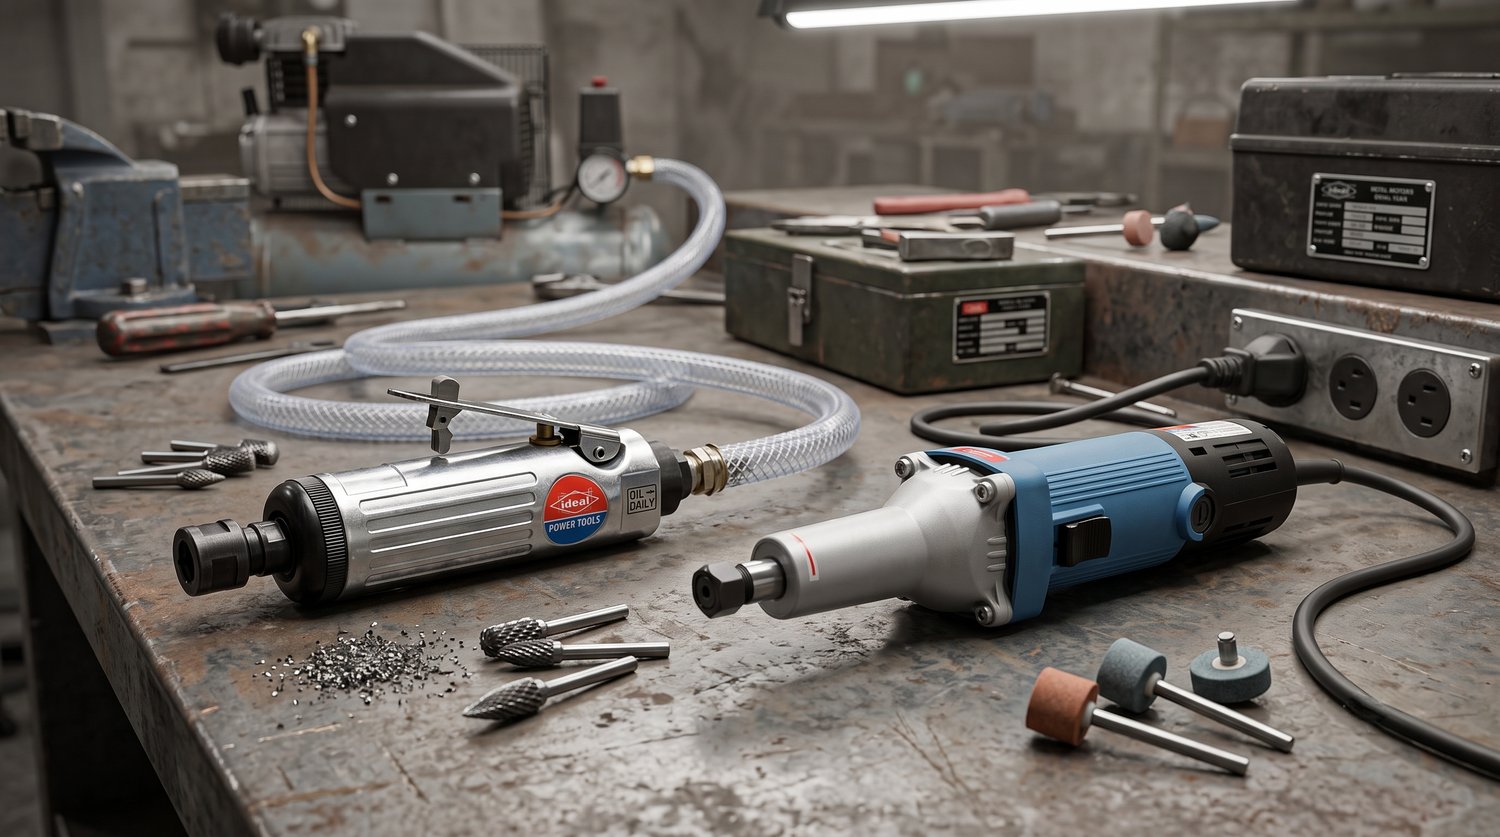
The primary tool for this work is a high-speed pneumatic die grinder, typically operating between 18,000 and 25,000 RPM. For precision porting, choose a straight-shaft grinder for long, straight intake runners, or a 90-degree angle grinder for accessing tight combustion chamber corners.
The collet size is critical; most professionals prefer a 1/4-inch collet for heavy material removal, though 1/8-inch collets are often required for delicate finishing work with smaller burrs. Look for tools with an ergonomic composite housing to reduce vibration transfer to your hands, which helps prevent fatigue during long porting sessions.
Selecting the Right Burrs
Carbide burrs come in various shapes and cut patterns, each serving a distinct purpose in the porting process. A “double-cut” burr is the industry standard, as it produces smaller chips and provides better control than a single-cut burr. The shape of the burr dictates how well it navigates the port geometry; for example, a tree-shaped burr is excellent for blending valve seats, while a ball-nose burr is ideal for smoothing out casting flash in tight areas.
| Burr Shape | Best Application | Material Compatibility |
|---|---|---|
| Cylinder | Straight port walls | Cast Iron / Aluminum |
| Ball Nose | Combustion chamber blending | Cast Iron / Aluminum |
| Flame / Tree | Valve bowl transitions | Cast Iron / Aluminum |
| Oval | Smoothing curved surfaces | Aluminum only |
Air Supply and Setup
Pneumatic grinders are power-hungry devices that require a robust air supply. If your compressor can’t maintain the required pressure, you’ll experience a significant drop in torque, leading to uneven cuts and “grabbing.”
Use a high-flow regulator and a dedicated moisture trap to ensure clean, dry air reaches the tool, as moisture can corrode the internal vanes of the motor. Always verify your setup against the Occupational Safety and Health Administration guidelines regarding the safe operation of pneumatic tools to prevent catastrophic hose failure or accidental tool activation.
How to Choose Porting Burrs?
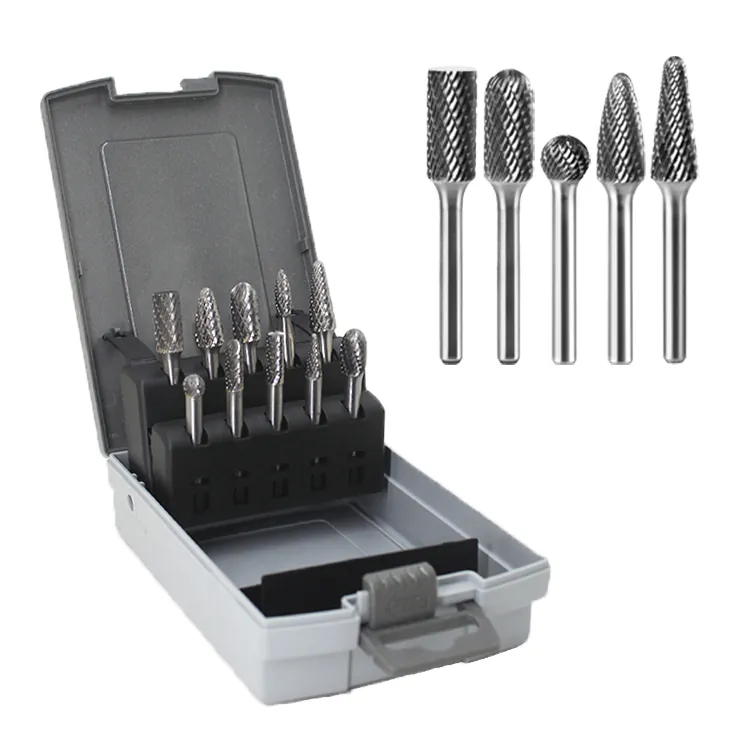
When selecting burrs, prioritize tungsten carbide construction for longevity. Steel burrs will dull quickly on hard cast iron, leading to dangerous tool vibrations. For aluminum, choose burrs with a “coarse” or “aluminum-cut” flute pattern, which prevents the soft metal from clogging the flutes. If the burr clogs with aluminum, it will lose its cutting edge and begin to burnish the metal rather than remove it, creating heat that can warp the cylinder head surface.
Managing Tool Vibration
Vibration is the enemy of precision. If your grinder feels unstable, check the collet for run-out and ensure the burr shank is fully seated. High-quality grinders feature precision-balanced spindles that minimize vibration, whereas cheaper units often introduce harmonics that make smooth porting impossible. If you feel excessive stinging in your hands, take a break; prolonged exposure to vibration can lead to nerve damage over time.
Safety Gear Requirements
Porting creates a massive amount of fine, metallic particulate matter that’s hazardous if inhaled. A standard dust mask is insufficient; you must use a NIOSH-approved respirator with P100-rated filters. Additionally, wear impact-rated safety goggles or a full-face shield, as carbide burrs are brittle and can shatter if they strike a hardened valve seat or if they’re dropped while spinning.
Troubleshooting Common Issues
| Issue | Likely Cause | Fix |
|---|---|---|
| Tool stalling under load | Insufficient CFM | Increase air tank capacity |
| Burr “grabbing” the metal | Excessive pressure | Use lighter, steady touch |
| Excessive chatter/vibration | Worn collet or bent shank | Replace collet or burr |
| Aluminum clogging flutes | Wrong cut type | Switch to aluminum-cut burr |
Cleaning and Maintenance
After each porting session, clean the grinder with compressed air and apply a drop of high-quality pneumatic tool oil to the air inlet. This keeps the internal motor lubricated and prevents rust from forming inside the housing. If you notice the collet isn’t tightening properly, inspect the threads for grit and debris; a clean, well-maintained tool will last for hundreds of hours of modification work, whereas a neglected tool will fail within a few projects.
What is the Best Speed?
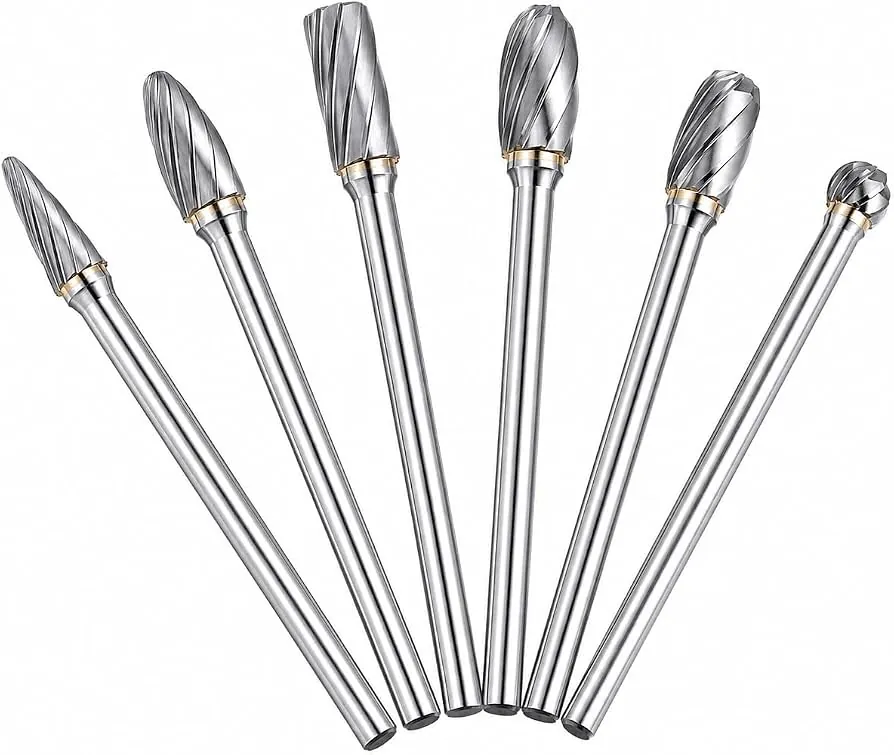
The ideal speed depends on the burr diameter. A general rule of thumb is that larger burrs require lower RPMs, while smaller burrs can be run at the maximum speed of your tool. Running a large burr at 25,000 RPM creates excessive heat, which can soften the carbide and cause it to break. Always consult the manufacturer’s chart for your specific burr size to find the recommended surface speed for the material you’re cutting.
Related guides
- Best Cordless Die Grinders: What to Compare Before You Buy
- 4.5-Inch vs. 5-Inch Angle Grinder: What’s the Difference?
- 10 Best Die Grinders for Metalworking, Auto Repair, and Shop Use
Frequently Asked Questions
Can I use a drill for porting?
No, a standard hand drill isn’t suitable for porting. Drills operate at much lower RPMs than die grinders, which prevents the carbide burr from actually cutting the material. Instead of removing metal, a drill will cause the burr to chatter, mar the surface of the port, and likely damage the drill motor due to the side-loading forces that occur during the grinding process.
Is porting cast iron harder?
Yes, cast iron is significantly harder than aluminum and requires more patience. You should use a slower, more deliberate grinding motion and allow the burr to do the work without forcing it. Cast iron also produces more dust, so your respiratory protection must be top-tier, and you should ensure that the work area is well-ventilated to keep the fine iron dust from settling in your lungs.
How do I prevent port damage?
To prevent accidental damage to valve seats or machined surfaces, use masking tape or specialized metal shims to cover sensitive areas. If your burr slips, these protective layers will absorb the impact. Always maintain a firm grip on the tool and keep your movements fluid. Avoid stopping the burr while it’s in contact with the metal, as this creates deep gouges that are difficult to fix.
What is the purpose of porting?
Porting is designed to optimize the airflow through the intake and exhaust runners of a cylinder head. By smoothing out casting imperfections, removing obstructions like valve guides, and reshaping the bowl area, you can increase the volumetric efficiency of the engine. This allows the engine to breathe better at high RPMs, resulting in improved power output and better throttle response throughout the power band.
How long does porting take?
Porting a set of cylinder heads is a time-intensive process that can take anywhere from 10 to 40 hours of labor for a beginner. The time required depends on the complexity of the head, the amount of material you intend to remove, and your level of experience. Don’t rush the process; precision is far more important than speed when trying to achieve symmetrical flow across all cylinders.
Conclusion
Mastering these techniques requires patience and a steady hand, but the results in engine performance are well worth the effort. Start by practicing on a scrap cylinder head to develop your muscle memory and understand how the burr reacts to different angles and pressures. Once you feel confident, move to your primary components, keeping your workspace clean and your safety gear securely fastened at all times.