How to Use a Wood Router: A Beginner’s Step-by-Step Guide
Mastering a wood router allows you to transform raw boards into finished furniture by cutting precise grooves, edges, or patterns. Beginners often start with a plunge router because it offers the most control for various tasks. This guide covers the essential safety habits, setup procedures, and cutting techniques required to work accurately.
Understanding the Wood Router

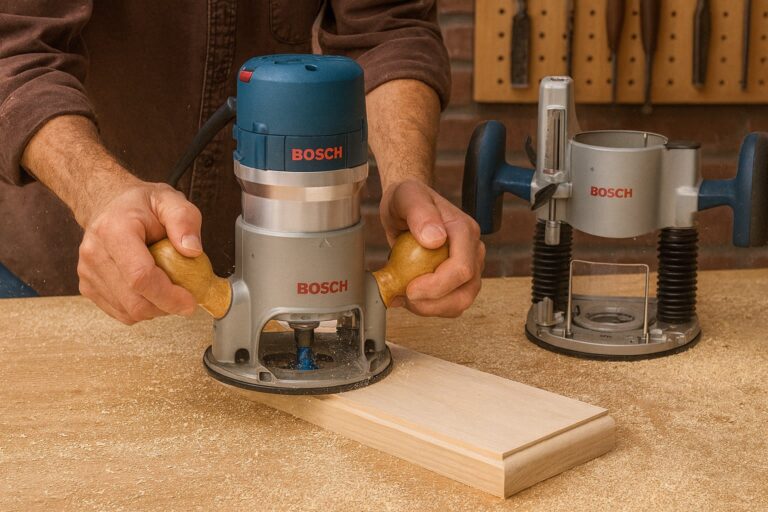
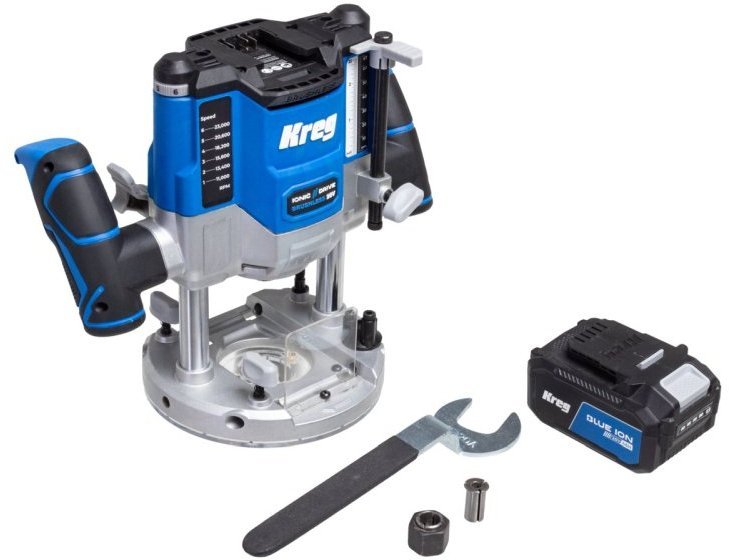
A wood router is a high-speed power tool that spins a cutter, called a bit, at thousands of rotations per minute to shape or hollow out wood. It’s used for decorative edges, joining boards, or carving designs into flat surfaces. The tool consists of a motor, a base, and a collet that holds the bit.
People often assume you can push the tool as hard as you want to speed up the work. In reality, the router should move at a steady, controlled pace to prevent burning the wood or causing the tool to kick back. If you’re new to the tool, practice on scrap wood before moving to your final project.
Basic Wood Router Operation
- Unplug the router before changing any bits to prevent accidental activation.
- Insert the bit into the collet until it bottoms out, then pull it back approximately 1/8 inch to ensure it isn’t bottomed out against the motor shaft, then tighten firmly with the provided wrenches.
- Adjust the depth of the cut based on your project needs, usually removing no more than 1/4 inch of material per pass.
- Set the speed dial; use high speeds for small bits and lower speeds for large diameter bits to prevent overheating.
- Secure your workpiece to a workbench with clamps so it can’t move during the cut.
- Hold the router with both hands, keeping your body stable and your feet firm on the ground.
- Turn the router on, let it reach full speed, and move it against the rotation of the bit to maintain control.
- Switch off the tool and wait for the bit to stop spinning completely before you lift it from the wood.
The most important judgement call is the speed of your movement. If you move too slowly, the bit generates friction and burns the wood; if you move too fast, the bit will chatter and leave a rough, uneven edge. If you need advanced joinery or complex template work, consult a local woodworking class or professional workshop, as these tasks require specific jigs that carry higher risks.
Key Router Settings and Usage
| Situation | What to use | How long | What to watch for |
|---|---|---|---|
| Edge profiling | Round-over bit | Constant speed | Grain direction |
| Cutting grooves | Straight bit | Multiple passes | Bit temperature |
| Pattern routing | Flush-trim bit | Steady pressure | Template movement |
| Wide rabbets | Rabbeting bit | Two passes | Depth setting |
| Decorative inlay | V-groove bit | Slow speed | Bit sharpness |
Always check the manufacturer’s manual for your specific model to identify the correct collet size. If your router uses a 1/4 inch collet, you can’t use 1/2 inch shank bits.
Achieving Professional Results
Experienced woodworkers focus on the direction of the cut. Always move the router so the bit’s rotation pulls the tool into the wood, not away from it. This prevents the tool from “climbing” or pulling itself out of your hands, which often happens when beginners move the router in the wrong direction.
Preparation is equally important. Before you touch your main board, set up a fence or a guide to keep your path straight. If you’re routing an edge, use a bearing-guided bit so the bearing rides against the wood edge, ensuring a consistent depth throughout the entire length of the board.
Common Router Issues and Fixes

| What you notice | What it usually means | What to do first |
|---|---|---|
| Black burn marks | Moving too slowly | Increase feed rate |
| Rough, jagged edges | Dull bit | Replace the bit |
| Tool chatter | Loose workpiece | Re-clamp the wood |
| Uneven depth | Debris under base | Clean the surface |
Burn marks often signal that you’re lingering too long in one spot. If the wood smells like a campfire, you’re moving too slowly. Increase your feed rate immediately to prevent permanent scorching.
If you hear a high-pitched whine or feel the tool vibrating excessively, check your bit. A dull edge forces the motor to work harder and ruins the finish. Replace it before you burn out your router’s bearings.
When the cut depth varies across the board, check for trapped sawdust. Even a thin layer of debris under the base plate tilts the router. If the base feels unstable, clear the workspace before starting your next pass. Always secure your workpiece with at least two clamps to prevent the wood from shifting during the cut.
Important Safety Regulations
Workplace safety for wood routers is governed by standards that protect you from flying debris and high-speed moving parts. Always ensure your workspace is free of cords and clutter, as a snagged cable can pull the tool off your line of sight.
Never wear loose clothing or jewelry, as these can get caught in the rotating bit. If you’re working in a closed room, use a dust collection system to keep the air clear. If you feel the tool vibrating unusually, turn it off immediately and check that the bit is tightened and the collet isn’t damaged.
Maintaining Your Router
After each use, unplug the tool and use compressed air or a soft brush to remove sawdust from the motor vents and the collet. Store your bits in a dry place to prevent rust, which can weaken the metal.
A dull bit is a major safety risk, so inspect your cutters for chips or discoloration regularly. If the bit leaves charred marks even at a fast speed, it’s time to have it sharpened or replaced. Keep the base plate clean so it glides smoothly across the wood surface without catching on resin or debris.
When to Seek Alternatives
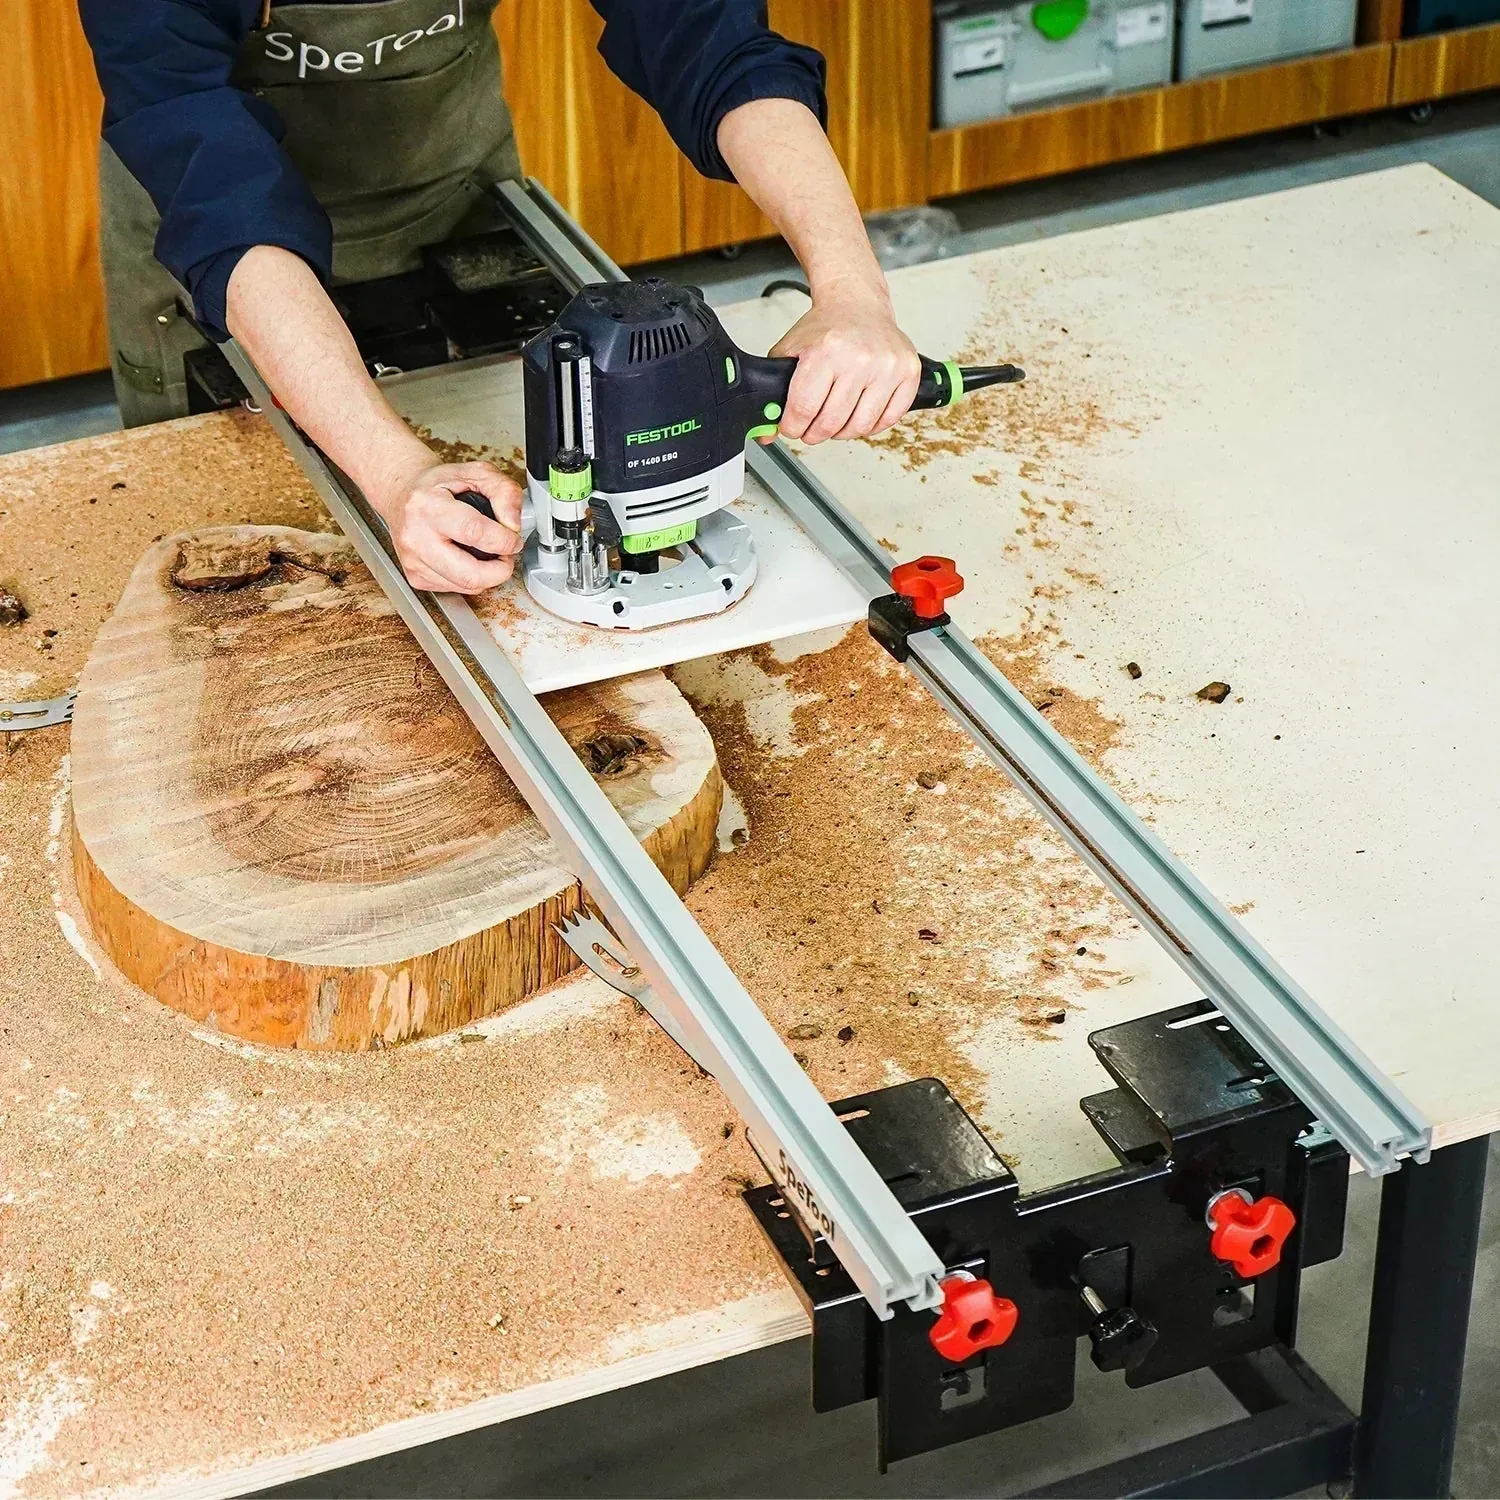
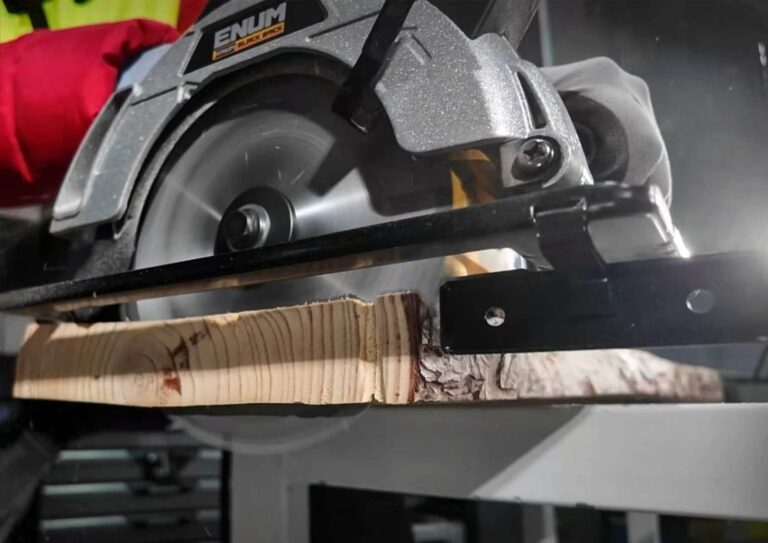
If you need to make very long, straight cuts across a large table, a table saw or a circular saw with a guide is often a better choice. Routers are best for detail work and edge profiles, but they aren’t designed for structural lumber ripping. If you find yourself struggling to keep the router flat on the surface, use a wider base plate or a router table to improve your stability and accuracy.
Frequently Asked Questions
Is it safe to use a router without a dust mask?
No, you should always wear a N95-rated dust mask because routing creates fine particles that can irritate your lungs. Always ensure your workspace has good ventilation or a vacuum system attached to the router port while you’re working.
How deep can I cut in one pass?
You should cut no more than 1/4 inch of material in a single pass to avoid burning the wood. If you need a deeper groove, make multiple passes, increasing the depth slightly after each full pass along the length of the board.
Can I use a router on metal?
No, a wood router is designed specifically for wood and wood composites. Using it on metal can break the bit, damage the motor, or cause dangerous flying debris that may lead to serious injury to you or others nearby.
How long does a router bit last?
It depends on the hardness of the wood and the frequency of use, but you’ll notice the bit dulling when it requires more force to push. Inspect the cutting edges for dullness or chips after every major project you complete.
Why does my router bit burn the wood?
Wood burns when the feed rate is too slow or the cutting bit is dull. Increase your movement speed across the board to prevent heat buildup. If scorching persists, replace the bit with a fresh, sharp one to ensure a clean, professional cut.
Conclusion
Once you’ve finished your first project, don’t be afraid to experiment with different bits to see what shapes they create. You’ll find that your confidence grows every time you turn the tool on. Keep practicing on scrap wood until you’re ready to tackle that dream table you’ve been planning to build.