Why Your Plunge Router Burns Wood and How to Prevent It
Your plunge router leaves dark, scorched marks on wood because of excessive friction between the cutting edge and the workpiece, which occurs when the bit moves too slowly, dulls over time, or encounters improper feed rates. When the cutting edge loses its sharpness, it stops slicing through wood fibers and begins rubbing against them instead, generating intense heat that quickly carbonizes the surface of your project. By adjusting your technique, selecting the right equipment, and maintaining your tools, you can ensure smooth, burn-free results in every woodworking project you undertake.
Key Takeaways
- Always keep your router bits sharp; dull blades are the primary cause of friction and heat buildup.
- Match your router’s spindle speed to the diameter of the bit to prevent burning.
- Avoid taking too much material in a single pass; use multiple shallow passes instead.
- Maintain a consistent, steady feed rate to ensure the bit is always cutting, not rubbing.
- Clean your bits regularly to remove resin and pitch buildup that increases friction.
Why Your Plunge Router Burns Wood
The fundamental reason for wood burning is the rapid accumulation of heat that exceeds the ignition point of the wood fibers. This usually happens when the cutting edge of the bit isn’t effectively removing material.
When the bit spins at high revolutions per minute (RPM) but the feed rate—the speed at which you push the router—is too slow, the bit stays in one spot for too long. This creates a feedback loop where the friction generates heat, which can dull the blade further, leading to even more heat.
Understanding the relationship between the bit diameter and the spindle speed is critical. Larger bits have a higher peripheral speed at the edge than smaller bits, even when set to the same RPM.
If you run a large-diameter bit at maximum speed, the tips are moving far too fast for the wood to dissipate the heat. Furthermore, if your wood has a high moisture content or a high resin content, such as pine or cherry, the material is more susceptible to scorching when heat builds up.
Correcting Your Feed Rate
A consistent feed rate is the single most important variable under your direct control. If you move too slowly, the bit acts like a sanding tool, rubbing the wood rather than cutting it. If you move too quickly, you risk tear-out or damaging the motor, but you’re rarely the cause of burning. Aim for a steady, rhythmic motion. If you feel the router bogging down, you’re likely pushing too hard; if you see smoke or dark marks, you’re likely stalling.
Practice your feed rate on scrap pieces of the same species as your project. You should listen for a consistent, high-pitched “whirring” sound. If the sound drops in pitch or you smell burning, stop immediately.
The Role of Bit Sharpness
Dull bits are the silent enemy of a clean finish. As a bit cuts, it wears down at the microscopic level. Once the edge is blunted, it no longer slices; it smashes. This creates excessive friction that turns wood fibers into charcoal almost instantly. If you find yourself having to push harder than usual to get the router through the wood, your bit is likely dull.
| Bit Condition | Impact on Wood | Recommended Action |
|---|---|---|
| Sharp | Clean, smooth cut | Continue use |
| Slightly Dull | Minor surface fuzz | Light honing |
| Heavily Dull | Dark, charred marks | Professional sharpening or replacement |
| Resin-Caked | Uneven surface, burning | Chemical cleaning |
Pro Tip: Test the sharpness of your router bit by gently touching the edge against a piece of soft plastic or a fingernail; it should bite into the surface immediately without requiring pressure. If it slides, it’s time for a sharpening service.
Managing Router Bit Speed
Most modern plunge routers include a variable speed dial. While it’s tempting to leave the router on its highest setting for every task, this is often the wrong approach. Large bits, particularly those with a diameter greater than one inch, should be run at lower speeds to prevent burning and to reduce vibration. Small bits, such as trim bits or thin straight bits, require higher speeds to achieve a clean cut.
Speed Guidelines
- Large Bits (1″ – 3″): 10,000 to 14,000 RPM.
- Medium Bits (0.5″ – 1″): 14,000 to 18,000 RPM.
- Small Bits (< 0.5″): 18,000 to 24,000 RPM.
Always check the manufacturer’s documentation for your specific bit, as some carbide-tipped bits have strict speed limitations. Running a bit faster than its rated speed can lead to catastrophic bit failure.
Avoiding Deep Single Passes
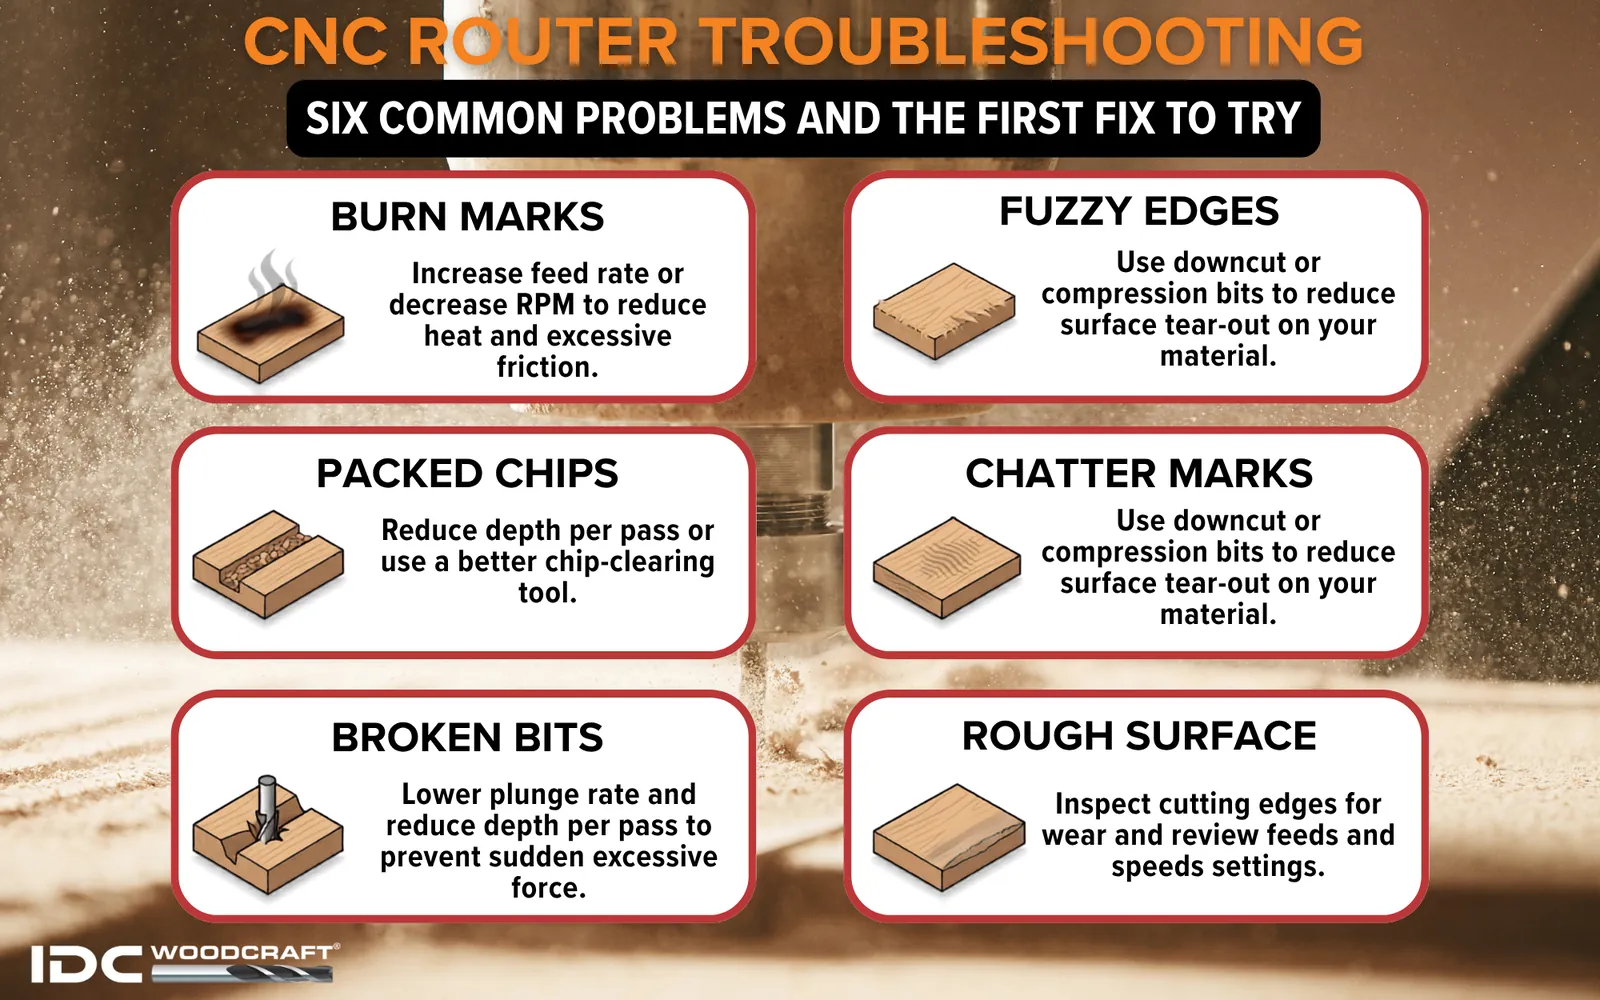
Taking too much material at once is a common mistake that leads to burning. If you need to remove a deep groove, don’t attempt to reach the final depth in one pass. Instead, perform multiple shallow passes. By taking off 1/8 inch or 1/4 inch at a time, you allow the router to clear the waste material efficiently.
When you remove too much material, the chips have nowhere to go. They get trapped between the bit and the wood, creating a massive amount of friction. This is especially true when routing stopped dados or deep mortises where the wood has no way to escape the path of the bit.
Cleaning Resin and Pitch
Many woods, especially softwoods like pine, fir, and spruce, contain high levels of natural resin. During the routing process, this resin heats up and sticks to the flutes of the router bit. This buildup acts as an insulator and creates a rough surface on the bit, which increases friction and leads to burning.
You should clean your bits after every project, or more frequently if you’re working with resinous wood. Use a dedicated router bit cleaner or a household degreaser. Soak the bit for a few minutes, then use a brass-bristled brush to gently scrub the resin away. Ensure the bit is completely dry before installing it back into your router collet.
Equipment and Setup Factors
Beyond technique, the quality and setup of your equipment play a role. A loose collet can allow the bit to slip or vibrate, which creates uneven cutting and heat. Ensure that the collet is clean and that you’re inserting the bit shank deep enough—usually, it should be inserted until it bottoms out, then pulled back about 1/8 inch before tightening.
- Router Collets: Inspect for debris or rust.
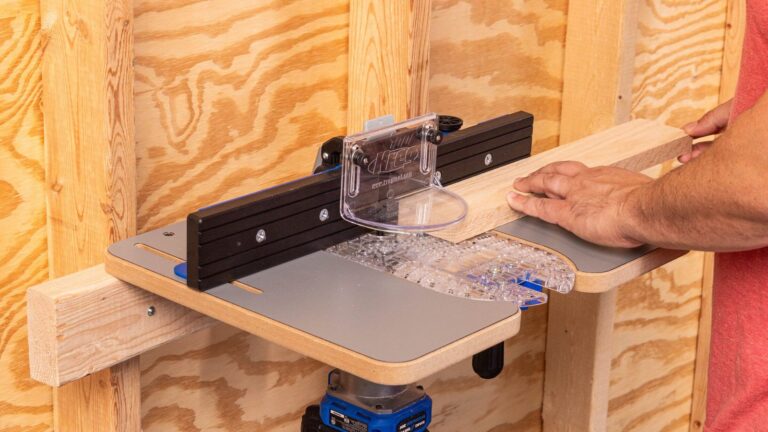
- Router Table Alignment: Ensure the fence is perfectly square to the bit.
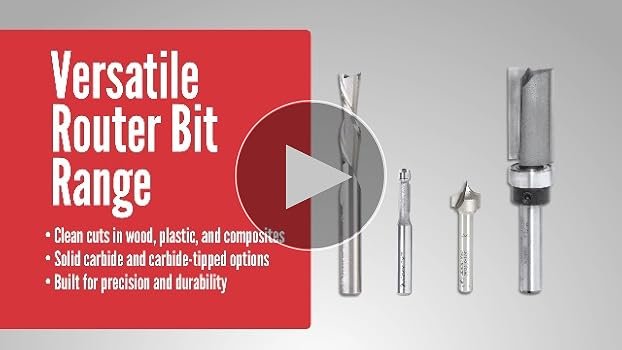
- Bit Quality: Use high-grade carbide bits rather than cheap steel alternatives.
- Power Supply: Ensure your power cord isn’t too thin, as voltage drops can cause the motor to lose torque.
How to Prevent Burning During Routing
Preventing burn marks requires a systematic approach to your workflow. Follow this checklist to ensure your next cut is clean:
- Check the Bit: Is it sharp? Is it clean of resin?
- Adjust the Speed: Have you set the RPM based on the bit diameter?
- Plan the Depth: Are you making multiple shallow passes?
- Test the Speed: Did you try a test cut on scrap wood?
- Maintain Motion: Are you keeping a steady, continuous feed rate?
- Clear the Chips: Are you using a vacuum or air to clear dust?
Warning: Never attempt to clear chips from the path of a spinning router bit with your fingers or a cloth; always use compressed air or a vacuum attachment to keep the work area clear.
Troubleshooting Burned Wood Surfaces
If you have already created burn marks, don’t panic. Most surface-level scorching can be removed with minimal effort. The depth of the burn will determine your approach. For light surface discoloration, a simple sanding block with 150-grit sandpaper will often suffice. If the burn is deeper, you may need to start with 80-grit sandpaper to remove the charred material before moving up to higher grits to finish the surface.
Avoid using chemical wood bleaches unless the burn is extremely severe, as these can alter the color of the surrounding wood and make the repair more obvious. If the burn is caused by a dull bit, address the bit issue before attempting to sand the wood, otherwise, you’ll simply continue to create more burn marks on your project.
Common Mistakes to Avoid
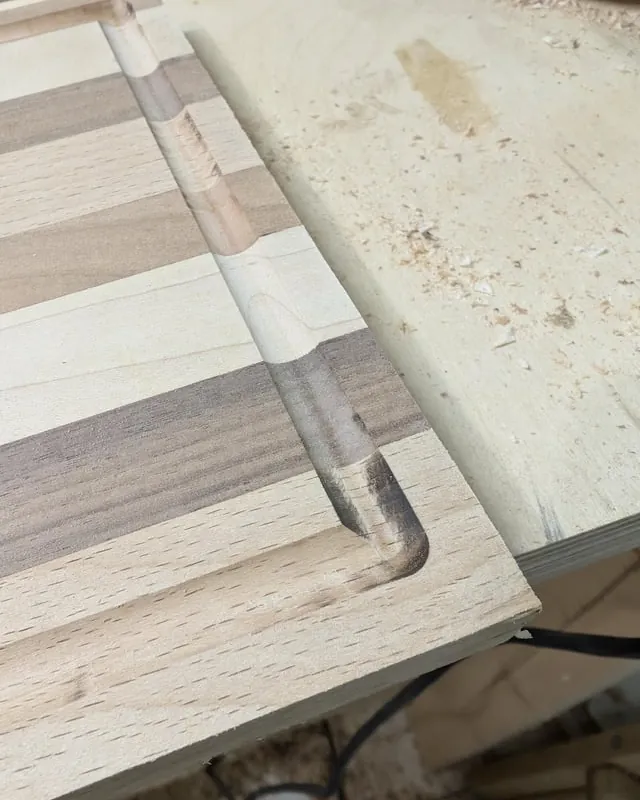
Many woodworkers fall into the trap of thinking that a more powerful router will solve all their problems. While a high-horsepower router helps, it will still burn wood if the bit is dull or the feed rate is incorrect. Another common mistake is using the wrong bit geometry for the task. For example, using a large profile bit to remove a massive amount of material in one pass is a recipe for disaster.
- Ignoring the manufacturer’s maximum speed rating for a bit.
- Using a dull bit “just for one more cut.”
- Failing to secure the workpiece properly, leading to vibrations.
- Applying uneven pressure to the base of the router.
- Forgetting to clean the collet of dust and debris.
Related guides
Frequently Asked Questions
Can a dull router bit damage the tool motor?
Yes, a dull bit forces the router motor to work significantly harder to maintain its speed. This added strain increases the electrical current draw, which causes the motor to overheat. Over time, this can lead to premature wear on the motor brushes, damaged bearings, or even a burnt-out motor winding, shortening the overall lifespan of your expensive power tool.
Is it better to climb cut or conventional cut?
Conventional cutting, where the bit pulls the router against the direction of the feed, is generally safer and less likely to cause burning. Climb cutting, where the bit moves in the same direction as the feed, can pull the router forward aggressively and is dangerous for beginners. Only use climb cutting for very light finishing passes to prevent tear-out, and always maintain a firm, controlled grip.
Why do my bits keep getting resin buildup?
Resin buildup is a natural byproduct of cutting softwoods or wood with high pitch content. As the bit spins at high speeds, the heat generated by friction melts the resin, which then adheres to the metal. To minimize this, use a bit with a non-stick coating, keep your feed rate consistent to reduce friction, and clean your bits frequently with a solvent-based cleaner.
Does the wood species affect burning?
Absolutely. Dense, oily hardwoods like ebony, rosewood, or jatoba are much more prone to burning because they have a higher ignition point and are harder to cut. Conversely, softwoods are more prone to resin buildup. You must adjust your feed rate and bit speed based on the density and resin content of the specific lumber you’re using for your project.
When should I replace my router bits?
You should replace your bits when they no longer produce a clean cut despite being sharp and clean. If you notice persistent burning, tear-out, or if the bit requires excessive force to move through the wood, it has likely reached the end of its functional life. While professional sharpening services can extend the life of carbide bits, eventually the carbide becomes too thin to be effective.
Conclusion
To ensure your projects remain pristine, start by inspecting your router bits for sharpness and resin buildup before every session. If you notice any signs of scorching, immediately reduce your depth of cut and verify that your spindle speed is appropriate for the bit size. Consistent, steady movement is the key to professional-quality results, so practice your technique on scrap wood until you find the perfect rhythm.