How to Clean and Maintain a Plunge Router: Step-by-Step Guide
Cleaning and maintaining a plunge router involves a systematic process of removing resinous buildup, ensuring the plunging mechanism slides smoothly, and inspecting the electrical components for long-term safety. Because these tools operate at high speeds—often exceeding 20,000 revolutions per minute—they generate significant heat and friction, making regular care essential for both the longevity of the motor and the precision of your woodworking projects. By following a structured maintenance schedule, you prevent the accumulation of fine wood dust that can clog cooling vents or cause the plunge springs to bind.
Key Takeaways
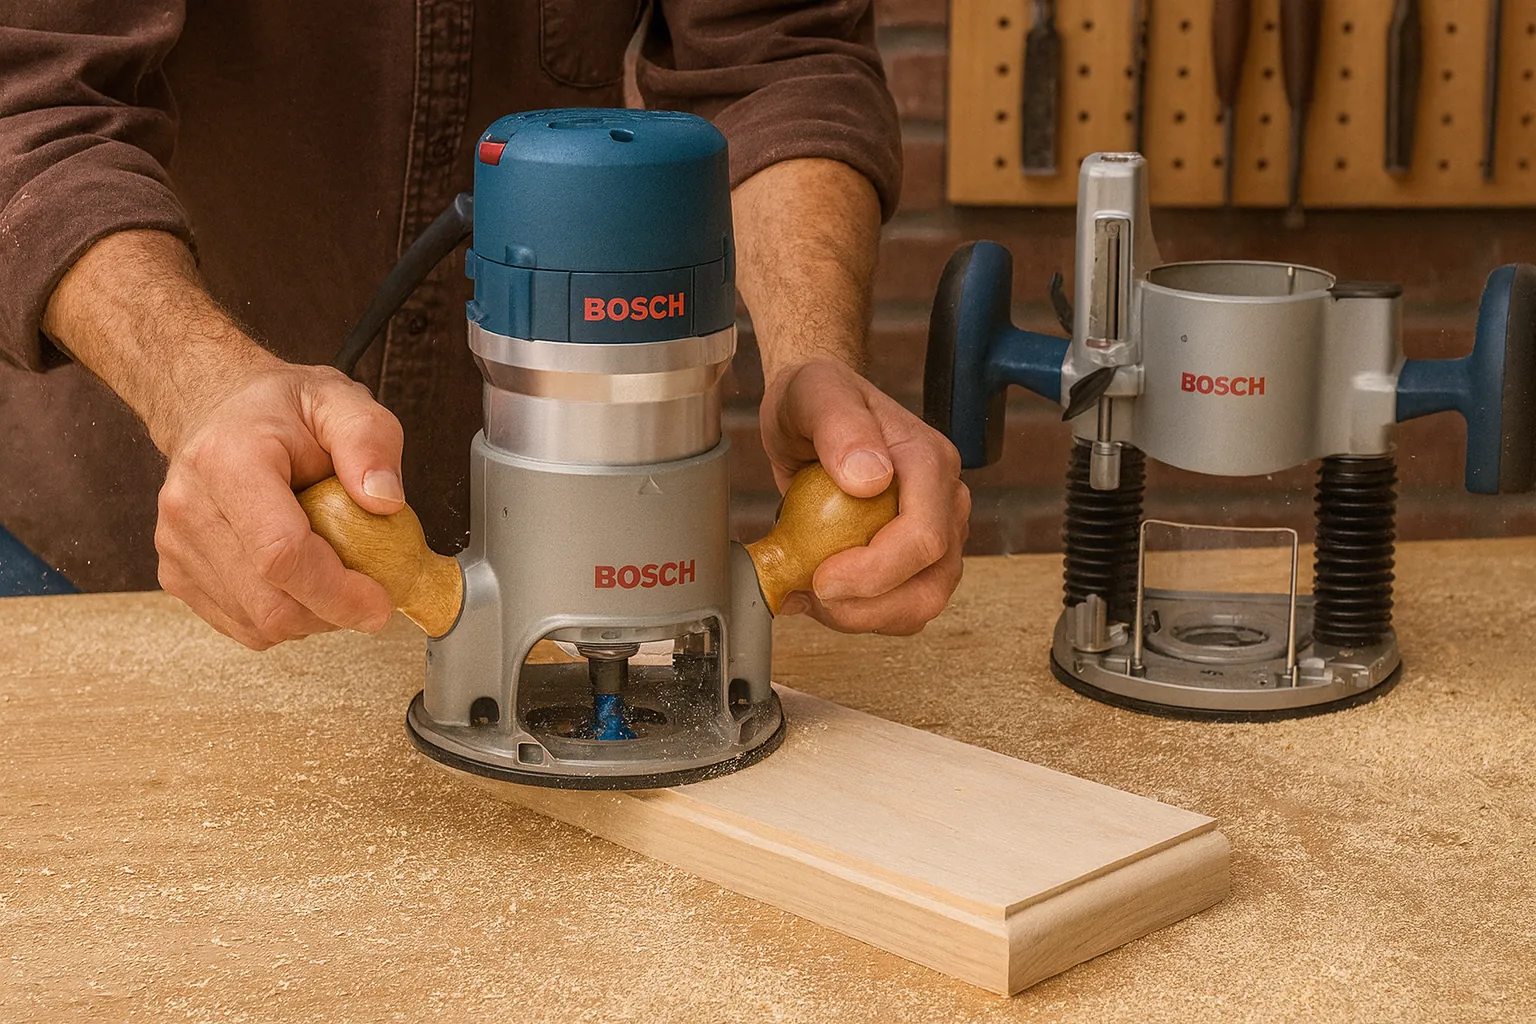
- Always disconnect the power supply before performing any cleaning or maintenance tasks to prevent accidental activation.
- Use compressed air to clear vents, but wear eye protection to avoid debris blowback from the motor housing.
- Keep the plunge columns clean and lightly lubricated with a dry lubricant to ensure snag-free operation.
- Inspect the collet for burrs or debris, as a dirty collet is the primary cause of bit slippage and vibration.
- Replace carbon brushes before they wear down completely to prevent permanent damage to the router’s armature.
How to Clean and Maintain a Plunge Router
A clean router is a safer, more accurate tool. Over time, wood resin, pitch, and fine sawdust accumulate inside the motor housing, on the plunge base, and within the collet assembly. This buildup acts as an insulator, trapping heat inside the motor and potentially leading to premature winding failure.
To clean the exterior and cooling vents, use a soft-bristled brush to loosen compacted dust, followed by a blast of compressed air. Ensure you aim the air nozzle away from the motor bearings to avoid pushing grit into the sensitive internal components.
Warning: Never use harsh chemical solvents like acetone or lacquer thinner on the plastic housing of your router, as these can soften the material and compromise the structural integrity of the tool’s body.
Essential Maintenance Tools and Supplies
Having the right kit on hand makes routine maintenance a quick task rather than a chore. You don’t need expensive specialized equipment to keep your machine running at peak performance. Most of these items are likely already in your workshop or available at local hardware retailers.
| Supply Item | Primary Use | Frequency |
|---|---|---|
| Compressed Air | Clearing vents and collets | Every use |
| Dry PTFE Lubricant | Plunge columns and springs | Monthly |
| Nylon Bristle Brush | Removing surface dust | Every use |
| Fine Grit Abrasive | Cleaning rusted collet surfaces | Quarterly |
| Lint-Free Rags | Wiping down exposed metal | Weekly |
Inspecting the Plunge Mechanism
The signature feature of a plunge router is its ability to move vertically along two steel columns. If these columns become coated in sap or fine dust, the router will “stick” during a cut, potentially ruining your workpiece. Wipe the columns down with a clean rag to remove any existing residue. If the movement feels gritty, apply a light coat of dry lubricant. Avoid oil-based lubricants, as they attract sawdust and create a sticky paste that hinders movement.
Collet Care and Maintenance
The collet is the interface between your router and the cutting bit. If this area is dirty, the bit won’t seat properly, leading to dangerous vibrations and potential runout. Every time you change a bit, take a moment to inspect the collet cone for signs of resin buildup.
Use a small wire brush or a specialized collet brush to clean the internal threads and the tapered seat. If you notice any deep scratches or burrs on the inside of the collet, it’s time to replace the part entirely.
Pro Tip: Apply a tiny drop of light machine oil to the threads of the collet nut to ensure smooth tightening and loosening, but be extremely careful to keep oil away from the inside of the collet where the bit shank sits.
Why Is My Router Overheating?
If your router is running hotter than usual, the first step is to check the air intake vents. These are typically located on the side or top of the motor housing. If they’re blocked by a thick layer of sawdust, the motor can’t pull in the cool air required to regulate its temperature.
Beyond the vents, check the carbon brushes. If the brushes are worn down, the electrical contact becomes inconsistent, which causes heavy arcing and significant heat buildup. Always consult your owner’s manual for the specific brush length threshold, as running a motor with excessively short brushes can gouge the commutator.
Maintaining the Router Baseplate
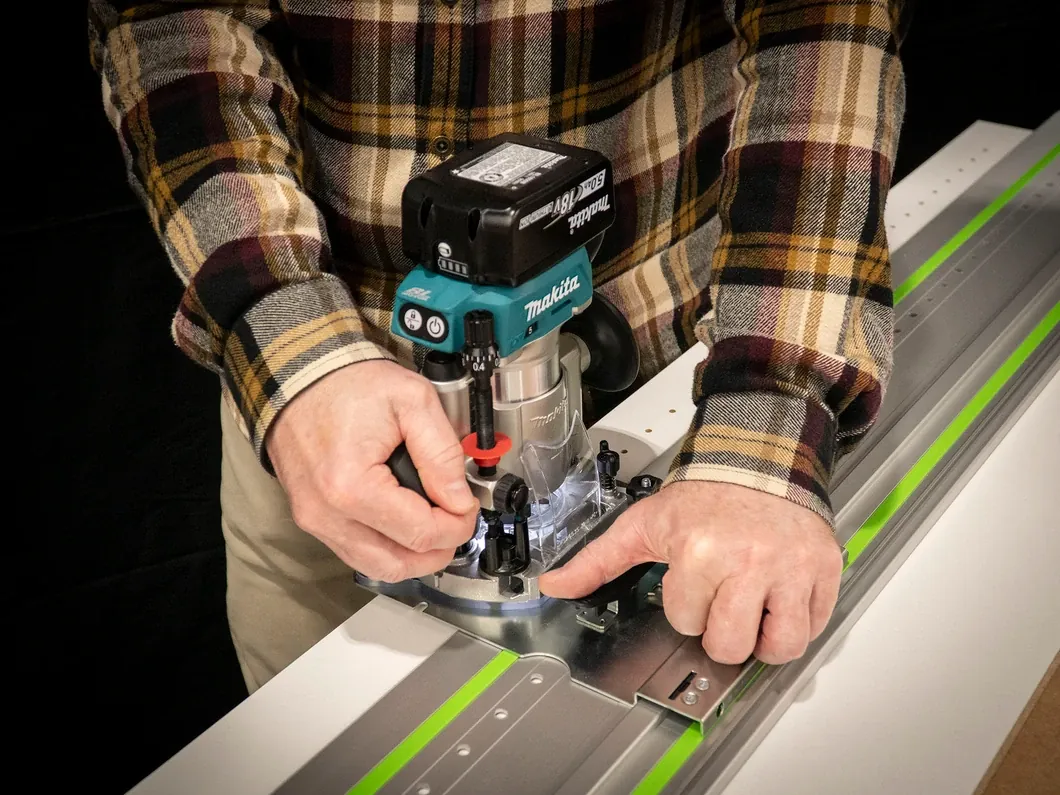
The baseplate is the foundation of your cuts. Over time, the plastic or phenolic sub-base can develop scratches or gouges that mar the surface of your wood. Periodically remove the sub-base and check that the mounting screws are tight.
If the plastic is heavily scratched, you can flatten it by rubbing it against a piece of 220-grit sandpaper laid on a flat surface like a table saw bed. This ensures the router glides smoothly across your workpiece without catching on debris or rough edges.
Managing Electrical Cord Safety
The power cord is often the most abused part of a router. Because routers are moved constantly, the cord is prone to kinking, fraying, or being accidentally nicked by a spinning bit. Inspect the entire length of the cord before every use.
Look for exposed wires, brittle insulation, or damage near the strain relief where the cord enters the housing. If you find damage, don’t attempt a “quick fix” with electrical tape; replace the cord with a factory-specified part to ensure the tool remains properly grounded.
Replacing Carbon Brushes
Most professional-grade routers utilize carbon brushes to transfer electricity to the spinning armature. These are “wear items” designed to be replaced periodically. If your router starts sparking excessively, losing power, or running intermittently, the brushes are likely the culprit.
Locate the brush caps on the side of the housing, unscrew them, and pull the old brushes out. Compare them to a new set. If the spring-loaded carbon block is less than one-quarter of an inch long, discard it and install the new set, ensuring they’re seated correctly in their guides.
Troubleshooting Common Router Problems
Even with perfect maintenance, issues can arise during heavy use. The following table highlights common symptoms and their likely causes.
| Symptom | Probable Cause | Corrective Action |
|---|---|---|
| Excessive Vibration | Dirty collet/Dull bit | Clean collet and sharpen bit |
| Plunge Sticking | Resin on columns | Clean and dry lubricate |
| Motor Arcing | Worn carbon brushes | Replace both brushes |
| Bit Slippage | Oily collet/Loose nut | Degrease collet and retighten |
| Burning Wood | Feed rate too slow | Increase speed or use fresh bit |
Routine Maintenance Schedule
Consistent care is more effective than occasional deep cleans. Use this schedule to keep your router in top condition throughout the year.
- Daily: Blow out vents and wipe down the collet after each session.
- Weekly: Inspect the power cord for nicks and check the sub-base for debris.
- Monthly: Clean and lubricate the plunge columns and check for loose fasteners.
- Quarterly: Remove the motor housing cover (if accessible) to vacuum out deep dust.
- Annually: Inspect carbon brushes and replace them if they show significant wear.
Addressing Resin Buildup
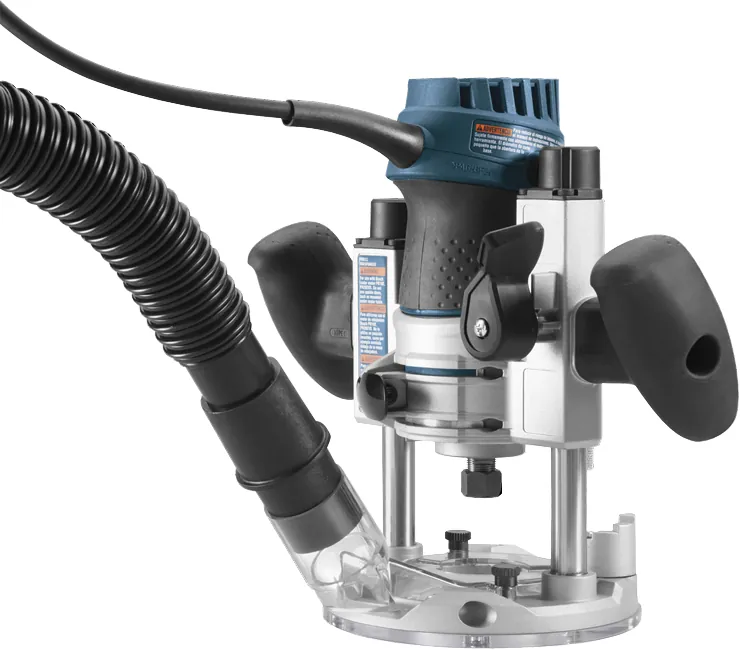
Wood resin is the enemy of smooth router operation. It acts like a glue, binding dust to the columns and clogging the collet threads. To remove stubborn pitch, use a specialized resin remover or a mild citrus-based cleaner.
Apply the cleaner to a rag, wipe the affected areas, and then wipe again with a clean, dry cloth to remove any remaining residue. Never soak the metal parts in water, as this can encourage rust in the precision-ground components of the plunge assembly.
Frequently Asked Questions
How do I know when my router brushes need replacing?
You should replace your router brushes when they reach the wear line marked on the side of the carbon block or when the spring no longer maintains firm pressure against the commutator. Typically, if the carbon is less than one-quarter inch in length, the electrical connection will become unstable. You may notice increased sparking, loss of power, or the router failing to start entirely under load.
Can I use WD-40 on my router columns?
You should avoid using standard WD-40 on your router columns. While it cleans, it leaves behind an oily residue that attracts sawdust and creates a thick, gummy paste that will eventually cause the plunge mechanism to bind. Instead, use a dedicated dry PTFE or silicone-based spray lubricant, which dries into a slick, dust-resistant film that keeps the columns moving freely without attracting debris.
Why does my router bit keep slipping?
A slipping bit is almost always caused by a dirty collet or a worn collet nut. Even a microscopic amount of sawdust or oil inside the collet cone prevents the metal from gripping the bit shank with enough force. Clean the collet thoroughly with a degreaser and a stiff brush. If the slipping persists after cleaning, the collet may be fatigued or damaged and should be replaced.
How often should I sharpen my router bits?
There’s no fixed time interval for sharpening; it depends entirely on the type of wood you cut and your usage frequency. Hardwoods like oak and maple, or resinous woods like pine, will dull bits significantly faster than softwoods. If you notice burning marks on your wood or find yourself having to push the router harder than usual, your bit has lost its edge and requires professional sharpening or replacement.
Is it safe to use compressed air inside the motor?
It’s safe to use compressed air to clear vents, but exercise caution. Use short, controlled bursts rather than a continuous stream. Aim the air nozzle at the vents to blow dust out of the housing, but avoid pointing the nozzle directly at the bearings, as high-pressure air can force grit into the bearing seals, which will cause them to fail prematurely or make a high-pitched squealing noise.
Conclusion
To keep your equipment operating at its best, dedicate fifteen minutes this weekend to a deep cleaning session following the steps outlined above. Start by unplugging the tool, then move through the collet, plunge columns, and cooling vents in order. By establishing this habit now, you ensure that your router remains a reliable, precise partner for every project you undertake in your workshop.