How to Cut Accurate Dados with a Plunge Router Using Jigs
Cutting accurate dados with a plunge router is best achieved by utilizing a custom-made auxiliary fence or a dedicated jig that accounts for the exact thickness of your workpiece. Because router bits are rarely the exact dimension of the lumber you’re using, relying on a single pass with a standard bit often leads to loose joints. By using a plunge router, you gain the ability to start and stop your cuts within the field of a board, creating clean, blind housings that provide superior structural integrity for shelving and cabinet construction. Mastering this process involves precise measurement, consistent feed rates, and the use of specialized guides to ensure that every housing is perfectly square and snug.
Key Takeaways
- Always perform a test cut on scrap material of the exact same thickness before routing your final project pieces.
- Use a sacrificial fence or a registration jig to ensure the router base remains square to the workpiece edge throughout the cut.
- Measure the actual width of your plywood or lumber with digital calipers, as nominal dimensions often differ from reality.
- Climb-cut the very first pass lightly to prevent tear-out on the edges of the dado, especially when working with hardwood veneers.
- Secure your workpiece with heavy-duty clamps to prevent vibration, which is the primary cause of chatter and uneven side walls.
Why Use a Plunge Router?
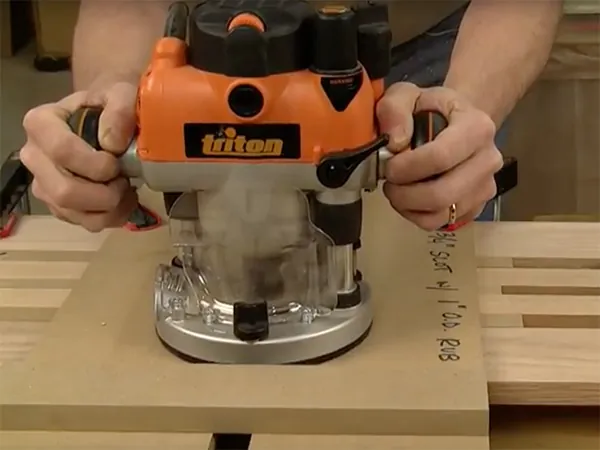
The primary advantage of a plunge router is the ability to lower the bit into the wood while the tool is already running and positioned. This is essential for creating stopped dados, where the joint doesn’t extend to the edge of the board, keeping the structural frame clean and aesthetically pleasing.
Unlike fixed-base routers, the plunge mechanism allows for incremental depth control, which prevents the motor from bogging down and ensures a smooth finish. When working with large panels, the plunge router acts as a stable platform that keeps the bit perfectly perpendicular to the surface, which is critical for square shoulder joints.
Essential Tools and Gear
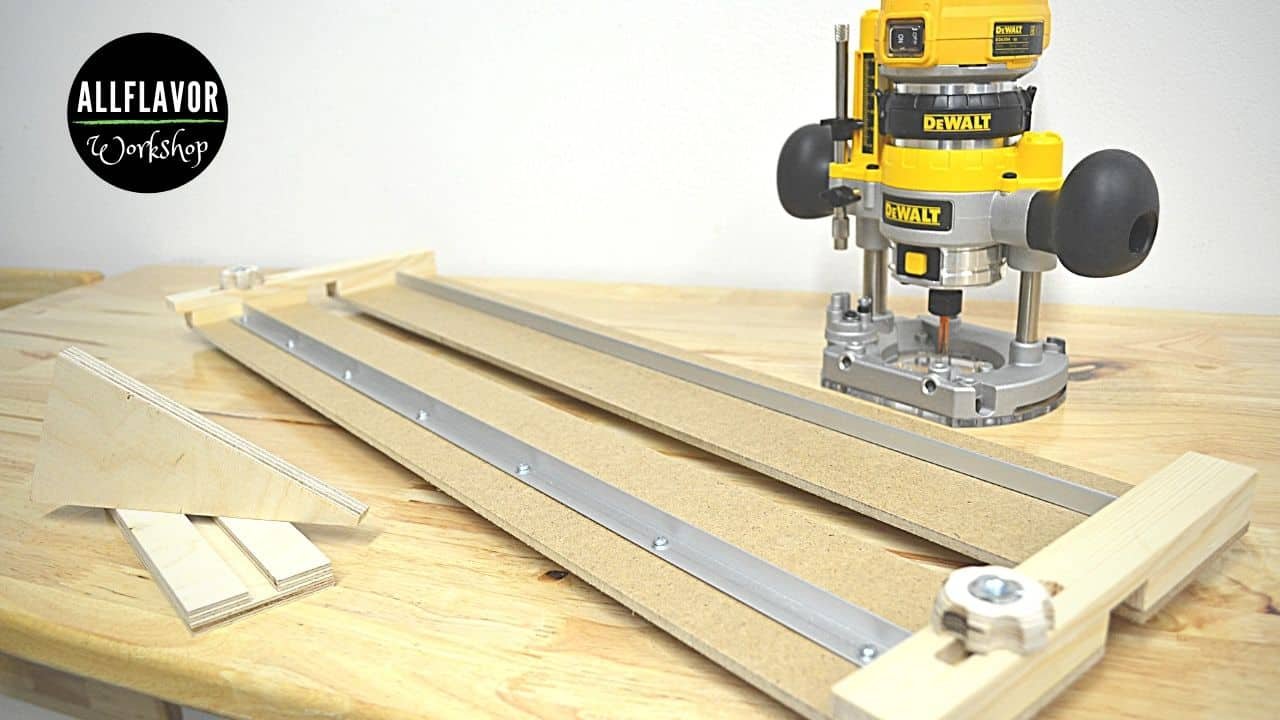
To achieve professional results, you need more than just the router. You must have a set of high-quality carbide-tipped bits and a reliable method for guiding the router base. Many woodworkers prefer a T-square style guide or a shop-made plywood jig. Regardless of the method, ensure your equipment is in good working order before you begin.
| Tool Category | Recommended Item | Purpose |
|---|---|---|
| Cutting Tool | Carbide Up-Cut Bit | Efficient chip removal and clean walls |
| Measurement | Digital Calipers | Measuring actual material thickness |
| Clamping | F-Style Clamps | Securing the guide to the workpiece |
| Safety | Dust Extraction Port | Clearing debris for better visibility |
How to Cut Accurate Dados
The most reliable way to cut a dado is to use a jig that references the edge of your board. By building a simple frame that fits your router base snugly, you eliminate lateral movement. Start by measuring your material thickness accurately. If your plywood is 23/32 inches thick, you can’t use a 3/4-inch bit without creating a sloppy fit. Instead, use a smaller bit and make two passes.
Preparing the Workpiece
Mark your layout lines clearly with a marking knife rather than a pencil. A knife line provides a physical groove that helps you align the edge of your jig. If you’re cutting multiple shelves, use a spacer block to ensure that each dado is perfectly aligned across all vertical supports. This indexing method is the secret to building cabinets that go together without struggle.
Setting Up the Jig
Mount your router to a sub-base if necessary to provide a larger footprint. If you’re using a straight edge guide, remember to calculate the offset distance. The offset is the measurement from the edge of your router base to the edge of the cutting bit. If your base is 6 inches in diameter and the bit is centered, your offset is 3 inches. Use this distance to position your guide so that the bit lands exactly on your layout line.
Managing Bit Selection
Selecting the right bit is crucial for the success of your project. For most cabinetry, a straight-flute or an up-cut spiral bit is preferred. Spiral bits pull debris out of the cut, which prevents the bit from heating up and burning the wood.
If you’re working with melamine or delicate veneers, use a down-cut bit to shear the surface fibers downward, preventing unsightly chipping. Always inspect your bits for carbide chip damage before starting the motor, as a dull bit will force you to push harder, leading to an uneven path.
The Importance of Test Cuts
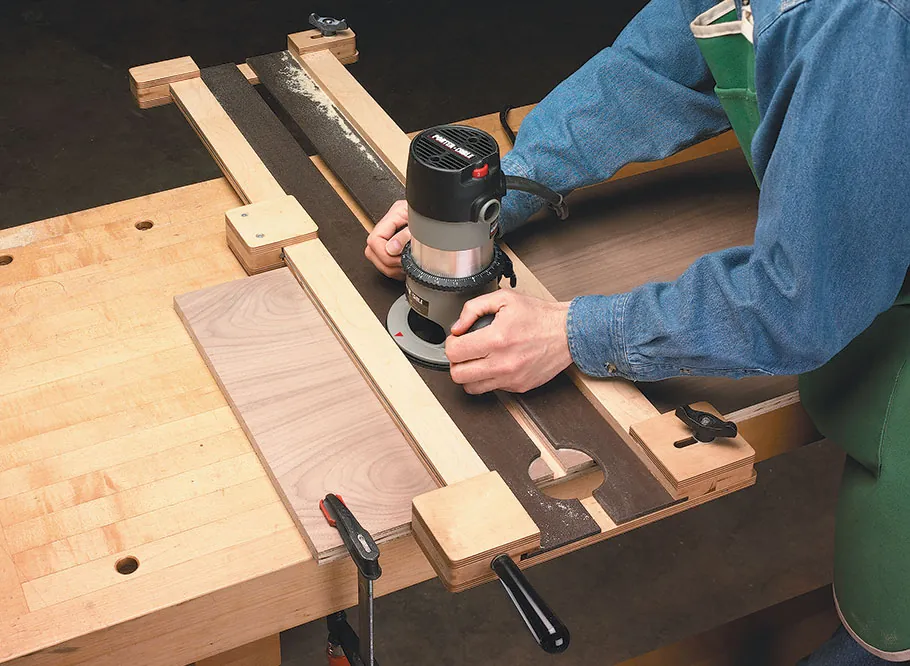
Never skip the test cut. Even if you have measured your material twice, the difference between a loose joint and a perfect fit is often less than a hair’s breadth. Use a piece of scrap that’s identical in species and thickness to your project material.
If the fit is too tight, adjust your jig by a fraction of a millimeter using thin strips of masking tape or paper shims. Once you achieve a snug friction fit, lock your settings and don’t alter the depth or fence position.
Avoiding Common Routing Mistakes
Many beginners struggle with “wavering” lines, which happen when the router base loses contact with the guide. To prevent this, keep consistent pressure against the fence throughout the entire pass. Another common error is “burning,” which usually results from moving the tool too slowly. Keep the router moving at a steady pace to allow the bit to clear the wood fibers efficiently. If you smell burning, increase your feed rate or reduce the depth of your cut.
| Mistake | Cause | Solution |
|---|---|---|
| Burning Wood | Moving too slowly | Increase feed speed or reduce depth |
| Chipped Veneer | Dull bit or wrong geometry | Use a down-cut bit or score lines |
| Uneven Depth | Router not level | Use a wider sub-base or jig |
| Sloppy Fit | Wrong bit size | Use a jig with a two-pass technique |
Maintaining Your Router
A router is a precision instrument that requires regular maintenance to perform accurately. Clean the collet and the shaft with a solvent to remove resin buildup, which can cause the bit to slip.
If the bit slips during a cut, it can ruin your workpiece or cause a dangerous kickback event. Check your brushes for wear every six months if you use the tool daily. Keeping your equipment clean is the best way to ensure that your plunge mechanism moves smoothly without sticking.
When to Use a Router Table
While a plunge router is excellent for stopped dados, a router table is often more efficient for through-dados that run from one edge of the board to the other. Using a miter gauge on a router table allows you to hold the workpiece perpendicular to the bit, which is much easier than trying to keep a hand-held router square on a narrow board.
Reserve your plunge router for large, unwieldy panels that can’t be easily balanced on a table surface. Using the proper tool geometry for the task at hand will save you hours of sanding and corrective work.
Safety Protocols for Routing
Always wear eye protection and hearing protection when operating a router. Because routers create a significant amount of fine dust, a dust mask or respirator is highly recommended, especially when working with MDF or exotic hardwoods. Never reach near the bit while the motor is spinning.
If you need to clear chips, wait until the motor has come to a complete stop and unplug the tool from the power source. Following these basic safety rules will keep you in the shop for years to come.
Troubleshooting Your Dados
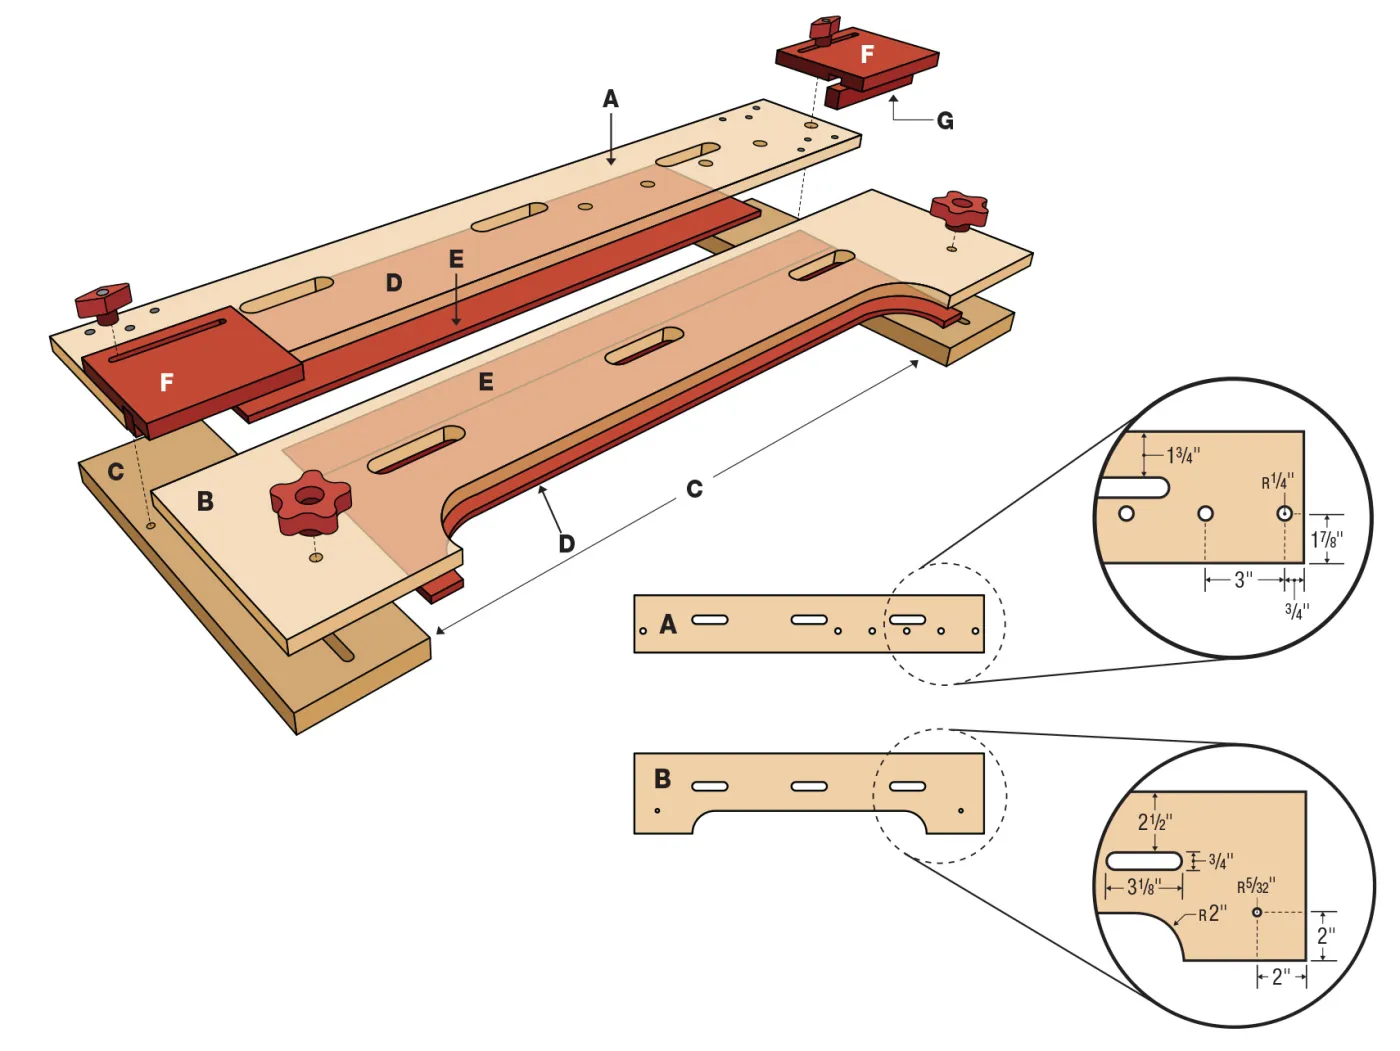
If your dados are consistently too wide, verify that your jig isn’t shifting during the cut. Check your clamps to ensure they aren’t vibrating loose. If the bottom of the dado isn’t flat, your router base may be tilted. This often happens if the workpiece isn’t fully supported underneath.
Ensure your board is resting on a flat, stable surface like a workbench or a sacrificial sheet of rigid foam insulation. If the problem persists, check the runout on your collet; a bent shaft will cause the bit to cut a wider path than its diameter.
Frequently Asked Questions
Should I use an up-cut or down-cut bit?
For most dado operations, an up-cut spiral bit is ideal because it clears chips quickly and prevents the bit from overheating. However, if you’re working with pre-finished plywood or materials prone to splintering, a down-cut bit is superior because it pushes the surface fibers into the wood, resulting in a cleaner edge.
How do I fix a dado that’s too wide?
If your dado is slightly too wide, you can glue a thin veneer strip to the edge of your shelf to tighten the fit. If the gap is substantial, you may need to cut a wider shelf or use a thicker piece of material. Always aim for a snug friction fit during your test cuts to avoid this issue entirely.
Can I cut a dado in one pass?
You can cut a dado in one pass if the depth of the cut is shallow and the width of the bit matches your material exactly. However, for deep dados, it’s safer and more accurate to make two or three incremental passes. This reduces stress on the motor and prevents the bit from wandering, which ensures a much straighter and cleaner result.
What is the best way to secure the workpiece?
Use at least two heavy-duty F-style or parallel clamps to secure your workpiece to the workbench. If you’re using a guide jig, ensure the jig itself is also clamped firmly to the wood. Avoid using spring clamps for heavy routing tasks, as they lack the clamping pressure required to hold the material steady against the lateral force of the spinning router bit.
How do I handle stopped dados?
To cut a stopped dado, mark the start and end points of the cut on your workpiece. Plunge the router into the wood at the start mark, move the router along your jig until you reach the end mark, and then lift the plunge mechanism before turning off the motor. Use a chisel to square off the rounded corners left by the circular router bit.
Conclusion
Achieving perfect joinery is a journey of refinement, but by focusing on jig stability and material measurement, you’ll soon produce dados that fit with precision. Start your next project by building a dedicated jig for your most common plywood thickness, as this single step will immediately elevate the quality of your cabinet frames. Take your time with the setup, maintain your tools, and enjoy the process of creating lasting furniture.