Rotary Hammer Modes Explained: Drill, Hammer Drill, and Chisel Settings
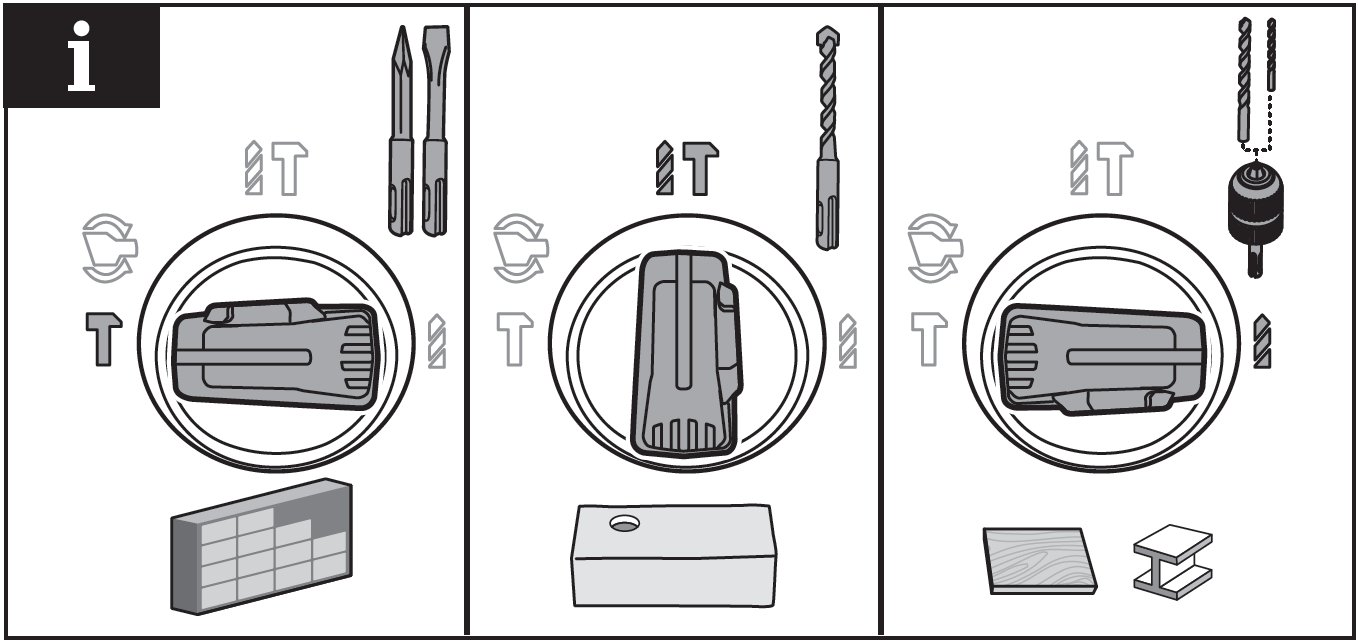
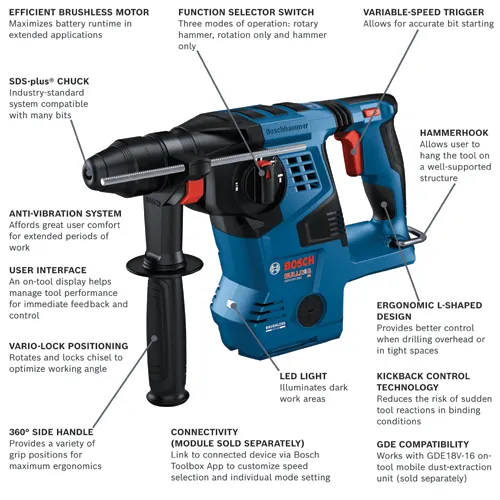
Rotary hammers feature three primary settings: rotary-only for standard drilling, rotary-hammer for concrete, and hammer-only for chiseling. These modes allow you to switch between drilling, impact drilling, and demolition tasks depending on the material at your job site.
Explaining rotary hammer modes
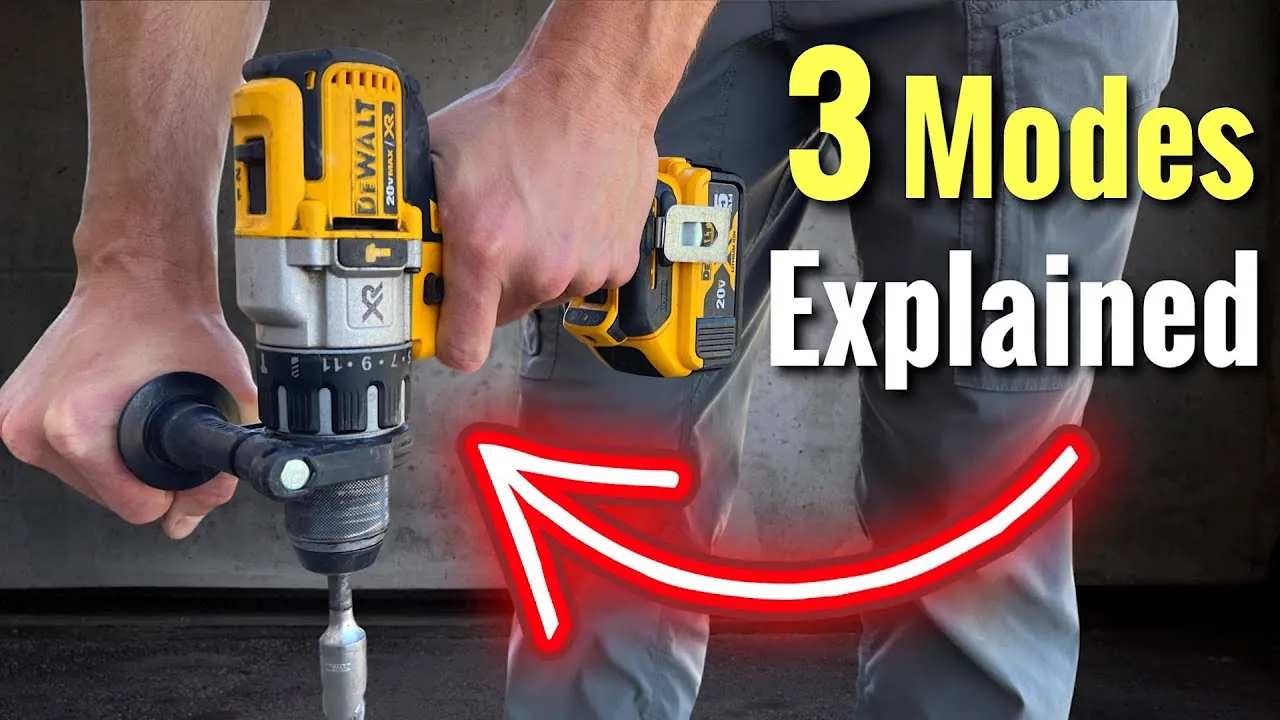
A rotary hammer is a powerful tool designed to drill through hard masonry or break up concrete. It uses a piston mechanism to strike the bit while it rotates. This is different from a standard hammer drill, which uses a cam-action mechanism to create impact. If you need to drill into wood or metal, you use the rotary-only mode.
If you’re boring holes into brick or concrete, you use the rotary-hammer mode. For removing tiles or breaking small concrete sections, you use the hammer-only mode. The main misconception is that all these modes work the same way; in reality, using the wrong mode can damage your bit or the tool itself.
How to operate rotary hammer drill and chisel settings
- Set your tool to the rotary-only icon, which looks like a simple drill bit, for wood or metal.
- Select the rotary-hammer icon, shown as a drill bit and a hammer, for concrete or masonry work.
- Choose the chisel-only icon, represented by a hammer symbol, when you need to remove tiles or chip away stone.
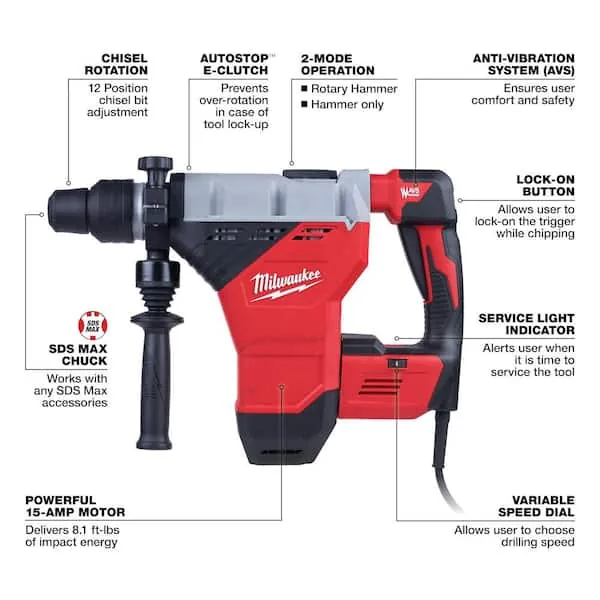
- Ensure the bit is fully locked into the SDS chuck before you begin any operation.
- Apply steady, firm pressure, but let the tool’s internal mechanism do the heavy work.
- If you’re using a heavy-duty model, always wear hearing protection to prevent long-term damage from the high-decibel impact sounds.
The judgement call is how much pressure you apply. If you push too hard, you slow the motor and overheat the tool. If you push too lightly, the piston can’t engage properly, which leads to slow progress and excessive vibration. If your tool requires a specific SDS-plus or SDS-max bit, you must use the correct size, as the wrong shank won’t lock into the chuck properly.
Comparison of Hammer Settings
| Situation | What to use | How long | What to watch for |
|---|---|---|---|
| Drilling wood | Rotary-only | Constant | Bit overheating |
| Drilling metal | Rotary-only | Slow speed | Metal shavings |
| Masonry holes | Rotary-hammer | Pulse | Dust buildup |
| Removing tile | Hammer-only | Short bursts | Surface damage |
| Concrete demo | Hammer-only | Intermittent | Overheating motor |
Achieving Professional Results
Experienced users always start by checking the material density. They know that concrete with heavy steel rebar requires a different approach than soft brick. Before you start, mark your depth on the drill bit using tape. This prevents you from drilling too deep and damaging the wall behind your work.
Partway through a deep hole, pull the bit out while the tool is still running. This action clears the dust from the hole. If you leave the dust inside, the bit will bind and get stuck. Never force the tool if it stops rotating. Stop immediately, reverse the bit, and clear the debris before you try again.
Troubleshooting Common Issues
| What you notice | What it usually means | What to do first |
|---|---|---|
| Bit won’t rotate | Wrong mode selected | Check the dial |
| Slow drilling speed | Dull bit | Replace the bit |
| Excessive vibration | Loose chuck | Tighten the bit |
| Tool gets very hot | Continuous heavy use | Let it cool down |
Regulatory Safety Rules
You must follow the safety guidelines provided by the Occupational Safety and Health Administration regarding vibration and dust control. When working with concrete, the silica dust created is a major health hazard. You should use a vacuum attachment or water suppression to keep the air clean.
Always wear safety glasses and a respirator when working in enclosed spaces. If you’re unfamiliar with the specific power requirements or the weight of the tool, check your manual before you start. Operating a heavy-duty rotary hammer requires focus, so never use the tool if you’re tired or distracted.
Maintenance and Storage
After you finish your project, wipe the tool clean with a dry cloth. Remove all dust from the air vents to keep the motor cool. Check the SDS chuck for any grit or debris that could block the locking mechanism.
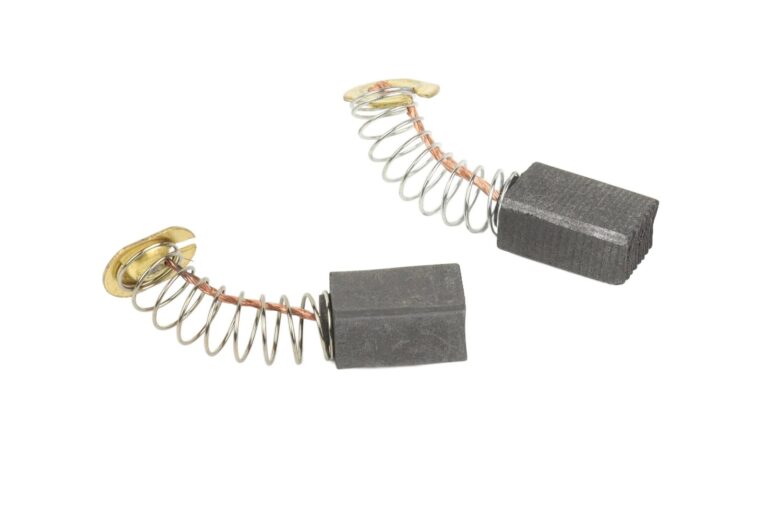
If the tool feels sluggish, it may need fresh grease in the gearbox; check your manual for the recommended lubricant type. Store the tool in its case in a dry, cool place to prevent rust. If you notice a burning smell, stop using the tool and have a professional inspect the brushes.
When to Switch Tools
If you’re working on very thin or fragile materials, a rotary hammer is often too aggressive and will crack the surface. In these cases, a standard drill with a masonry bit is the better choice.
If you need to drill thousands of small holes in wood, the weight of a rotary hammer will cause fatigue very quickly. Switch to a lightweight cordless drill instead. Using the right tool for the specific task saves your energy and protects the integrity of your material.
Frequently Asked Questions
Can I use a regular drill bit in a rotary hammer?
No, you can’t use standard straight-shank bits unless you use a special keyed chuck adapter. Rotary hammers require SDS-shank bits that allow the bit to slide back and forth during the hammer action.
Why is my rotary hammer stuck in the wall?
It’s likely stuck because dust has packed into the hole around the bit. Stop the tool, pull it out, and clear the debris before you attempt to continue drilling.
How often should I grease the bit?
You should apply a small amount of specialized rotary hammer grease to the end of the bit shank every time you change bits. This keeps the internal chuck parts moving smoothly.
Is it safe to use this tool on drywall?
No, it isn’t recommended for drywall because the hammer action is too violent. Use a standard drill in rotary-only mode to avoid blowing out large holes in the wall.
What happens if I use the hammer mode on wood?
You’ll likely destroy the wood or snap the drill bit. The hammer action is designed for crushing stone and will tear apart the wood fibers, leading to a very messy, inaccurate hole.
Conclusion
Keep your workspace organized and always keep your spare bits in a labeled container. This prevents the mistake of picking up a metal bit when you need a masonry bit, which saves you time and prevents unnecessary wear on your equipment.