How to Clean and Maintain an Oscillating Multi-Tool Properly
To keep an oscillating multi-tool in good shape, you should wipe down the exterior after every use, clear the air vents with compressed air, and apply a light coat of machine oil to the accessory mounting bolt every 20 hours of operation. You’ll need a soft cloth, a can of compressed air, and a small brush to remove debris that can trap heat and wear down the motor.
How to clean your oscillating multi-tool
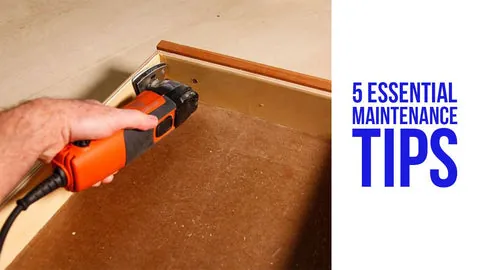
Performing these steps regularly prevents internal dust buildup and keeps the accessory mechanism from seizing up. You don’t need special tools, just a clean workspace and a few minutes of your time.
- Disconnect the power: Always unplug your tool or remove the battery before you start cleaning to ensure the motor doesn’t accidentally trigger while your fingers are near the blade.
- Brush away surface dust: Use a soft-bristled brush to sweep wood chips and metal filings out of the cooling vents and around the accessory head.
- Clear the vents: Hold a can of compressed air a few inches away and blow short bursts through the air intake slots to dislodge fine particles that a brush can’t reach.
- Wipe the casing: Use a dry, lint-free cloth to wipe the entire body of the tool to remove grease or grime that might make the grip slippery.
- Clean the mounting interface: Inspect the accessory holder for stuck debris and wipe it clean with a dry cloth so that your blades and sanding pads sit perfectly flat.
- Lubricate the bolt: Apply one small drop of machine oil to the threads of the clamping bolt if you use a hex-key system, then wipe away any excess so it doesn’t attract more dust.
Tip: Never use harsh solvents or cleaning sprays on the plastic housing, as these can weaken the material and lead to cracks over time.
Recommended Maintenance Schedule
How often you maintain your tool depends on how much dust you create. If you primarily cut drywall or sand wood, you must clean the tool after every session. Fine particulates infiltrate the motor housing and act as an abrasive, grinding down internal gears. Occasional metal cuts produce heavier chips that settle slower, allowing you to extend cleaning intervals.
| Usage Intensity | Cleaning Frequency | Lubrication Check |
|---|---|---|
| Light (Home DIY) | Once per project | Every 3 months |
| Moderate (Weekend use) | Once per week | Every 20 hours |
| Heavy (Daily pro use) | Daily | Weekly |
Most users make the mistake of using compressed air to clear vents. This often forces dust deeper into the brushes and bearings, which accelerates wear. Instead, use a soft-bristled vacuum attachment to pull debris out. If the tool feels hot to the touch after only ten minutes of operation, stop immediately. This indicates a clogged intake that will burn out your motor within hours if left unaddressed.
Troubleshooting Common Problems
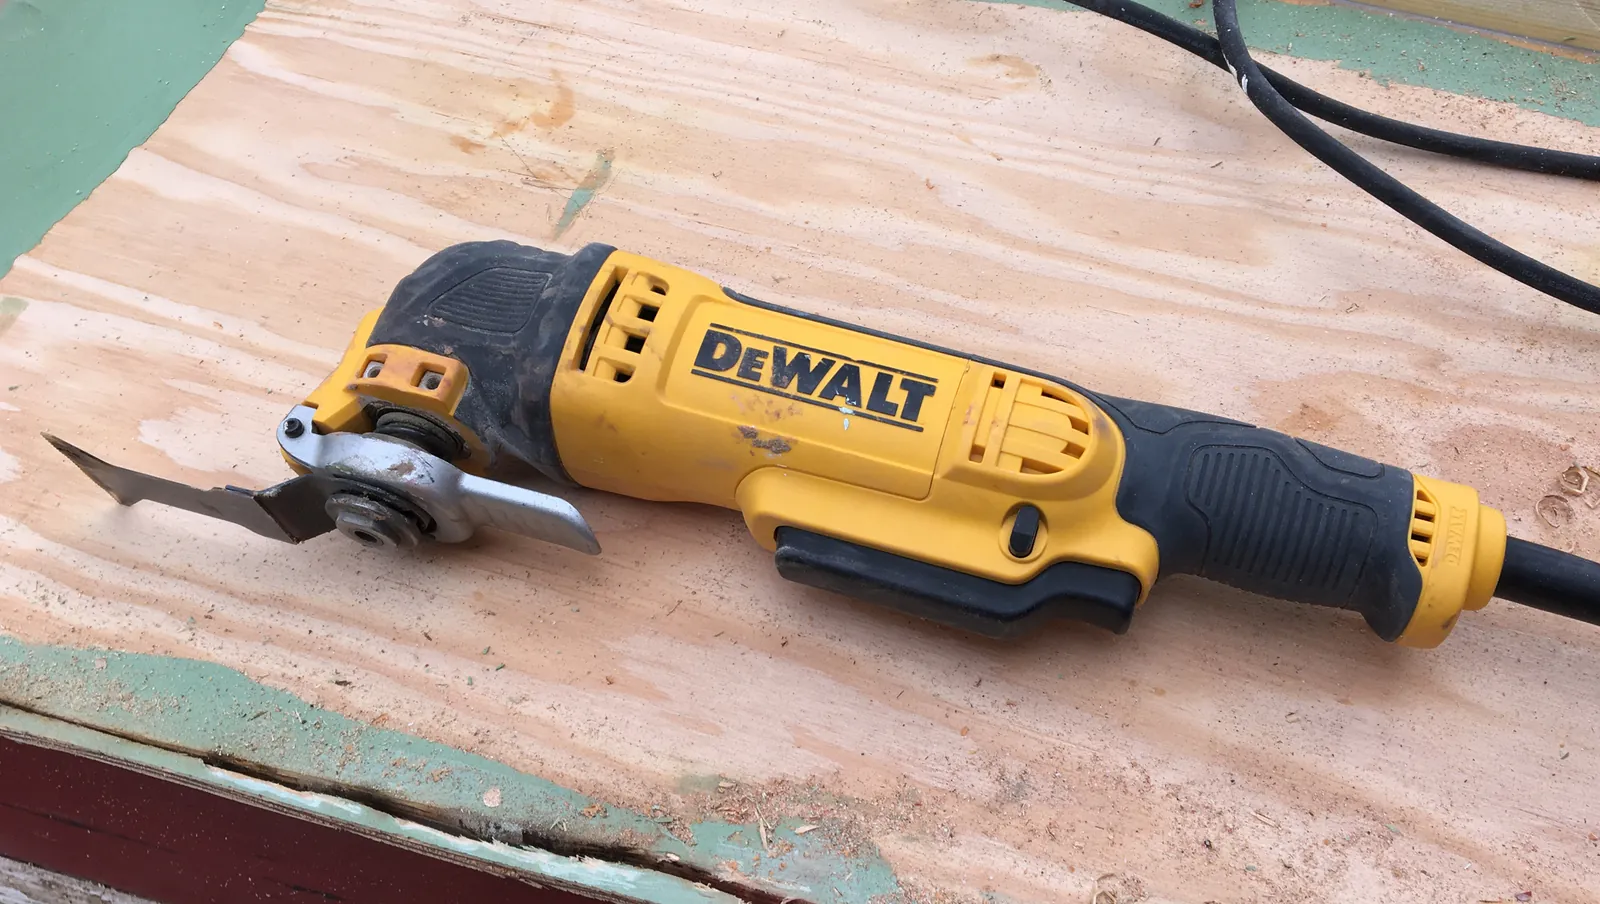
Even with careful care, you might run into minor performance issues. Most of these can be solved without needing a repair shop.
Why is my tool vibrating more than usual?
Excessive vibration usually happens when the accessory isn’t tightened correctly or the mounting interface is dirty. Check that the blade is seated properly against the pins and that the bolt is fully tightened. If the vibration continues, try a different accessory to ensure the blade itself isn’t warped or damaged.
Why does the motor smell like burning?
A burning smell often means the air vents are clogged with fine dust, which forces the motor to work harder and get too hot. Stop using the tool immediately, remove the battery or unplug it, and use compressed air to clear all vent openings. If the smell persists after the tool has cooled and the vents are clean, the internal motor brushes might be worn out.
Can I use water to clean the tool?
Never use water or liquid cleaners on your tool. Moisture can cause internal electrical components to rust or short-circuit, which is dangerous and usually voids your warranty. Always stick to dry cleaning methods like brushing or using compressed air to maintain the mechanical integrity of the device.
Related guides
- How to Cut Clean Mortises with a Plunge Router: Expert Guide
- How to Drill Clean Holes in Wood With a Corded Drill: Pro Tips
Frequently Asked Questions
How do I know if the motor brushes are worn out?
You’ll notice a loss of power, a burning smell, or excessive sparking coming from the vents when the tool is running. If you experience these signs, the internal carbon brushes are likely at the end of their life and need to be replaced by a professional technician.
Is it safe to use a vacuum to clean the vents?
Yes, using a shop vacuum with a soft brush attachment is an excellent way to remove dust from the vents. Just be careful not to press the nozzle hard against the plastic housing, as this can scratch the surface or cause static buildup that might affect sensitive internal electronics.
Should I grease the internal gears?
Don’t attempt to open the gear housing to apply grease yourself. These tools use specialized high-temperature lubricants applied during assembly, and opening the casing can misalign the internal parts and permanently damage the oscillating mechanism.
Conclusion
Keep a small brush and a can of compressed air in your tool bag so you can clean your tool immediately after you finish your work. If you notice any unusual noises or the tool feels hot to the touch even after cleaning, stop using it and consult the manufacturer’s manual for specific repair instructions.