How to Cut Nails and Screws Flush with an Oscillating Tool
You can cut nails and screws flush with an oscillating tool by using a bimetal plunge-cutting blade at a low speed, moving the tool in a slow, steady sweeping motion until the metal is severed. This method takes about 30 to 60 seconds per fastener depending on the diameter and hardness of the metal you’re cutting.
Steps to cut nails and screws flush with an oscillating tool
Clear any loose debris from the area and ensure your workpiece is clamped down. If the material vibrates, the blade will chatter, causing it to skip off the fastener and gouge your finished surface.
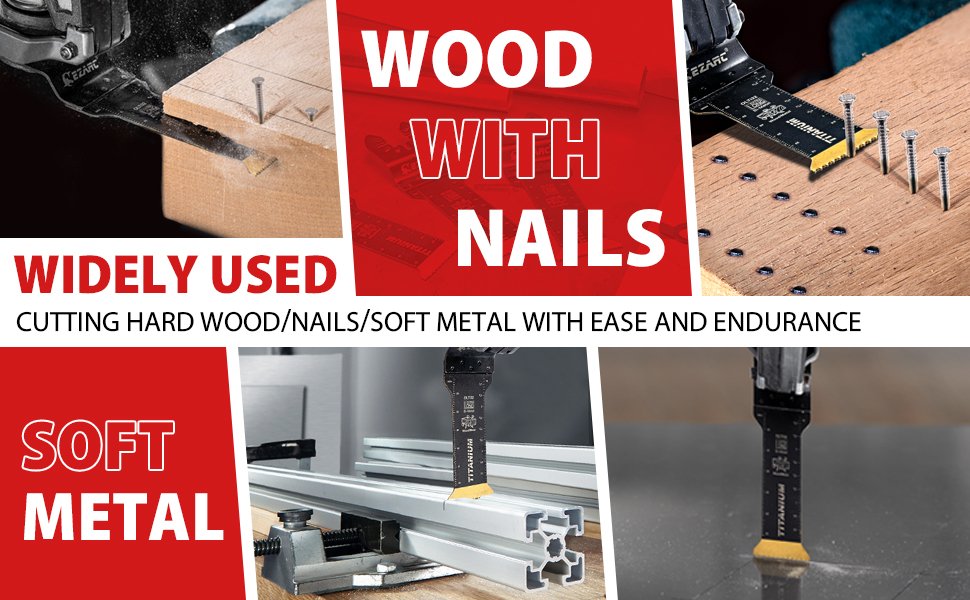
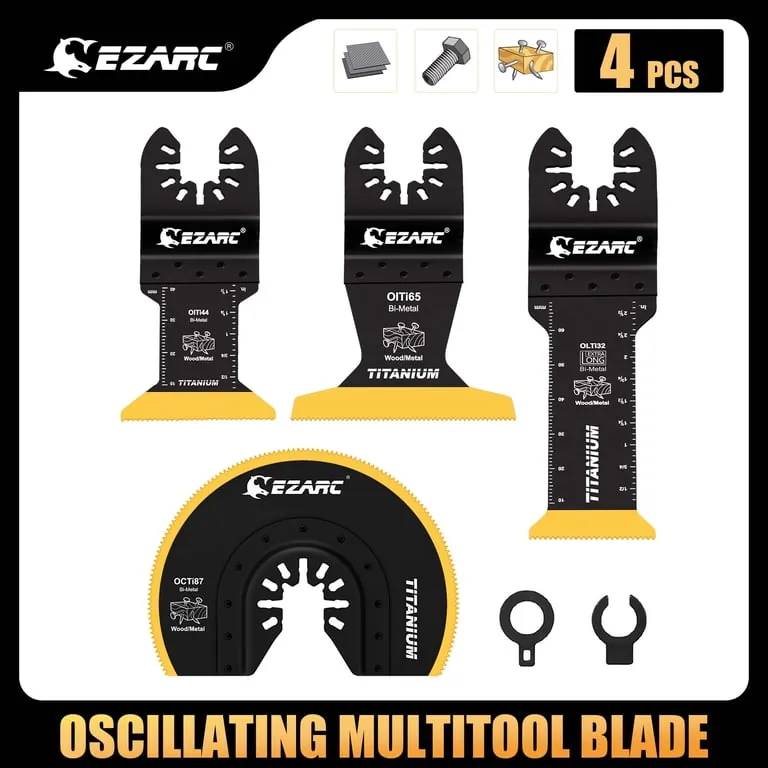
Attach a bimetal or carbide-tipped blade to your tool. Bimetal is sufficient for nails, but hardened deck screws will strip the teeth off a bimetal blade in seconds. If you see a black coating on the screw head, it’s hardened steel; use carbide only.
Adjust the oscillating tool to a low or medium-low speed. If you run the tool at maximum speed, the friction generates enough heat to soften the blade’s teeth, causing them to lose their edge instantly.
Place the flat side of the blade against the surface. Keep it perfectly parallel to the wood surrounding the fastener. If you tilt the tool even slightly, the blade will dig into your trim or floor, leaving a permanent scar.
Start the tool before touching the metal. Gently press the teeth against the fastener while keeping the tool base flush. Use a light, steady touch to let the teeth do the work. If you force the tool, you’ll stall the motor and burn the wood.
Slowly rock the tool back and forth to clear metal shavings from the cut. These shavings act as an abrasive, and failing to clear them will dull your blade twice as fast.
Once the fastener snaps off, lift the tool away while it’s still running. If you stop the motor while the blade is still touching the metal, the vibration can cause the blade to kick back and mar the surrounding material.
| Material Type | Recommended Blade | Speed Setting |
|---|---|---|
| Soft wood nails | Bimetal | Medium |
| Hardened deck screws | Carbide-tipped | Low |
| Thick bolts | Carbide-tipped | Low |
If you smell burning wood, you’re pressing too hard or the blade is already dull; stop immediately to prevent a fire hazard. If the blade starts to wander, stop and check that the mounting bolt is still tight. A loose blade is the most common cause of ruined workpieces.
Common Mistakes to Avoid
The most frequent error is applying too much downward pressure, which causes the blade to bend or “walk” across the surface, leaving deep gouges in your wood. Always let the oscillation do the work; if the tool feels like it’s struggling, you’re pushing too hard. A good rule of thumb is to maintain a light, guiding touch, letting the vibration frequency handle the material removal. If the motor pitch drops significantly, back off immediately to prevent overheating the motor.
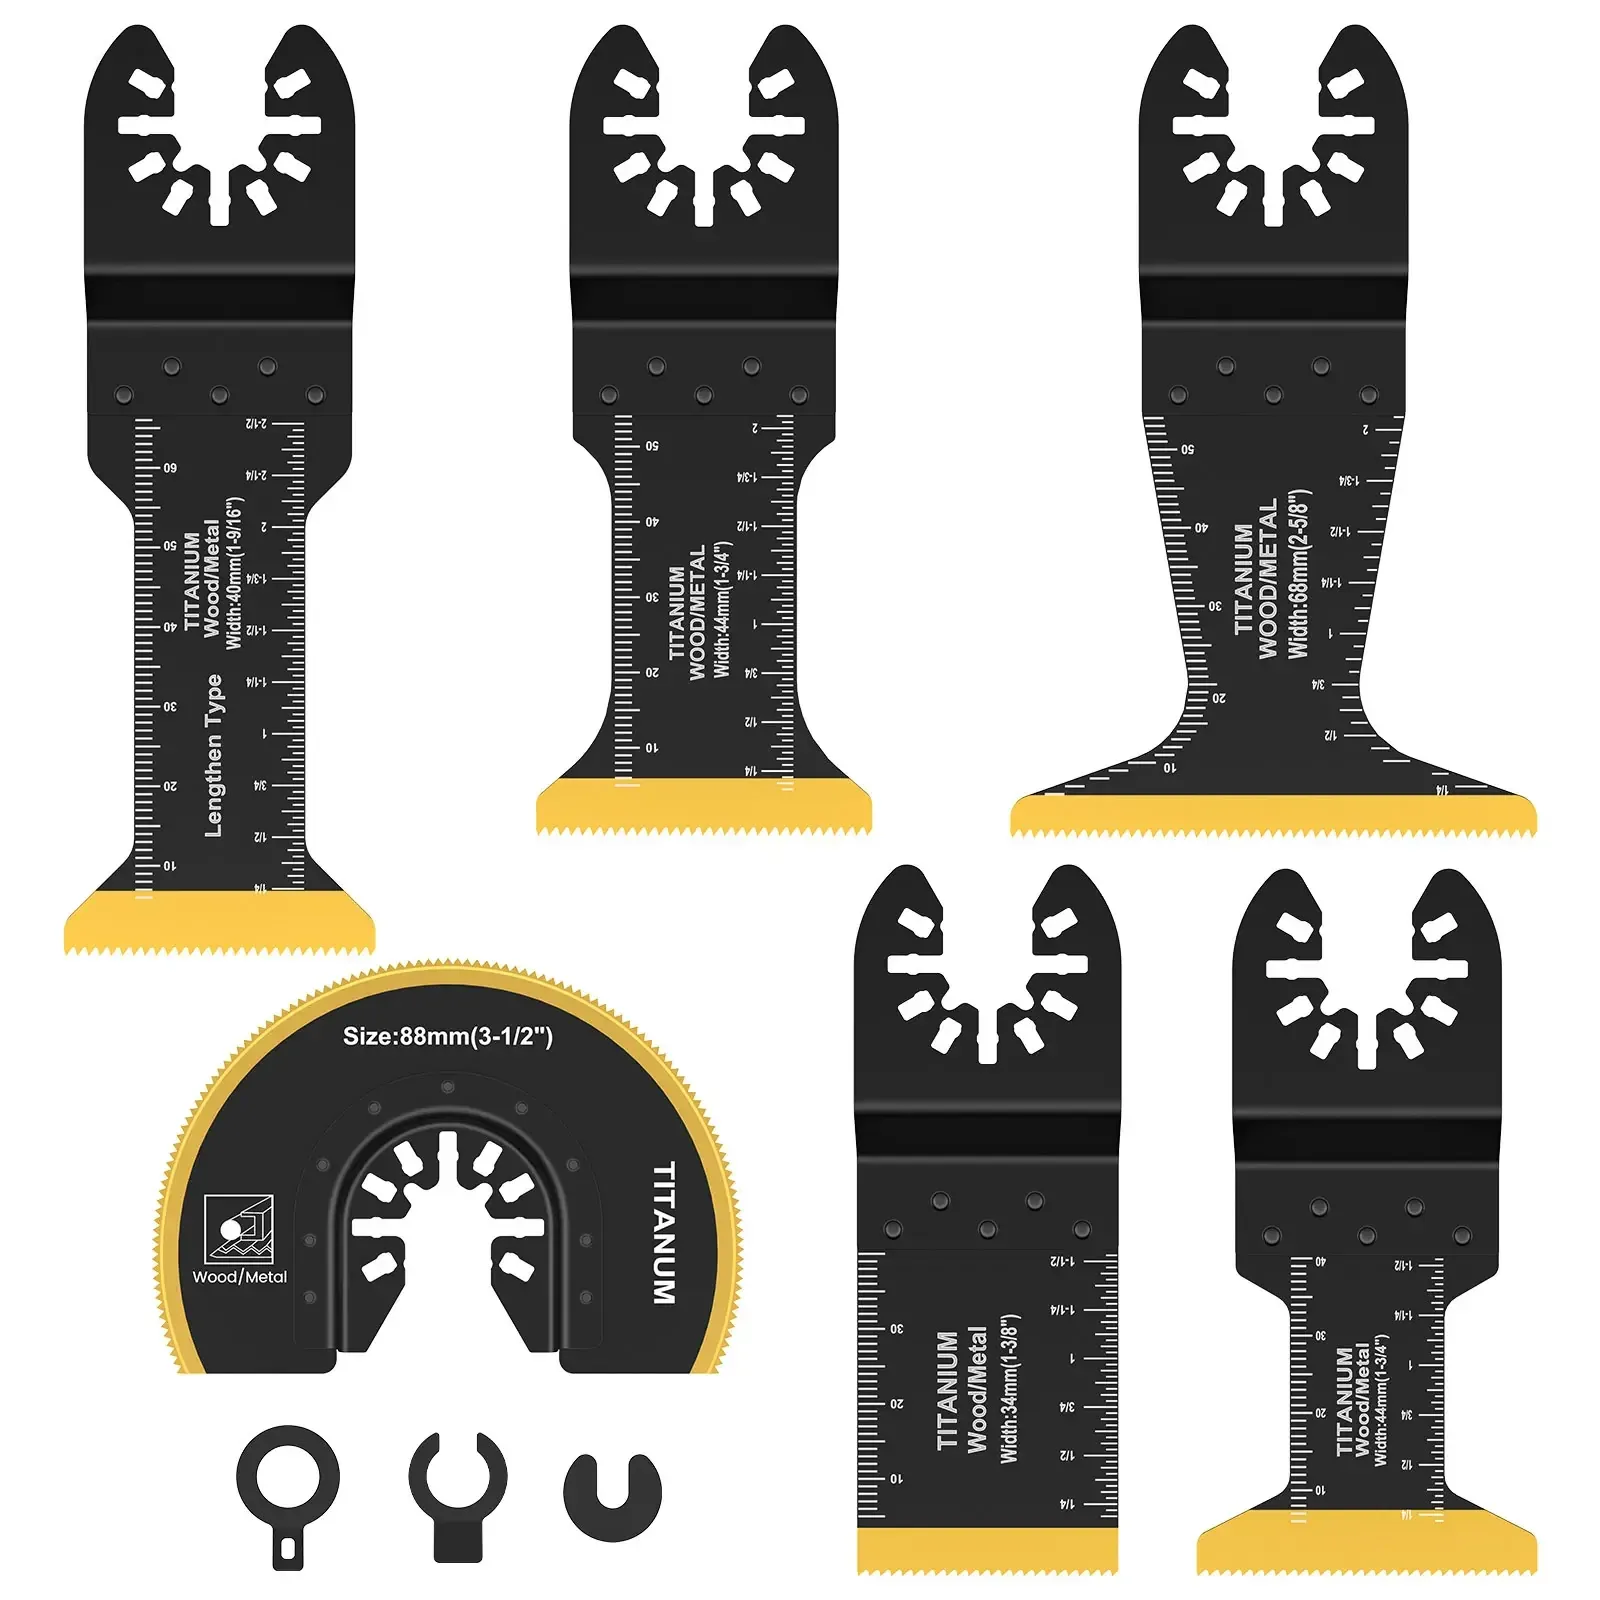
Another mistake is using a wood-cutting blade instead of a metal-specific one. Wood blades have larger teeth that will snag on the metal, causing the tool to kick back violently and likely breaking the blade teeth instantly. Use a bi-metal blade for any ferrous material. If you’re unsure of the material, check for magnetism; if a magnet sticks, use a fine-toothed metal blade.
Always wear eye protection when cutting metal, as the process creates tiny, sharp sparks and metal shards that can easily fly into your eyes. These fragments remain hot for several seconds after impact. If you’re working in a tight corner, ensure you have enough room to pull the tool away quickly if the blade binds.
Many operators fail to secure the workpiece properly, leading to vibration chatter that ruins precision cuts. Clamp your material within two inches of the cut line to minimize oscillation energy loss. If the metal starts to discolor or turn blue, you’re moving too slowly and building up excessive heat, which will ruin the temper of your blade.
Related guides
- How to Cut Baseboards With a Miter Saw: Inside and Outside Corners
- How to Cut Metal With an Angle Grinder Safely: Expert Guide
- How to Cut Tile With an Angle Grinder: Diamond Blades and Dust Control
Frequently Asked Questions
Can I cut through hardened steel bolts?
Yes, you can, but you must use a carbide-tipped blade designed for hardened metal. Standard bimetal blades will dull almost immediately against hardened steel and will likely fail before you finish the cut.
Will this method damage the surrounding wood?
It can leave small burn marks or shallow scratches if you aren’t careful. To prevent this, apply a layer of masking tape around the nail to protect the surface, or use a thin metal shim between the blade and the wood.
How do I know when the blade is worn out?
When the blade stops cutting effectively and starts producing excessive heat or smoke, the teeth are likely dull. Continuing to use a dull blade will only damage your tool’s motor and increase the risk of the blade snapping.
Conclusion
Before starting your project, test the cut on a scrap piece of wood with a similar nail to get a feel for the tool’s vibration. Once you’re comfortable with the speed and pressure, move to your finished surface to complete the task.