How to Engrave with a Rotary Tool: Beginner Projects and Bit Selection
You can start to engrave with a rotary tool by selecting a high-speed steel or diamond-coated bit and using a steady, light touch to carve your design into wood, metal, or glass. This guide covers the essential tools, safety requirements, and techniques for beginners to achieve clean, professional-looking lines.
Understanding Rotary Tool Engraving
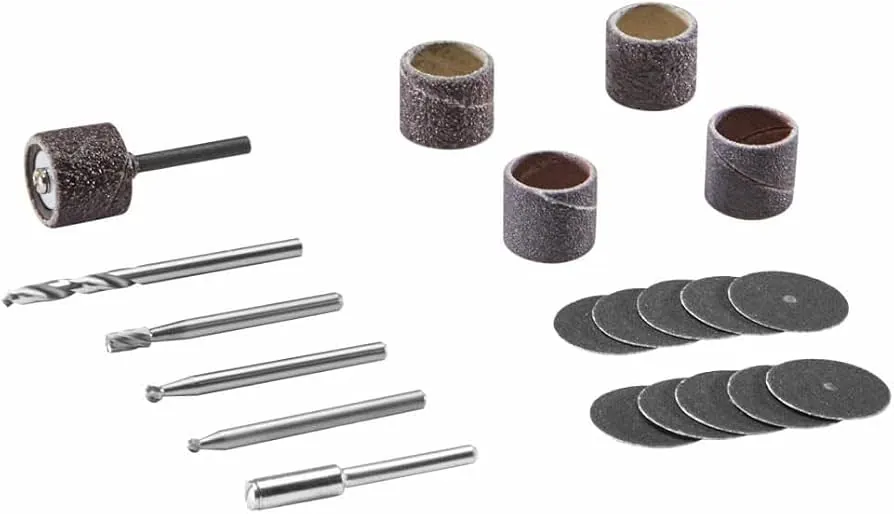
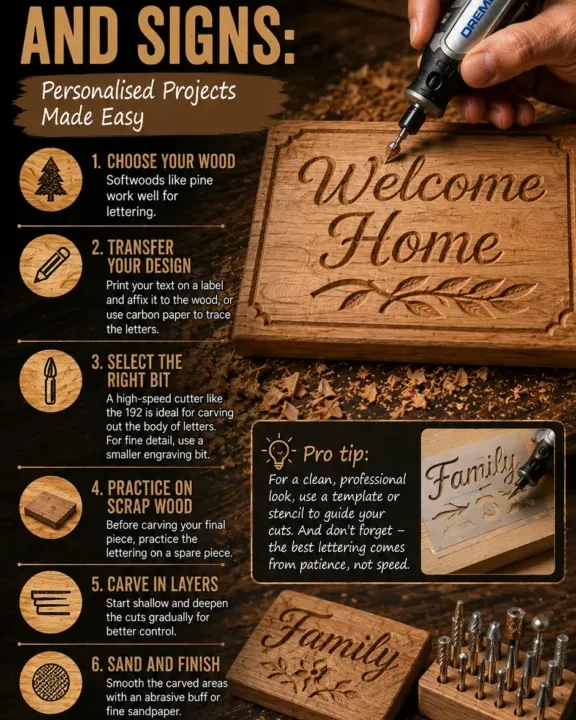
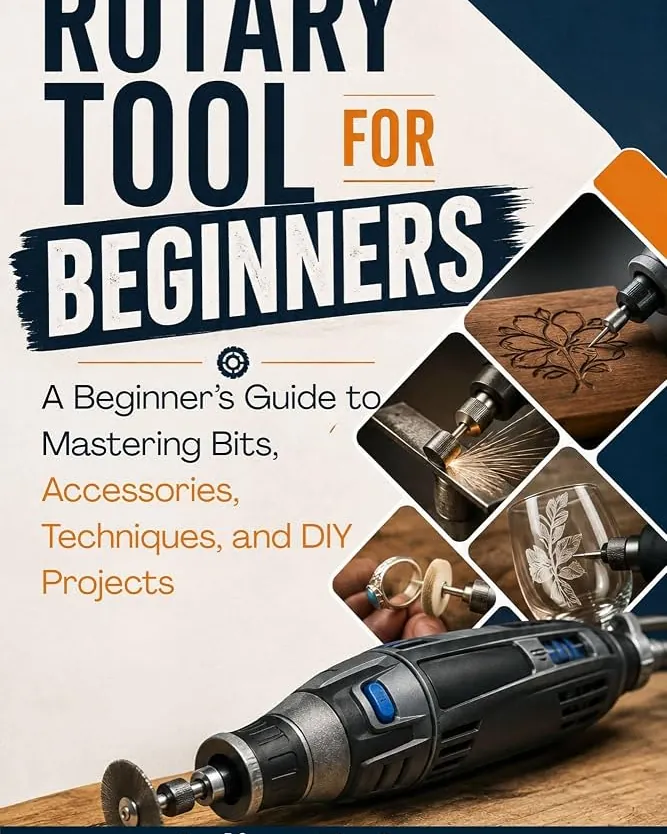
Engraving with a rotary tool involves using a high-speed motor to spin a small abrasive or cutting bit against a surface. It’s a popular way to customize materials like wood, glass, or soft metals for craft projects.
Most beginners mistakenly believe that pressing harder creates a deeper, better mark, but this actually causes the tool to skip and ruins your control. For consistent results, let the tool’s speed do the work while you focus only on guiding the bit along your pattern.
Essential Steps for Engraving
- Secure your workpiece to a stable surface using clamps or a vice to ensure it doesn’t move while you work.
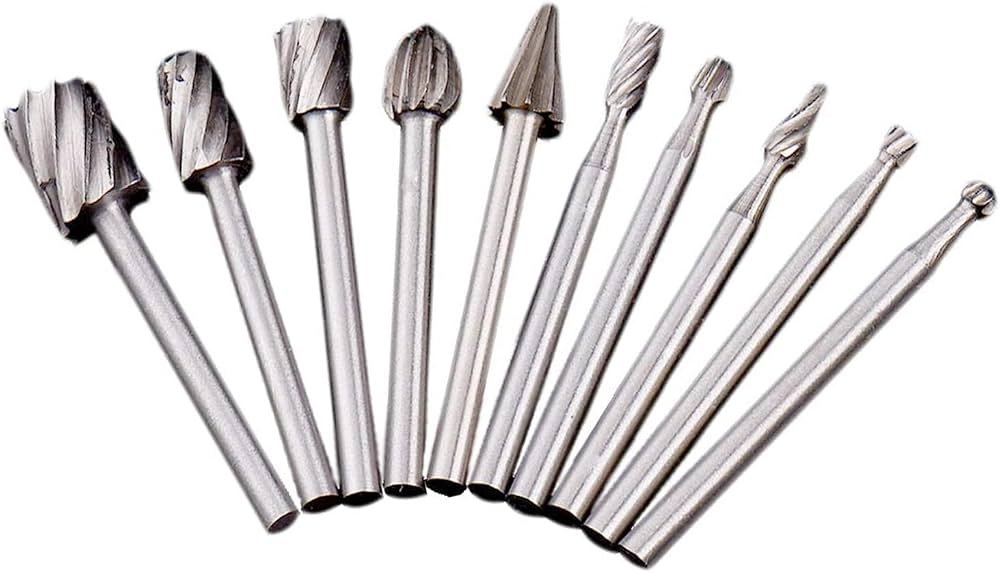
- Select your bit; use a diamond-point bit for glass and stone, or a high-speed steel cutter for wood and soft metals.
- Put on your safety glasses and a dust mask, as the Occupational Safety and Health Administration requires proper eye protection when working with power tools that create flying debris.
- Set your rotary tool to a low or medium speed, typically between 5,000 and 15,000 RPM, to maintain control.
- Hold the tool like a pen and rest your hand on the surface to steady your grip.
- Begin tracing your design with light, consistent pressure, moving against the direction of the bit’s rotation to maintain control and prevent jumping.
- Clean the surface with a soft brush to remove dust and check the depth of your lines.
The main judgement call is the speed setting. If the bit starts to wander or heat up, decrease the RPM immediately. If you’re working on a project that involves complex electronics or heavy industrial materials, consult a professional to ensure your equipment is appropriate for the task.
Bit Selection and Settings
Choosing the right accessory is critical for a smooth finish. Always verify your specific rotary tool model’s maximum RPM rating before you attach any bit.
| Material | Recommended Bit | Speed Setting | Watch For |
|---|---|---|---|
| Soft Wood | Steel Cutter | Low (5k-10k) | Wood burning |
| Hard Wood | Tungsten Carbide | Medium (10k-15k) | Bit clogging |
| Glass | Diamond Point | Low (5k-8k) | Glass cracking |
| Soft Metal | Engraving Cutter | Low (5k-10k) | Metal burrs |
| Plastic | Ball Burr | Low (5k) | Plastic melting |
Refining Your Technique
Experienced engravers know that preparation is the secret to a clean line.
Always work in short, controlled strokes rather than one long, continuous motion. If you feel your hand cramping or the tool vibrating excessively, stop and take a break. Beginners often try to trace a design in one go, but stopping to clear away dust and re-adjust your grip is what creates high-quality, professional results.
Troubleshooting Common Issues
| What you notice | What it usually means | What to do first |
|---|---|---|
| Tool skips or jumps | Speed is too high | Reduce RPM setting |
| Deep, uneven gouges | Too much downward pressure | Use a lighter touch |
| Bit gets very hot | Lack of lubrication or speed | Stop and let it cool |
| Lines are fuzzy | Dull or wrong type of bit | Replace the bit |
Safety and Operational Rules
Safety is the most important part of any shop project. Always disconnect the power source when changing accessories to prevent accidental startup. Never wear loose clothing or jewelry that could get caught in the spinning chuck. If you’re working in a space with poor ventilation, set up a small fan or use a vacuum attachment to keep dust away from your face. Always prioritize keeping your workspace clear of debris to prevent slips or errors while the tool is running.
Maintaining Your Tools
After finishing your project, wipe down the body of the rotary tool with a dry cloth to remove dust. Check the collet and nut for any debris that might affect the bit’s alignment.
If you notice the tool sounds different or emits a burning smell, stop using it and consult the manufacturer’s manual for maintenance intervals. Proper storage in a dry, cool case prevents rust on your bits and keeps the motor brushes clean, ensuring your tool stays ready for the next project.
Choosing Alternative Methods
If you’re working on extremely delicate materials like thin jewelry or hard gemstones, a standard rotary tool may be too aggressive. In these cases, use a hand-push graver or a chemical etching kit. For projects requiring perfect, repeatable text on hard surfaces, a laser engraver is a better choice than manual rotary work. These alternatives provide more precision for professional-level results that a handheld tool can’t easily replicate on its own.
Related guides
Frequently asked questions
How long does a diamond engraving bit last?
A diamond bit typically lasts for several hours of continuous use on glass, but it depends on the hardness of the material and the amount of pressure you apply while engraving.
Is it safe to engrave plastic with a rotary tool?
Yes, but you must keep the speed very low to prevent the plastic from melting, which can gum up the bit and ruin your design.
How do I know if my bit is dull?
Your bit is dull if you find yourself needing to press harder than before to achieve the same depth of cut or if the edges of your lines look jagged.
Can I engrave metal without a cooling liquid?
Yes, you can engrave soft metals like aluminum or brass dry, but you must use a very light touch to prevent the metal from overheating and burring.
Why does my rotary tool vibrate so much?
The tool vibrates if the bit isn’t seated perfectly in the center of the collet, so loosen the nut and re-insert the bit to ensure it’s straight.
How deep should my engraving be?
The depth depends on your preference, but for most beginner projects, a depth of 1/32 of an inch is enough to see the design clearly without weakening the material.
Conclusion
Proper engraving takes time to master, but starting with these basic techniques and the right bit will help you build your skills quickly. Keep your workspace clean, practice on scrap material, and always prioritize your personal safety as you refine your hand movements.