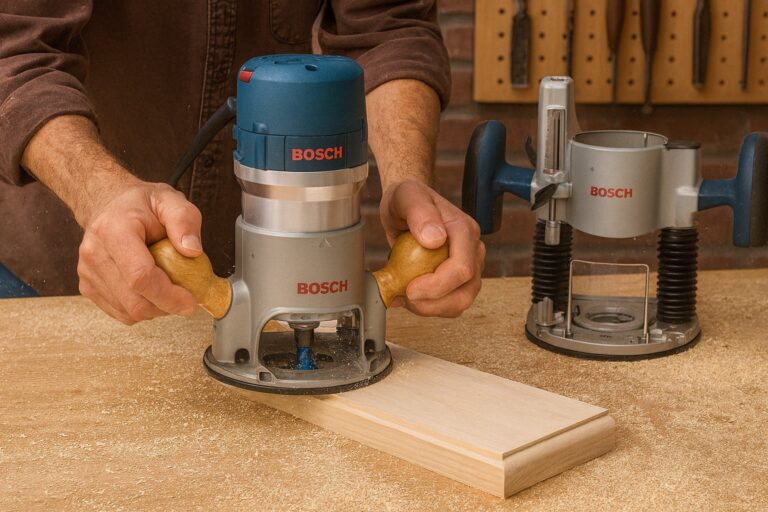

How to Make Clean Plunge Cuts with an Oscillating Tool Guide
You can make clean plunge cuts with an oscillating tool by marking your lines clearly, starting the cut at a 45-degree angle, and gradually lowering the blade until it sits flat against the surface. This method prevents the blade from skipping or vibrating wildly when it first touches your material.
Steps for Clean Plunge Cuts with an Oscillating Tool
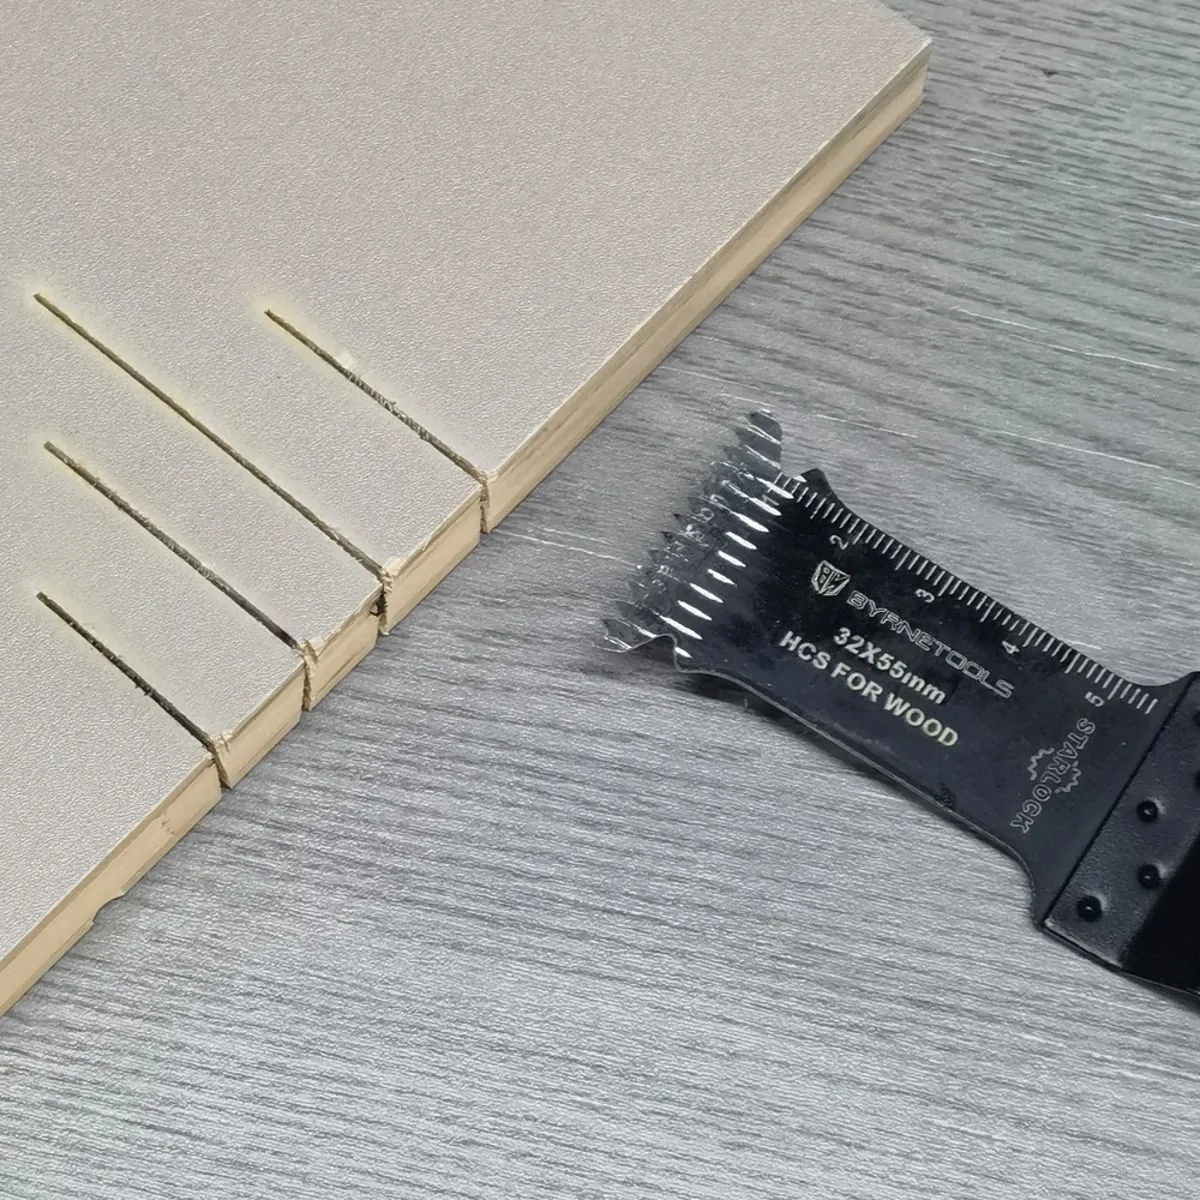
To achieve a clean result, you must control the tool’s movement carefully from the moment the teeth touch the wood. Always wear safety glasses to protect your eyes from flying debris.
Mark your cut lines with a pencil and square to draw the exact boundaries of your opening. Extend these lines one-half inch past the corners so you can see exactly where to stop your cut without over-cutting the material.
Clamp the board firmly to a stable workbench. If the material vibrates while you’re cutting, the blade will bind, causing the motor to stall and creating jagged, uneven edges.
Hold the tool so the blade’s teeth touch the starting point of your line at a 45-degree angle. Keep the tool body held firmly with both hands to maintain total control. If you feel the tool pulling away, you’re likely pushing too hard; let the oscillating motion do the work.
Turn the tool on to a medium speed setting before the blade touches the wood. Slowly pivot the tool until the blade is flat against the surface. Once the blade is fully submerged, move it forward along your marked line.
Stop the cut exactly at your corner mark. If you attempt to pivot the blade while it’s deep in the wood, you’ll snap the blade or gouge the surrounding surface. Pull the blade out, rotate the tool, and finish the cut from the other side to keep the edges sharp and clean.
If you’re cutting through plywood, use a piece of painter’s tape over your line before marking. This prevents the top veneer from splintering as the teeth exit the wood, saving you from tedious sanding later.
Important Timing and Speed Settings
The speed at which you move depends on the material density and the blade type. Using the wrong setting often leads to burned wood or a dull blade.
| Material Type | Speed Setting | Pressure Level |
|---|---|---|
| Softwood (Pine) | Medium | Light |
| Hardwood (Oak) | High | Moderate |
| Plywood | Medium-High | Light |
| Plastic/PVC | Low | Very Light |
If you notice scorch marks or dark resin buildup on the cut edge, your speed is too high or your blade is dull. Increase the setting by one increment. Conversely, if the tool chatters or jumps, you’re moving too fast.
Most beginners make the mistake of applying heavy downward pressure to force a cut. This causes the motor to strain and the blade to deflect. Let the tool’s rotation do the work. If you’re cutting dense hardwoods, maintain a consistent feed rate to prevent heat accumulation. If you’re cutting thin plastics, keep the speed low to avoid melting the edges.
How Do I Avoid Making Common Mistakes?
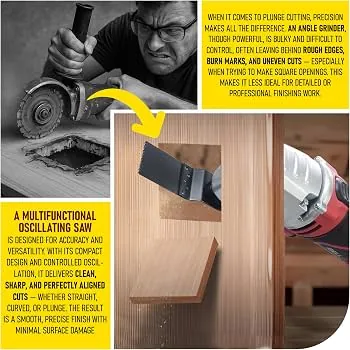
Most errors occur when the user tries to force the tool through the material too quickly. If you push hard, the blade will deflect, causing the cut to wander away from your pencil line. Always let the tool reach its full speed before it touches the surface.
Another common mistake is using a dull blade; a worn blade requires more force, which increases the chance of the tool jumping out of the cut. If the tool feels like it’s struggling, check your blade teeth for signs of wear or built-up resin.
Is it safe to plunge cut into walls?
You should never plunge cut into a wall without first checking for hidden wires or pipes. Use a stud finder or a dedicated wall scanner to ensure the area behind the drywall is clear. Even if you think the wall is empty, hidden electrical lines can be located just inches away from studs.
Can I use this for metal?
Yes, but you must use a metal-cutting blade and the lowest speed setting available. Metal generates high heat quickly, which will ruin standard wood blades in seconds. Keep a light mist of cutting oil on the line if you’re cutting through thick metal to keep the teeth cool.
Related guides
- How to Cut Baseboards With a Miter Saw: Inside and Outside Corners
- How to Cut Clean Mortises with a Plunge Router: Expert Guide
- How to Cut Tile With an Angle Grinder: Diamond Blades and Dust Control
Frequently Asked Questions
How deep can I cut?
Most standard oscillating blades have a cutting depth of about 1.5 to 2 inches. You should check the specific markings on your blade, as the depth varies by brand and model.
Why does my blade keep jumping?
The blade jumps when it isn’t held at the correct starting angle or when the speed is too high. Always start at a 45-degree angle and ensure the tool is moving at a consistent, high speed before the teeth make contact.
How do I know when the blade is dull?
You’ll notice the tool takes much longer to cut through the same material, and you’ll see smoke or dark burn marks on the wood. Dull teeth lose their efficiency and create friction instead of cutting, which is a sign you need a replacement.
Conclusion
Before you begin your project, practice your plunge technique on a scrap piece of wood to get a feel for how the tool reacts. Once you’re comfortable with the angle and pressure required, you can move on to your actual workpiece with confidence.