How to Fix Router Chatter, Tear-Out and Rough Cuts: Expert Tips
You can fix router chatter, tear-out and rough cuts by reducing your feed rate, checking your bit sharpness, and ensuring your wood grain direction matches the tool’s rotation. These issues usually happen because the cutting edge is dull, the wood is brittle, or the router is moving too fast for the bit to clear material efficiently.
Why Router Chatter and Tear Out Happen
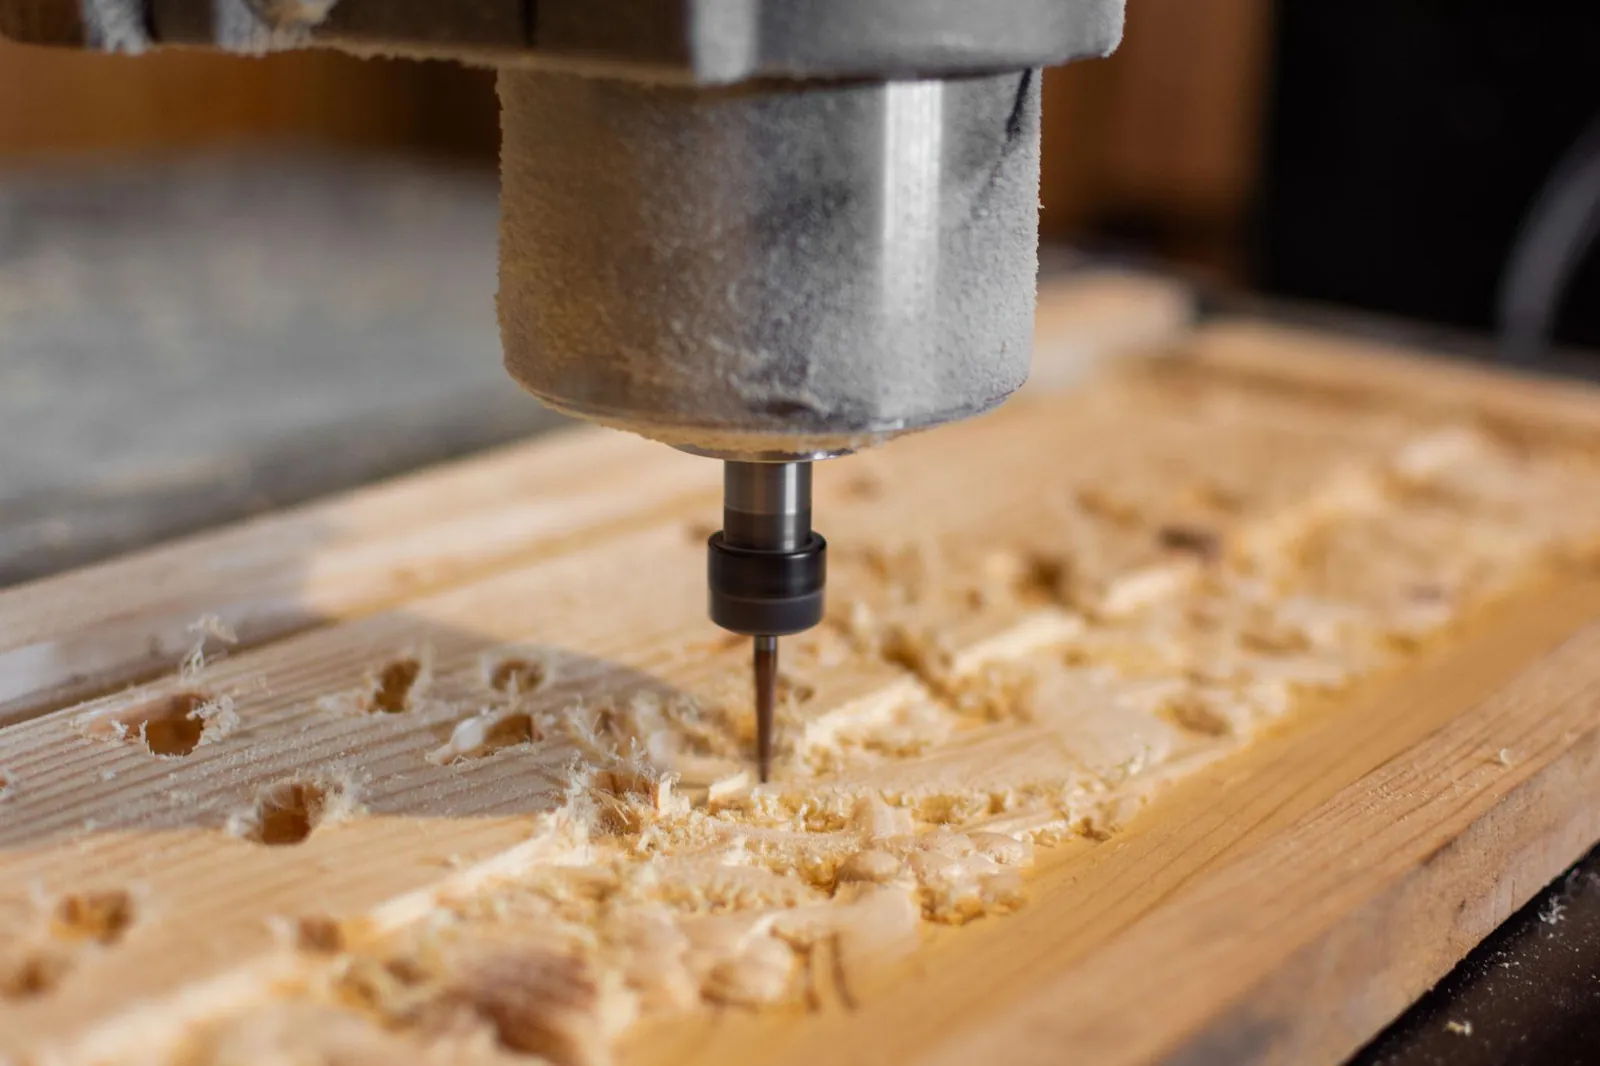
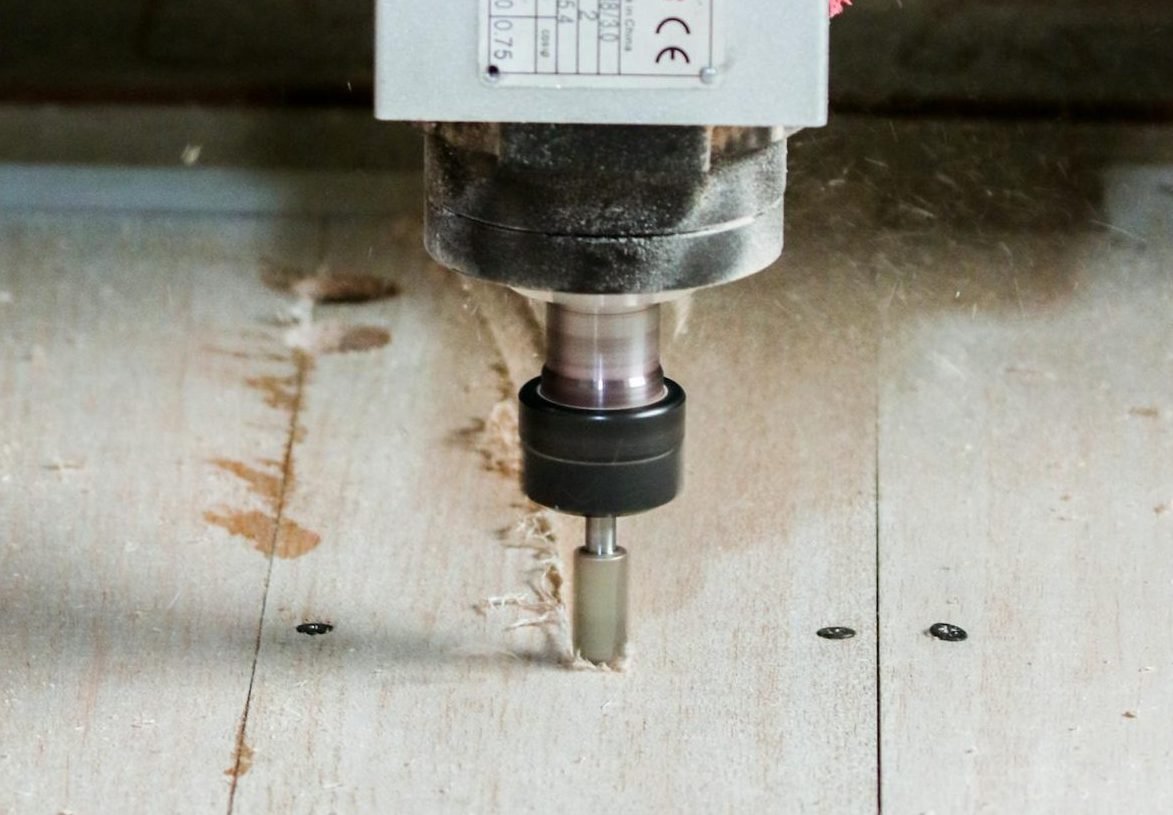
Vibration and surface damage occur when the mechanical harmony between the machine and the wood is lost. The most common cause is a dull router bit, which stops slicing through fibers and starts tearing them apart. When the cutting edge loses its precision, it creates friction, heat, and uneven pressure, leading to the characteristic “chatter” marks or jagged edges on your workpiece.
Another frequent culprit is an incorrect feed rate. If you push the router too quickly, the bit can’t evacuate wood chips fast enough, causing them to get trapped and rub against the cut. Conversely, moving too slowly allows the bit to dwell in one spot, which burns the wood and causes the router to vibrate as it struggles with localized heat build-up.
Finally, grain direction plays a massive role in tear-out. If you feed the bit against the grain in a way that lifts the wood fibers rather than slicing them, the material will splinter.
Adjust Your Cutting Technique
To stop chatter, you must stabilize the router and control your movement speed. If the router feels like it’s jumping or vibrating, slow your feed rate down significantly. A steady, consistent pace is better than a fast one that forces the bit to work harder than it should. Keep the base plate flat against the surface at all times to prevent the bit from tilting, which is a common mistake that leads to uneven, rough edges.
If you’re working with hard woods, take multiple shallow passes instead of trying to remove all the material in one go. Removing a little bit of wood at a time reduces the physical load on the motor and the bit, which keeps vibration to a minimum.
This fix is ideal for beginners who are still learning to gauge the right amount of resistance. If you find the router is still vibrating excessively after you have slowed down, check that the collet is tightened properly and the bit is fully seated.
Switch to Sharper Cutting Tools
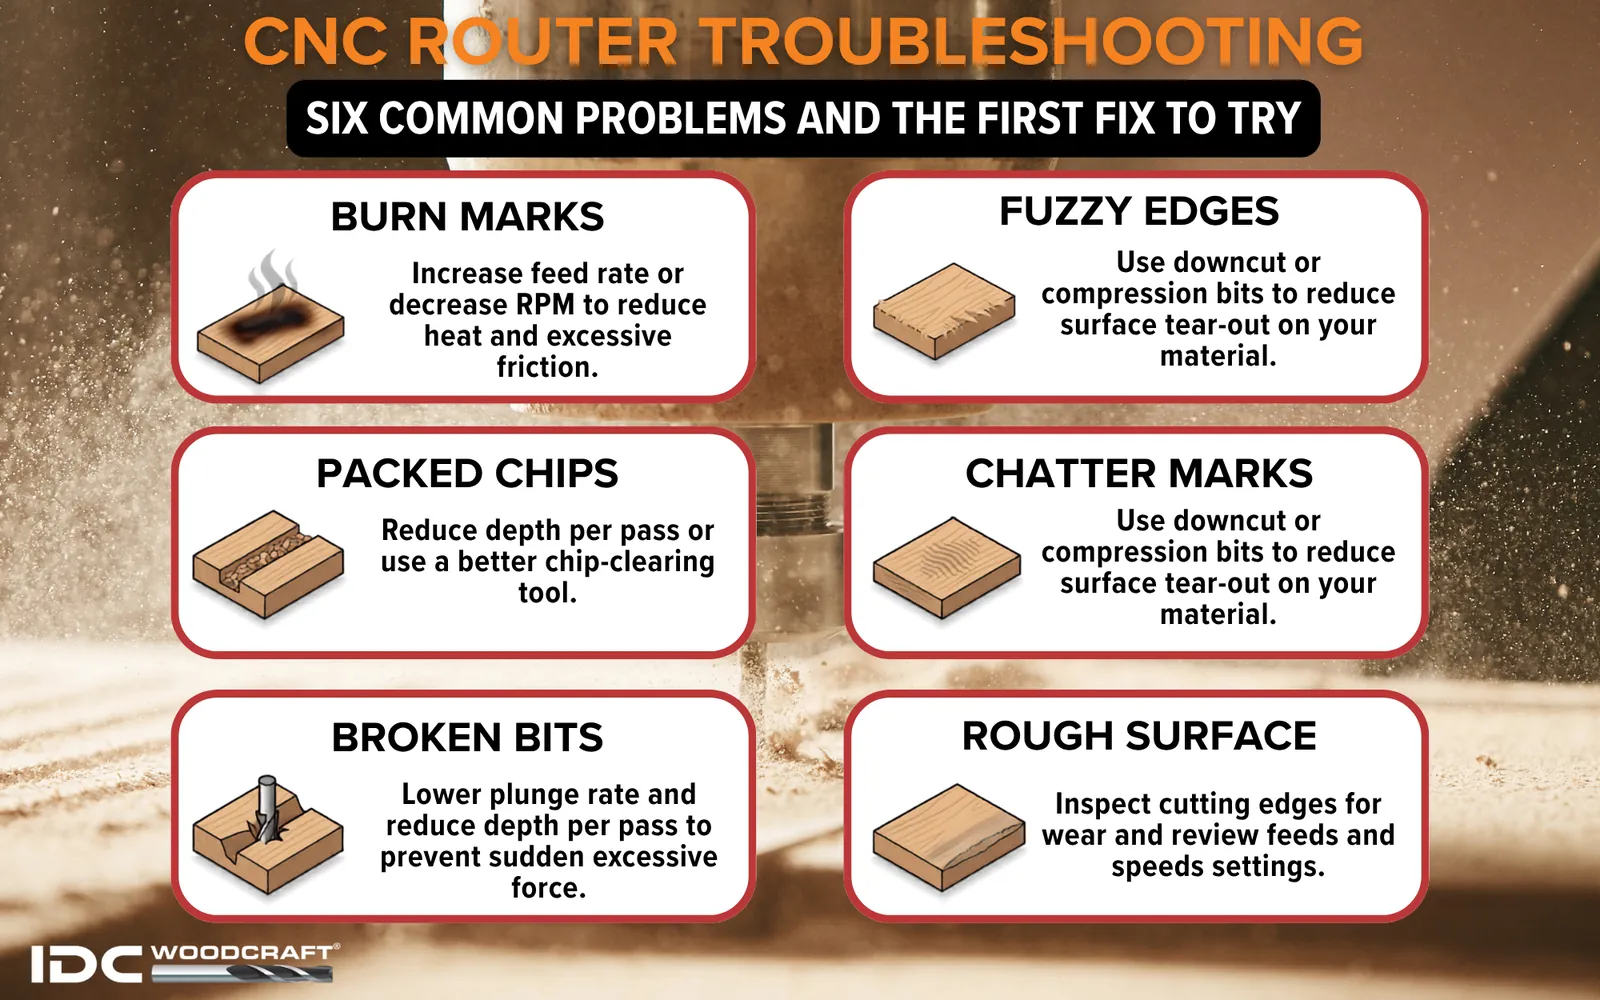
A dull bit is the primary reason for rough cuts and tear-out. If you notice black burn marks on the wood, it’s a clear sign that your bit has lost its edge and is rubbing rather than cutting. Replacing your bits is often the only way to get a clean finish again, as sharpening them yourself requires specialized diamond hones and precise angles that most home workshops can’t accommodate.
High-quality carbide-tipped bits last much longer than standard steel bits, making them a better long-term investment for your projects. Before you start, inspect the edges for chips or discoloration. If the metal looks worn or feels blunt to the touch, don’t try to force it through the material. Using a sharp, clean bit allows the router to glide through the wood with minimal effort, which naturally eliminates the chatter and tearing associated with worn-out equipment.
Manage Grain and Material Density
When you’re cutting across the grain, the wood fibers are prone to snapping and lifting. To prevent this, try “climb cutting” for very light final passes, though you must be extremely careful because this technique pulls the router forward. For most users, it’s safer to use a sacrificial piece of wood at the end of your cut to support the fibers, which prevents the bit from blowing out the back edge of your workpiece.
This method is highly effective for softwoods or brittle materials that are prone to splintering. It’s worth the extra effort to set up a backer board when you’re making visible joinery or decorative edges.
If you’re working with extremely dense or figured wood, keep your depth of cut under 1/8 of an inch per pass. If you lack the proper clamping equipment to hold your workpiece firmly, don’t attempt these cuts, as the risk of the wood shifting is too high.
Avoid Mistakes That Cause Router Chatter, Tear-Out and Rough Cuts
- Forcing the router: Pushing too hard causes the motor to bog down and the bit to chatter, which ruins the finish and damages the bit.
- Cutting against the grain: Feeding the bit in a way that lifts fibers causes severe tear-out, especially on soft or porous wood species.
- Ignoring bit cleaning: Resin and sap build-up on the bit edges create friction, which leads to overheating and rough, jagged cuts.
- Using incorrect speeds: Setting the router to a speed that’s too high for the bit diameter causes burning and uneven vibration.
- Skipping test cuts: Failing to test on a scrap piece of the same material often leads to ruined final projects.
Preventing Future Surface Damage
The best way to ensure a clean result is to match your router setup to the specific wood species and the depth of the cut you need.
| If you’re doing this | Do this instead | Why |
|---|---|---|
| Single deep pass | Multiple shallow passes | Less stress on the motor and bit |
| High speed for all bits | Adjust speed to bit size | Large bits need lower RPM to cut |
| Pushing by feel | Using a steady, set pace | Prevents dwelling and burn marks |
| Cutting end-grain last | Use a sacrificial backer board | Prevents the wood from blowing out |
Related guides
- Hammer Drill Not Working in Hammer Mode: How to Fix It
- Fix Hammer Drill Chuck Slipping With These Simple Steps
- Hammer Drill Overheating: Causes and How to Fix It
Frequently asked questions
How long does a router bit stay sharp?
A standard carbide-tipped bit typically stays sharp for 20 to 50 hours of actual cutting time, depending on the hardness of the wood. You’ll know it’s time to replace it when you need to push harder than usual to move the router or when you see light-colored wood turning dark brown or black during the cut.
Is it safe to sharpen my own bits?
No, it isn’t recommended for home users because manual sharpening often changes the geometry of the cutting edge, which can lead to vibration or unsafe operation. Professional sharpening services have the specialized equipment to maintain the exact factory profile, but for most hobbyist bits, it’s usually cheaper and safer to replace the bit entirely.
Why is my router burning the wood?
Burning happens when the bit is dull or the feed rate is too slow, causing the cutting edge to rub against the wood surface instead of slicing it. To stop the burning, increase your feed speed to ensure the bit is always moving into fresh wood, or replace the bit if the current one feels blunt to the touch.
How do I stop tear-out on plywood?
You can stop tear-out on plywood by using a piece of painter’s tape over the cut line or by using a sacrificial backer board behind the wood fibers. The tape keeps the top layer of veneer held down as the bit passes through, while a backer board supports the wood fibers at the exit point of the cut.
Can I fix deep chatter marks?
Yes, you can fix deep chatter marks by sanding the surface with a block and progressively finer grits until the unevenness is gone. If the chatter is very deep, you may need to use a hand plane or a card scraper first to level the surface before you begin sanding to avoid creating low spots in the wood.
Conclusion
Your router is a precision tool that relies on sharp edges and consistent motion to deliver professional results. By checking your bits for wear, adjusting your feed speed to match the resistance of the wood, and using backer boards to support fibers, you’ll stop the tearing and chatter that ruin good work. Take your time with the setup, and let the tool do the work for you.