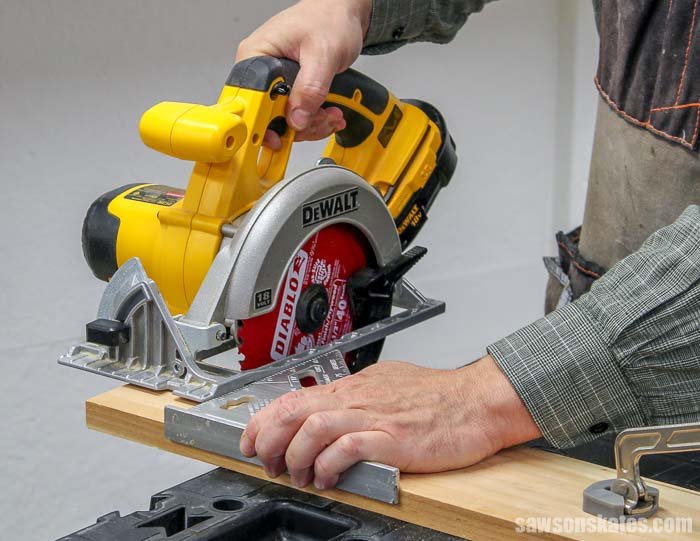
How to Make Straight Cuts With a Circular Saw Using a Guide
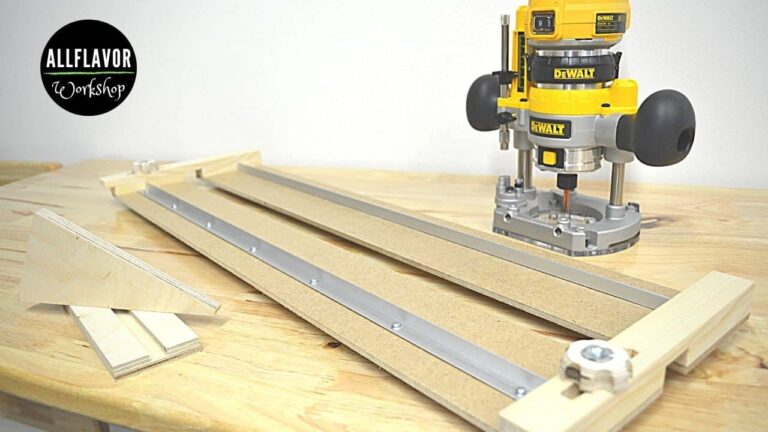
To make straight cuts with a circular saw using a guide, clamp a rigid, flat edge—like a factory-finished board or a dedicated metal track—parallel to your cut line at the exact distance between the saw blade and the edge of its baseplate. Measuring this offset, which varies by tool design, allows you to slide the saw base against the guide for a perfectly straight, repeatable line every time.
How to Set Up and Execute Your Cut
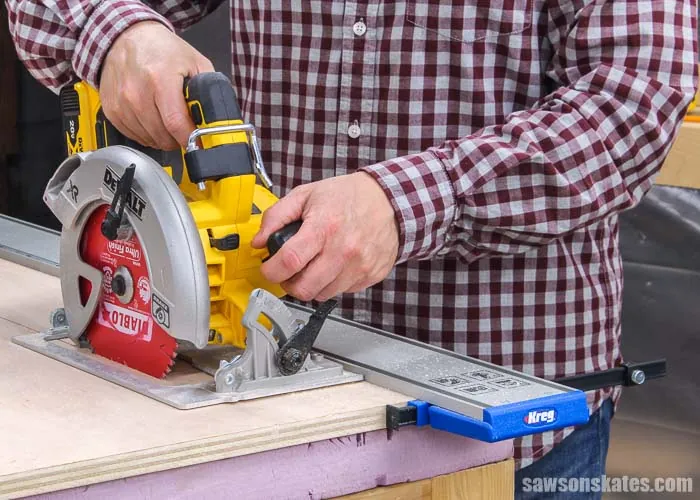
Follow these steps to ensure accuracy and safety while working. Always wear safety glasses and hearing protection as recommended by the Consumer Product Safety Commission.
Measure the blade offset. Place your saw on a scrap piece of wood and measure the distance from the edge of the baseplate to the teeth of the blade. Circular saws have varying offsets; always measure your specific tool before marking.
Mark your cut line. Draw your intended cut line on your workpiece with a pencil and a square to ensure it’s perfectly straight. If you’re cutting across the grain, use a sharp marking knife instead of a pencil to sever the wood fibers, which prevents tear-out along the edge.
Position the guide. Measure the offset distance from your cut line and clamp your guide board or rail down securely at that exact mark. Always position your clamps on the waste side of the wood so they don’t interfere with the saw’s path as you move forward.
Check for clearance. Slide the saw along the guide while it’s unplugged to ensure the motor housing or cord won’t hit the clamps during the cut. A common mistake is failing to check the cord’s path; if it snags, you may jerk the saw mid-cut, causing a jagged line or dangerous kickback.
Align and start. Rest the saw base against the guide, keep the blade away from the wood, and turn the saw on to reach full speed. If you engage the blade while it touches the wood, the tool will jump, ruining your starting edge.
Make the cut. Push the saw forward slowly, keeping the base pressed firmly against the guide for the entire length of the board. If the motor begins to bog down or whine, you’re pushing too hard; let the blade do the work.
Complete the stroke. Continue through the end of the board without twisting the saw, then release the trigger and wait for the blade to stop spinning. If you lift the saw before the blade stops, you risk scarring the finished surface of your workpiece.
Essential Measurements and Setup Data
The setup depends on the specific saw you own, as the distance from the baseplate edge to the blade varies by model and brand. Use the table below to adjust your guide placement based on your saw’s unique measurements.
| Saw Feature | Typical Offset Range | Impact on Cut |
|---|---|---|
| Standard baseplate | 1.25 to 1.75 inches | Sets guide distance |
| Wide baseplate | 2.0 to 2.5 inches | Requires wider guide |
| Cordless models | 1.0 to 1.5 inches | Often more compact |
Measure your specific offset by placing the saw on a scrap board and running it against a straightedge. Subtract the distance between the cut line and the board edge from your desired finished width.
If your saw features a non-parallel baseplate, always measure from the blade’s leading tooth rather than the plate edge. Failing to account for this taper causes a drift that ruins your material. If your cut wanders, stop immediately and re-verify your offset at both the front and rear of the blade.
Common Mistakes That Ruin Circular Saw Straight Cuts
Even with a guide, small errors can lead to uneven edges or dangerous binding. Avoid these common pitfalls to keep your project moving smoothly.
Why does the saw blade bind or smoke?
Binding happens when the saw twists or the wood closes up behind the blade. If you feel the saw bogging down, stop immediately, turn it off, and check if the board is properly supported on both sides of the cut line so it doesn’t pinch the blade.
Can I move the guide while cutting?
Never adjust or move your guide once you have started the cut. If your guide is too short for the entire length of the board, you must use a longer board or a dedicated track system that extends past the end of your workpiece.
Does the blade depth matter?
Setting the blade too deep increases the risk of kickback and creates more friction. Always set your blade depth so that only 0.25 to 0.5 inches of the teeth extend below the bottom of the wood you’re cutting.
Related guides
- 8 Best Circular Saws for Cutting Plywood and Sheet Goods
- 10 Best Cordless Circular Saw Picks for Every Project Type
- 10 Best Circular Saws: Our Expert Picks for Every Project
Frequently Asked Questions
Is it safe to use a homemade wood guide?
Yes, as long as the wood is flat, straight, and rigid. Ensure the board you use for the guide has a factory-straight edge, as any curve in the guide will be transferred directly to your workpiece.
What should I do if my circular saw base is bent?
If the baseplate is bent, it won’t sit flat against the guide or the wood, leading to inaccurate cuts. You should replace the baseplate or the saw, as a flat, square base is essential for maintaining a 90-degree angle to the surface.
Can I use a circular saw for long rip cuts?
Yes, but you must ensure your guide is firmly clamped at both ends to prevent it from shifting. Using a long, stiff guide is the only way to keep the saw from wandering over a distance longer than two feet.
Conclusion
Before you begin your next project, take a moment to test your guide setup on a piece of scrap wood of the same thickness as your final material. This quick test ensures your offset measurement is perfect and helps you get a feel for the resistance before you cut your good lumber.